 Search for...
 English
 Español
 中文简体
中文简体How Do Soaker Hoses Work: Guide to Efficient Garden Irrigation
Content
- 1 How Do Soaker Hoses Work: The Complete Guide to Efficient Garden Watering
- 2 The Science Behind the Pores: How Water Moves Through a Soaker Hose
- 3 What Soaker Hoses Are Made Of: Materials and Their Impact on Performance
- 4 Soaker Hose vs. Irrigation Plastic Sprinkler: A Direct Comparison
- 5 How to Set Up and Install a Soaker Hose System Correctly
- 6 How Long Should You Run a Soaker Hose? Timing and Watering Depth Explained
- 7 What Plants and Gardens Benefit Most from Soaker Hoses
- 8 Maintaining Your Soaker Hose: How to Extend Its Life and Keep It Working
- 9 Soaker Hose vs. Drip Irrigation: Understanding the Differences
- 10 Common Soaker Hose Mistakes and How to Avoid Them
- 11 Real Water Savings: Data and Numbers Behind Soaker Hose Efficiency
- 12 Frequently Asked Questions About Soaker Hoses
How Do Soaker Hoses Work: The Complete Guide to Efficient Garden Watering
A soaker hose is a porous, flexible tube that releases water slowly and evenly along its entire length through thousands of tiny micro-pores. When connected to a standard outdoor spigot, water travels through the hose until it reaches the capped end — at which point the only exit is through those pores, delivering moisture directly to the root zone of your plants at low pressure. Unlike an irrigation plastic sprinkler that sprays water into the air, a soaker hose saturates the soil from beneath, dramatically reducing evaporation and runoff.
The working principle is straightforward: water pressure forces moisture through the porous wall material — usually recycled rubber, polyethylene, or a rubber-polyethylene blend — at a controlled, gentle rate. The result is a slow, steady seep that mimics natural rainfall soaking into earth rather than a sudden deluge that runs off before plants can absorb it.
This guide covers everything from the core mechanics and material science to installation best practices, pressure management, comparisons with other irrigation plastic sprinkler systems, and long-term maintenance. Whether you are setting up your first raised bed or optimizing a large vegetable garden, understanding exactly how soaker hoses work will help you make smarter irrigation decisions.
Core Mechanics
The Science Behind the Pores: How Water Moves Through a Soaker Hose
The key to understanding soaker hoses lies in material porosity and fluid dynamics. The hose wall is filled with microscopic channels that water molecules can navigate under modest hydraulic pressure. When the spigot is turned on — ideally only a quarter to one-third of the way — pressure builds inside the tube. Because the end cap prevents forward flow, water finds the path of least resistance: outward through the porous walls.
The rate of seepage depends on three variables:
- Pore size and density — More pores per inch means higher output per foot, but also higher pressure demand.
- Water pressure at the source — Most residential water systems deliver 40–80 PSI at the tap, but soaker hoses operate best between 8 and 12 PSI. A pressure regulator is strongly recommended.
- Hose length — Friction loss through the porous walls causes a cone-shaped pressure drop. Research from Oregon State University Extension found that the beginning of a soaker line can release 2–3 times more water than the far end, which is why runs longer than 25 feet tend to produce uneven coverage.
Once water exits the hose wall, capillary action within the soil pulls moisture outward and downward, spreading into a moist band several inches wide on each side of the hose. In sandy soils the band is narrower and deeper; in clay soils it spreads wider but more slowly. This soil-driven distribution is one reason soaker hoses pair so well with organic mulch: the mulch slows surface evaporation and encourages lateral moisture travel.
8–12
PSI
Optimal operating pressure for most soaker hoses
25 ft
max run
Recommended single-run length for even water distribution
30–50%
water saved
vs. conventional overhead irrigation plastic sprinkler systems
What Soaker Hoses Are Made Of: Materials and Their Impact on Performance
The material composition of a soaker hose directly determines its porosity, durability, and UV resistance. Knowing the differences helps you pick the right product for your specific garden conditions.
R
Recycled Rubber
Made from ground-up tires or other post-consumer rubber, these hoses have a naturally porous matrix. They are flexible even in cool weather, have good kink resistance, and are regarded as eco-friendly because they divert waste from landfills. The downside is weight — rubber hoses are heavier and can be harder to reposition. Expect a lifespan of 2–5 years with proper storage.
P
Porous Polyethylene
Lighter and cheaper than rubber, polyethylene soaker hoses are the most common type sold in big-box stores. They are manufactured with tiny perforations or a porous extrusion process. They handle moderate UV exposure reasonably well but can become brittle in extreme cold. Typical lifespan is 1–3 seasons without mulch cover.
B
Rubber-Polyethylene Blends
A hybrid approach that combines the flexibility of rubber with the lighter weight of polyethylene. These blends often feature a braided or reinforced structure that resists kinking and improves longevity. Many manufacturers of irrigation plastic sprinkler accessories offer blend hoses as their mid-range or premium category product.
V
Vinyl and Polyurethane
Less common but used in some flat soaker hoses. Vinyl is inexpensive but degrades quickly in sunlight. Polyurethane offers excellent flexibility across temperature extremes and resists chemical degradation, making it a good choice for gardeners who use liquid fertilizers through their irrigation lines.
Soaker Hose vs. Irrigation Plastic Sprinkler: A Direct Comparison
Choosing between a soaker hose and an irrigation plastic sprinkler system is one of the most common questions home gardeners face. The answer depends on garden size, plant type, water source pressure, and budget. The table below summarizes the key differences:
| Feature | Soaker Hose | Irrigation Plastic Sprinkler |
|---|---|---|
| Water delivery method | Seeps through porous walls to root zone | Sprays water through nozzle into air and soil surface |
| Water efficiency | High (30–50% savings vs. sprinklers) | Lower (evaporation + wind drift losses) |
| Foliage wetting | None — reduces fungal disease risk | High — leaves remain wet for hours |
| Coverage area | Linear band (12–24 inches wide per hose) | Radial circle (5–30 ft diameter per head) |
| Best for | Vegetable rows, raised beds, shrub borders | Lawns, large open ground cover areas |
| Operating pressure | 8–12 PSI recommended | 25–50 PSI typical |
| Setup complexity | Very low — connect and lay | Moderate to high — requires planning and fittings |
| Average cost (100 ft system) | $15–$60 | $50–$300+ |
| Lifespan | 1–5 years depending on material and storage | 5–15+ years with quality fittings |
For small to medium vegetable gardens, raised beds, and perennial borders, a soaker hose typically outperforms a traditional irrigation plastic sprinkler on both efficiency and plant health outcomes. For large turf areas, a well-designed sprinkler system remains the more practical choice.
How to Set Up and Install a Soaker Hose System Correctly
Proper installation determines how well your soaker hose works. Many gardeners under-perform their system simply by making a few avoidable setup mistakes. Follow these steps for the best results.
01
Plan Your Layout Before Unrolling
Map out your garden bed and determine hose placement relative to plant rows. Keep hose spacing between 12 and 18 inches for closely-spaced vegetables; use a single hose per row for plants such as tomatoes or peppers spaced more than 18 inches apart. Avoid crossing hoses — pressure loss compounds at junctions.
02
Install a Pressure Regulator
This single step is the most impactful. A pressure regulator ($10–$20) screwed between your garden hose and the soaker hose reduces line pressure from the standard 40–80 PSI down to the ideal 8–12 PSI range. Without it, high pressure can blow out pore channels, create uneven leakage, or shorten hose life dramatically.
03
Keep Run Lengths Under 25 Feet Per Section
Because friction through porous walls causes pressure drop, runs longer than 25 feet deliver significantly less water at the far end. For longer beds, use a supply header (standard garden hose) running down the middle of the bed, then branch out shorter soaker sections to each side. This keeps each soaker run under 25 feet while covering a much larger area.
04
Lay the Hose and Secure It
Unroll the hose in the sun for 15–20 minutes before laying it in the bed — warmth makes the rubber or polyethylene more pliable and reduces kinking. Use landscape staples or U-pins every 3–4 feet to hold the hose flat against the soil. This prevents air pockets that can cause dry spots beneath the hose.
05
Cap the End
Always cap the outlet end of the soaker hose. An uncapped end releases water as a stream rather than a seep, destroying the pressure balance and creating a wet patch at the end of the run while the middle of the hose barely receives any flow. Most hoses come with an end cap; keep spares on hand.
06
Cover with 2–3 Inches of Mulch
Mulch covering your soaker hose reduces surface evaporation by up to 70%, keeps the hose protected from UV degradation, and encourages lateral moisture spread within the soil. Straw, wood chips, and shredded leaves all work well. Avoid burying the hose deeper than 3 inches — too deep and roots cannot reach the moisture efficiently.
07
Add a Timer for Hands-Free Operation
A simple hose-bib timer ($15–$40) lets you automate watering schedules. Set it to run in the early morning (5–7 AM) when evaporation is lowest and water pressure in residential lines is typically highest. Most vegetable gardens benefit from 30–60 minutes of soaker run time per session, 2–3 times per week — but always verify by digging 4 inches into the soil after a run to confirm adequate penetration depth.
How Long Should You Run a Soaker Hose? Timing and Watering Depth Explained
The 45-Minute Soil Test
The most reliable method for determining soaker hose run time is the soil probe test. Run your hose for 45 minutes, then use a trowel or soil probe to check moisture depth at several points along the run. According to Texas A&M AgriLife Extension, water should penetrate at least 4 inches into the soil for vegetable gardens and at least 6–8 inches for established shrubs and trees. If the moisture is shallow, extend the run time. If the soil is waterlogged at 45 minutes, reduce it. Document the results and use them as your baseline for the season.
General Run Time Guidelines by Plant Type
- Annual vegetables (tomatoes, peppers, squash): 30–60 minutes, 3–4 times per week in peak summer
- Leafy greens (lettuce, spinach, kale): 20–40 minutes, 3 times per week
- Perennial borders (established): 45–90 minutes, 2 times per week
- Newly planted shrubs: 60–90 minutes daily for the first 2 weeks, then taper
- Established trees: 60–120 minutes, once or twice per week depending on rainfall
These are starting points. Adjust based on actual soil moisture readings and local weather. Sandy soils drain faster and may require more frequent, shorter runs; clay soils absorb water more slowly and benefit from longer, less-frequent cycles.
Pressure and Flow Rate
A typical soaker hose operating at 10 PSI delivers approximately 0.6–1.0 gallons per minute per 100 feet of hose. At that rate, a 25-foot soaker run uses roughly 8–10 gallons per 30-minute session — far less than an overhead irrigation plastic sprinkler delivering 1–2 gallons per minute per head. Over a full growing season of 150 watering days, the savings can exceed 1,500 gallons per garden bed compared to conventional overhead watering methods.
What Plants and Gardens Benefit Most from Soaker Hoses
Soaker hoses are not universally the best choice for every watering situation. They shine in specific contexts and underperform in others. Here is a clear breakdown:
Excellent Applications
- Raised bed vegetable gardens with plants in rows (25-foot sections work perfectly)
- Perennial flower and shrub borders where consistent soil moisture promotes bloom
- Berry patches (strawberries, raspberries) where wet foliage causes fungal problems
- Newly established hedgerows and foundation plantings
- Under mulched landscape beds — the hose is hidden, protected, and efficient
- Container and planter beds where conventional irrigation plastic sprinkler coverage is wasteful
- Drought-prone areas where every gallon of water must be used optimally
Poor Applications
- Lawns — use an irrigation plastic sprinkler system instead; soaker hoses cannot cover turf evenly
- Steep slopes — water seeps down the incline rather than into the root zone; drip emitters perform better
- Very large gardens over 200 sq ft — pressure loss over long runs makes coverage unreliable without complex manifolds
- Sandy desert soils with extremely fast drainage — water may travel vertically before reaching a wide enough root zone
- Areas with very hard water (high mineral content) — pores clog within one season without regular flushing
Maintaining Your Soaker Hose: How to Extend Its Life and Keep It Working
Most soaker hoses that fail early do so because of preventable maintenance mistakes. With a few simple habits, a quality soaker hose can last 3–5 seasons rather than one or two.
Routine Seasonal Maintenance
- Flush the hose at the start of each season. Remove the end cap and run water at full pressure for 1–2 minutes to clear any sediment, mineral deposits, or debris that accumulated over winter storage. This simple step prevents blocked pores from the start.
- Install a filter at the inlet. A 200-mesh filter washer ($3–$8) at the hose bib connection traps sediment before it enters the soaker hose, dramatically extending pore life in areas with hard water or well water.
- Vinegar soak for mineral buildup. If pores appear clogged (uneven or no seepage), remove the hose and soak it in a 50/50 white vinegar and water solution for 24–48 hours. The mild acid dissolves calcium and magnesium deposits without damaging rubber or polyethylene materials.
- Never leave the hose under direct sun without mulch. UV radiation degrades both rubber and polyethylene within months. Studies on polymer degradation show that unprotected rubber irrigation hose can lose up to 40% of its tensile strength after one full season of direct UV exposure in USDA hardiness zones 8 and above.
- Store indoors during freezing weather. Water remaining in pores expands when frozen, rupturing the hose wall. Drain the hose completely, coil it loosely, and store it in a garage or shed. Never use a sharp tool to coil it — kinks created by over-tightening weaken the wall permanently.
Repairing Common Soaker Hose Problems
- Spurting water or burst pores — Cut out the damaged section and join the two ends with a barbed coupling connector ($2–$5). Keep several connectors in your garden supply kit.
- Kinks causing dry spots — Gently warm the kinked section with warm water and straighten it. Use additional landscape staples on either side of the former kink to prevent it from recurring.
- Leaking connections — Replace rubber washers at all threaded connections annually. Deteriorated washers are the single most common source of connection leaks.
- Pressure spraying instead of seeping — The pressure regulator may have failed or been bypassed. Check that it is installed and functioning before concluding the hose itself needs replacement.
Soaker Hose vs. Drip Irrigation: Understanding the Differences
Soaker hoses and drip irrigation are both root-zone watering systems and are often grouped together, but they work differently and suit different garden types. Here is how to think about choosing between them:
Soaker Hose
- Water released uniformly along the entire hose length through porous walls
- Ideal for densely planted areas like vegetable rows
- Lower upfront cost — a complete 100-ft system can run under $60
- Easy to reposition between seasons
- Shorter effective run length (15–25 ft for even distribution)
- Cannot target individual plants in widely spaced layouts
Drip Irrigation
- Water released at specific emitter points (every 6, 12, or 18 inches)
- Precise control — each plant gets a set flow rate
- Effective over much longer runs (100 ft or more with pressure-compensating emitters)
- Higher initial setup cost and more complex installation
- Better for widely spaced trees, shrubs, or mixed gardens with variable water needs
- More durable (10–15 years) if properly maintained
According to a field trial conducted by the University of California Cooperative Extension, drip irrigation reduced water use by 20–50% compared to sprinkler systems, while soaker hoses achieved comparable savings in short-run raised bed configurations. For gardeners with raised beds under 8 feet long, soaker hoses are often the simpler and equally effective choice. For complex layouts or orchards, investing in a full drip system pays off long-term.
Common Soaker Hose Mistakes and How to Avoid Them
Even experienced gardeners make these errors. Knowing what they are helps you get the most out of your soaker hose from day one.
| Mistake | Why It Happens | Correct Approach |
|---|---|---|
| Running water at full tap pressure | Assumes more pressure = better watering | Use pressure regulator; turn tap only 1/4 open |
| Connecting more than 2 hoses in series | Wants to cover a large area cheaply | Use a supply manifold and run parallel short sections |
| Leaving hose exposed to sun without mulch | Mulch seems unnecessary | Cover with 2–3 inches of organic mulch |
| Not capping the end | Lost the cap or did not realize it was needed | Always cap the male end; keep spare caps in the shed |
| Storing hose outdoors in winter | Inconvenient to remove from bed | Drain, coil loosely, store indoors before first frost |
| Using on a lawn | Thinks soaker hose replaces all other watering | Use an irrigation plastic sprinkler for lawn areas |
| Ignoring inlet filter | Seems unnecessary | Install 200-mesh washer filter to prevent clogging |
Real Water Savings: Data and Numbers Behind Soaker Hose Efficiency
The environmental and financial case for soaker hoses is well-documented. Here are concrete figures that illustrate what switching from an overhead irrigation plastic sprinkler system to a soaker hose can mean for a typical home garden:
50%
Average water reduction vs. overhead sprinkler systems, based on data from the EPA's WaterSense program research on residential irrigation efficiency
0.6 gph
Approximate output per linear foot at 10 PSI — enough to maintain soil moisture without waterlogging for most garden crops
4,000 gal
Estimated annual water savings for a 400 sq ft vegetable garden switching from sprinkler to soaker hose irrigation (based on University of Arizona Cooperative Extension water audit data)
70%
Reduction in surface evaporation when soaker hose is covered with 2 inches of organic mulch (source: Colorado State University Extension)
Beyond water savings, reduced foliage wetting directly lowers the incidence of diseases such as powdery mildew, early blight, and Botrytis in vegetable and flower gardens. A study published in HortScience found that drip and soaker irrigation reduced early blight incidence in tomatoes by up to 63% compared to overhead irrigation plastic sprinkler watering — a meaningful benefit in humid regions where foliar diseases are a significant production risk.
![]()
Frequently Asked Questions About Soaker Hoses
How long do soaker hoses last?
Lifespan depends heavily on material quality and how the hose is stored. Rubber-based soaker hoses stored indoors during winter and covered with mulch during the growing season typically last 3–5 years. Cheaper polyethylene-only models may degrade within 1–2 seasons, especially if left in direct sun. Replacing rubber washers annually and flushing the hose each spring can significantly extend functional life.
Can I bury a soaker hose underground?
You can, but it is not ideal for most gardeners. Burying a soaker hose deeper than 3–4 inches can cause root intrusion into the pores, making the hose difficult to remove and clean. Shallow burial under 2–3 inches of mulch achieves the same moisture and UV protection benefits while keeping the hose accessible for inspection and repositioning. If you need a permanent buried system, drip irrigation with pressure-compensating emitters is a better long-term choice.
How do I know if my soaker hose is working properly?
Turn on the system at the correct pressure (8–12 PSI via a regulator) and check the hose surface after 5 minutes. You should see a uniform bead of moisture along the entire length — not dry patches and not spraying jets. After 30–45 minutes of operation, probe the soil 4 inches deep at multiple points along the run. Consistent moisture at that depth indicates the system is functioning correctly. Dry spots or waterlogged zones indicate pressure issues or hose damage.
Do soaker hoses work in clay soil?
Yes, and they work quite well in clay. Clay soil's slow absorption rate means water from a soaker hose disperses laterally over a wider band than in sandy soil. You may need slightly longer run times to achieve adequate root-zone depth penetration — typically 60–90 minutes per session rather than 30–45 minutes. The advantage is that clay retains moisture longer, so watering frequency can often be reduced to 2 times per week even in summer.
Is a soaker hose better than an irrigation plastic sprinkler for a vegetable garden?
For most home vegetable gardens, yes — a soaker hose is superior to a conventional overhead irrigation plastic sprinkler system. The reasons are: water goes directly to the root zone (no waste), leaves remain dry (reducing fungal disease risk), water pressure requirements are very low, and setup costs are minimal. The only situation where an irrigation plastic sprinkler outperforms a soaker hose in a vegetable context is when you need to cool plants during a heat wave — light overhead misting can reduce canopy temperature, something a soaker hose cannot do.
Can I use a soaker hose with a drip irrigation system?
Yes. Many gardeners use a hybrid approach: standard drip tubing as the main supply line and soaker hose sections branching off to cover densely planted beds. The key is matching pressure requirements. Use a single pressure regulator at the water source set to 8–12 PSI for the entire system. Avoid mixing soaker hose and high-flow irrigation plastic sprinkler heads on the same line — the pressure demands are incompatible without zone separation.
How do I prevent soaker hose pores from clogging?
Install a fine-mesh sediment filter (200-mesh or finer) at the spigot connection. Flush the hose at the start of each season by removing the end cap and running full tap pressure for 2 minutes. In hard-water areas, soak the hose in a 50/50 white vinegar solution annually to dissolve mineral deposits. Avoid letting soil backfill into the hose during installation — always flush before capping the end for storage.
How much does a soaker hose system cost compared to a sprinkler system?
A basic 50-foot soaker hose costs $10–$25. Adding a pressure regulator ($15–$20) and a hose-bib timer ($20–$40) brings a complete automated setup to roughly $45–$85 for a medium raised bed garden. A comparable irrigation plastic sprinkler system — heads, risers, poly pipe, fittings, controller — typically starts at $80–$150 for a small area and rises quickly with garden size. For small to medium vegetable gardens under 400 sq ft, soaker hose systems are consistently the more cost-effective entry point.
What water pressure do soaker hoses need?
Most soaker hoses are designed to operate between 8 and 12 PSI. Standard residential water supply pressure runs 40–80 PSI — far too high without a regulator. At high pressure, soaker hoses spray water rather than seeping it, creating waterlogged zones near the hose while the far end receives little flow. Always install a pressure regulator rated to 10 PSI at the spigot connection. If your water pressure is very low (under 20 PSI), you may not need a regulator — test by turning the tap only a quarter open and checking for even seepage along the hose length.
Can soaker hoses be used for trees?
Yes, soaker hoses work well for newly planted and established trees when set up correctly. For a newly planted tree, lay a single soaker hose loop around the tree at the drip line (the outer edge of the canopy, not right against the trunk) and run it for 60–90 minutes every 3–4 days during the first growing season. For established trees, extend the loop to cover a wider radius and water deeply once a week during dry spells. Avoid placing the hose directly against the trunk — this can encourage collar rot.
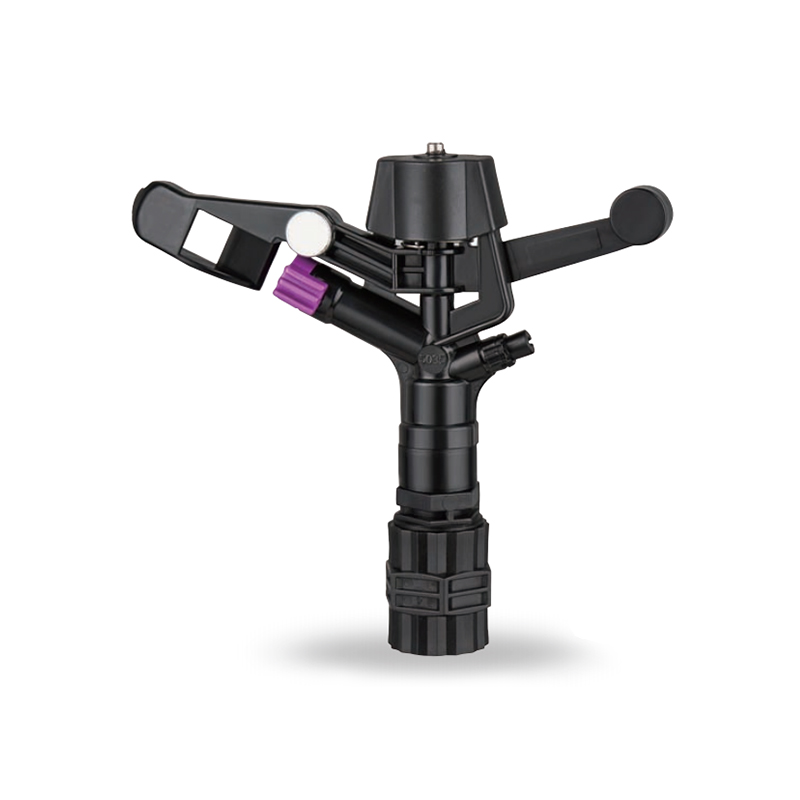
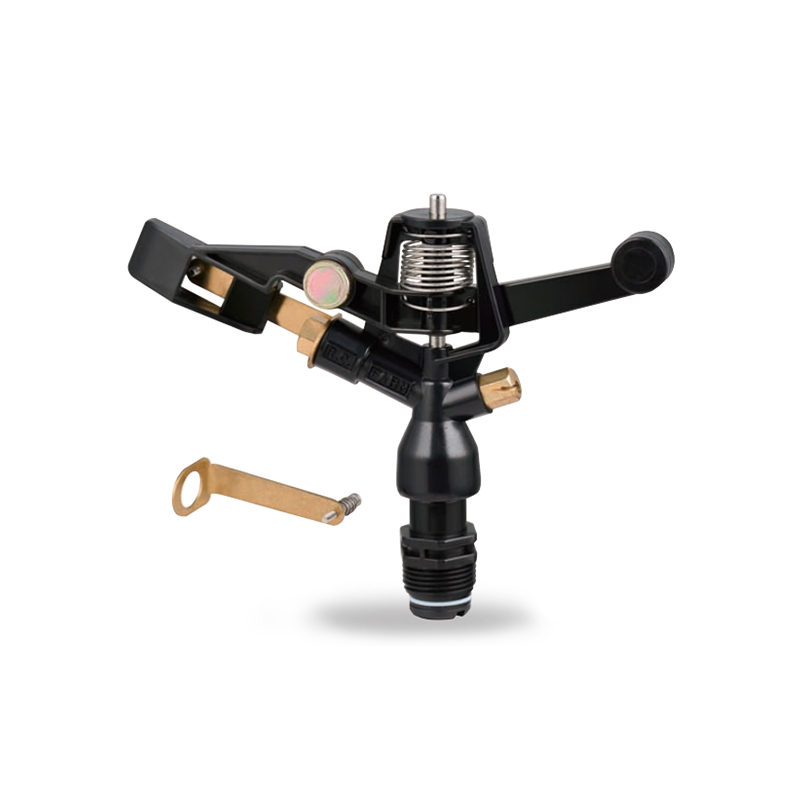
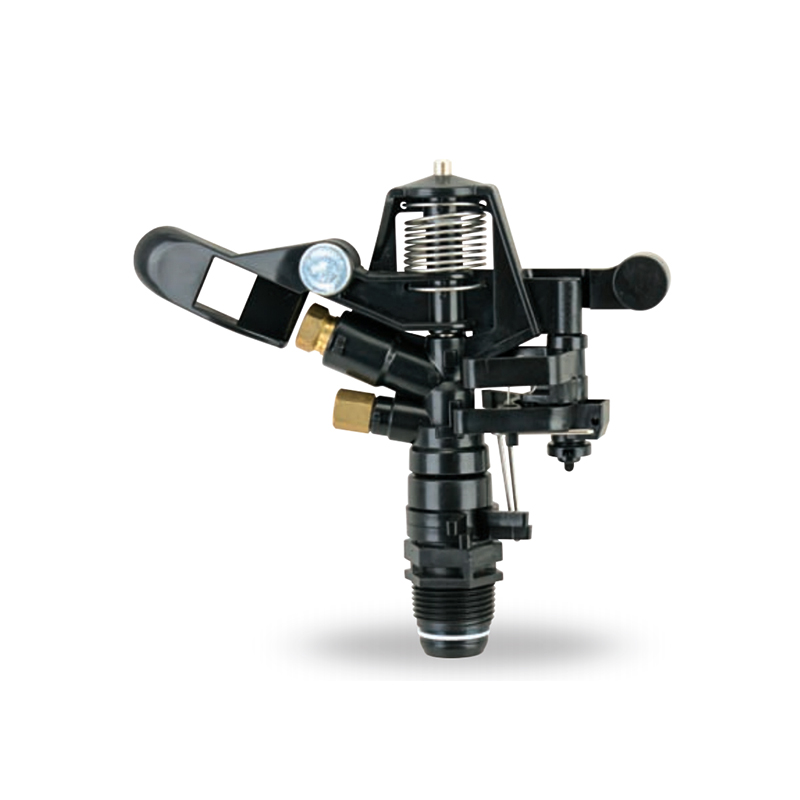
Related products
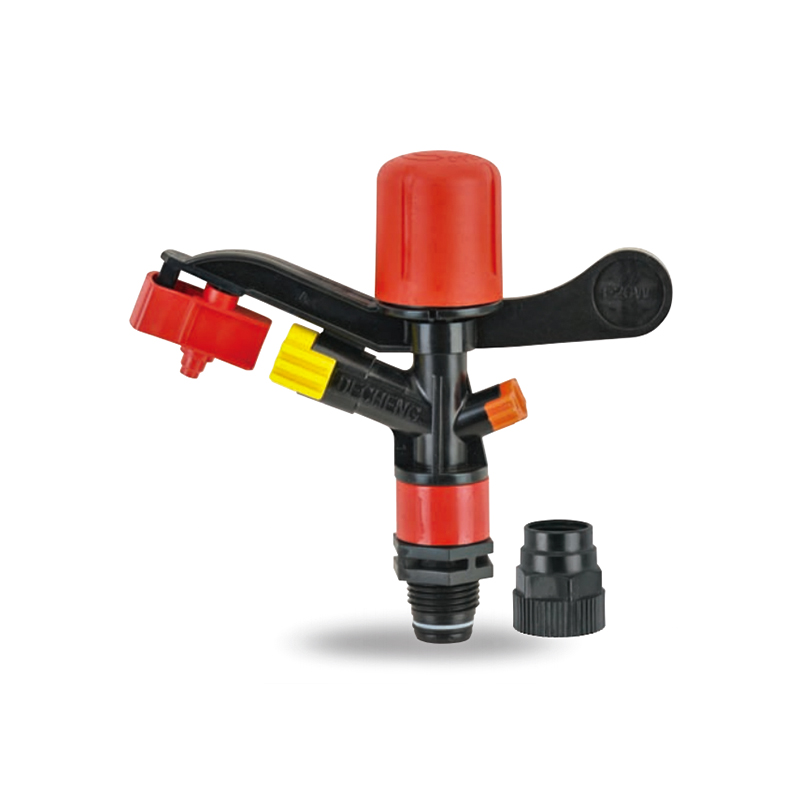
-
Impact sprinkler for agricultural irrigation is a common and efficient agricultural irrigation tool designed for large areas of farmland. Its unique structure can evenly cover a large area by rotating...
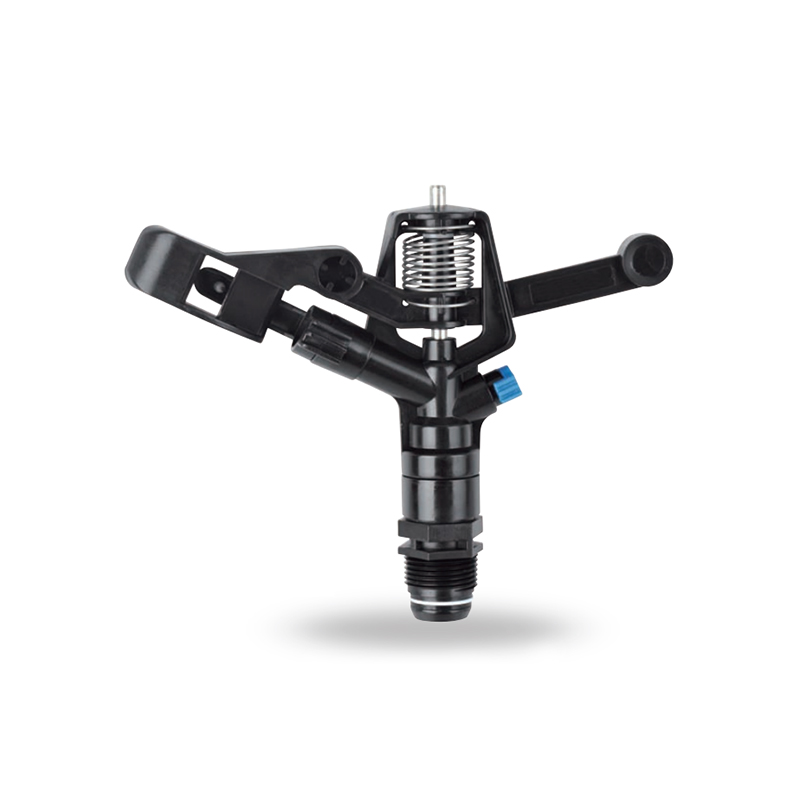
See Details -
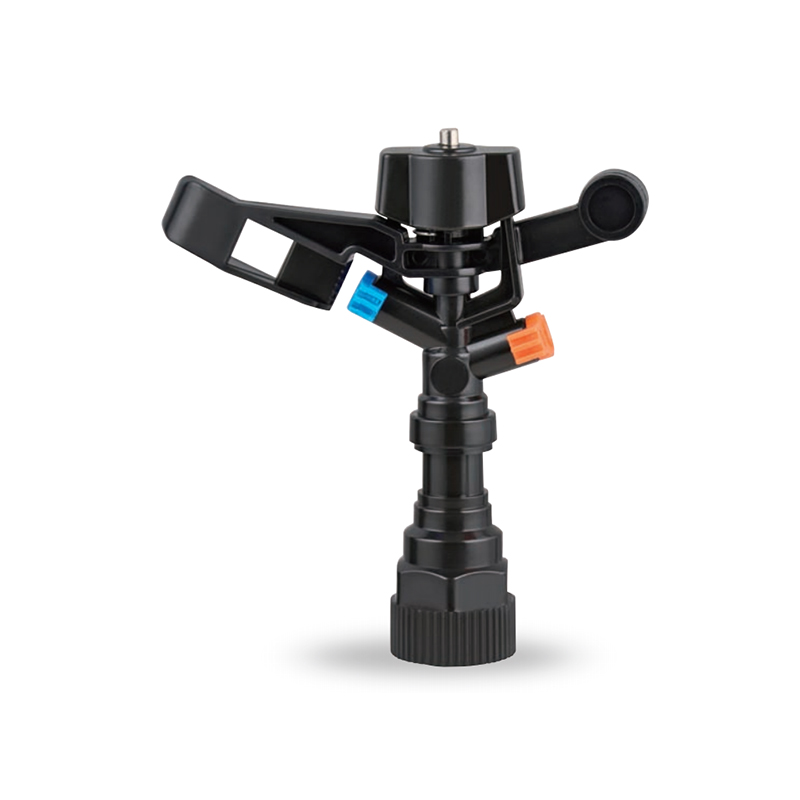
This 360 degree adjustable rocker arm nozzle impact sprinkler is an essential part of an irrigation system designed to meet a wide range of horticultural and agricultural needs. Its flexible adjustmen...
See Details -
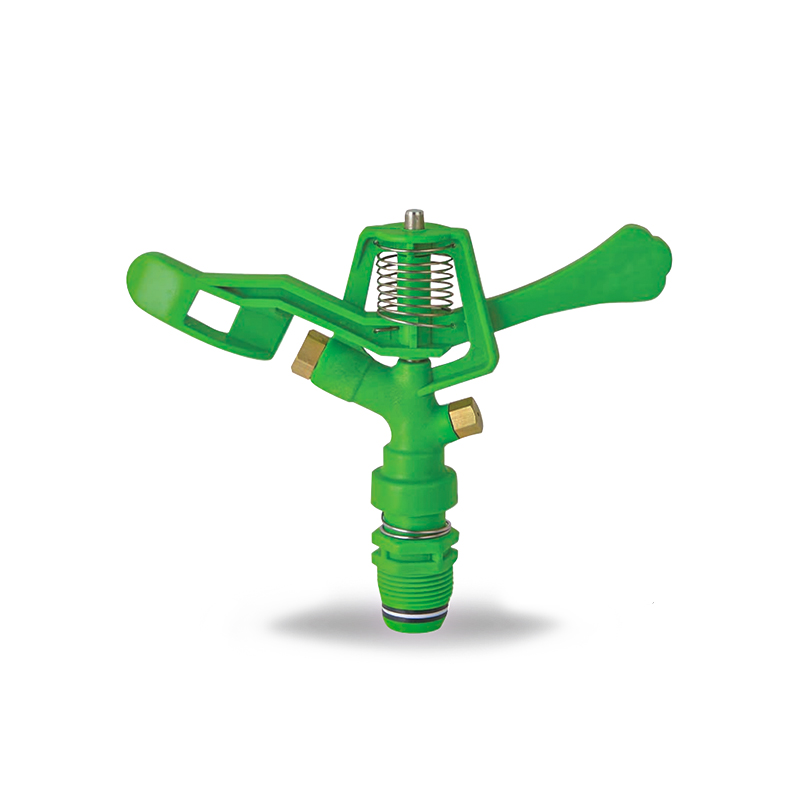
The Plastic Full-Circle Impact Sprinkler Sprayer is a highly efficient full-circle irrigation device designed to provide even moisture coverage. Its lightweight plastic material makes this sprinkler e...
See Details -
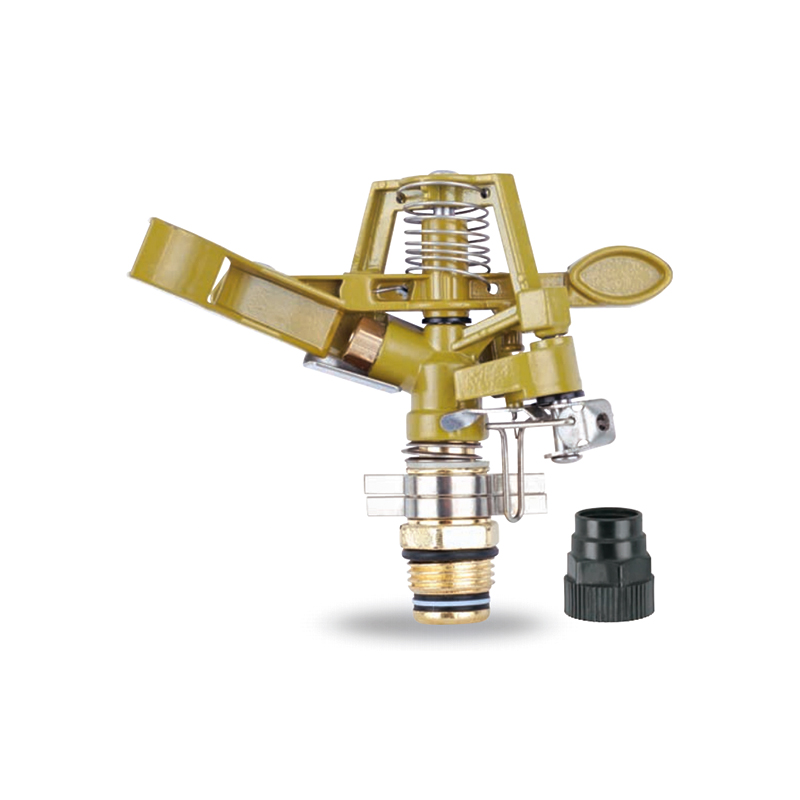
The Irrigation System Adjustable Head Mobile Rotary Zinc Sprinkler is an efficient rotary sprinkler designed for flexible irrigation needs. Its adjustable head allows the user to easily adjust the dir...
See Details -
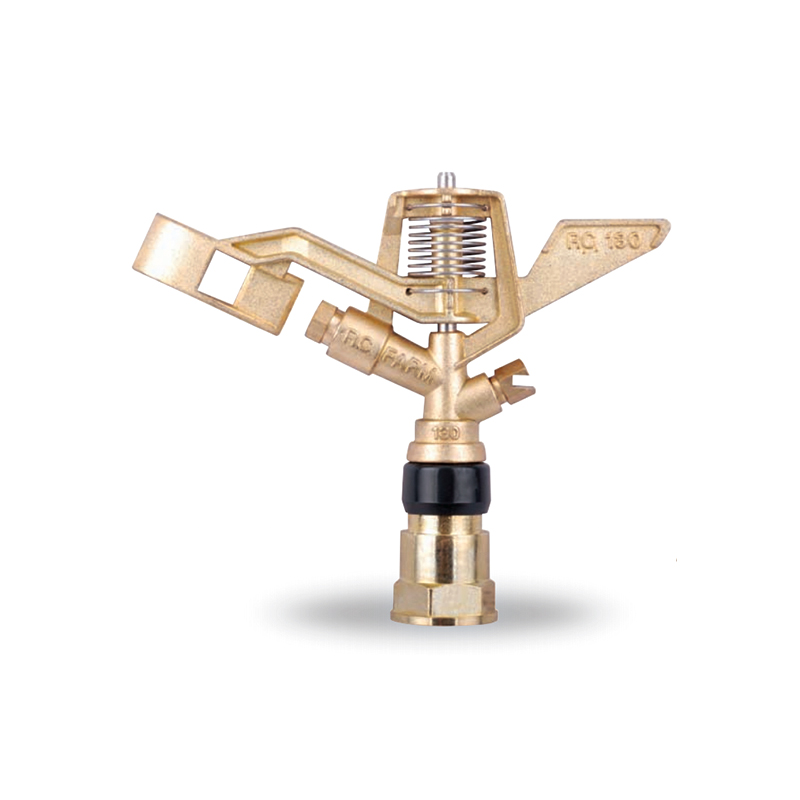
This 3/4” Zinc Alloy Swivel Arm Irrigation Watering System Impact Sprinkler is ideal for agricultural irrigation systems due to its superior durability and corrosion resistance. Its rugged constructio...
See Details -
The Double nozzle garden farm impact full-circle sprinkler is well-designed to efficiently and evenly spray water, thus enhancing the quality of crop growth. Whether it's in the home garden or on a la...
See Details -
Double nozzle agricultural water plastic impact sprinkler for irrigation sprinkler combines practicality and durability with a dual nozzle system that provides extensive water coverage for a wide rang...
See Details -
The POM agricultural irrigation sprinkler water impact sprinkler is known for its excellent abrasion resistance and durability, ensuring consistent performance over time. It is designed to increase wa...
See Details -
The POM Agricultural Irrigation Sprinkler with Metal Nozzles is a device designed for efficient irrigation, combining premium polyacetal (POM) material with durable metal nozzles to ensure superior sp...
See Details -
Watering irrigation system 3/4 inch nozzle field Impact Sprinkler is perfect for field irrigation and easily meets the water needs of large crops. Its powerful spray ensures that every nook and cranny...
See Details -
The POM Agricultural Irrigation Sprinkler with Brass Nozzles is an efficient and durable irrigation device designed to meet a wide range of agricultural needs. The sprinkler is made of polyacetal (POM...
See Details -
The Double Nozzle Garden Farm Impact Part-Circle Sprinkler is a highly efficient garden irrigation device designed for large planting areas. Its double nozzle design produces a strong, even stream of ...
See Details


PRODUCTS & SERVICES

CONTACT US
 No.518, Ruihao Road, Lizhou Street, Yuyao City, Zhejiang Province, China
 +86-13105554615 / +86-18005843886
 decheng@dcssq.com fredzhu@dcssq.com
 LISA
LISA
 Fred Zhu
Copyright © Ningbo Dewo Irrigation Equipment Co., Ltd. All Rights Reserved. China Agricultural Plastic Sprinkler Manufacturers Wholesale Irrigation Plastic Sprinkler Factory
