 Search for...
 English
 Español
 中文简体
中文简体How to Adjust Impact Sprinkler Heads: Full Guide
Content
- 1 How to Adjust Impact Sprinkler Heads: The Short Answer
- 2 Understanding the Parts of an Impact Sprinkler Before You Adjust
- 3 How to Set and Adjust the Arc of Rotation
- 4 Adjusting the Throw Distance (Radius) on Impact Sprinklers
- 5 Water Pressure and Its Effect on Impact Sprinkler Performance
- 6 Adjusting the Height and Angle of the Impact Sprinkler Head
- 7 Troubleshooting Common Impact Sprinkler Problems After Adjustment
- 8 Head Spacing and Layout Principles for Impact Sprinklers
- 9 Seasonal Maintenance That Keeps Impact Sprinkler Adjustments from Drifting
- 10 Types of Impact Sprinkler Heads and Adjustment Differences Between Them
- 11 Frequently Asked Questions About Impact Sprinkler Adjustment
- 11.1 Can I adjust an impact sprinkler while it is running?
- 11.2 Why does my impact sprinkler only rotate in one direction?
- 11.3 How do I stop my impact sprinkler from watering the sidewalk?
- 11.4 What is the best operating pressure for most residential impact sprinklers?
- 11.5 How often should I re-check my impact sprinkler adjustments?
- 11.6 Do impact sprinklers work with drip systems in the same zone?
- 11.7 Can I convert a full-circle impact sprinkler to a partial arc?
How to Adjust Impact Sprinkler Heads: The Short Answer
To adjust an impact sprinkler head, you control three things: the arc of rotation, the throw distance (radius), and the angle of the head. Most impact sprinklers use a trip pin or deflector tab to set the left and right boundaries of the arc, a radius adjustment screw near the nozzle to cut back water distance, and a simple height adjustment at the riser. You can do all of this without tools in about two minutes per head once you know what to look for. The sections below walk through every step in detail, including how to handle common problems like a head that keeps spinning past its arc boundary or one that dribbles instead of throws.
Impact sprinklers — sometimes called impulse sprinklers — have been the workhorse of agricultural, commercial, and residential irrigation for decades. Unlike gear-driven or fixed spray heads, an impact sprinkler uses the force of water striking a spring-loaded arm to rotate the head in a slow, deliberate arc. That mechanical simplicity is exactly why they last so long and why adjusting them is something you can do yourself without calling a technician.
Understanding the Parts of an Impact Sprinkler Before You Adjust
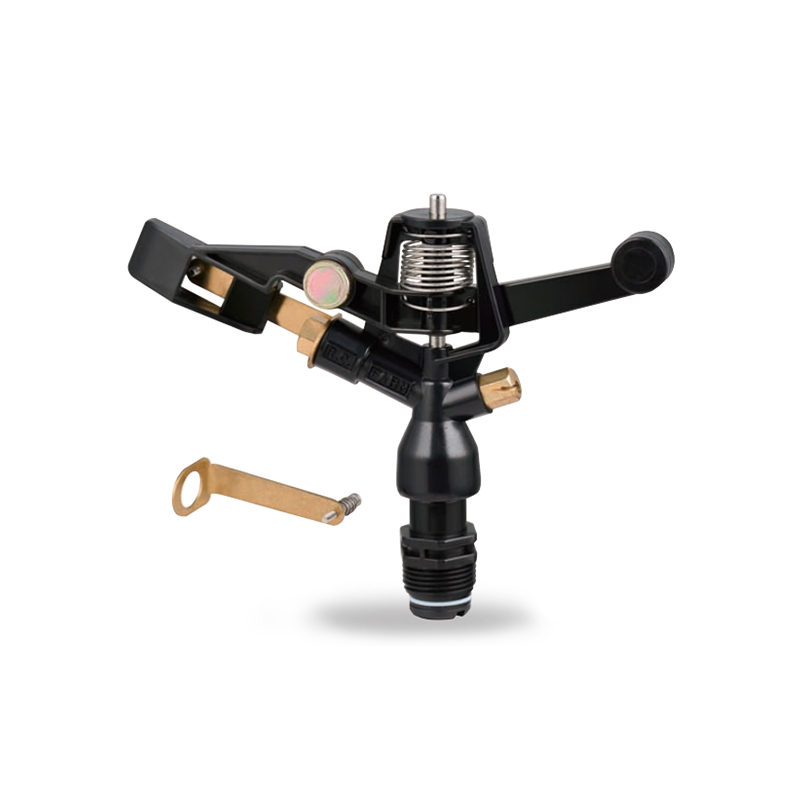
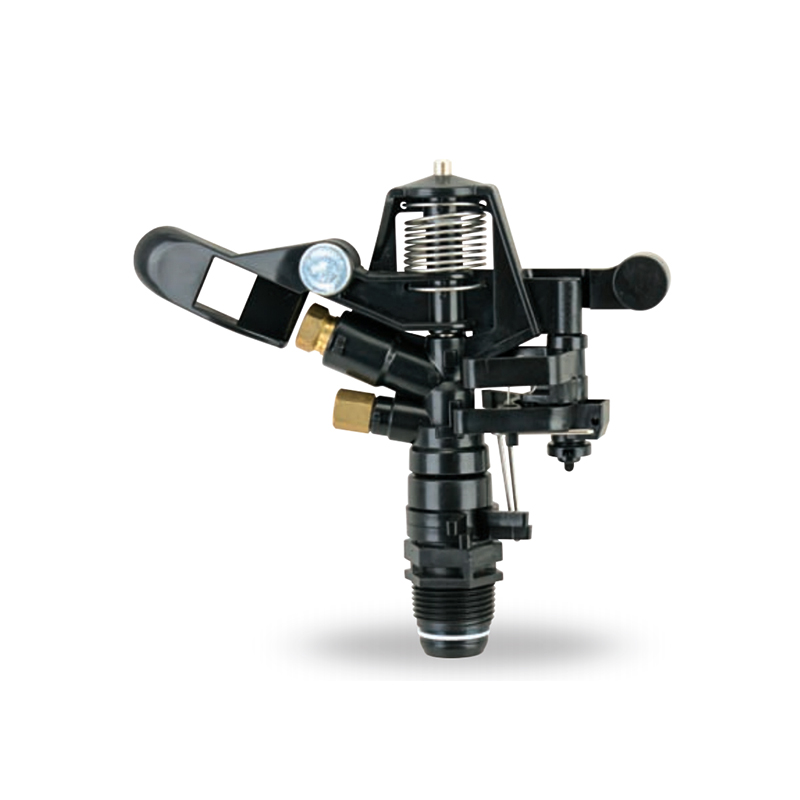
Before touching any adjustment point, spend a moment identifying the parts on your specific impact sprinkler. Most brands follow a nearly identical layout, but the names and exact positions vary slightly. Knowing what each piece does will save you from accidentally changing the wrong setting.
The Deflector Arm (Impact Arm)
This is the spring-loaded metal or plastic arm that swings into the water stream and then bounces back. The repeated impact is what rotates the head. If this arm is bent, corroded, or the spring is weak, the head may stop rotating or rotate erratically.
The Trip Pins or Collars
These are the arc-setting components. On most impact sprinklers, you will see two collars or tabs on the body of the head — one for the left boundary and one for the right. Sliding these sets the rotation arc, which can range from a narrow 10-degree sector all the way to a full 360-degree circle.
The Nozzle and Radius Adjustment Screw
The nozzle controls the stream diameter and therefore the base throw distance. Many impact sprinkler models include a small screw near the nozzle that, when turned clockwise, deflects part of the stream downward and reduces the throw radius. This lets you fine-tune coverage without changing nozzle size.
The Riser and Bearing
The riser is the vertical pipe section the head sits on. The bearing at the top of the riser allows the head to rotate freely. If the bearing is gritty or corroded, the head will rotate unevenly or stall. A drop of lightweight oil on the bearing once per season usually solves this.
According to Rain Bird's product documentation, a properly functioning impact sprinkler head should complete one full arc rotation in roughly 30 to 90 seconds depending on water pressure and arc width setting. If yours is faster or slower than that by a significant margin, the arm spring tension or bearing may need attention before any arc adjustments will hold reliably.
How to Set and Adjust the Arc of Rotation
The arc is the most-adjusted setting on any impact sprinkler. It determines which portion of a circle the sprinkler covers — a corner bed may need only 90 degrees, a strip lawn might need 180 degrees, and a circular island planting needs a full 360 degrees.
Step 1 — Identify the Left and Right Stop Collars
Turn the water on to a low flow so the head is just barely rotating. Watch the head complete one full arc. You will notice it stops at two points and reverses direction. Those stop points are controlled by the trip pins or collars. On most Orbit, Rain Bird, and Hunter impact sprinkler models, the left collar is fixed and the right collar is the one you slide to set the arc width.
Step 2 — Set the Left (Fixed) Boundary
Physically rotate the entire head body by hand until the deflector arm is pointing at the left edge of the area you want to water. This sets your fixed left boundary. On most models, the left stop pin is built into the body and rotates with it, so moving the body repositions the left boundary automatically.
Step 3 — Slide the Right Collar to Set Arc Width
Hold the body of the sprinkler still and slide the moveable right collar clockwise until it sits at the position of your desired right boundary. The collar clicks into place on most modern impact sprinkler heads. The angle between the left body position and the right collar position is your arc. For a 90-degree corner, the collar will be roughly a quarter of the way around. For a 180-degree half-circle, it will be halfway.
Step 4 — Test and Refine
Turn the water to full operating pressure and watch the sprinkler complete two or three full arcs. Check that both boundaries land exactly where you intended. Small adjustments to the right collar can be made while the water is running on most models. If the boundary is slightly off, slide the collar while watching the stream — you will see the change immediately.
Tip: Always set arc boundaries while observing the actual spray pattern, not just the collar position. Wind, slope, and water pressure all affect where the water actually lands versus where the stream is pointed.
Adjusting the Throw Distance (Radius) on Impact Sprinklers
The radius — how far the water reaches — is controlled primarily by water pressure and nozzle size, but the radius adjustment screw gives you fine-tuning capability without changing either of those. This is one of the most useful and least-understood adjustments available on impact sprinkler heads.
How the Radius Screw Works
The screw is typically located on the top of the nozzle or just behind it. When you turn it clockwise, a small deflector plate descends into the stream path and breaks up the trajectory, scattering water closer to the head. Turning it counterclockwise retracts the deflector and restores full distance. A full clockwise turn on most models reduces the throw radius by approximately 25 percent. Most heads allow 1.5 to 2 full turns of adjustment range.
When to Use the Radius Adjustment
- Your impact sprinkler is overshooting a bed edge or walkway
- You are watering a triangular or irregular area where full radius would overspray on one side
- Two adjacent heads are creating a wet strip in the overlap zone
- Pressure is higher than ideal and the stream is overshooting the intended area
Nozzle Size Versus Radius Screw: Which to Change
If you need to permanently reduce the radius by more than 30 percent, changing to a smaller nozzle is more efficient than maxing out the radius screw, because a fully deflected screw also breaks the stream into a finer mist that loses a lot of water to evaporation. According to the Irrigation Association's best practices guidelines, misting losses can account for 15 to 30 percent of applied water during midday irrigation when droplet size is small. Keeping the radius screw at no more than half-turn deflection preserves a coherent stream and better efficiency.
| Nozzle Size (typical) | Approximate Throw at 30 PSI | Flow Rate (GPM) | Best Use |
|---|---|---|---|
| 3/32" | 20–25 ft | 0.5–0.8 | Small residential lawns |
| 1/8" | 30–38 ft | 1.2–1.8 | Medium lawns, gardens |
| 5/32" | 40–50 ft | 2.5–3.5 | Large lawns, sports fields |
| 3/16" | 50–65 ft | 4.0–6.0 | Agricultural, large commercial |
Water Pressure and Its Effect on Impact Sprinkler Performance
Pressure is the variable most people overlook, and it has more effect on your impact sprinkler's behavior than any mechanical adjustment you can make. The optimal operating pressure for most residential impact sprinkler heads is between 25 and 45 PSI. Below 20 PSI, the deflector arm may not have enough force to rotate the head consistently, and throw distance drops sharply. Above 55 PSI, the stream atomizes into a fine mist, efficiency plummets, and the head may over-rotate past its arc stops.
How to Check Your Operating Pressure
A simple pressure gauge that threads onto a hose bib costs under $15 at any hardware store. Turn the gauge on at the hose connection nearest your irrigation zone and record the static pressure (no irrigation running) and the dynamic pressure (with one zone running). If static pressure is above 60 PSI at the bib, your impact sprinkler heads may be receiving excess pressure at the point of emission unless your system has a pressure regulator.
Installing a Pressure Regulator
A zone-level pressure regulating valve can be inserted at the zone valve to bring delivery pressure to the 30–40 PSI sweet spot for most impact sprinklers. Hunter, Rain Bird, and Orbit all make inline pressure regulators that cost $10 to $25 and thread directly onto standard half-inch or three-quarter-inch pipe connections. This single addition often solves chronic problems like misting, arc overshoot, and inconsistent rotation without any further adjustment to the heads themselves.
Low Pressure Situations
If your system pressure is genuinely low — say, 18 to 22 PSI at the head — consider switching to a smaller nozzle on your impact sprinkler. A smaller nozzle requires less pressure to achieve a coherent stream and may allow the deflector arm to function properly where a larger nozzle would stall. Alternatively, reducing the number of heads on a single zone reduces the demand and raises per-head pressure.
Adjusting the Height and Angle of the Impact Sprinkler Head
Height matters more than most homeowners realize. An impact sprinkler mounted too low will have its stream broken by tall grass or shrub stems before it reaches the outer coverage zone. One mounted too high wastes water through wind drift and looks out of place in a finished landscape.
Pop-Up vs. Fixed Riser Impact Heads
Many residential impact sprinklers are mounted on pop-up risers that retract when not in use. The standard pop-up heights are 2 inches, 3 inches, 4 inches, and 6 inches. For turf irrigation, a 3-inch or 4-inch pop-up is typical — enough to clear dense grass. For shrub beds where plantings are 12 to 24 inches tall, a fixed above-ground riser of 12 to 18 inches is common, keeping the impact sprinkler head above the foliage.
Leveling the Head
An impact sprinkler head should be as close to level as possible. A head tilted even 10 degrees will throw water unevenly — farther in one direction of the arc than the other. If a buried head is tilted, the adjustment is at the swing joint or the riser fitting underground. Some systems use flexible swing joints that allow you to push the head into a plumb position and lock it there; others require digging to access and adjust the riser fitting directly.
Adjusting the Trajectory Angle
Standard impact sprinklers emit water at a fixed trajectory of approximately 22 to 30 degrees above horizontal, which is engineered to balance throw distance against wind resistance. Some specialty agricultural impact sprinkler heads allow you to swap the nozzle for a low-angle version (10 to 15 degrees), which is useful in windy environments because the stream stays lower and is less susceptible to drift. According to studies published by the University of California Cooperative Extension, wind speeds above 10 mph can reduce sprinkler application efficiency by 20 to 30 percent, and a low-angle trajectory can recover about half of that loss in moderate wind conditions.
Troubleshooting Common Impact Sprinkler Problems After Adjustment
Even with careful adjustment, impact sprinklers develop problems over time. Most issues have mechanical causes that you can diagnose and fix without replacing the head.
Head Rotates Past the Arc Stop
This almost always means the trip pin that triggers the arc reversal is worn, bent, or missing. On most impact sprinkler models, the trip pin is a small plastic or metal tab on the collar. If it is broken, a replacement collar set is available from the manufacturer for $3 to $8. Alternatively, you can replace the entire head for $10 to $20. Check that the right collar is properly seated and not cracked where it contacts the trip pin.
Head Stops Mid-Arc
A head that stalls mid-rotation usually has a bearing problem, a weak arm spring, or insufficient pressure at that head. Check the bearing first — it should spin freely when you rotate it by hand with the water off. A gritty or stiff bearing needs a rinse and a drop of silicone lubricant. Never use petroleum-based oil on plastic irrigation components, as it degrades the material over time. If the bearing is fine, check the arm spring tension: the arm should snap back firmly when you deflect it by hand. A worn spring can sometimes be replaced; otherwise, replace the head.
Uneven Arc — Slow in One Direction
If the impact sprinkler sweeps quickly in one direction but slows in the other, the arm is creating uneven force through the arc. This is sometimes caused by the deflector tab on the arm being bent so it only catches part of the stream. Straighten the tab carefully with pliers. Also check that the nozzle is centered and not partially blocked, which can create an asymmetric stream.
Dribbling Instead of a Solid Stream
A dribbling or misting impact sprinkler almost always indicates either extremely low pressure or a cracked nozzle. Pull the nozzle and inspect it for cracks or chips. A damaged nozzle disrupts the laminar flow that creates a coherent stream. Replacement nozzles are inexpensive and widely available. If the nozzle is intact, the issue is pressure — see the pressure section above.
Head Does Not Rise (Pop-Up Models)
On pop-up impact sprinkler heads, failure to rise is almost always caused by a dirty or corroded riser seal, a broken retraction spring, or a clogged filter screen at the base of the riser. Unscrew the entire riser assembly, rinse the filter screen under a tap, clean the seal, and check the spring. Most pop-up riser springs can be replaced for under $5.
Water Hammer or Banging When Zone Shuts Off
Water hammer — the bang when a zone shuts off — is not an impact sprinkler head problem per se, but it often gets worse in systems with impact heads because these heads have relatively high flow rates. The solution is a slow-closing valve or an inline water hammer arrestor at the zone valve. This is a plumbing fix, not a head adjustment, but it is worth addressing because water hammer stresses all fittings in the zone over time.
Head Spacing and Layout Principles for Impact Sprinklers
Adjusting individual impact sprinkler heads in isolation only gets you so far. If the heads are spaced or positioned incorrectly, no amount of arc and radius adjustment will give you uniform coverage. The foundational rule in irrigation design is called head-to-head coverage: each impact sprinkler should throw water all the way to the next head in the layout.
Triangle vs. Square Spacing
Triangle spacing (also called staggered or delta spacing) places heads at the corners of equilateral triangles. This achieves the most uniform coverage with the fewest heads and is the industry-preferred layout for large open areas. Square spacing is simpler to install on a grid-pattern landscape but requires approximately 15 percent more heads to achieve the same uniformity as triangle spacing, according to Rain Bird's irrigation design manual.
For triangle spacing, the distance between heads should be no more than 50 to 55 percent of the sprinkler's rated throw radius under the design wind condition. If your impact sprinkler throws 40 feet, heads should be spaced no more than 20 to 22 feet apart in the triangle layout.
Corner and Edge Heads
Heads at corners of a rectangular zone should be set to 90-degree arcs, heads along edges to 180-degree arcs, and interior heads to 360-degree full-circle arcs. This keeps water in the zone and prevents overspray onto hardscape or neighboring areas. When adjusting arc on corner impact sprinkler heads, take extra care to align both stop boundaries precisely — a 10-degree error on a corner head leaves a visible dry wedge that a 10-degree error on a full-circle head would not.
Seasonal Maintenance That Keeps Impact Sprinkler Adjustments from Drifting
Adjustments on impact sprinklers can drift over a season due to ground movement, wear on the collar stops, and debris accumulation in the bearing. A brief seasonal maintenance routine keeps all heads performing as set.
Spring Startup Check
Before the first irrigation run of the season, manually rotate each impact sprinkler head through its arc by hand with the water off. The head should move smoothly with no grinding or sticking. If you feel resistance, rinse the bearing and apply silicone lubricant. Then check that all arc collars are still in the position you set them last season — frost heave and ground movement can shift heads and dislodge loose collars over winter.
Midsummer Walk-Through
Run each zone while you walk the property and visually verify that every impact sprinkler is rotating through its intended arc, throwing to the correct distance, and not showing signs of wear on the deflector arm. This midseason check catches problems before they result in a dead patch of turf or a flooded bed.
Winterization
For systems in freeze-risk climates, blow out the zones with compressed air before the first hard frost. After blow-out, set all impact sprinkler head collars to the full-circle position — some installers do this to prevent the collar from freezing in a compressed position that stresses the plastic. Make a note or photograph of each head's arc setting before winterization so you can restore them accurately in spring.
Nozzle Cleaning
Impact sprinkler nozzles clog gradually with mineral deposits, particularly in areas with hard water. An annual soak of removed nozzles in a 50/50 white vinegar and water solution for 30 minutes dissolves most calcium and iron deposits. Rinse thoroughly before reinstalling. A clogged nozzle creates back-pressure that reduces throw distance and strains the deflector arm mechanism.
Types of Impact Sprinkler Heads and Adjustment Differences Between Them
Not all impact sprinklers adjust identically. Here is a breakdown of the main categories and how adjustment procedures differ between them.
Type 1
Standard Plastic Impact Heads (On-Grade / Spike Mount)
The most common type in residential use. Mounted on a spike or threaded directly onto a riser. Arc adjustment is via sliding collar, radius via top screw. These are the easiest to adjust but the least durable — the plastic collar stops wear quickly if the arc is constantly being changed. Brands like Orbit and Melnor offer these at $5 to $15 per head.
Type 2
Brass Impact Sprinkler Heads
Used in commercial, agricultural, and high-end residential systems. The arc collars are brass rather than plastic, making them far more durable and less prone to drift after adjustment. The adjustment procedure is identical to plastic heads, but you may need a small wrench to move a stiff brass collar rather than finger pressure alone. Brass impact sprinklers typically operate at higher pressures (40 to 70 PSI) and larger nozzle sizes. Prices range from $20 to $60 per head for residential sizes and up to several hundred dollars for large agricultural heads.
Type 3
Pop-Up Impact Heads (Retractable Riser)
These retract below ground when not in use, making them safer for mowing. The arc and radius adjustments are identical to above-ground heads, but you must either reach down into the housing to access the collars (awkward and only practical on 4-inch and 6-inch pop-ups) or use a special adjustment key that most manufacturers include. Rain Bird's 25-PJDA and Hunter's I-20 Ultra are popular pop-up impact head models with clear collar adjustment access even without a tool.
Type 4
Agricultural Big-Gun and Turbine Impact Heads
Large-format impact sprinklers used in row-crop agriculture operate on different pressure and flow scales — typically 50 to 100 PSI and 10 to 100 GPM. Arc adjustment is still via trip pins, but the pins are heavier and the collars require a wrench to move. Throw distances range from 80 feet to over 200 feet. These heads are outside the scope of most residential adjustments but follow the same fundamental principles.
Frequently Asked Questions About Impact Sprinkler Adjustment
Can I adjust an impact sprinkler while it is running?
Yes, and in many cases it is easier to do so. Sliding the arc collar while the water is on lets you see exactly where the boundary lands in real time. The radius screw can also be adjusted with the water running. Just be prepared to get wet and work quickly. For height and leveling adjustments, it is safer to shut the water off first.
Why does my impact sprinkler only rotate in one direction?
An impact sprinkler that only rotates in one direction has a malfunctioning trip pin or a missing/broken collar stop. The pin's job is to reverse the arm spring engagement when it reaches the arc boundary. Inspect the collar for damage and the trip pin for bending or absence. If either component is damaged, replace the collar assembly.
How do I stop my impact sprinkler from watering the sidewalk?
Three approaches work: (1) Adjust the arc boundary so the stop collar is positioned to keep the stream off the hardscape. (2) Use the radius screw to shorten the throw so the stream falls short of the walk. (3) Angle the head slightly away from the hardscape if it is on a flexible swing joint. Usually a combination of arc adjustment and slight radius reduction solves this cleanly.
What is the best operating pressure for most residential impact sprinklers?
30 to 40 PSI is the general optimum for most residential impact sprinkler heads. At this pressure range, the stream is coherent and efficient, the deflector arm creates consistent rotation, and throw distance matches the rated specifications. Below 20 PSI, performance degrades rapidly. Above 55 PSI, misting and overshoot become significant problems.
How often should I re-check my impact sprinkler adjustments?
A complete check at spring startup and a visual walk-through midsummer is sufficient for most systems. If you notice dry or soggy patches appearing between checks, investigate immediately rather than waiting for the next scheduled inspection — a small drift in arc or a partially clogged nozzle can cause noticeable damage to turf or beds within two or three irrigation cycles.
Do impact sprinklers work with drip systems in the same zone?
This is not recommended. Impact sprinklers and drip emitters operate at very different pressure and flow rate requirements. Impact heads need 25 to 45 PSI and deliver water in gallons per minute. Drip emitters need 15 to 25 PSI and deliver water in gallons per hour. Mixing the two on the same zone results in either the drip lines being over-pressured or the impact heads under-pressured, and the runtimes needed for each are completely different. Keep them on separate zones controlled by separate valves.
Can I convert a full-circle impact sprinkler to a partial arc?
Yes. Most full-circle impact sprinkler heads can be converted to a partial arc simply by setting the moveable collar to the desired arc width. The head will rotate through the partial arc, hit the trip pin, reverse, and sweep back in the other direction. This is one of the key advantages of impact sprinklers over fixed-pattern spray heads — the arc is infinitely adjustable between approximately 25 degrees and 360 degrees.
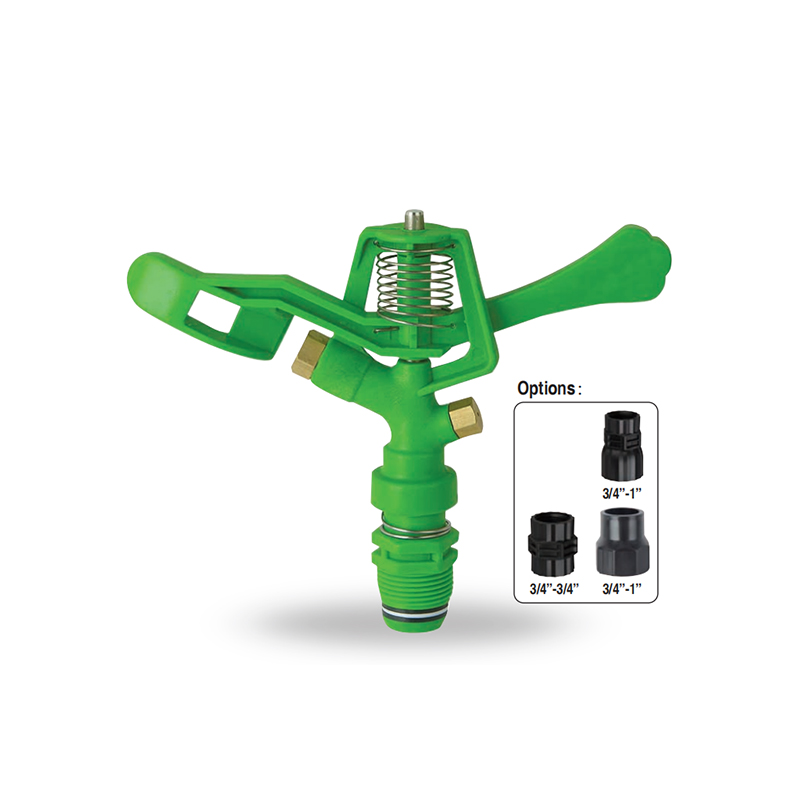
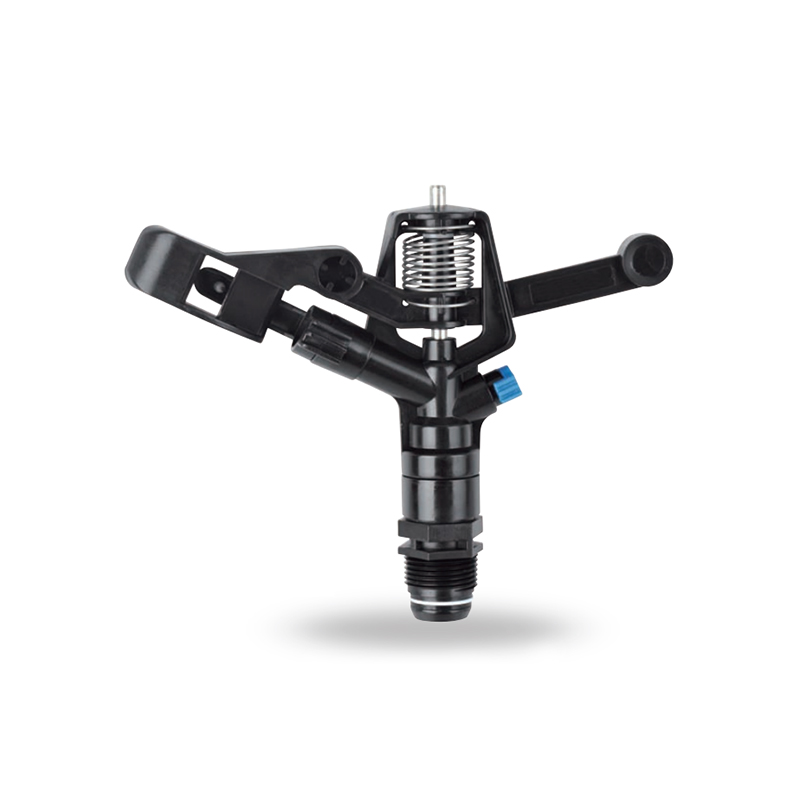
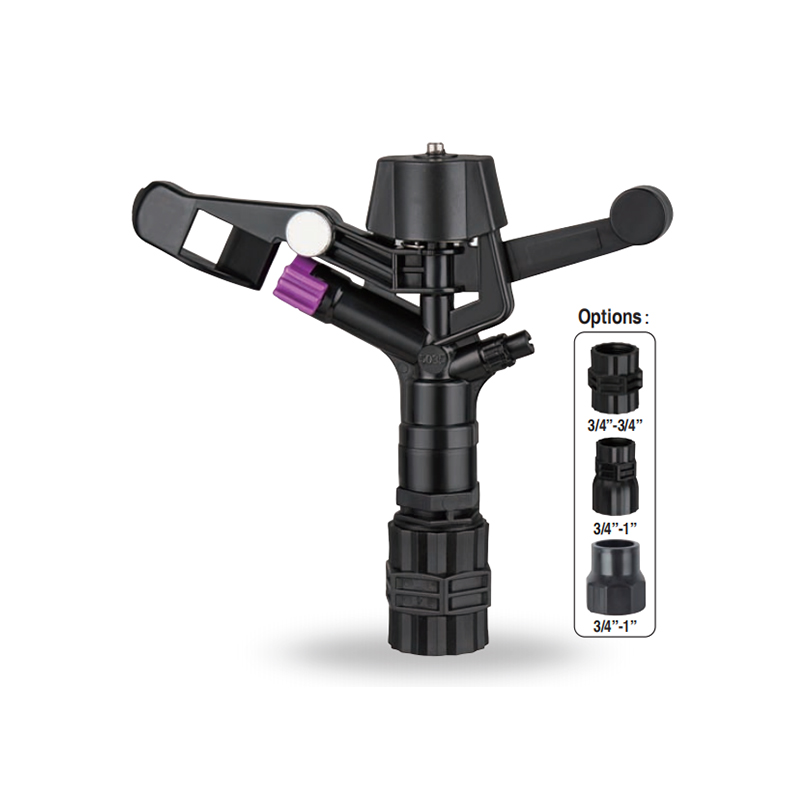
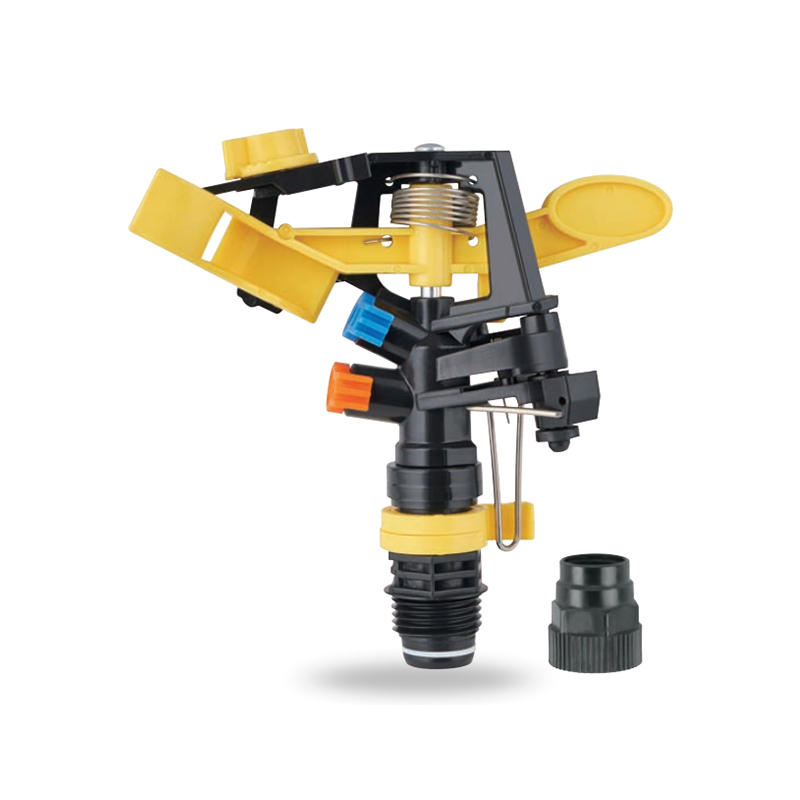
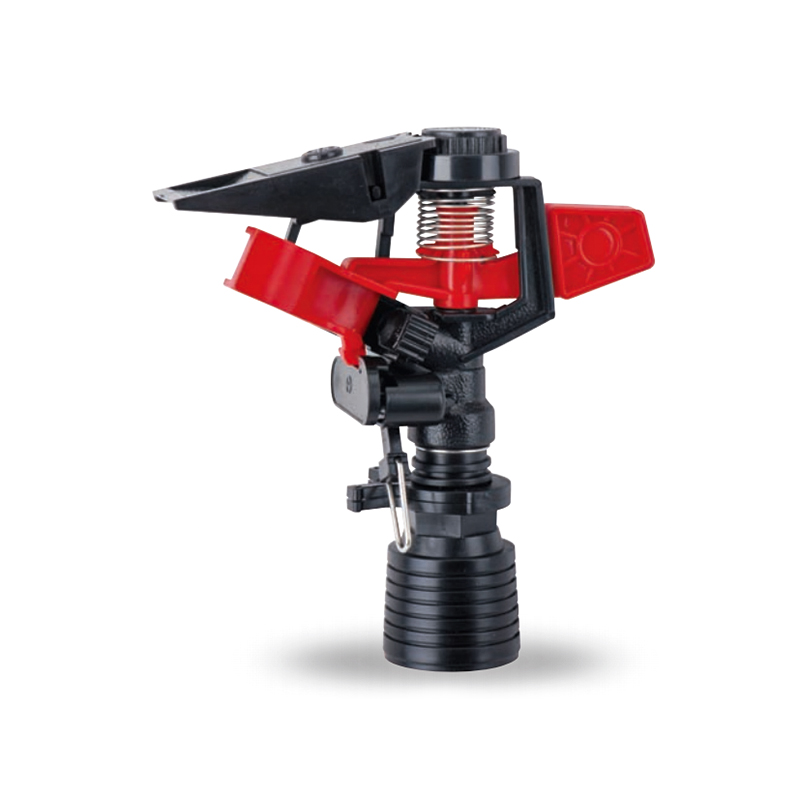
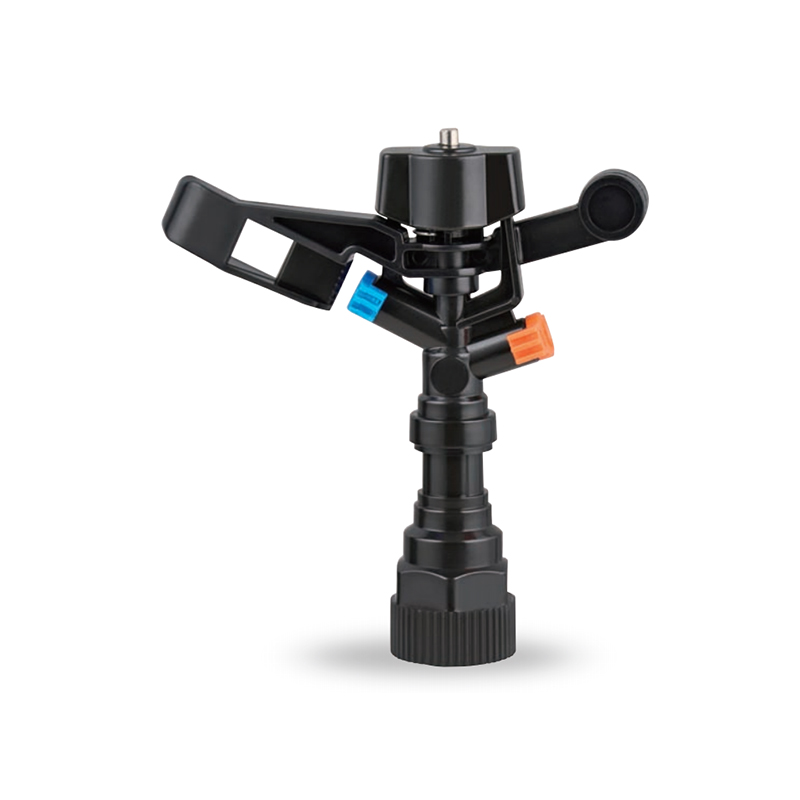
Related products
-
Impact sprinkler for agricultural irrigation is a common and efficient agricultural irrigation tool designed for large areas of farmland. Its unique structure can evenly cover a large area by rotating...
See Details -
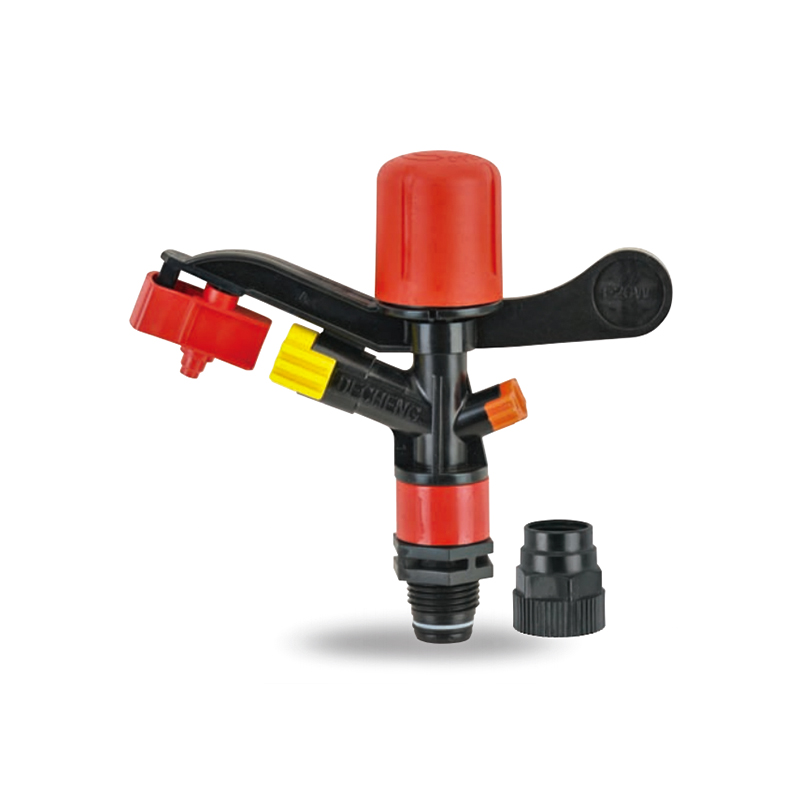
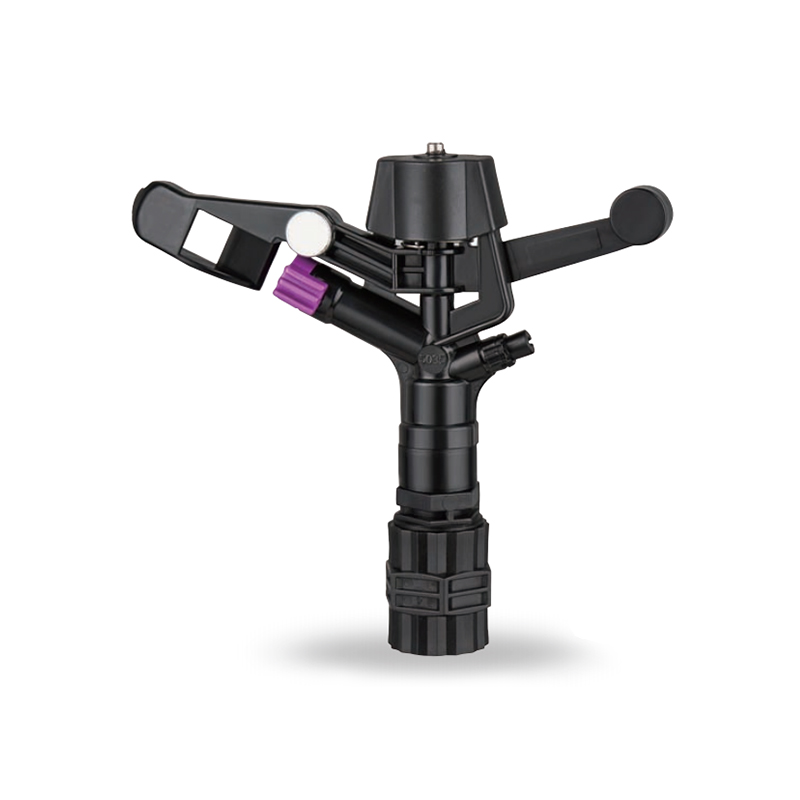
This 360 degree adjustable rocker arm nozzle impact sprinkler is an essential part of an irrigation system designed to meet a wide range of horticultural and agricultural needs. Its flexible adjustmen...
See Details -
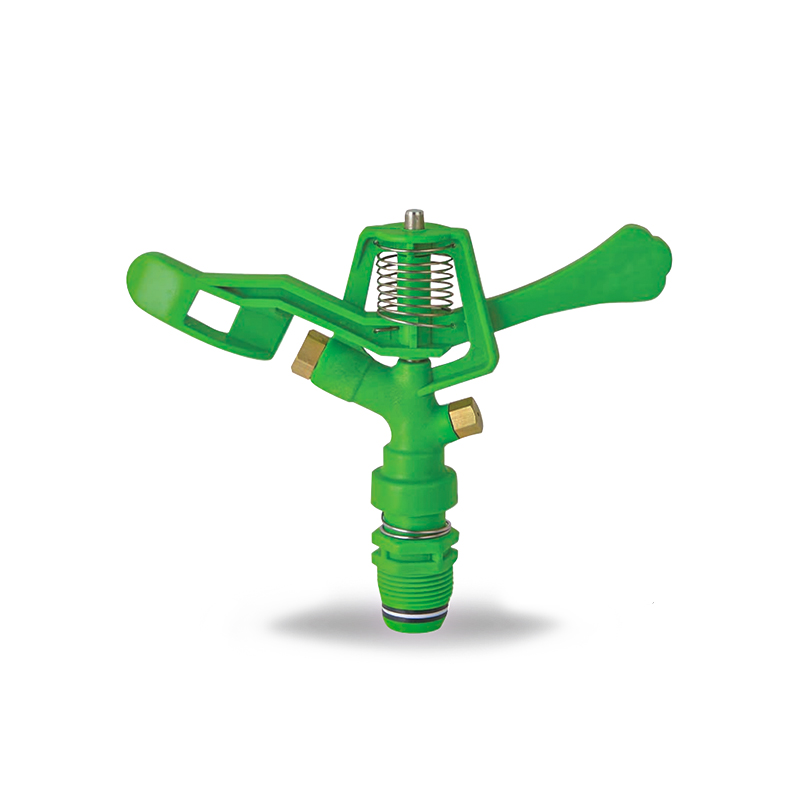
The Plastic Full-Circle Impact Sprinkler Sprayer is a highly efficient full-circle irrigation device designed to provide even moisture coverage. Its lightweight plastic material makes this sprinkler e...
See Details -
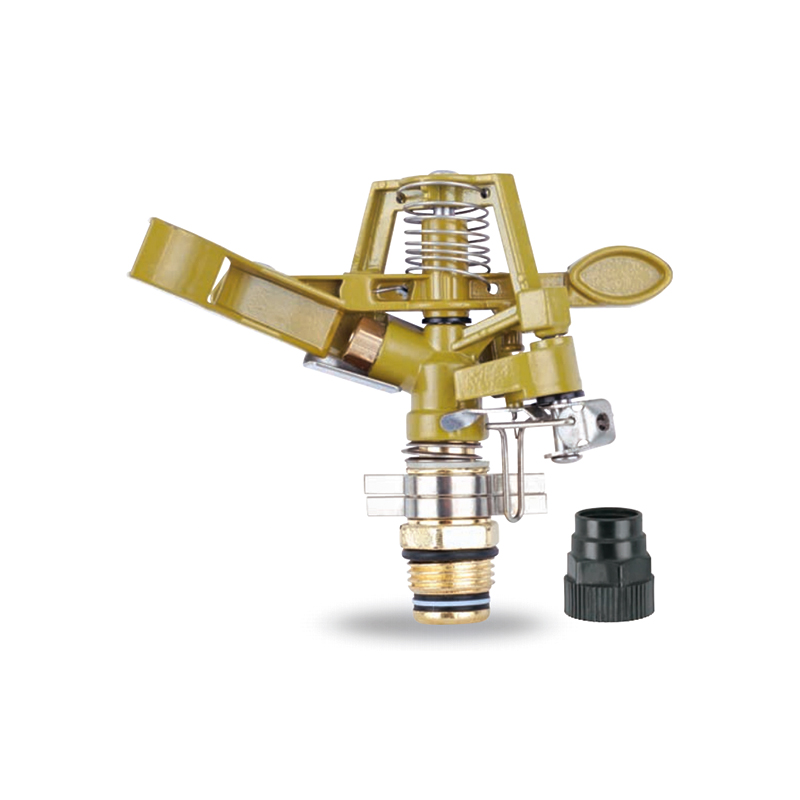
The Irrigation System Adjustable Head Mobile Rotary Zinc Sprinkler is an efficient rotary sprinkler designed for flexible irrigation needs. Its adjustable head allows the user to easily adjust the dir...
See Details -
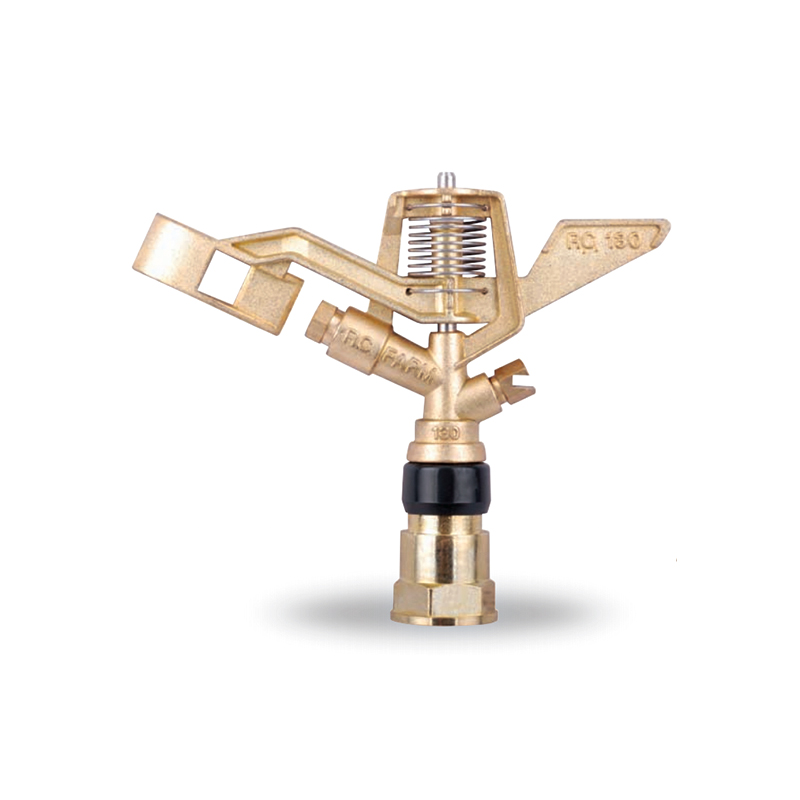
This 3/4” Zinc Alloy Swivel Arm Irrigation Watering System Impact Sprinkler is ideal for agricultural irrigation systems due to its superior durability and corrosion resistance. Its rugged constructio...
See Details -
The Double nozzle garden farm impact full-circle sprinkler is well-designed to efficiently and evenly spray water, thus enhancing the quality of crop growth. Whether it's in the home garden or on a la...
See Details -
Double nozzle agricultural water plastic impact sprinkler for irrigation sprinkler combines practicality and durability with a dual nozzle system that provides extensive water coverage for a wide rang...
See Details -
The POM agricultural irrigation sprinkler water impact sprinkler is known for its excellent abrasion resistance and durability, ensuring consistent performance over time. It is designed to increase wa...
See Details -
The POM Agricultural Irrigation Sprinkler with Metal Nozzles is a device designed for efficient irrigation, combining premium polyacetal (POM) material with durable metal nozzles to ensure superior sp...
See Details -
Watering irrigation system 3/4 inch nozzle field Impact Sprinkler is perfect for field irrigation and easily meets the water needs of large crops. Its powerful spray ensures that every nook and cranny...
See Details -
The POM Agricultural Irrigation Sprinkler with Brass Nozzles is an efficient and durable irrigation device designed to meet a wide range of agricultural needs. The sprinkler is made of polyacetal (POM...
See Details -
The Double Nozzle Garden Farm Impact Part-Circle Sprinkler is a highly efficient garden irrigation device designed for large planting areas. Its double nozzle design produces a strong, even stream of ...
See Details


PRODUCTS & SERVICES

CONTACT US
 No.518, Ruihao Road, Lizhou Street, Yuyao City, Zhejiang Province, China
 +86-13105554615 / +86-18005843886
 decheng@dcssq.com fredzhu@dcssq.com
 LISA
LISA
 Fred Zhu
Copyright © Ningbo Dewo Irrigation Equipment Co., Ltd. All Rights Reserved. China Agricultural Plastic Sprinkler Manufacturers Wholesale Irrigation Plastic Sprinkler Factory
