 Search for...
 English
 Español
 中文简体
中文简体How to Install a Water Hose Reel: Step-by-Step Guide
Content
- 1 What You Need Before You Start
- 2 Step-by-Step Installation for a Wall-Mounted Hose Reel
- 3 Installing a Cart-Style or Portable Hose Reel
- 4 Hose Reel Types Compared: Key Installation Differences
- 5 How to Install a Retractable Hose Reel
- 6 Common Installation Mistakes and How to Avoid Them
- 7 Pairing a Hose Reel With an Irrigation Plastic Sprinkler System
- 8 Post-Installation Maintenance That Extends Reel Life
- 9 Frequently Asked Questions
Installing a water hose reel is straightforward when you follow the right sequence: mount the bracket securely to a wall or post, thread the leader hose through the inlet fitting, connect your main garden hose, and test for leaks before feeding the hose onto the drum. Most homeowners complete the job in under 30 minutes with a drill, wrench, and plumber's tape. The process differs slightly depending on whether you're working with a wall-mounted, cart-style, or retractable reel — but the core steps stay the same.
What You Need Before You Start
Before touching a single bolt, gather everything in one place. Stopping mid-installation to hunt for a missing part adds time and increases the chance of errors. For a standard wall-mounted hose reel setup, you'll typically need:
- A hose reel unit (wall-mount bracket included with most models)
- A power drill with masonry or wood bits depending on your wall type
- Lag bolts or wall anchors rated for at least 50 lbs (a full 100-foot hose weighs roughly 20–25 lbs)
- Adjustable wrench and pliers
- PTFE (Teflon) plumber's tape
- A level
- Pencil for marking drill points
If you're installing an irrigation plastic sprinkler system alongside the reel, also have your sprinkler head fittings, PVC cement, and a pipe cutter ready. Many homeowners connect a hose reel directly to a drip or spray irrigation plastic sprinkler line — making the reel function as both a storage unit and a quick-connect hub for seasonal watering.
Pro tip: Check local water pressure before buying. Most residential hose reels are rated for 40–80 PSI. If your supply line runs above 80 PSI, install a pressure regulator upstream — this is especially important when pairing with plastic sprinkler heads, which crack under sustained over-pressure.
![]()
Step-by-Step Installation for a Wall-Mounted Hose Reel
01
Choose and Mark the Mounting Location
Position the reel within 3–5 feet of your outdoor spigot. This limits how much leader hose you need and reduces friction loss in the line. Hold the bracket against the wall, use your level to confirm it's plumb, then mark the screw holes with a pencil. For masonry walls, a 12mm hammer drill bit and masonry anchors rated for 80 lbs each will handle the load comfortably.
02
Drill and Secure the Bracket
Drill at your marked points to the anchor's recommended depth — usually 2.5 inches for masonry. Insert anchors, then drive lag bolts through the bracket. Tighten snugly but avoid over-torquing, which can crack concrete or split wood studs. Give the mounted bracket a firm tug in all directions before hanging the reel.
03
Attach the Leader Hose to the Inlet Fitting
The leader hose (usually 3–6 feet long, included with the reel) connects the wall spigot to the reel's rotating inlet. Wrap the male thread end with 2–3 layers of PTFE tape in a clockwise direction, then hand-tighten into the reel's swivel fitting. Finish with a quarter-turn from your wrench — no more, or you risk cracking the fitting housing.
04
Connect the Leader Hose to the Spigot
Tape the other end of the leader hose and thread it onto your outdoor faucet. If your spigot is also supplying an irrigation plastic sprinkler line, use a Y-splitter before the leader hose connection. This lets you run the sprinkler system and the hose reel independently without re-plumbing the spigot.
05
Thread the Garden Hose onto the Drum
Connect your garden hose to the reel's outlet port on the drum. Feed the hose evenly across the drum width as you wind — uneven layering causes kinks and makes the reel harder to retract. For a 50-foot, 5/8-inch hose, about 6–7 tight, even layers will sit cleanly on a standard drum.
06
Test for Leaks Under Pressure
Turn on the spigot slowly and check every connection point — the spigot joint, the swivel fitting, and the drum outlet port. A small drip at the swivel is common; tighten the fitting by a quarter-turn. Let water run through the full hose length for 2 minutes to confirm no leaks develop under sustained pressure.
Installing a Cart-Style or Portable Hose Reel
Cart reels require no wall drilling, which makes them popular for renters or anyone who wants to move the reel between zones. The installation is simpler but has its own considerations.
Place the cart on stable, level ground within reach of the spigot. Assemble any handle or axle components per the included instructions — most carts come 80% pre-assembled and only require attaching the handle and wheels, a task that takes about 10 minutes. Connect the leader hose exactly as described for wall-mount reels. Because the cart isn't anchored, use a longer leader hose (6–10 feet) to give yourself flexibility in where you park it.
Cart reels are especially useful when your yard has multiple irrigation zones with separate plastic sprinkler heads. You can roll the cart to a central location, split the supply line with a multi-port manifold, and water different zones without rerouting fixed plumbing. A 4-zone manifold costs roughly $25–$40 and eliminates the need for multiple spigot connections.
Hose Reel Types Compared: Key Installation Differences
The installation steps vary meaningfully across reel types. This table shows the main differences so you can plan accordingly:
| Reel Type | Mounting Required | Tools Needed | Install Time | Best For |
|---|---|---|---|---|
| Wall-Mounted | Yes – wall bracket | Drill, wrench, level | 20–35 min | Fixed garden zones |
| Cart / Portable | No | Wrench only | 10–15 min | Multi-zone, renters |
| Retractable (Auto) | Yes – ceiling or wall | Drill, wrench, stud finder | 30–50 min | Garages, workshops |
| Post-Mounted | Yes – ground post | Post hole digger, concrete | 60–90 min | Center-yard coverage |
How to Install a Retractable Hose Reel
Retractable reels use an internal spring mechanism to automatically wind the hose back. They're ceiling-mounted in most garage setups and wall-mounted in outdoor applications. The installation requires a bit more care because the unit is heavier (12–20 lbs fully assembled) and must be anchored to structural framing, not just drywall.
Locating Studs or Joists
Use a stud finder to locate a ceiling joist or wall stud within your target zone. Retractable reels produce a pull force when the hose is extended — some models rate the spring tension equivalent to 15–20 lbs of continuous pull. Drywall anchors alone are insufficient. Always mount into solid wood framing.
Swivel Clearance
Leave at least 6 inches of clearance around the reel's circumference so the drum can rotate freely when winding. For ceiling mounts in a garage, position the reel so the hose exit points toward the widest part of the space, minimizing the drag angle when you pull the hose across the floor.
Connecting to an Irrigation Line
When the retractable reel serves a property with an irrigation plastic sprinkler network, run the leader hose from the reel's inlet back to a dedicated zone valve on your irrigation manifold. This way, turning on Zone 1 (for example) supplies only the hose reel — while Zones 2 through 4 operate fixed plastic sprinkler heads on timed schedules. The two systems coexist without interfering with each other's pressure.
Common Installation Mistakes and How to Avoid Them
Skipping PTFE Tape on Threaded Connections
This is the number-one cause of drips at the swivel fitting. Even if the fitting feels tight by hand, standard threads allow enough gap for water to seep under pressure. Two to three wraps of tape close that gap reliably.
Mounting Too Far From the Spigot
Every foot of leader hose adds resistance. A 10-foot leader hose on a 3/4-inch line at 60 PSI loses roughly 2 PSI — minor, but it compounds with kinks. Keep the leader under 6 feet whenever possible.
Winding the Hose Unevenly
Hoses wound in a single pile in the drum's center create uneven tension that wears the internal guide and causes the hose to kink at the same spot repeatedly. Take 2 minutes to wind the hose in neat, side-by-side rows.
Ignoring Compatibility With Plastic Sprinkler Heads
If you're splitting supply between a hose reel and a fixed irrigation plastic sprinkler setup, check that the combined flow demand stays within your meter's capacity. Most residential meters handle 10–15 gallons per minute (GPM). A 5/8-inch hose running full-open uses about 9 GPM; adding 4 pop-up plastic sprinkler heads at 1.5 GPM each adds another 6 GPM, pushing total demand to 15 GPM — right at the limit.
Overtightening Plastic Fittings
Many hose reels use ABS or polypropylene housings. Over-torquing wrench connections cracks the thread boss — a failure that requires replacing the entire fitting assembly. Hand-tight plus a quarter-turn with a wrench is enough.
Pairing a Hose Reel With an Irrigation Plastic Sprinkler System
Many property owners install a hose reel not as a standalone watering tool, but as the manual complement to a timed irrigation plastic sprinkler network. This combination gives you automated coverage for lawns and beds, plus on-demand reach for pots, patios, and spot watering.
Planning the Supply Split
Install a brass Y-splitter or a 2-zone manifold at the outdoor spigot. Connect Zone A to your irrigation controller's solenoid valve feeding the plastic sprinkler heads. Connect Zone B to the hose reel leader hose. This prevents either system from accidentally running while the other is open, protecting pressure balance and plastic sprinkler head coverage uniformity.
Choosing the Right Hose for Irrigation Use
If you'll be connecting the hose reel to spray or drip emitters — effectively turning the reel into a portable irrigation supply line — choose a reinforced rubber or hybrid hose rated for 150 PSI burst pressure. Thin vinyl hoses expand noticeably above 60 PSI and degrade faster when subjected to repeated pressure cycles, which is exactly what irrigation use delivers.
Flow Rate Considerations for Plastic Sprinkler Coverage
Standard plastic sprinkler heads (pop-up or impact styles) are designed around fixed precipitation rates, typically 0.5–2.0 inches of water per hour across their coverage arc. When you occasionally run the hose reel and hose simultaneously with the sprinkler system, you're lowering system pressure, which reduces the throw radius of every active plastic sprinkler head. Even a 5 PSI drop can reduce a 15-foot throw head to 12-foot coverage — creating dry spots in corners and edges.
The solution is simple: never run the hose reel and the irrigation plastic sprinkler zones at the same time. Label the shutoff valves clearly so family members or landscaping crews know the rule.
Post-Installation Maintenance That Extends Reel Life
Installation is a one-time job, but maintenance determines how long the reel stays functional. Most quality reels last 8–15 years with minimal care; neglected units fail within 2–3 seasons.
- Drain the hose completely before winter. Water left in the drum freezes, expands, and splits the hose or cracks plastic fittings. Connect the free end to a low point and let gravity drain the line fully.
- Lubricate the swivel fitting once per season with a silicone-based lubricant. Avoid petroleum-based products, which degrade rubber washers inside the swivel.
- Inspect the PTFE tape seals annually. Even properly applied tape degrades after 3–5 years of UV exposure at the spigot connection. Reapplying takes 5 minutes and prevents slow drips that waste hundreds of gallons per season.
- Check mounting bolts every spring. Freeze-thaw cycles and vibration from reel use gradually loosen fasteners. A torque check prevents the wall bracket from pulling away from the anchor points.
- Clean plastic sprinkler head filters if you're using the reel to feed them. Sediment from garden hose use accumulates in sprinkler filters faster than in fixed plumbing lines.
Frequently Asked Questions
Can I install a hose reel without drilling into a wall?
Yes. Cart-style and freestanding reel units require no wall mounting. Alternatively, some homeowners use heavy-duty pipe clamps to attach a wall-mount reel to an existing fence post or pipe, avoiding masonry work entirely.
What size leader hose do I need?
For most residential spigots, a 3/4-inch leader hose matches the spigot's output fitting and delivers full flow to the drum. If your reel has a 1/2-inch inlet fitting, use a 1/2-inch leader — mismatched diameters cause turbulence, noise, and premature wear at the connection point.
How long should the leader hose be?
Keep it under 6 feet for optimal pressure delivery. Longer leader hoses are acceptable but reduce working pressure at the hose nozzle — a concern if you're supplying fixed irrigation plastic sprinkler heads through the reel rather than using a direct line.
Do retractable reels work with plastic sprinkler attachments?
Retractable reels work well with lightweight plastic sprinkler heads attached to the hose end for spot watering. However, they're not designed as a permanent supply line for fixed irrigation plastic sprinkler systems — the internal spring mechanism isn't rated for the constant extension stress of a permanently laid-out system.
My hose reel drips at the swivel. How do I fix it?
First, try tightening the swivel fitting by a quarter-turn. If the drip persists, disassemble the fitting and check the rubber washer inside. A cracked or compressed washer is the most common cause. Replacement washers cost under $2 and fix the issue permanently.
Can I use a hose reel with hot water?
Most garden hose reels are rated for cold water only (up to 40°C / 104°F). Using hot water above that threshold warps plastic fittings and degrades the hose liner. If you need hot water delivery — say, for washing vehicles with warm water — confirm the reel and hose are both rated for elevated temperatures before connecting.
Prev:How to Adjust Impact Sprinkler Heads: Full GuideNext:How to Wind a Garden Hose on a Reel: Step-by-Step Guide
Related products
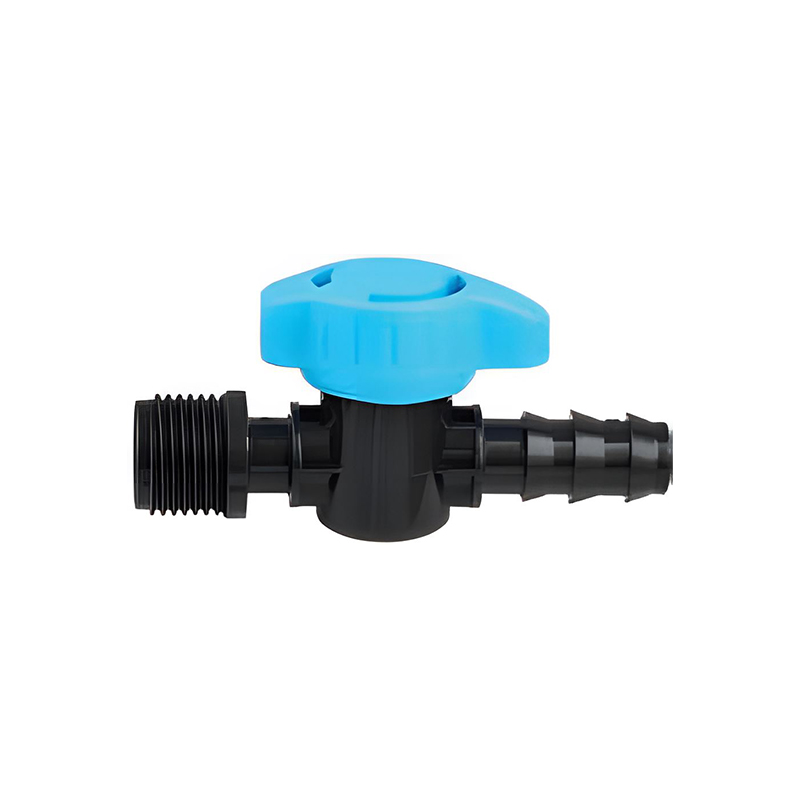
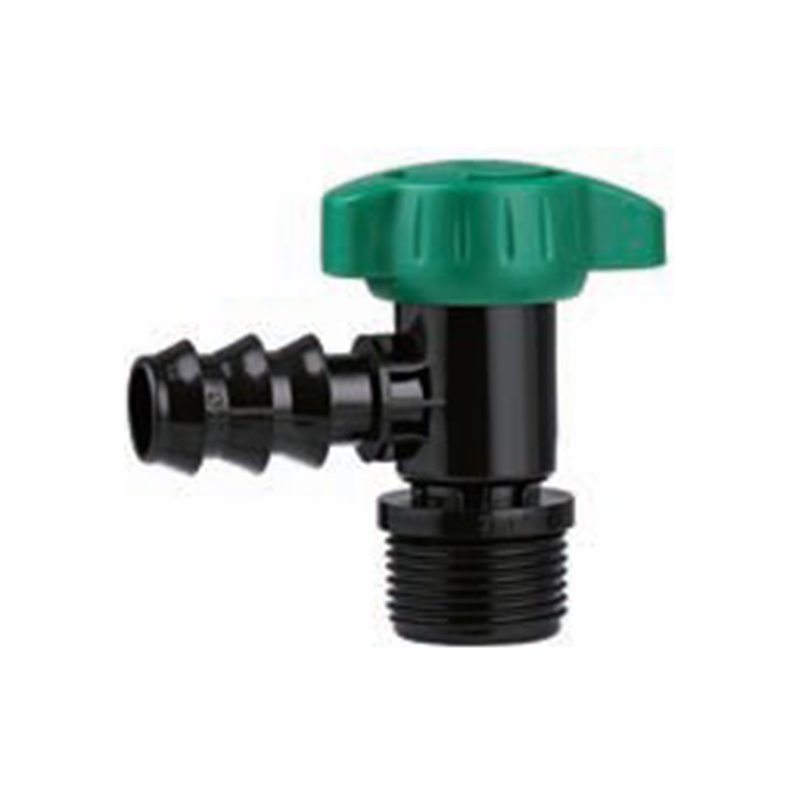
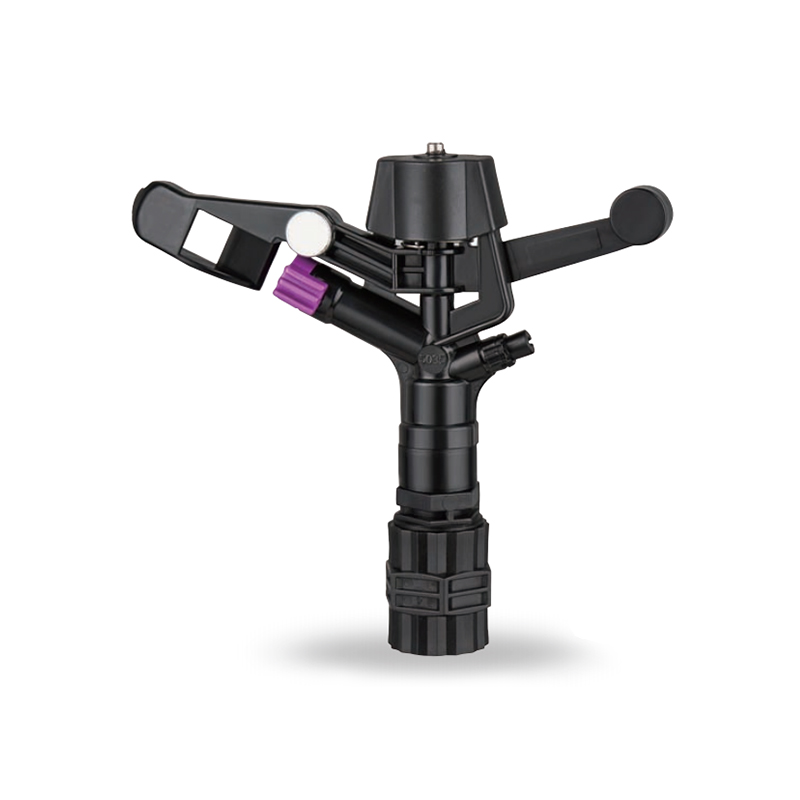
-
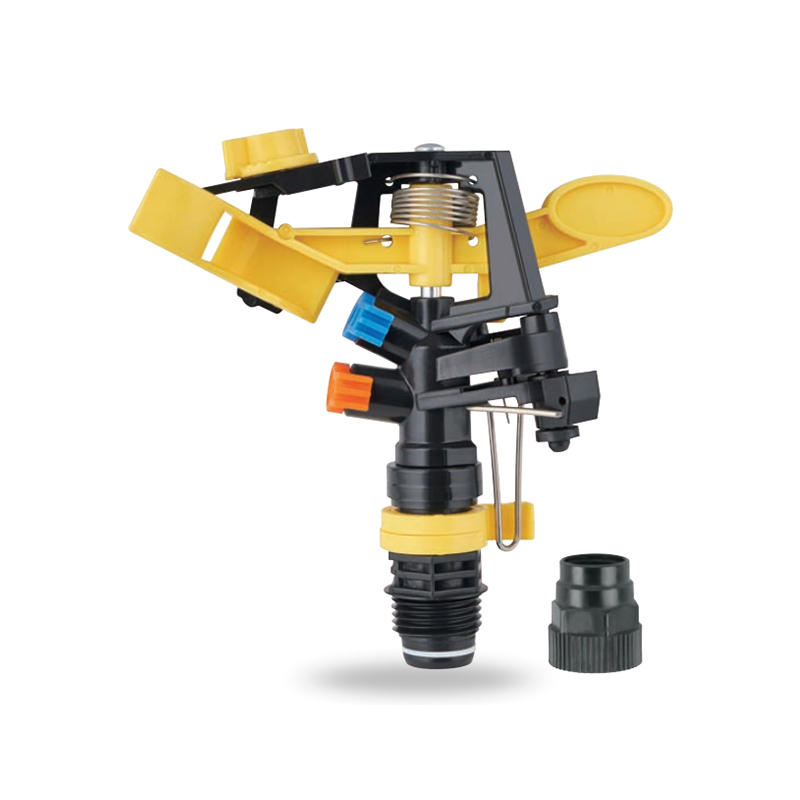
Impact sprinkler for agricultural irrigation is a common and efficient agricultural irrigation tool designed for large areas of farmland. Its unique structure can evenly cover a large area by rotating...
See Details -
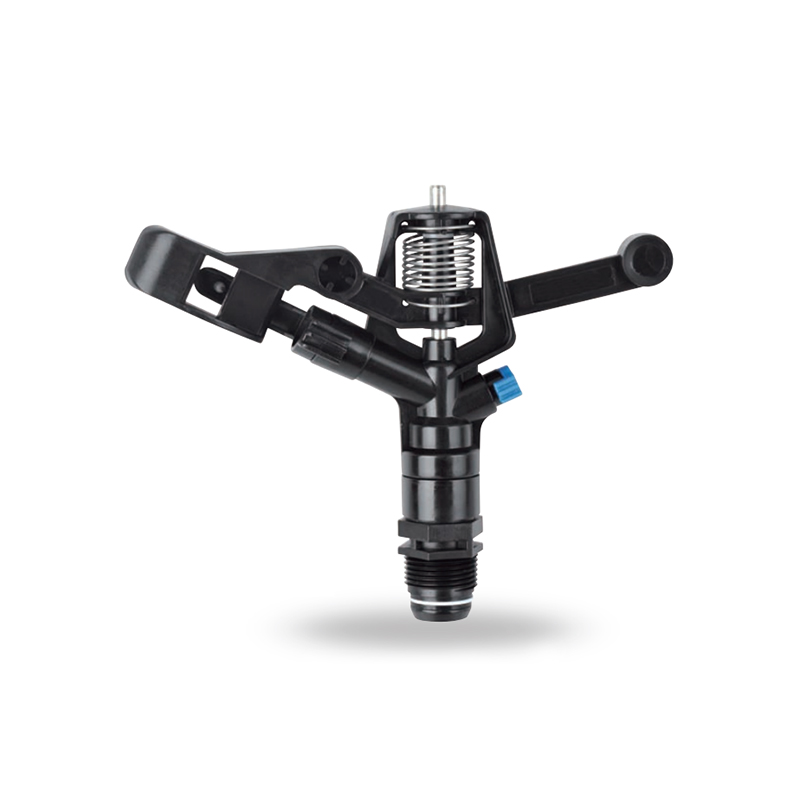
This 360 degree adjustable rocker arm nozzle impact sprinkler is an essential part of an irrigation system designed to meet a wide range of horticultural and agricultural needs. Its flexible adjustmen...
See Details -
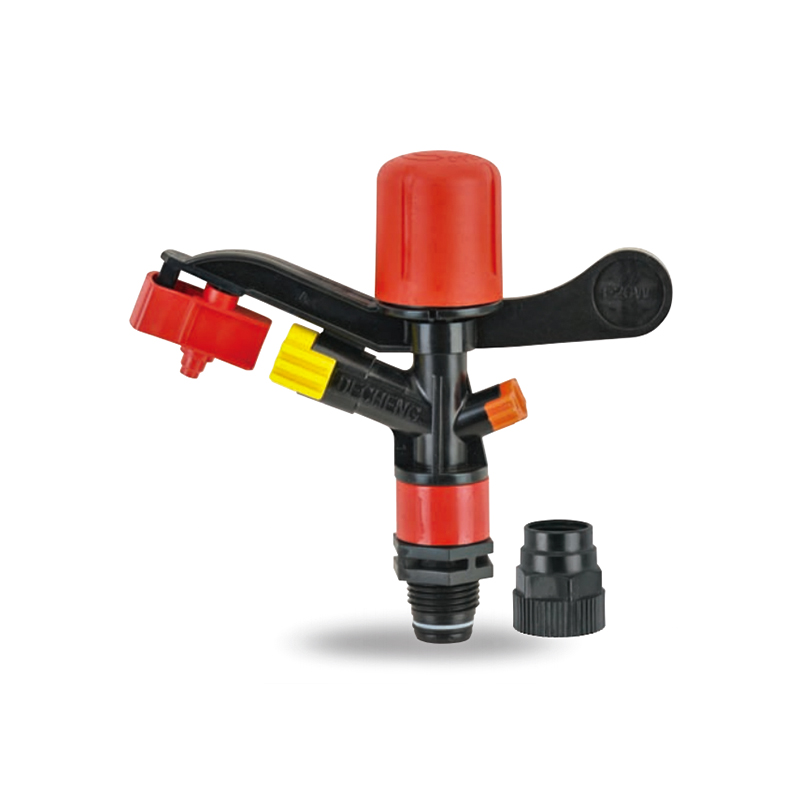
The Plastic Full-Circle Impact Sprinkler Sprayer is a highly efficient full-circle irrigation device designed to provide even moisture coverage. Its lightweight plastic material makes this sprinkler e...
See Details -
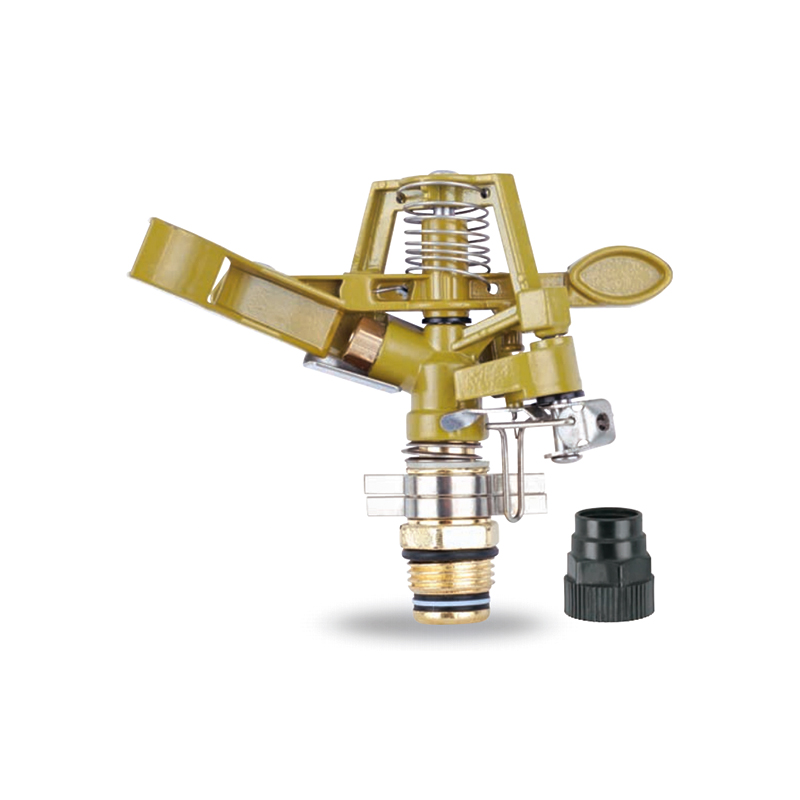
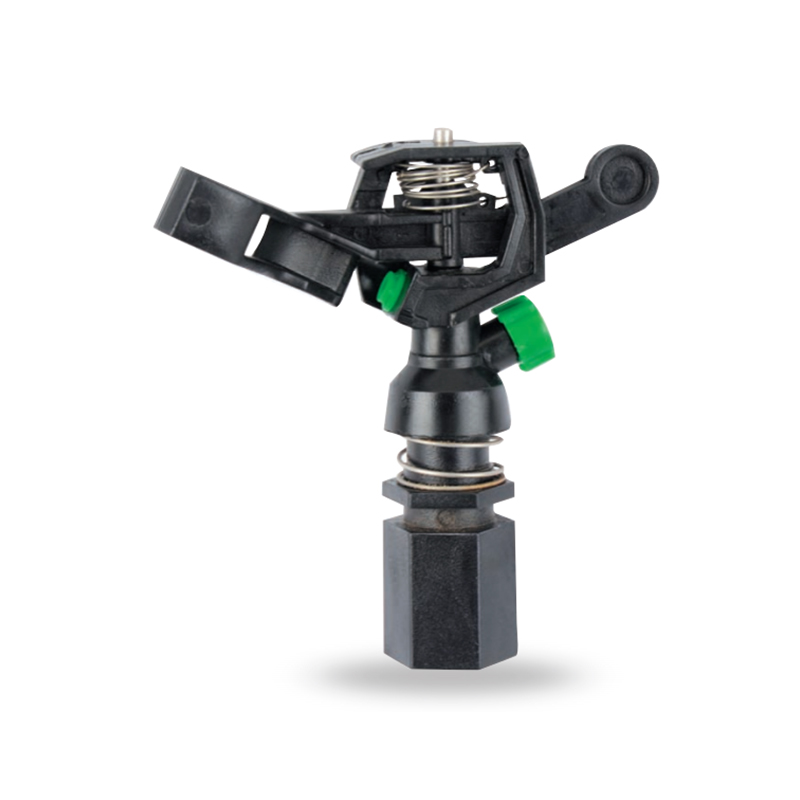
The Irrigation System Adjustable Head Mobile Rotary Zinc Sprinkler is an efficient rotary sprinkler designed for flexible irrigation needs. Its adjustable head allows the user to easily adjust the dir...
See Details -
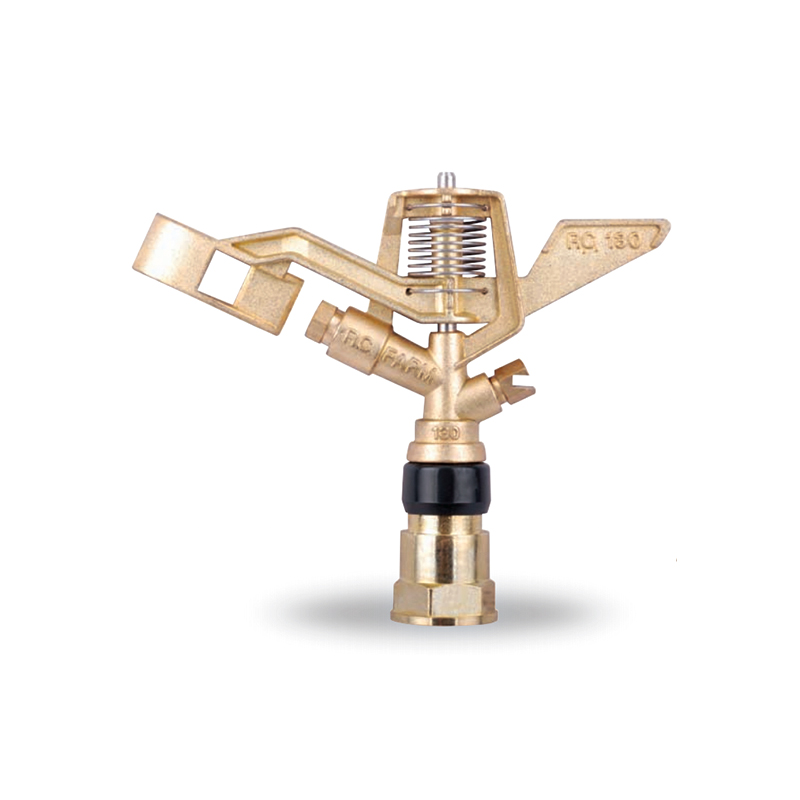
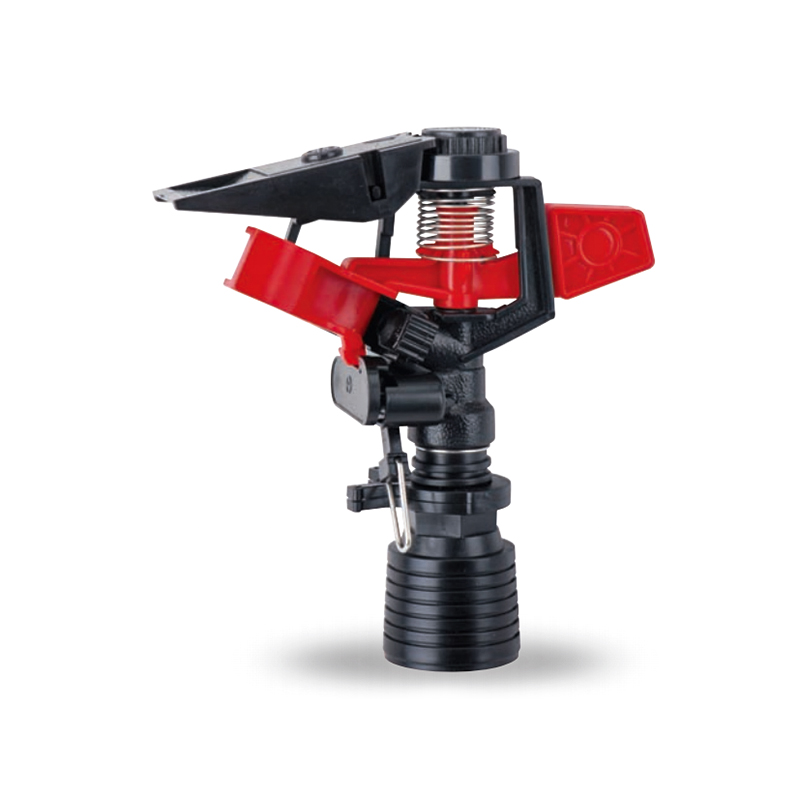
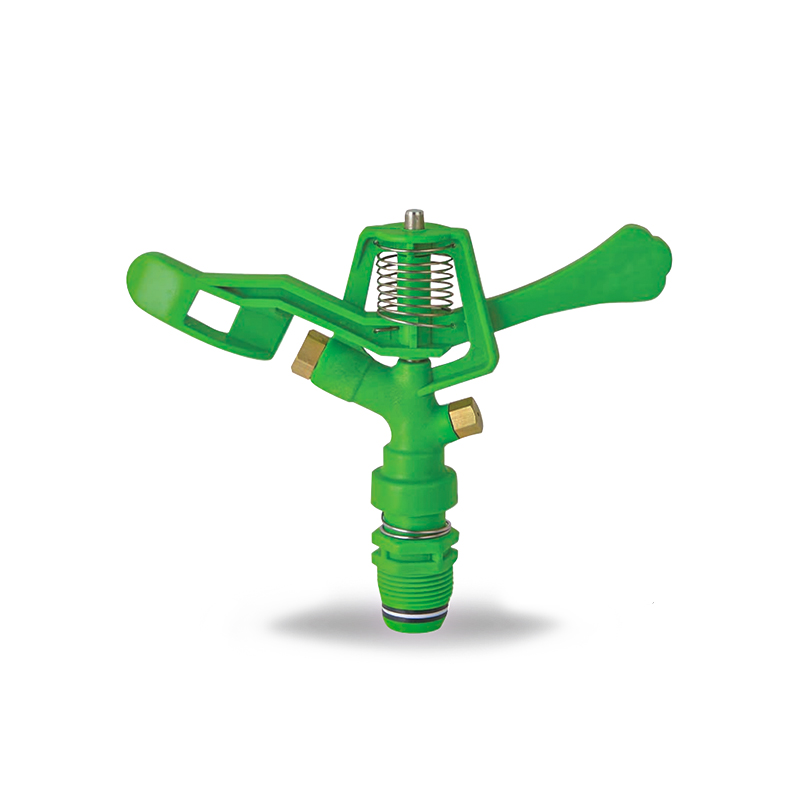
This 3/4” Zinc Alloy Swivel Arm Irrigation Watering System Impact Sprinkler is ideal for agricultural irrigation systems due to its superior durability and corrosion resistance. Its rugged constructio...
See Details -
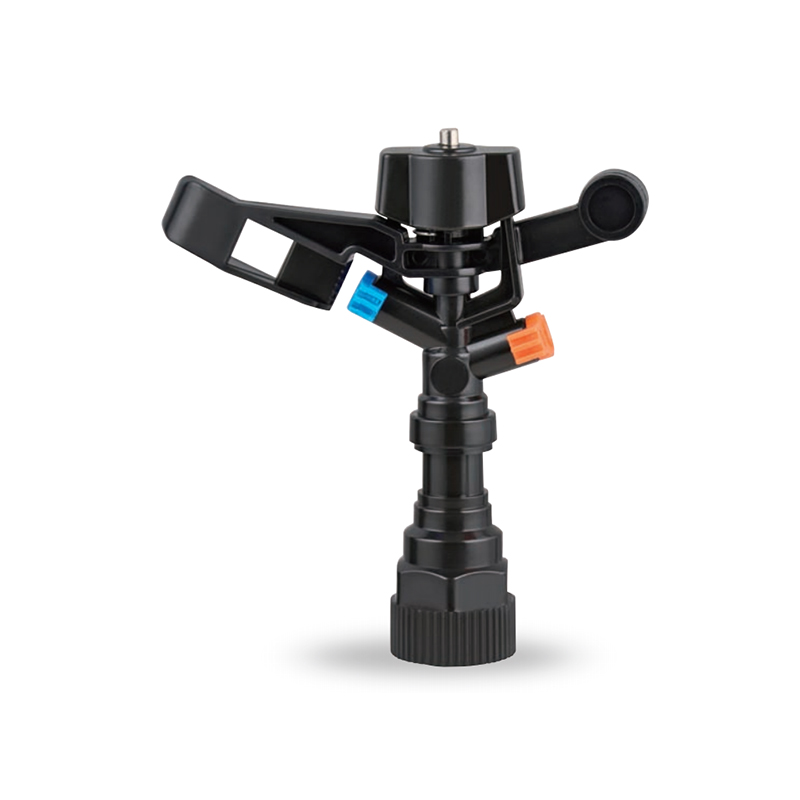
The Double nozzle garden farm impact full-circle sprinkler is well-designed to efficiently and evenly spray water, thus enhancing the quality of crop growth. Whether it's in the home garden or on a la...
See Details -
Double nozzle agricultural water plastic impact sprinkler for irrigation sprinkler combines practicality and durability with a dual nozzle system that provides extensive water coverage for a wide rang...
See Details -
The POM agricultural irrigation sprinkler water impact sprinkler is known for its excellent abrasion resistance and durability, ensuring consistent performance over time. It is designed to increase wa...
See Details -
The POM Agricultural Irrigation Sprinkler with Metal Nozzles is a device designed for efficient irrigation, combining premium polyacetal (POM) material with durable metal nozzles to ensure superior sp...
See Details -
Watering irrigation system 3/4 inch nozzle field Impact Sprinkler is perfect for field irrigation and easily meets the water needs of large crops. Its powerful spray ensures that every nook and cranny...
See Details -
The POM Agricultural Irrigation Sprinkler with Brass Nozzles is an efficient and durable irrigation device designed to meet a wide range of agricultural needs. The sprinkler is made of polyacetal (POM...
See Details -
The Double Nozzle Garden Farm Impact Part-Circle Sprinkler is a highly efficient garden irrigation device designed for large planting areas. Its double nozzle design produces a strong, even stream of ...
See Details

PRODUCTS & SERVICES

CONTACT US
 No.518, Ruihao Road, Lizhou Street, Yuyao City, Zhejiang Province, China
 +86-13105554615 / +86-18005843886
 decheng@dcssq.com fredzhu@dcssq.com
 LISA
LISA
 Fred Zhu
Copyright © Ningbo Dewo Irrigation Equipment Co., Ltd. All Rights Reserved. China Agricultural Plastic Sprinkler Manufacturers Wholesale Irrigation Plastic Sprinkler Factory
