 Search for...
 English
 Español
 中文简体
中文简体How to Wind a Garden Hose on a Reel: Step-by-Step Guide
Content
- 1 Step-by-Step: How to Wind a Garden Hose on a Reel Properly
- 2 Choosing the Right Reel Type for Your Setup
- 3 Common Winding Mistakes That Damage Hoses
- 4 Using an Impact Sprinkler with a Hose Reel System
- 5 Maintaining Your Hose Reel for Long-Term Performance
- 6 Troubleshooting: Why Your Hose Keeps Kinking or Bunching on the Reel
- 7 Pro Tips for Faster, Cleaner Hose Winding
- 8 Frequently Asked Questions
Winding a garden hose on a reel correctly takes less than three minutes once you know the method — and it prevents the kinks, tangles, and frustrating morning untangling sessions that ruin the start of any watering routine. The core rule: always guide the hose with one hand while turning the reel handle with the other, keeping even, overlapping layers from side to side. That single habit eliminates 90% of storage problems regardless of hose length or reel type.
Whether you are rolling up after running an Impact Sprinkler across a large lawn or simply rinsing down a driveway, the technique is the same. This guide walks through every step, every mistake worth avoiding, and every accessory worth considering.
Step-by-Step: How to Wind a Garden Hose on a Reel Properly
Step 1 — Drain the Hose Before You Start
Water left sitting in a hose adds significant dead weight. A standard 50-foot garden hose holds roughly 0.4 gallons per 10 feet, meaning a 100-foot hose can carry nearly 4 gallons — over 33 pounds of water. That weight causes the coiled hose to sag, distort the reel drum, and stress connection fittings over time.
To drain properly: disconnect the nozzle or Impact Sprinkler head first, then lift the far end of the hose above your head and walk toward the spigot. Gravity does most of the work in under 60 seconds.
Step 2 — Straighten and Detach Any Attachments
Remove all inline accessories — spray nozzles, Impact Sprinkler heads, soaker hose adapters, and Y-splitters. Leaving attachments on while winding forces awkward bulges in the coil that create permanent kink points. Store metal fittings separately in a dry container to prevent corrosion from trapped moisture.
Step 3 — Feed the Leading End Through the Reel Guide
Most wall-mounted and cart reels have a small guide hole or slot through which the hose feeds before wrapping around the drum. Thread the hose through this opening before you begin turning. Skipping this step means the hose will unspool from the wrong direction and create tangles at the guide on future use.
Step 4 — Begin Winding with Consistent Tension
Hold the hose about 18 to 24 inches from the reel with your non-dominant hand. Apply light, steady tension — think of it as guiding rather than pulling. Turn the reel handle at a moderate pace with your dominant hand. Too fast and the hose slaps and crosses over itself; too slow and loops droop before they can set properly.
Step 5 — Layer Side to Side in Even Rows
As the drum fills, guide your guiding hand slowly from one flange of the reel to the other. The goal is to build flat, even rows — the same pattern used when winding rope on a nautical capstan. Each row should sit snugly against the previous one with no crossing over and no visible gaps. When you reach one side, reverse direction and build the next layer back across. Expect to complete two to four full layers on a standard 50-foot hose reel with a 12-inch drum.
Step 6 — Secure the End of the Hose
Most reels include a hook, clip, or notch near the rim specifically designed to hold the free end of the hose. Always use it. A loose hose end that hangs free will swing with wind, slowly uncoil under its own weight, and accumulate UV damage faster than a secured end. If your reel lacks a clip, a simple hook-and-loop strap (available for under $3 at any hardware store) works perfectly.
Choosing the Right Reel Type for Your Setup
The winding technique above applies universally, but reel type affects how easy or difficult it is to execute. Here is a direct comparison of the four main types available to homeowners and landscaping professionals:
| Reel Type | Best For | Hose Capacity | Ease of Winding | Price Range |
|---|---|---|---|---|
| Wall-Mounted Manual | Small to medium yards | Up to 100 ft | Good | $25 – $80 |
| Cart Reel | Large yards, mobility needed | Up to 200 ft | Excellent | $60 – $200 |
| Retractable Auto-Rewind | Convenience-focused users | Up to 130 ft | Excellent (automatic) | $80 – $300 |
| Freestanding Floor Reel | No-drill installations | Up to 150 ft | Good | $35 – $120 |
For setups that include an Impact Sprinkler on a long run — say, 150 feet or more — a cart reel provides the most practical winding experience because you can walk the cart along the hose run rather than dragging heavy hose back to a fixed wall mount.
Common Winding Mistakes That Damage Hoses
Even experienced gardeners repeat the same avoidable errors. Here are the mistakes that account for most premature hose failures:
- Winding while still connected to the spigot: Water pressure in a connected hose creates resistance against the reel mechanism, causing uneven tension and putting stress on the swivel connector. Always disconnect from the faucet first.
- Over-cranking on the last few feet: Many people get impatient near the end and crank the handle rapidly. This snaps the hose into sharp bends right at the drum flange — the exact spot where kinks form permanently.
- Winding a twisted hose: If your hose has a 180-degree twist somewhere along its length, winding that twist onto the reel locks it in permanently. Walk the full length of the hose and spin out any twists before you start winding.
- Ignoring temperature: In cold weather (below 45°F / 7°C), rubber and vinyl hoses stiffen significantly. Forcing a stiff hose onto a reel in freezing temperatures can crack the outer jacket or stress internal reinforcement layers. Warm the hose in sunlight for 10 minutes first.
- Storing under UV exposure: Even impact-resistant hose materials degrade under direct sunlight. A hose stored on an uncovered wall reel loses 30–40% of its flex life within two to three seasons compared to a hose kept in shade or a covered enclosure.
- Winding over sharp corners or debris: Always clear the hose path before winding. A small stone or root that gets pinched under the winding hose creates a permanent flat spot.
Using an Impact Sprinkler with a Hose Reel System
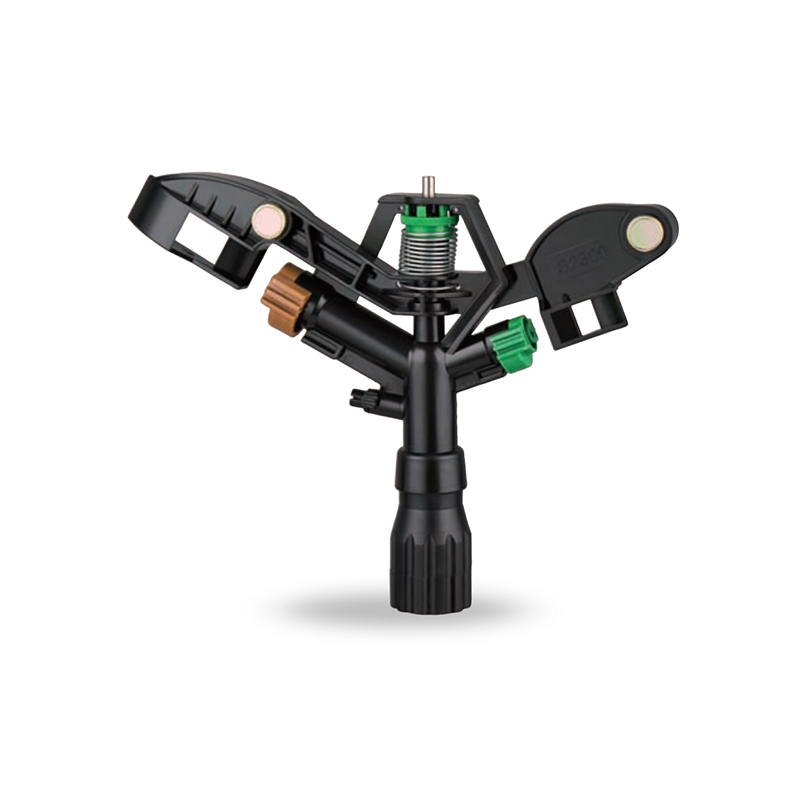
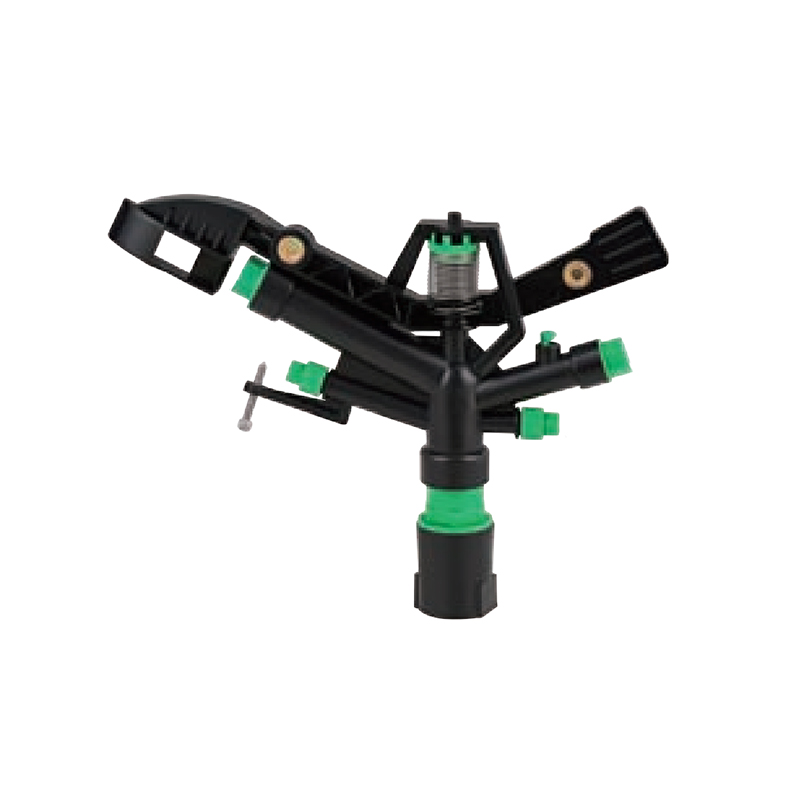
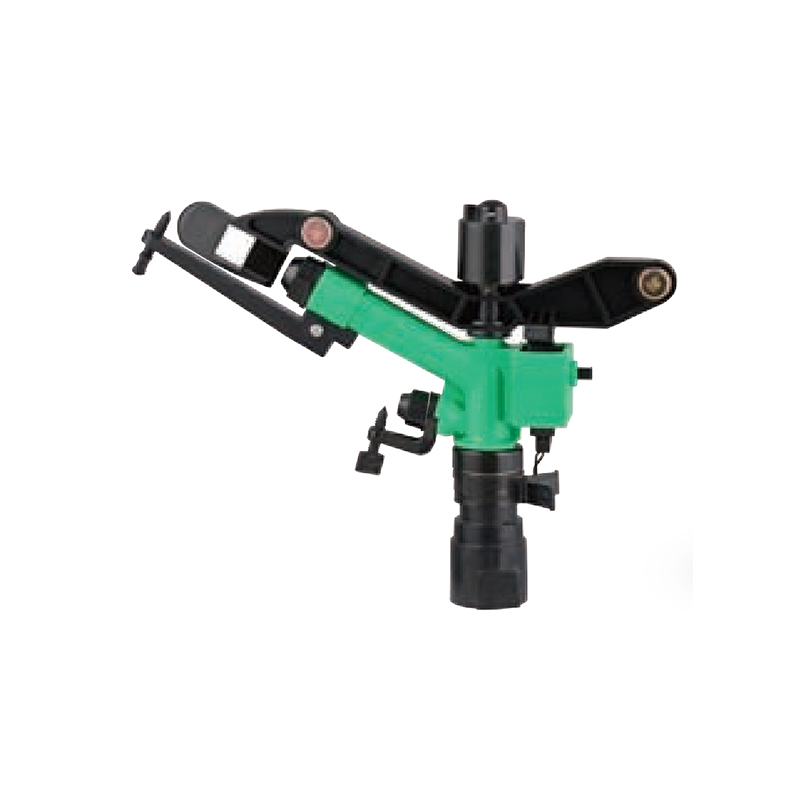
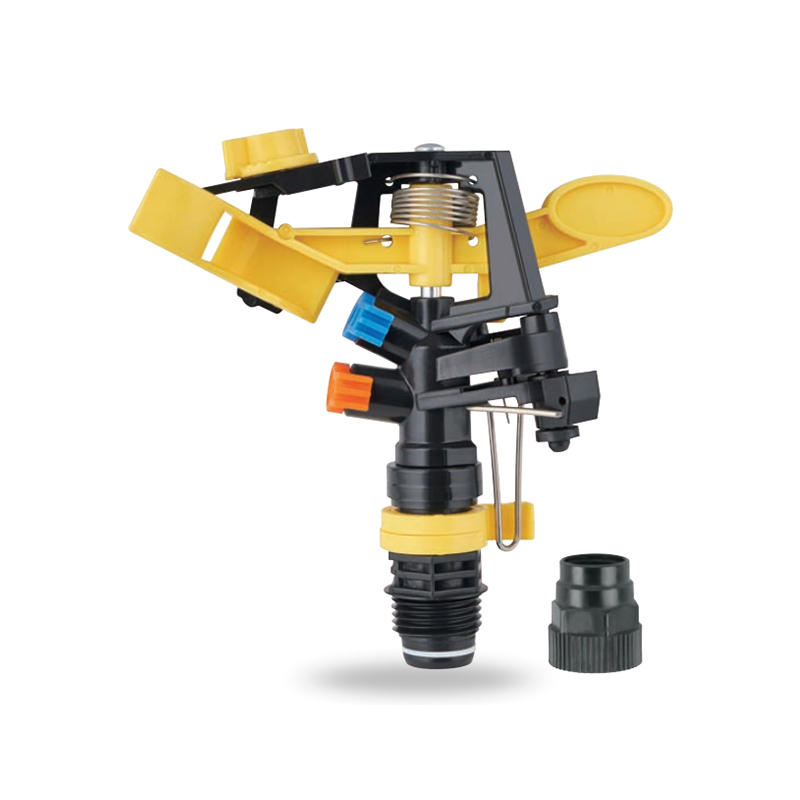
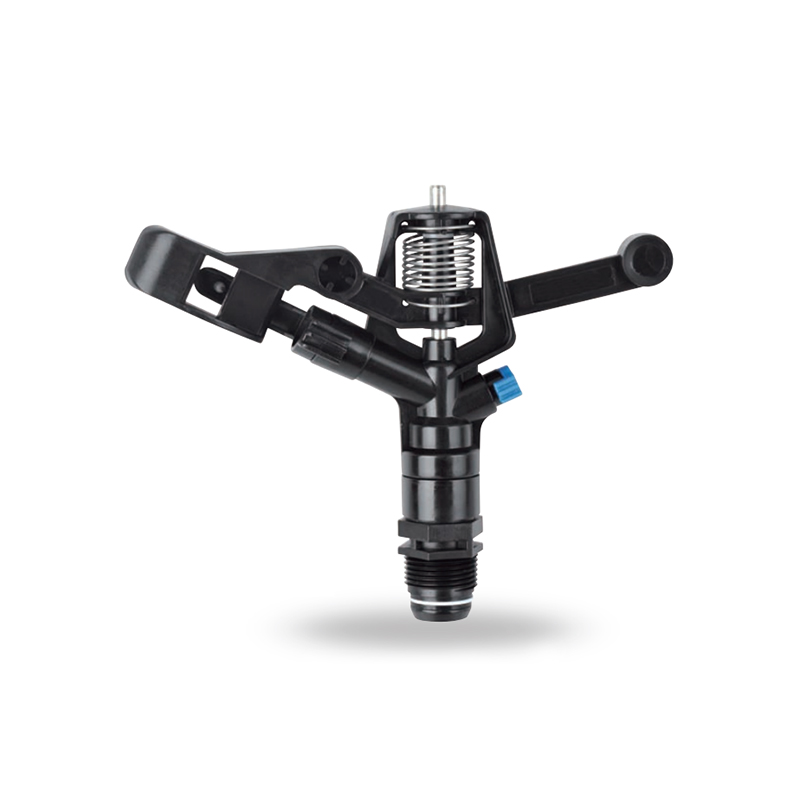
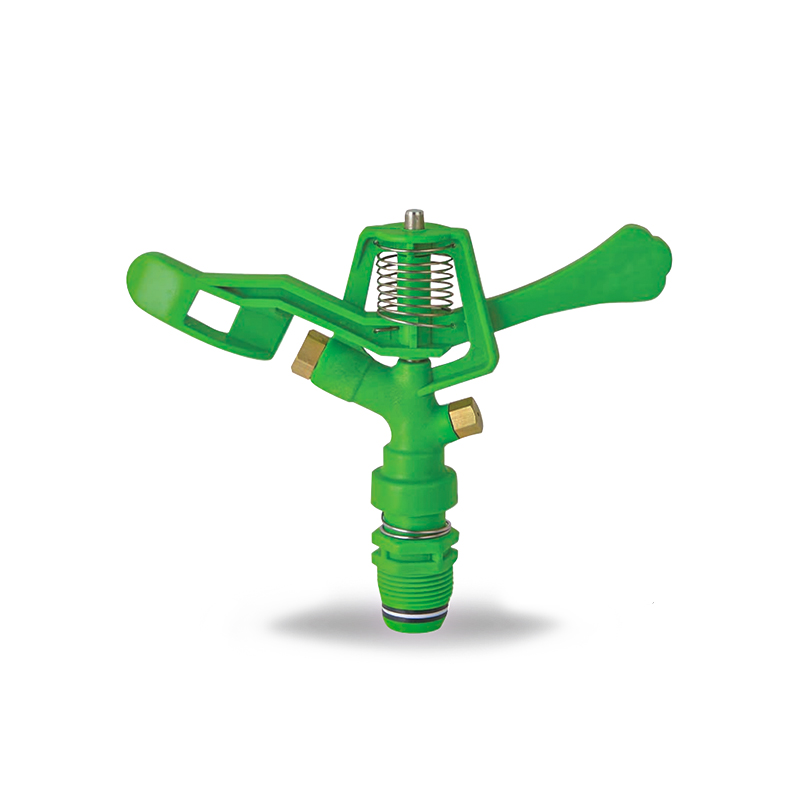
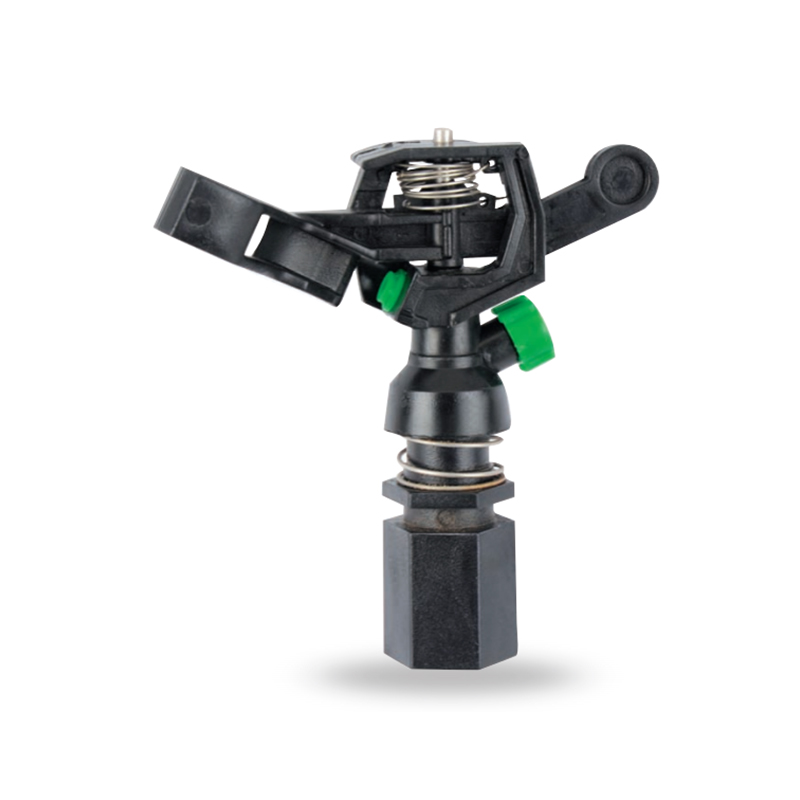
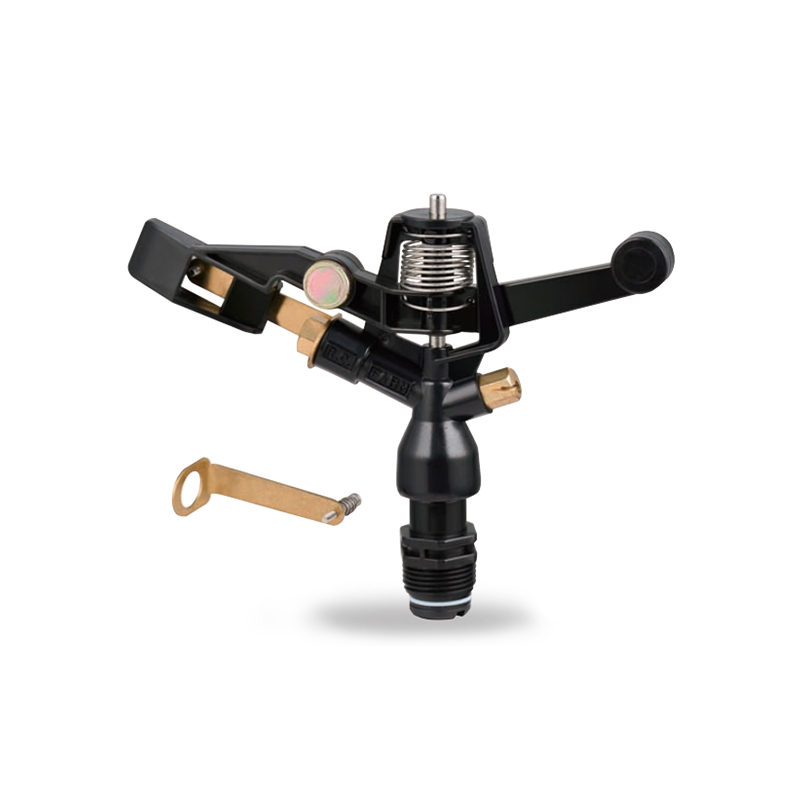
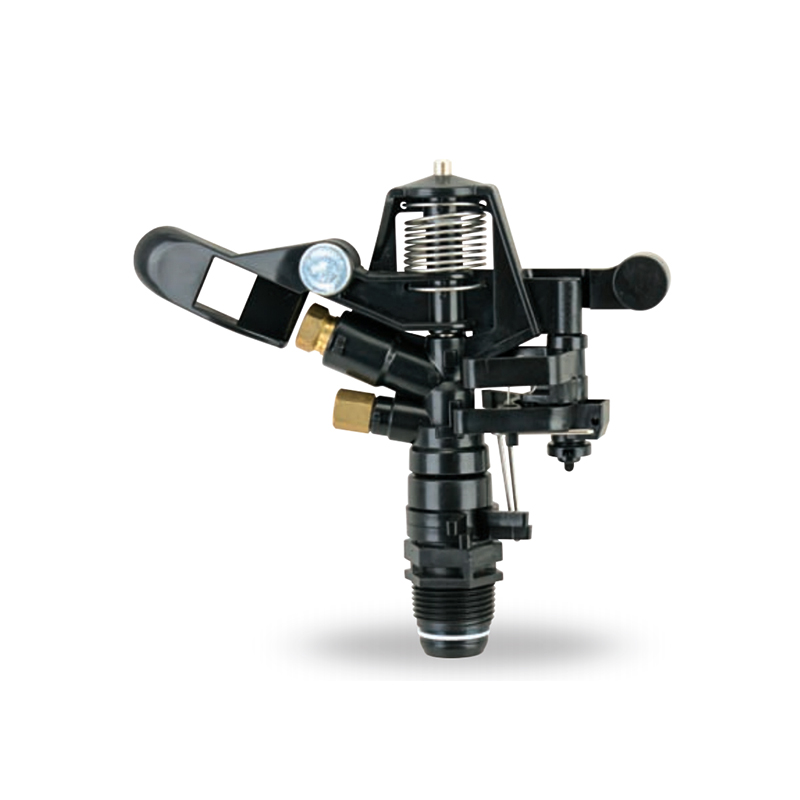
Impact Sprinkler heads are among the most durable and effective sprinkler designs for medium-to-large lawn coverage. A single Impact Sprinkler can throw water 25 to 45 feet in radius depending on water pressure and nozzle size, making them ideal for coverage areas where pop-up in-ground systems are not installed. The rotating arm design — which gives the Impact Sprinkler its name — creates the distinctive clicking sound as the deflector arm interrupts and redirects the water stream.
How to Wind the Hose After Running an Impact Sprinkler
Impact Sprinkler systems are frequently placed at the far end of long hose runs, which makes the post-watering wind-up process slightly more involved than with a close-range nozzle. Follow this specific sequence:
- Turn off the faucet at the source and leave the Impact Sprinkler running until the remaining pressure drops to zero — you will hear it stop rotating.
- Remove the Impact Sprinkler head by unscrewing it counterclockwise from the hose connector. Place it on a flat surface rather than setting it in soil, which can force debris into the nozzle throat.
- Walk to the sprinkler end of the hose and lift it above your shoulder height. Walk the full length back toward the reel, letting water drain from the free end as you go.
- Disconnect the hose from the faucet once you reach the reel end. This removes backpressure and allows the hose to wind freely.
- Begin winding using the side-to-side layering technique described earlier, guiding with one hand and turning the handle with the other.
Never wind the hose with the Impact Sprinkler head still attached. The brass or zinc-alloy body of most Impact Sprinkler heads weighs between 80 and 150 grams. As the reel turns, that mass creates an off-balance rotation that stresses the reel's axle bearing over time, and the spike-mounted base of many Impact Sprinkler models can scratch the reel drum or catch on the reel flanges mid-wind.
Matching Hose Diameter to Your Impact Sprinkler
Water pressure and volume delivered to an Impact Sprinkler depend significantly on hose inner diameter. Using an undersized hose reduces the reach and rotation speed of the Impact Sprinkler arm, resulting in uneven coverage and frustrating performance. Here is a quick reference:
- 1/2-inch hose: Adequate for runs up to 50 feet to an Impact Sprinkler at normal residential pressure (40–60 PSI). Beyond 50 feet, you may see reduced rotation speed.
- 5/8-inch hose: The most common standard. Delivers 17–20 GPM flow capacity, sufficient for most Impact Sprinkler models up to 100 feet of run without performance drop.
- 3/4-inch hose: Recommended for runs beyond 100 feet or for heavy-duty Impact Sprinkler heads designed for agricultural or commercial coverage areas over 3,000 square feet.
Wider hoses are heavier and require slightly more winding effort, but a 3/4-inch x 100-foot hose on a large-drum cart reel handles easily with proper technique and dramatically improves the output of a high-throw Impact Sprinkler.
Maintaining Your Hose Reel for Long-Term Performance
A hose reel that is not maintained will make every wind-up harder than it needs to be. Bearings seize, handles strip, and swivel connectors develop slow leaks that waste water and make the hose feel stiffer at the source. These maintenance tasks take under 20 minutes total per season:
Lubricate the Axle and Handle Mechanism
Once per season, apply a spray lubricant (silicone-based rather than petroleum-based to avoid degrading rubber hose material nearby) to the axle on both sides of the drum and to the crank handle connection point. Wipe away excess. This single step cuts handle-turning resistance by roughly 40% on reels that are more than two years old.
Inspect and Replace the Swivel Connector Washer
The swivel connector where the hose meets the reel's internal water feed is the single most common failure point in any reel system. The rubber washer inside this connector costs less than $1 and should be replaced every two years. A worn washer causes slow leaks that are easy to miss until you notice soggy soil or a soft spot in the ground near the reel mount.
Check the Drum Flanges for Cracks
Plastic-flanged reels exposed to direct sunlight become brittle faster than most users expect. A crack in a flange can pinch the hose on its outer winding layer, creating an abrasion that slowly wears through the hose jacket. Check the flanges by squeezing them lightly — a healthy flange flexes slightly; a brittle one will produce a faint crackling sound or show hairline fractures under close inspection.
Winterizing: Draining and Storing Before Frost
In climates where temperatures drop below freezing, residual water in a wound hose will expand as it freezes and crack the hose from the inside out. Before the first frost each year:
- Drain the hose fully using the walking method described earlier.
- Remove the hose from the reel drum entirely and store it coiled on a hook in a garage or shed — never leave wound on an outdoor reel.
- Store your Impact Sprinkler head indoors. Brass bodies handle freezing better than zinc-alloy, but ice in the nozzle assembly of any sprinkler can crack the deflector arm housing.
- Shut off and drain any in-line shut-off valve between the faucet and the reel.
Troubleshooting: Why Your Hose Keeps Kinking or Bunching on the Reel
If you are winding correctly but still getting kinks or uneven bunching, the problem is usually one of four root causes:
Memory Kinks from Previous Bad Storage
Rubber and vinyl hoses develop "memory" — they retain the shape they were held in for extended periods. A hose that was stored in a tight figure-eight loop for months will resist lying flat even when you try to wind it properly. The fix: lay the kinked section in direct sunlight for 20–30 minutes. Warmth softens the material enough to release the memory kink. For severe kinks, fill the hose with warm water and let it sit for 10 minutes before rewinding.
Drum Too Small for Hose Diameter
A reel drum with a core diameter smaller than 5 inches creates a bend radius tighter than most standard hoses can accept without kinking. If your reel has a small core and you are using 5/8-inch or 3/4-inch hose, consider upgrading to a larger-drum reel. The drum core diameter should be at least 8 times the outer diameter of the hose — so a 3/4-inch hose (approximately 1-inch outer diameter) needs a core diameter of at least 8 inches.
Hose Quality Mismatch
Reinforced rubber hoses — those with a woven or braided interior layer — wind far more reliably than basic vinyl hoses. Vinyl hoses above 75 feet in length tend to bunch and cross-layer because the material lacks the structural stiffness needed to hold a guided coil shape under its own weight. If you are using a long vinyl hose with an Impact Sprinkler setup, upgrading to a reinforced rubber or expandable hybrid hose significantly improves the winding experience.
Swivel Connector Binding
If the swivel connector between the fixed feed pipe and the rotating drum has seized — due to mineral buildup or lack of lubrication — the drum cannot rotate freely. This forces the operator to use more effort, which creates jerky, uneven winding. Remove the swivel connector, soak it in white vinegar for 30 minutes to dissolve mineral deposits, rinse, lubricate, and reinstall.
Pro Tips for Faster, Cleaner Hose Winding
- Walk before you wind: Before reaching the reel, walk the hose into a straight line parallel to the path you will be rolling. A straight hose winds in 90 seconds; a tangled one can take 10 minutes.
- Use a hose guide stake: If you regularly run your hose around corners to reach your Impact Sprinkler placement zones, install a hose guide stake at each corner. These inexpensive guides (typically $8–15 for a pack of four) prevent edge kinks and make it possible to wind without walking the corner yourself.
- Label your hose length: Use a permanent marker to write the hose length on the reel frame. When adding an Impact Sprinkler setup, you often need to estimate how much hose you have unwound. Knowing the total length lets you calculate coverage radius quickly.
- Store nozzles and Impact Sprinkler heads in a mesh bag hung on the reel frame: Keeping accessories attached to the reel (but not the hose) means everything you need for a watering session is in one place.
- Wind counterclockwise if your reel tends to stiffen: On some reel designs, the internal spring or swivel is oriented so that clockwise winding builds tension into the drum. If your reel feels increasingly stiff as you wind, try the opposite direction — one of them will feel noticeably lighter.
- Two-person winding for hoses over 100 feet: Have one person walk alongside the hose feeding it steadily while the second person operates the reel handle. This is especially helpful with heavy 3/4-inch hoses used for long-range Impact Sprinkler coverage.
Frequently Asked Questions
Can I leave the hose wound on the reel permanently?
Yes, for seasonal use — provided the reel is in a shaded or covered location. Leaving a hose wound on an uncovered reel in direct summer sun accelerates UV degradation of both the hose jacket and the plastic reel components. In climates with frost, the hose must be removed and stored indoors before winter.
How do I stop my hose from unrolling on its own after winding?
This happens when the reel's locking mechanism or end-clip is worn or absent. In the short term, loop a hook-and-loop strap around the wound coil. For a permanent fix, most reel manufacturers sell replacement locking clips for under $5, and they are straightforward to install with a screwdriver.
Does hose diameter affect how I wind the reel?
The technique is the same, but wider hoses require more deliberate guiding tension because they are heavier and resist the drum's curvature more. With a 3/4-inch hose, apply slightly more outward tension — enough that the hose sits firmly against the drum rather than floating away from it before the next layer pins it down.
Should I disconnect the Impact Sprinkler before winding the hose?
Always. The weight and rigid body of an Impact Sprinkler head create mechanical stress on the reel during winding, and the spike base on staked models can scratch the drum. Store the Impact Sprinkler head separately after rinsing debris from the nozzle and deflector arm.
How often should I replace my garden hose?
A quality reinforced rubber hose stored properly on a reel in a shaded location can last 8 to 10 years. A basic vinyl hose exposed to UV and frequent kinking typically fails within 2 to 4 years. Signs it is time to replace: persistent slow leaks at the body (not just the fittings), visible cracking in the jacket, a hose that kinks at the same point every time regardless of how carefully you wind it, or a significant reduction in flow rate from the nozzle or Impact Sprinkler even at full pressure.
Prev:How to Install a Water Hose Reel: Step-by-Step GuideNext:How to Adjust an Impact Sprinkler: Arc, Distance & More
Related products
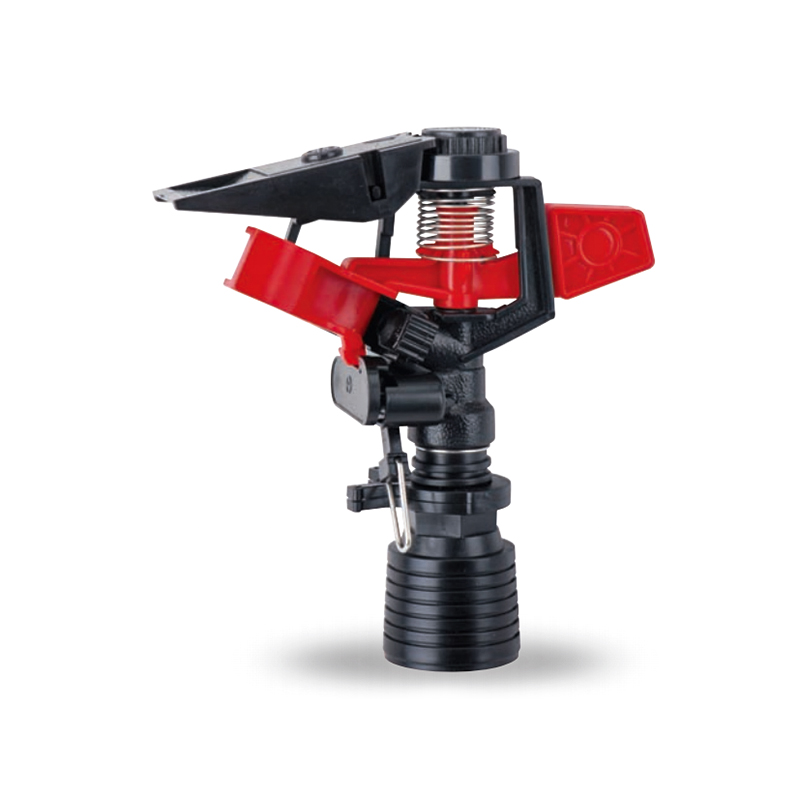
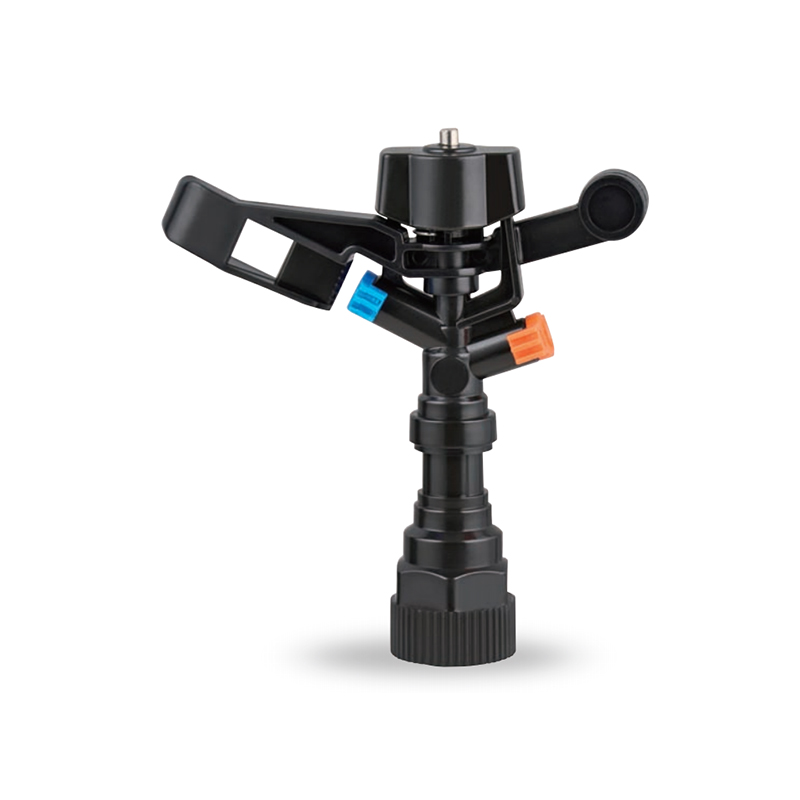
-
Impact sprinkler for agricultural irrigation is a common and efficient agricultural irrigation tool designed for large areas of farmland. Its unique structure can evenly cover a large area by rotating...
See Details -
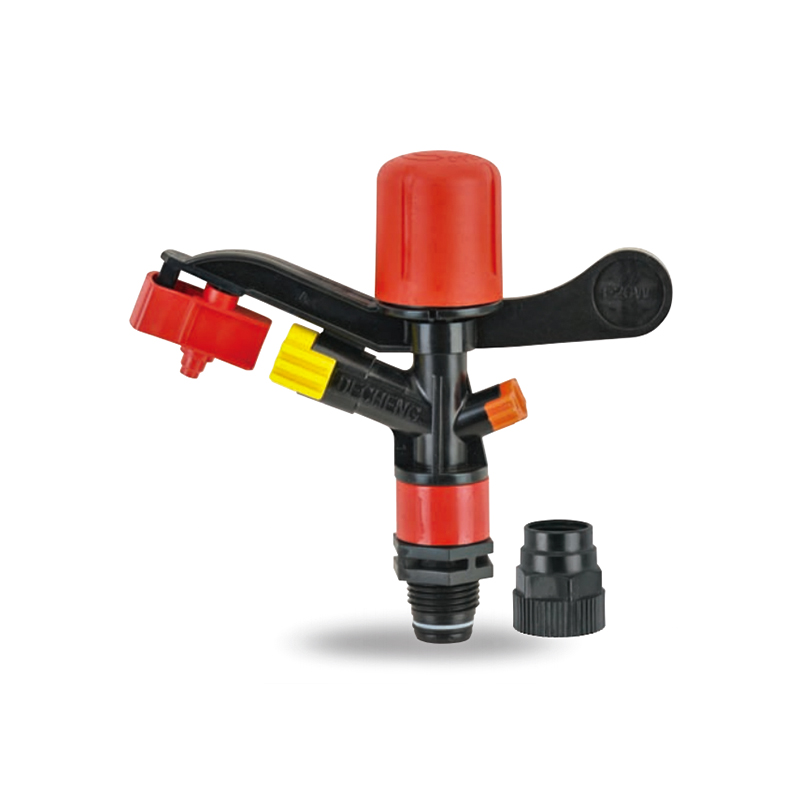
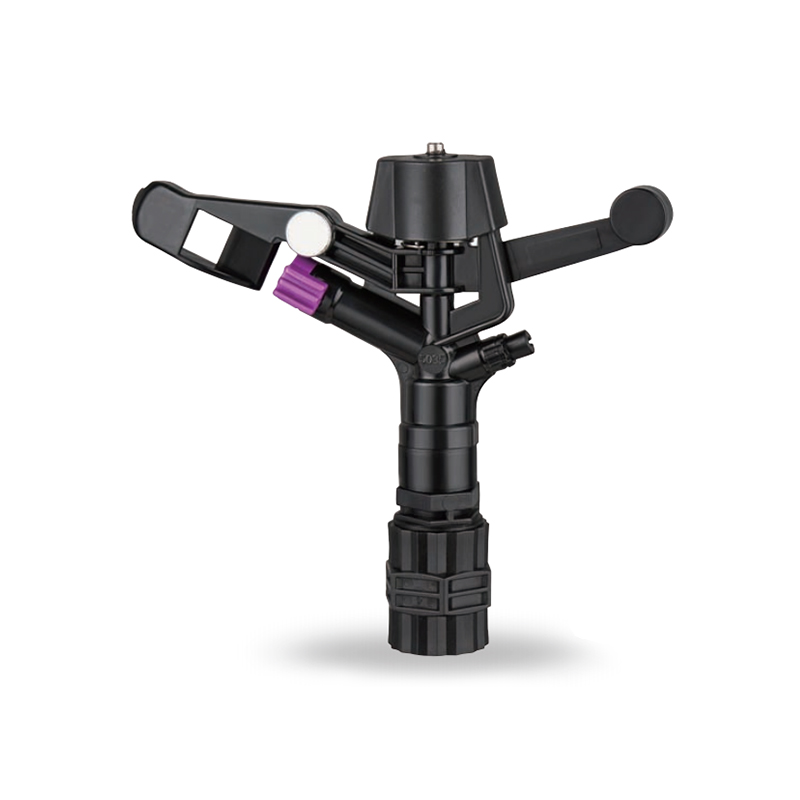
This 360 degree adjustable rocker arm nozzle impact sprinkler is an essential part of an irrigation system designed to meet a wide range of horticultural and agricultural needs. Its flexible adjustmen...
See Details -
The Plastic Full-Circle Impact Sprinkler Sprayer is a highly efficient full-circle irrigation device designed to provide even moisture coverage. Its lightweight plastic material makes this sprinkler e...
See Details -
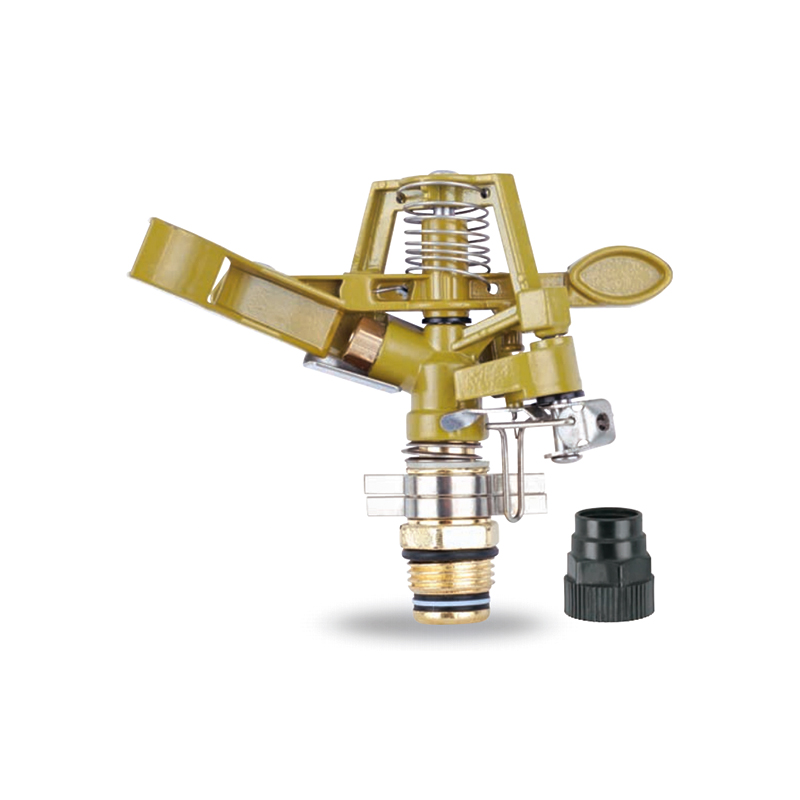
The Irrigation System Adjustable Head Mobile Rotary Zinc Sprinkler is an efficient rotary sprinkler designed for flexible irrigation needs. Its adjustable head allows the user to easily adjust the dir...
See Details -
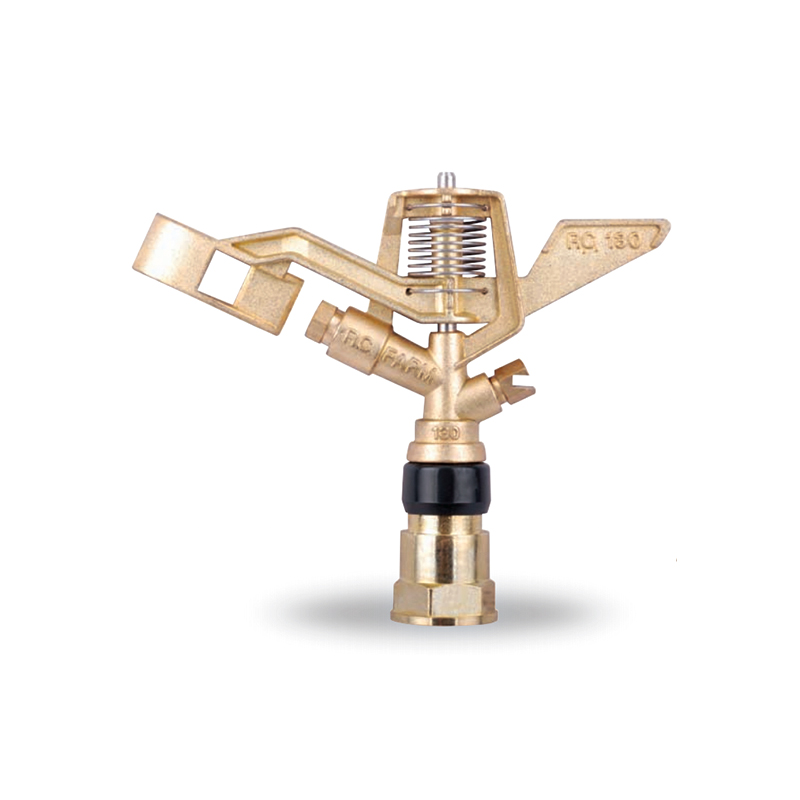
This 3/4” Zinc Alloy Swivel Arm Irrigation Watering System Impact Sprinkler is ideal for agricultural irrigation systems due to its superior durability and corrosion resistance. Its rugged constructio...
See Details -
The Double nozzle garden farm impact full-circle sprinkler is well-designed to efficiently and evenly spray water, thus enhancing the quality of crop growth. Whether it's in the home garden or on a la...
See Details -
Double nozzle agricultural water plastic impact sprinkler for irrigation sprinkler combines practicality and durability with a dual nozzle system that provides extensive water coverage for a wide rang...
See Details -
The POM agricultural irrigation sprinkler water impact sprinkler is known for its excellent abrasion resistance and durability, ensuring consistent performance over time. It is designed to increase wa...
See Details -
The POM Agricultural Irrigation Sprinkler with Metal Nozzles is a device designed for efficient irrigation, combining premium polyacetal (POM) material with durable metal nozzles to ensure superior sp...
See Details -
Watering irrigation system 3/4 inch nozzle field Impact Sprinkler is perfect for field irrigation and easily meets the water needs of large crops. Its powerful spray ensures that every nook and cranny...
See Details -
The POM Agricultural Irrigation Sprinkler with Brass Nozzles is an efficient and durable irrigation device designed to meet a wide range of agricultural needs. The sprinkler is made of polyacetal (POM...
See Details -
The Double Nozzle Garden Farm Impact Part-Circle Sprinkler is a highly efficient garden irrigation device designed for large planting areas. Its double nozzle design produces a strong, even stream of ...
See Details

PRODUCTS & SERVICES

CONTACT US
 No.518, Ruihao Road, Lizhou Street, Yuyao City, Zhejiang Province, China
 +86-13105554615 / +86-18005843886
 decheng@dcssq.com fredzhu@dcssq.com
 LISA
LISA
 Fred Zhu
Copyright © Ningbo Dewo Irrigation Equipment Co., Ltd. All Rights Reserved. China Agricultural Plastic Sprinkler Manufacturers Wholesale Irrigation Plastic Sprinkler Factory
