

 Search for...
 English
 Español
 中文简体
中文简体How to Adjust an Impact Sprinkler: Arc, Distance & More
Content
- 1 How to Adjust an Impact Sprinkler: The Short Answer
- 2 Understanding the Parts of an Impact Sprinkler Before You Adjust Anything
- 3 Step-by-Step: How to Adjust the Watering Arc on an Impact Sprinkler
- 4 How to Adjust the Water Distance and Throw Range
- 5 Adjusting the Rotation Speed and Spring Tension
- 6 How to Set an Impact Sprinkler for a Specific Area Shape
- 7 Common Impact Sprinkler Problems and How to Fix Them
- 8 How to Adjust Impact Sprinklers in an In-Ground System
- 9 Seasonal Maintenance Tips to Keep Your Impact Sprinkler Performing Well
- 10 Impact Sprinkler vs. Other Sprinkler Types: When to Use Each
- 11 Fine-Tuning Coverage: Advanced Techniques for Even Watering
- 12 Quick Reference: Impact Sprinkler Adjustment Summary
How to Adjust an Impact Sprinkler: The Short Answer
To adjust an impact sprinkler, you need to handle three main settings: the arc of rotation (how far it swings left and right), the deflector shield (which controls water distance and pattern), and the head tension. For most standard models, you rotate the left and right trip collars on the body of the sprinkler head to set the watering zone, push the deflector tab down to shorten the throw distance, and tighten or loosen the spring tension screw to control how fast the head oscillates. That's the core of it — but getting consistent, even coverage across your lawn or garden bed takes more precise tuning than most people expect.
Impact sprinklers, sometimes called impulse sprinklers or rotary sprinklers, are among the most durable and widely used irrigation tools available. They work by using the force of water hitting a weighted deflector arm to rotate the head incrementally, creating that characteristic click-click-click sound. Because of their simple mechanical design, nearly every adjustment can be made by hand without tools — once you know what each component does.
This guide breaks down every aspect of impact sprinkler adjustment in detail, from the basic arc and distance settings to troubleshooting common problems like uneven coverage, head sticking, and spray drift. Whether you're setting up a new unit or fine-tuning an existing system, you'll find practical, step-by-step guidance here.
Understanding the Parts of an Impact Sprinkler Before You Adjust Anything
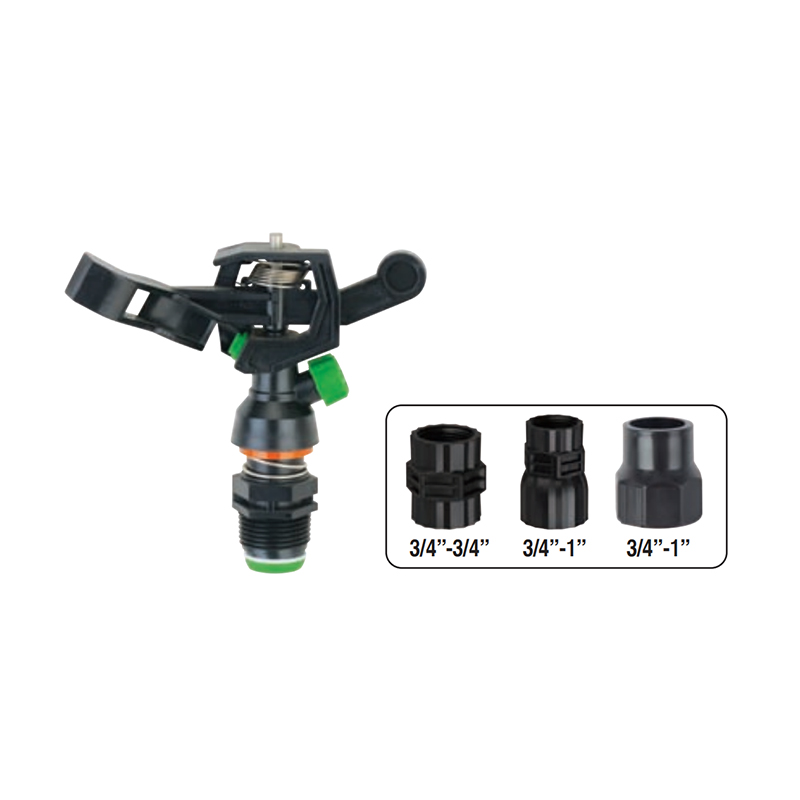
Before touching any adjustment on your impact sprinkler head, take a moment to identify the key components. Skipping this step is the number one reason people make the wrong adjustments and end up frustrated. The parts are the same across most brands — Rain Bird, Orbit, Nelson, Melnor — though the exact names may vary slightly.
The Main Body and Bearing
The main body of the sprinkler connects to the water supply — either via a spike, a threaded riser, or a sled base. The bearing at the top of the body allows the head to rotate. On most models, this is a simple friction-fit bearing that can be adjusted for tension. If the bearing is too loose, the head spins freely without clicking. If it's too tight, the impact force can't drive the rotation and the head stalls.
The Trip Collars (Arc Adjustment Rings)
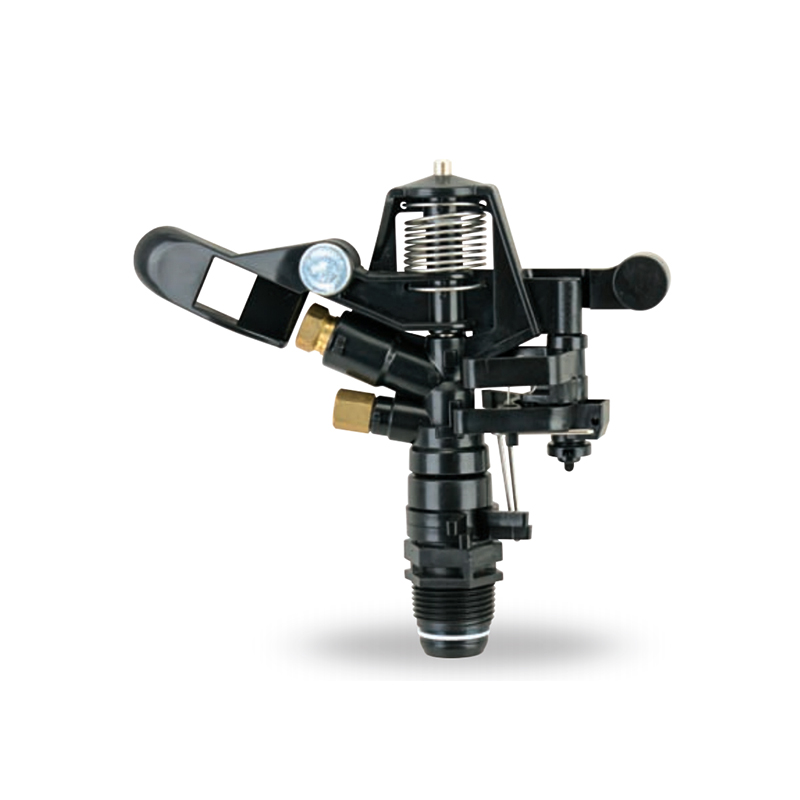
Most impact sprinklers have two trip collars — a left collar and a right collar — mounted on the body just below the rotating head. These are the primary controls for arc adjustment. When the rotating head reaches one collar, a small trip lever reverses the direction of rotation, sending the head back the other way. By repositioning these collars, you define the left and right boundaries of the watering zone. On some models, there is only one adjustable collar while the other is fixed; check your specific unit.
The Deflector Arm and Shield
The deflector arm is the swinging metal or plastic arm that gets hit by the water jet. At the end of this arm is a small curved shield or tab. When this shield is positioned directly in the water stream, it breaks up the jet, reducing the throw distance and creating a wider, more diffuse spray pattern. When the shield is raised out of the stream, the full jet passes through and achieves maximum distance. This is your primary control for adjusting how far the water reaches.
The Nozzle
The nozzle controls the diameter of the water jet and therefore the maximum possible throw distance. Most impact sprinklers come with interchangeable nozzles in different sizes — typically ranging from 3/32 inch to 7/32 inch. Larger nozzles increase flow and distance but require higher water pressure. Smaller nozzles reduce flow and are better for low-pressure systems or close-range watering. Nozzle size is a fixed setting, not something you adjust during normal operation, but swapping nozzles is a legitimate way to change coverage range.
The Spring and Tension Screw
The spring on the deflector arm controls how quickly the arm snaps back after being hit by the water. A tighter spring means the arm returns faster, which speeds up the oscillation of the head. A looser spring slows the rotation. On many models, there is a small adjustment screw near the base of the deflector arm that lets you modify this tension without replacing the spring. Getting this right is important: too much tension and the sprinkler wastes time returning instead of advancing; too little and it may stall.
Step-by-Step: How to Adjust the Watering Arc on an Impact Sprinkler
Arc adjustment is the most common reason someone picks up their impact sprinkler to modify it. Maybe it's watering the sidewalk, spraying the fence, or leaving a dry strip down the middle of the lawn. Here's how to set the arc precisely.
- Turn on the water supply so the sprinkler is actively running. You need to see where it's currently pointing to set the boundaries accurately.
- Observe the full sweep of the rotating head. Note the leftmost and rightmost positions it reaches before reversing direction. These are currently defined by the trip collars.
- Manually rotate the sprinkler head to the position you want to be the left boundary of your watering zone (the edge closest to the left side of the area you want to water).
- Slide the left trip collar until it touches the trip lever on the rotating head. This sets the left reversal point. On most models, you can push the collar with your thumb — no tools needed.
- Rotate the head to the position you want to be the right boundary.
- Slide the right trip collar until it touches the trip lever from the other side. This defines the right reversal point.
- Let the sprinkler run through several full cycles and verify it reverses at the correct positions. Make small corrections as needed.
Most impact sprinklers can be set anywhere from a narrow 40-degree arc up to a full 360-degree full circle. For full-circle coverage, simply position both trip collars so neither one engages the trip lever, allowing the head to spin continuously in one direction. This is the typical setting for circular lawn areas or around trees.
For a partial arc — say, covering a rectangular garden bed along a fence — you'll typically set an arc somewhere between 90 and 180 degrees. A 90-degree arc covers a quarter-circle zone; 180 degrees covers a half-circle. The arc you choose should match the shape of the area you're irrigating.
How to Adjust the Water Distance and Throw Range
Adjusting how far the water reaches is done primarily through the deflector shield position. This is separate from arc adjustment and is often overlooked by beginners, who end up with the outer edge of their lawn getting drenched while the inner area stays dry.
Using the Deflector Shield
The deflector shield is the small curved tab at the tip of the impact arm. To reduce throw distance, press the deflector shield down into the water stream. The more of the stream it interrupts, the shorter the water will travel and the wider the spray angle becomes. This is useful when the sprinkler is placed close to the watering area or when you need to keep water away from a boundary like a path or fence.
To maximize throw distance, lift the deflector shield completely out of the stream. The full jet then travels uninterrupted. Under normal residential water pressure (40–60 PSI), most standard impact sprinklers with a medium-sized nozzle will throw water 25 to 45 feet with the deflector fully raised. With the deflector fully engaged, that distance may drop to as little as 10–15 feet.
The Effect of Water Pressure on Distance
Water pressure has a direct and significant effect on throw distance. At 30 PSI, a typical impact sprinkler might reach 25–30 feet. At 60 PSI, the same head might reach 40–50 feet. This means that if your home water pressure varies throughout the day — which it often does in areas with high neighborhood usage — your coverage pattern will shift accordingly. If you're finding inconsistent coverage, pressure fluctuation may be the culprit rather than a maladjusted head.
Changing the Nozzle Size
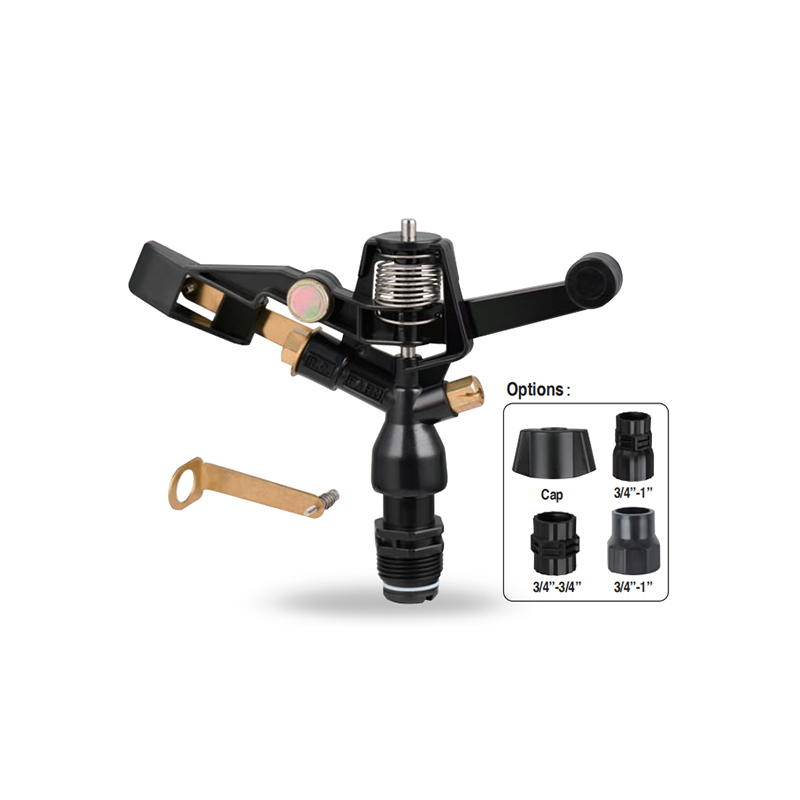
If the deflector shield alone doesn't give you enough range adjustment, consider changing the nozzle. Most impact sprinkler heads accept interchangeable nozzles that snap or screw into place. A larger nozzle opening increases flow rate and extends throw distance; a smaller nozzle reduces both. Here's a general guide:
| Nozzle Size | Flow Rate (GPM) | Approximate Throw Distance | Best Use |
|---|---|---|---|
| 3/32" | 1.5 – 2.0 | 20 – 28 ft | Small lawns, garden beds |
| 5/32" | 3.0 – 4.0 | 30 – 38 ft | Medium lawns, standard use |
| 7/32" | 5.5 – 7.0 | 40 – 50 ft | Large lawns, sports fields |
Adjusting the Rotation Speed and Spring Tension
The speed at which an impact sprinkler rotates affects how evenly water is distributed across the zone. A head that rotates too slowly concentrates water near the edges; one that spins too fast may not deliver enough water per square foot before moving on.
Rotation speed is governed by the spring tension on the deflector arm. Most impact sprinkler heads have a small screw or clip that adjusts this tension:
- Tighten the spring to increase return speed, which speeds up the overall rotation cycle.
- Loosen the spring to slow the return, which slows the overall rotation — meaning more water lands in each spot per pass.
For most residential lawn applications, the ideal rotation speed produces a full arc cycle (out and back) in roughly 30 to 90 seconds, depending on the arc angle. A 180-degree arc should take about 45–60 seconds to complete a full back-and-forth cycle at typical residential pressure. If it's cycling in under 20 seconds, the spring is too tight. If it stalls or takes more than 2 minutes, the spring may be too loose or the head bearing is too tight.
How to Check if Spring Tension Is the Problem
With the water off, manually push the deflector arm against the water outlet hole on the head. Release it and watch how quickly it snaps back. It should return firmly and crisply in about half a second. If it barely moves, the spring is too weak or the bearing too tight. If it snaps back violently and immediately, the spring may be overly tense and could cause the head to overshoot its trip collar marks.
How to Set an Impact Sprinkler for a Specific Area Shape
The arc and distance adjustments we've covered so far let you define where the water goes. But matching your impact sprinkler coverage pattern to the actual shape of your lawn or garden requires thinking about placement as well as settings.
Square or Rectangular Areas
Impact sprinklers naturally produce circular or arc-shaped patterns. Covering a rectangle efficiently usually requires placing the sprinkler at one corner and setting a 90-degree arc, or at the center of one edge and setting a 180-degree arc. For a 30 x 30 foot square lawn, placing the sprinkler at the center with a 360-degree full-circle setting and a throw distance of 15 feet covers the entire area. For a 20 x 40 foot rectangular bed, placing two sprinklers at the midpoints of the short ends, each set to 180 degrees with a 20-foot throw, gives good even coverage.
Triangular or Irregular Areas
Irregular shapes are trickier. The general strategy is to place the sprinkler at the widest point and set the arc to cover the longest dimension, then rely on overlap from an adjacent sprinkler to fill in the narrow corners. A good rule of thumb is to allow at least 50% overlap between adjacent sprinkler zones. This overlap ensures that even if one head is slightly off, no area goes unwatered.
Narrow Strips and Borders
Narrow planting strips — like a 4-foot-wide border along a fence — are one of the hardest scenarios for impact sprinklers. The minimum arc on most heads is around 40 degrees, but the natural pattern of an impact sprinkler is a wide arc, not a tight strip. For strips narrower than 6 feet, consider using a small nozzle, fully engaging the deflector shield to shorten and widen the spray, and setting a very narrow arc. Alternatively, a different sprinkler type like a rotary strip nozzle may be more effective for very narrow areas.
Common Impact Sprinkler Problems and How to Fix Them
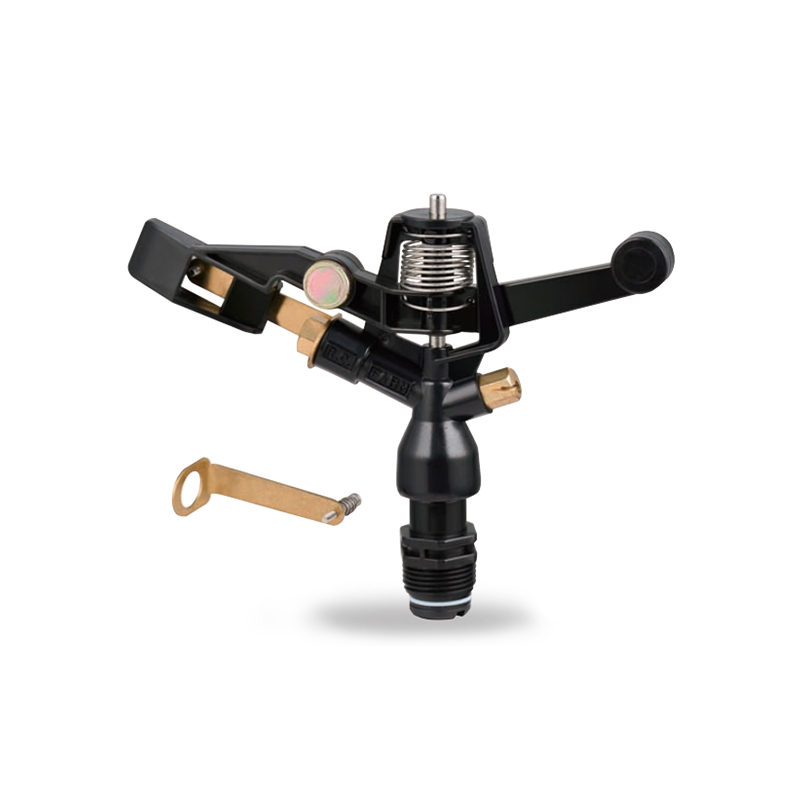
Even a well-adjusted impact sprinkler can develop problems over time, particularly after winter storage or heavy use. Most issues are mechanical and fixable without replacing the entire unit.
The Head Won't Rotate
This is the most common complaint. Causes include:
- Bearing too tight: Try loosening the bearing nut at the top of the body by a quarter turn.
- Debris or sediment in the bearing: Flush the head with clean water. If that doesn't work, disassemble and clean the bearing surface.
- Spring too loose: The deflector arm isn't snapping back hard enough to create the impact force needed to advance the head. Increase spring tension.
- Water pressure too low: Below about 20 PSI, many impact sprinklers will not rotate reliably. Check your water pressure with an inexpensive gauge from any hardware store.
The Head Rotates in Only One Direction
If the sprinkler spins continuously in one direction instead of sweeping back and forth, one of two things is happening: either it's set to full-circle mode (both trip collars have been moved out of the way), or the trip lever is bent or broken and no longer catching on the collars. Check the trip collars first — if they're correctly positioned and the lever still doesn't catch, inspect the lever itself for deformation. On many models, the trip lever is replaceable as a spare part for a few dollars.
Uneven Water Distribution Across the Zone
If some parts of the watering zone get soaked while others stay dry, the problem is usually one of three things:
- The head is not level: impact sprinklers should be installed perfectly vertical. Even a 5-degree tilt can dramatically skew the spray pattern.
- Pressure variation: if water pressure drops mid-cycle (e.g., another irrigation zone activates), the throw distance will shorten on one side of the arc.
- Partially clogged nozzle: mineral deposits or debris can narrow the nozzle opening on one side, creating an uneven jet. Remove and clean the nozzle with a pin and flush with clean water.
Water Spraying Too Far and Missing the Target Area
If water consistently overshoots the target, push the deflector shield further into the stream. If the deflector is already fully engaged and the throw is still too far, you may need a smaller nozzle. Also check that your water pressure isn't running above the recommended range for your sprinkler model — most residential impact heads are designed for 30 to 70 PSI, and operating above that range will cause excess distance and potentially damage the head over time.
The Sprinkler Leaks at the Base
Leaking at the connection point is usually a worn washer or damaged thread seal. Wrap the male threads with fresh plumber's tape (PTFE tape) before reconnecting, and replace the internal rubber washer if it's cracked or flattened. Do not overtighten — hand-tight plus a quarter turn is usually sufficient for standard garden hose thread connections.
How to Adjust Impact Sprinklers in an In-Ground System
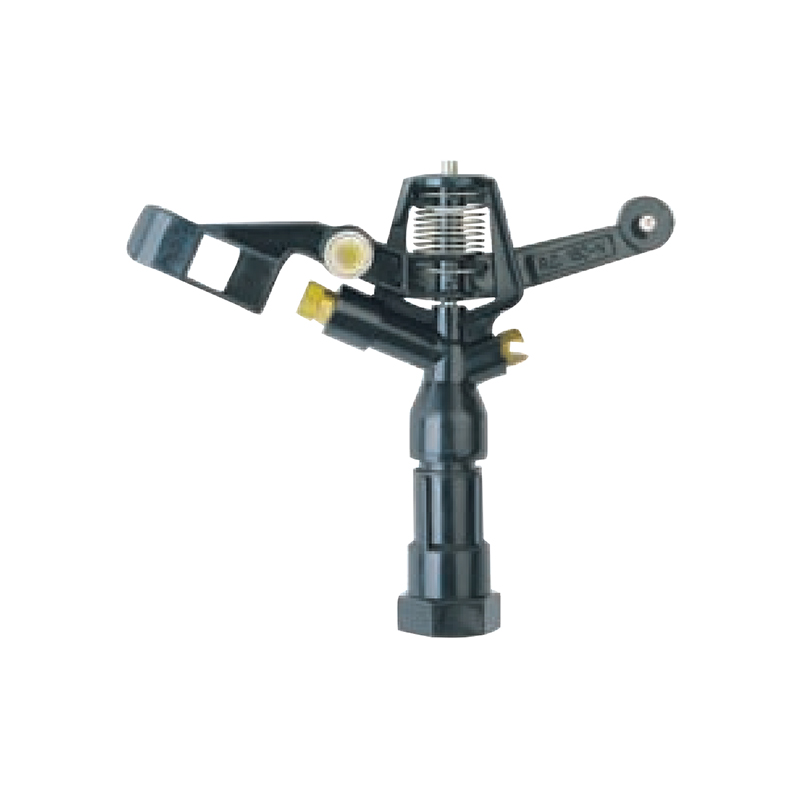
In-ground impact sprinklers — the kind that pop up when the zone activates — follow the same adjustment principles as above, but the access and working conditions are different. The head sits in a sleeve underground, and you typically need to pull the riser up manually to access the adjustment collars.
- Activate the irrigation zone so the riser pops up and water is flowing.
- Grip the riser body firmly to hold it in the up position (some models have a collar you can twist to lock it up for easier adjustment).
- Adjust the trip collars as described above. On most in-ground impact sprinkler heads, the collars are at the top of the riser and can be pushed with a finger.
- Check that the riser is vertical in its sleeve. If the body is canted to one side due to soil movement, the entire spray pattern will be off. Dig around the sleeve if necessary and repack soil to correct the angle.
- Allow the zone to run and observe the full arc before shutting off.
One important note for in-ground systems: the operating pressure at each head in the system may differ from your main supply pressure due to pipe friction loss, elevation changes, and the number of heads running simultaneously. Heads at the end of a long run often operate at significantly lower pressure than heads near the supply valve. This means throw distance adjustments made at one head may not translate to another head on the same zone. Adjust each head individually while that zone is running.
Seasonal Maintenance Tips to Keep Your Impact Sprinkler Performing Well
Proper maintenance reduces how often you need to re-adjust and extends the working life of the sprinkler significantly. A well-maintained impact sprinkler can last 10 to 20 years in normal use; a neglected one may fail after two or three seasons.
Before the Season Starts
- Inspect the nozzle for mineral deposits. Soak it in white vinegar for 30 minutes to dissolve calcium buildup, then rinse thoroughly.
- Check the bearing for smooth rotation. Apply a light silicone lubricant (not WD-40, which can attract dirt and degrade rubber components) if the bearing feels stiff.
- Inspect all rubber washers and O-rings for cracking or flattening. Replace any that look degraded before leaks develop.
- Test the deflector arm spring by manually flicking it. It should snap back with moderate force.
During the Season
- Run each zone at least once per week during the growing season and observe all heads for proper rotation and coverage. A head that has stopped rotating while others in the zone are working is easy to miss until a dead patch appears in the lawn.
- After any heavy rain or soil disturbance, check that in-ground heads are still vertical.
- If you mow near impact sprinkler spikes, check that the spike is still properly seated in the ground and hasn't been knocked sideways.
End of Season
- Drain all water from portable impact sprinklers before storing. Residual water expands when frozen, cracking the body or distorting the bearing.
- Store sprinklers in a dry location out of direct sunlight. UV exposure degrades plastic components over several years.
- For in-ground systems in freeze-prone climates, perform a full blowout with compressed air or hire a professional to winterize the system.
Impact Sprinkler vs. Other Sprinkler Types: When to Use Each
Understanding when an impact sprinkler is the right tool helps you make smarter decisions about adjustment and placement. Impact sprinklers excel in specific scenarios but are not the best choice for every situation.
| Sprinkler Type | Best Coverage Area | Wind Resistance | Typical Throw | Adjustment Flexibility |
|---|---|---|---|---|
| Impact Sprinkler | Medium to large open areas | Good (low-angle jet) | 25–50 ft | High (arc, distance, speed) |
| Oscillating Sprinkler | Rectangular lawns | Poor (high arc spray) | 15–30 ft | Moderate (width, range) |
| Rotary Sprinkler | Small to medium circles | Moderate | 10–20 ft | Low |
| Soaker Hose | Narrow rows and beds | Excellent (no airborne water) | N/A | Low |
| Drip Irrigation | Individual plants and containers | Excellent | N/A | High (emitter selection) |
Impact sprinklers stand out for large open lawn areas where throw distance matters and wind occasionally interferes with irrigation. Their low-angle, high-velocity jet is far more resistant to wind drift than the soft, high-arc spray of an oscillating sprinkler. On a moderately windy day (10–15 mph), an oscillating sprinkler may lose 30–50% of its effective coverage to drift; an impact sprinkler under the same conditions loses considerably less.
They are, however, less ideal for flower beds with delicate plants (the impact force can damage tender growth), for areas requiring very precise coverage boundaries (the spray at the outer edge of the arc is somewhat diffuse), and for container gardening or raised beds where you need water directed at the soil rather than the canopy.
Fine-Tuning Coverage: Advanced Techniques for Even Watering
Once you've nailed the basic arc and distance settings, there are additional techniques that professional irrigation installers use to squeeze better performance out of impact sprinklers. These aren't always necessary for a simple backyard lawn, but they make a real difference in larger or more complex areas.
Head-to-Head Coverage
The gold standard in sprinkler design is called head-to-head coverage: each sprinkler should throw water all the way to the adjacent sprinkler's position. So if your impact sprinklers are spaced 30 feet apart, each one should be throwing water 30 feet. This creates 100% overlap at the midpoint, which sounds like overwatering but is actually necessary to compensate for the natural taper in application rate toward the outer edge of any sprinkler's zone. The application rate near the nozzle is high; it drops significantly toward the edge of the throw. With head-to-head coverage, each zone's high-rate inner area compensates for the adjacent zone's low-rate outer edge.
Catch Cup Testing
To measure whether your coverage is actually even, do a catch cup test. Place straight-sided containers (tuna cans work well) at regular intervals across the watering zone — say, every 5 feet in a grid pattern. Run the sprinkler for exactly 15 minutes, then measure the water depth in each can. Ideally, all cans should have roughly equal amounts. A well-adjusted impact sprinkler system should show no more than a 20–25% variation between the highest and lowest cups. Greater variation points to specific adjustments needed: a can with too little water is in a coverage gap; a can with too much may be in an overlap zone.
Pressure Regulation for Consistent Performance
If your water pressure varies significantly (anything more than about 10 PSI fluctuation during irrigation), adding a pressure regulator to each zone or to the main supply will stabilize your impact sprinkler's throw distance. Regulators that maintain a fixed output pressure — typically available at 30, 45, and 60 PSI settings — cost between $15 and $40 and install in line with the supply hose or riser. The difference in consistent coverage can be significant, especially in systems where multiple zones share a common supply and one zone activating drops pressure in others.
Choosing the Right Riser Height for In-Ground Systems
For in-ground impact sprinklers, the riser height — how far the head extends above the turf when activated — affects coverage significantly. A head that pops up only 2 inches above a 3-inch lawn is effectively blocked by the grass, dramatically reducing effective throw distance. Most turf applications use 4-inch pop-up heads in short-cut lawns and 6-inch heads in medium-height turf. For ornamental grasses or groundcover planting beds that grow taller, 12-inch risers may be needed. Adjusting the arc and distance settings without accounting for obstruction from surrounding vegetation is a common mistake that wastes hours of troubleshooting.
Quick Reference: Impact Sprinkler Adjustment Summary
Here's a consolidated reference for the most common adjustment tasks on a standard impact sprinkler head:
| Goal | What to Adjust | Direction | Notes |
|---|---|---|---|
| Widen arc | Trip collars | Move collars farther apart | Max arc: 360° |
| Narrow arc | Trip collars | Move collars closer together | Min arc: ~40° |
| Reduce throw distance | Deflector shield | Press shield into stream | Also widens spray angle |
| Increase throw distance | Deflector shield | Lift shield out of stream | Full jet for max range |
| Speed up rotation | Spring tension screw | Tighten | Don't overtighten |
| Slow down rotation | Spring tension screw | Loosen | Check for stalling |
| Change base flow rate | Nozzle | Swap to larger or smaller | Most models use interchangeable nozzles |
| Enable full-circle rotation | Trip collars | Move both collars out of lever path | Head spins continuously one way |
Most adjustments can be done in under two minutes once you're familiar with your specific sprinkler model. The first time through, budget about 15–20 minutes per head to observe the full cycle and make corrections. After that, small tweaks as seasons change or coverage requirements shift take very little time.
The key point to keep in mind is that impact sprinkler adjustment is iterative — you set, observe, adjust, and observe again. No adjustment is permanent, and the goal is a coverage pattern that puts the right amount of water in the right place consistently over time. With the right combination of arc, distance, and rotation speed settings, a properly adjusted impact sprinkler is one of the most reliable and cost-effective irrigation tools available for any sized property.
Prev:How to Wind a Garden Hose on a Reel: Step-by-Step GuideNext:How to Use a Soaker Hose: Setup, Timing & Pro Tips
Related products
-
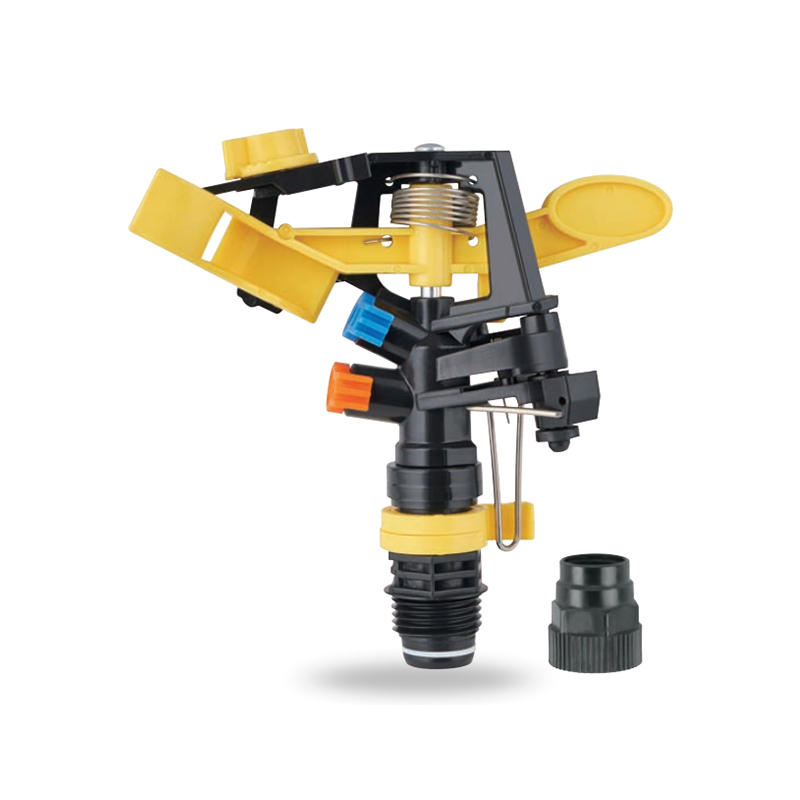
Impact sprinkler for agricultural irrigation is a common and efficient agricultural irrigation tool designed for large areas of farmland. Its unique structure can evenly cover a large area by rotating...
See Details -
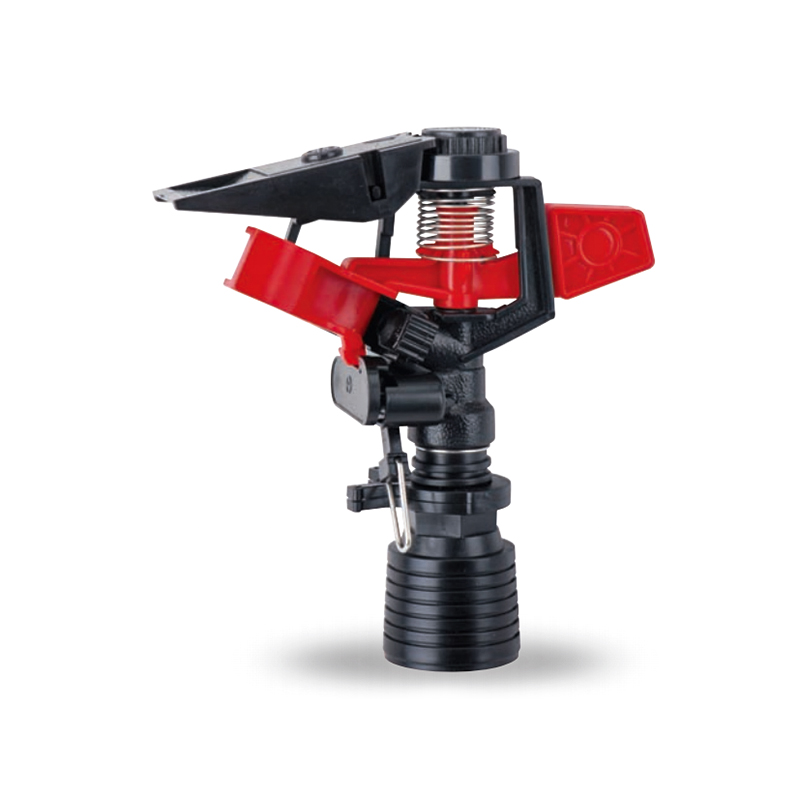
This 360 degree adjustable rocker arm nozzle impact sprinkler is an essential part of an irrigation system designed to meet a wide range of horticultural and agricultural needs. Its flexible adjustmen...
See Details -
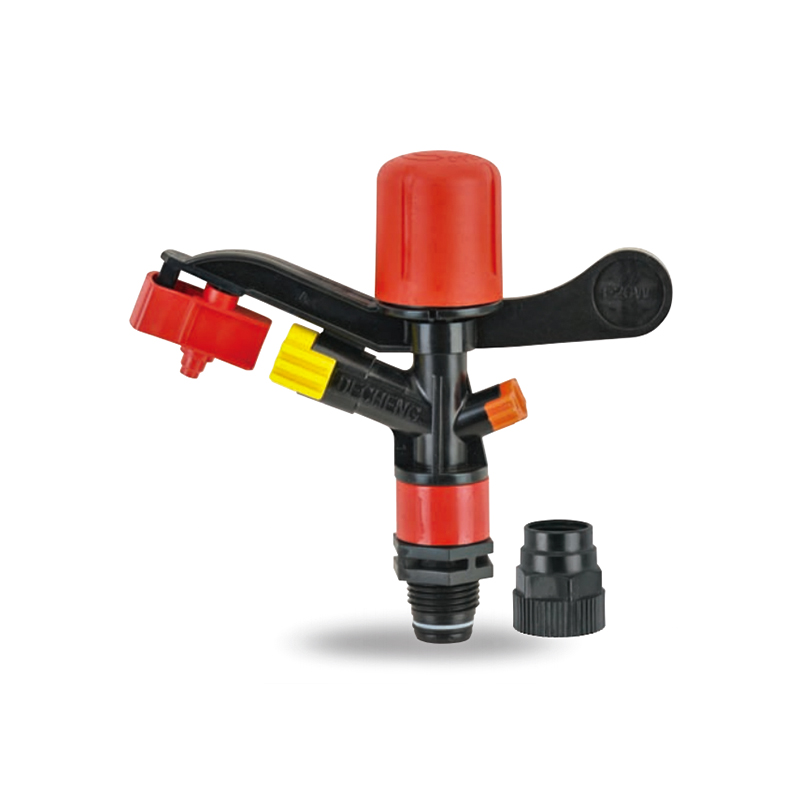
The Plastic Full-Circle Impact Sprinkler Sprayer is a highly efficient full-circle irrigation device designed to provide even moisture coverage. Its lightweight plastic material makes this sprinkler e...
See Details -
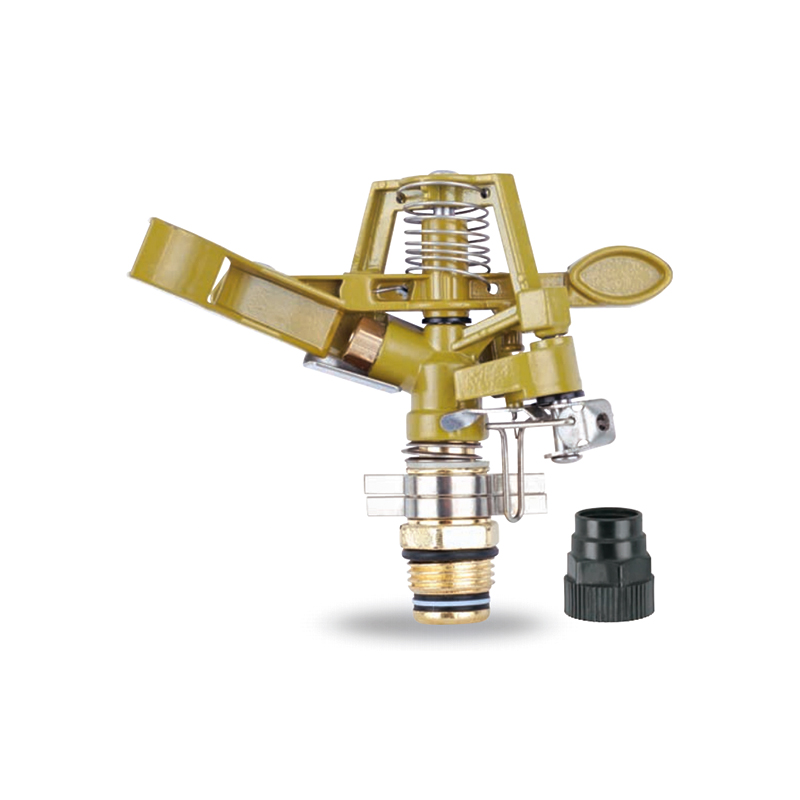
The Irrigation System Adjustable Head Mobile Rotary Zinc Sprinkler is an efficient rotary sprinkler designed for flexible irrigation needs. Its adjustable head allows the user to easily adjust the dir...
See Details -
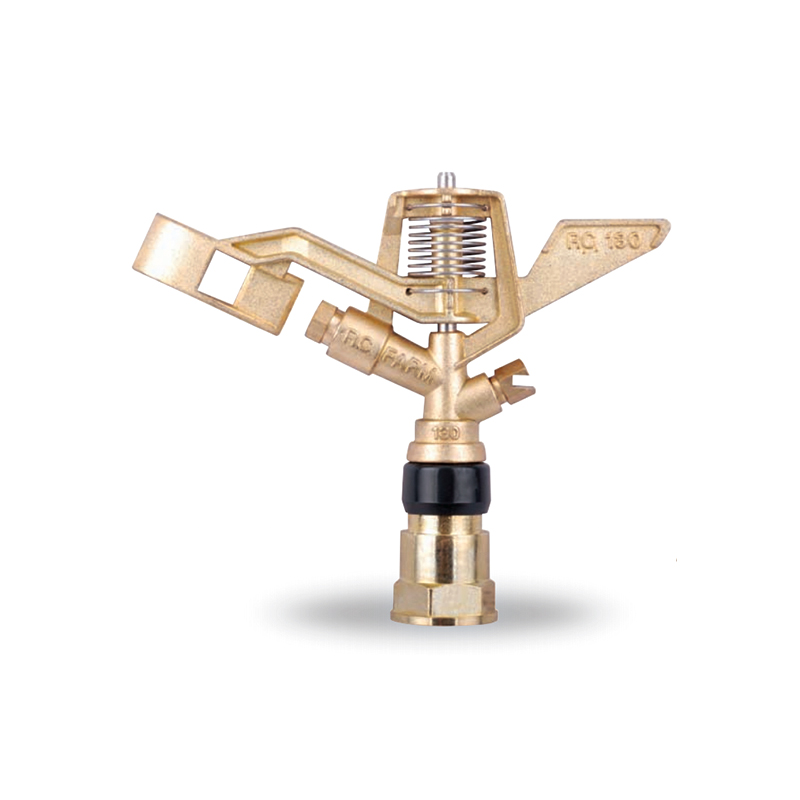
This 3/4” Zinc Alloy Swivel Arm Irrigation Watering System Impact Sprinkler is ideal for agricultural irrigation systems due to its superior durability and corrosion resistance. Its rugged constructio...
See Details -
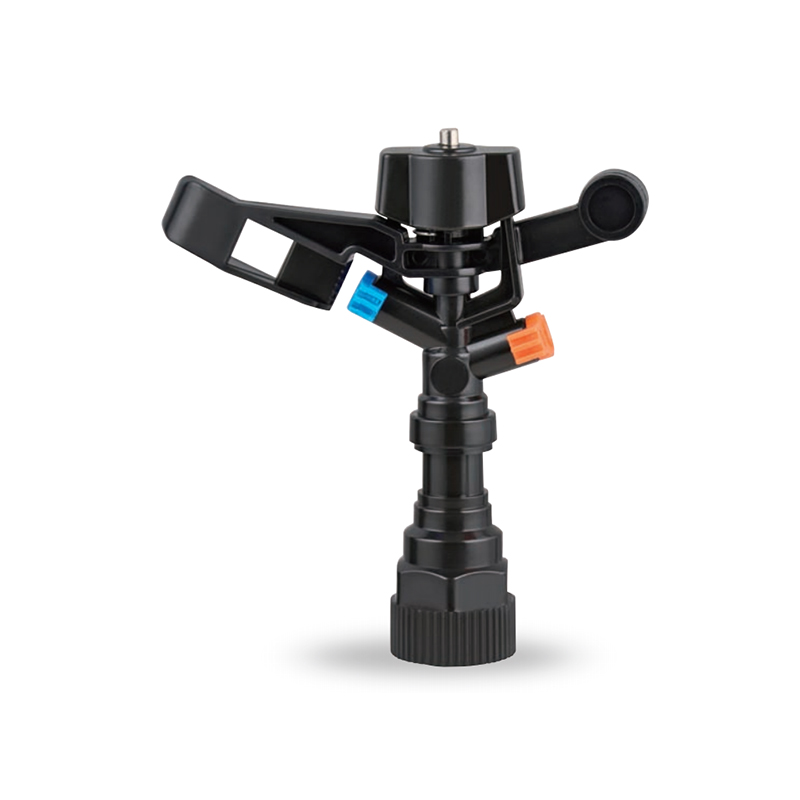
The Double nozzle garden farm impact full-circle sprinkler is well-designed to efficiently and evenly spray water, thus enhancing the quality of crop growth. Whether it's in the home garden or on a la...
See Details -
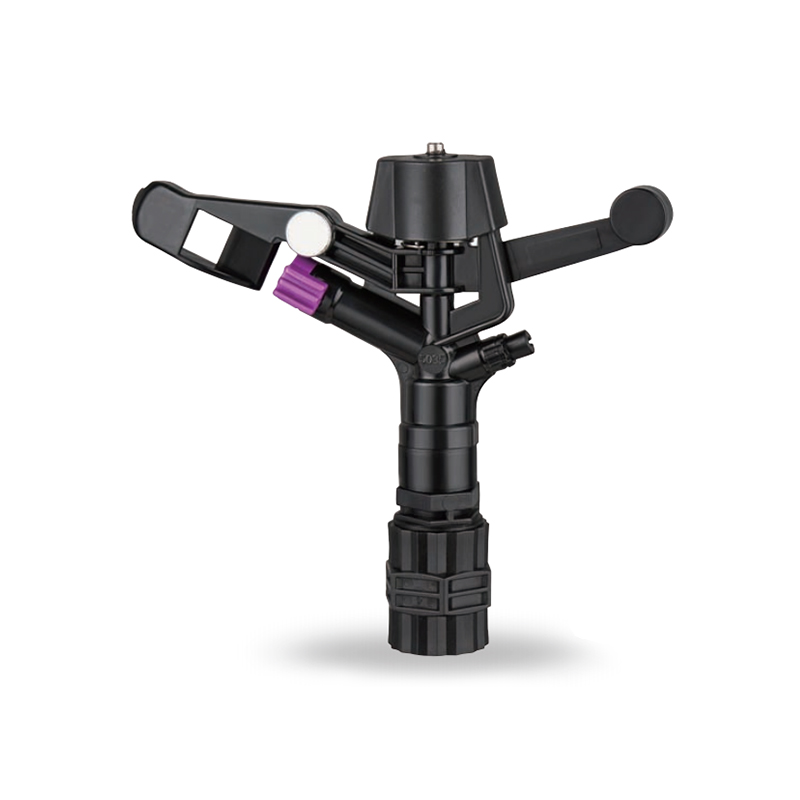
Double nozzle agricultural water plastic impact sprinkler for irrigation sprinkler combines practicality and durability with a dual nozzle system that provides extensive water coverage for a wide rang...
See Details -
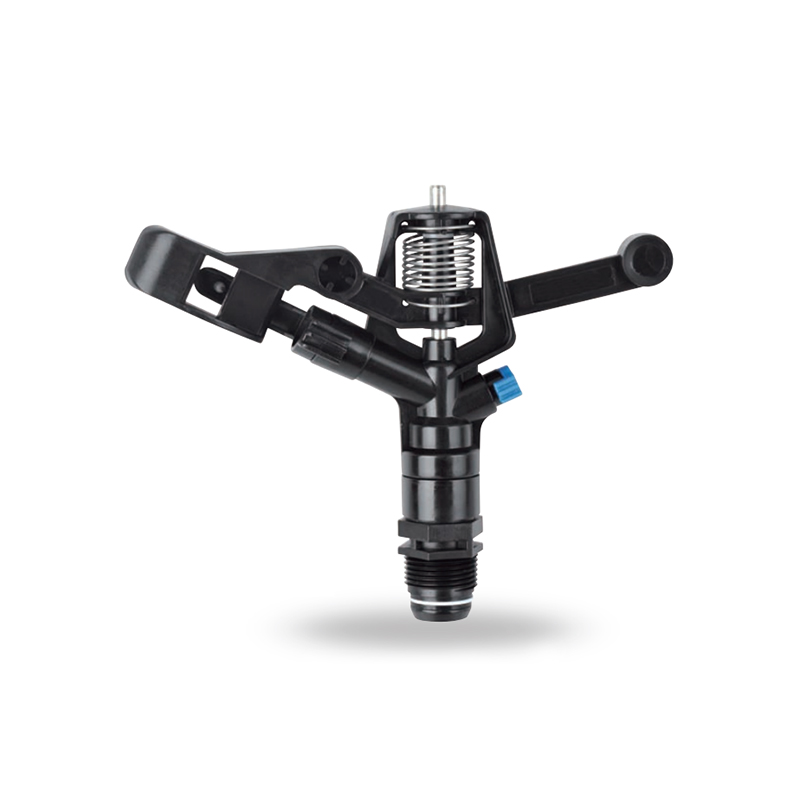
The POM agricultural irrigation sprinkler water impact sprinkler is known for its excellent abrasion resistance and durability, ensuring consistent performance over time. It is designed to increase wa...
See Details -
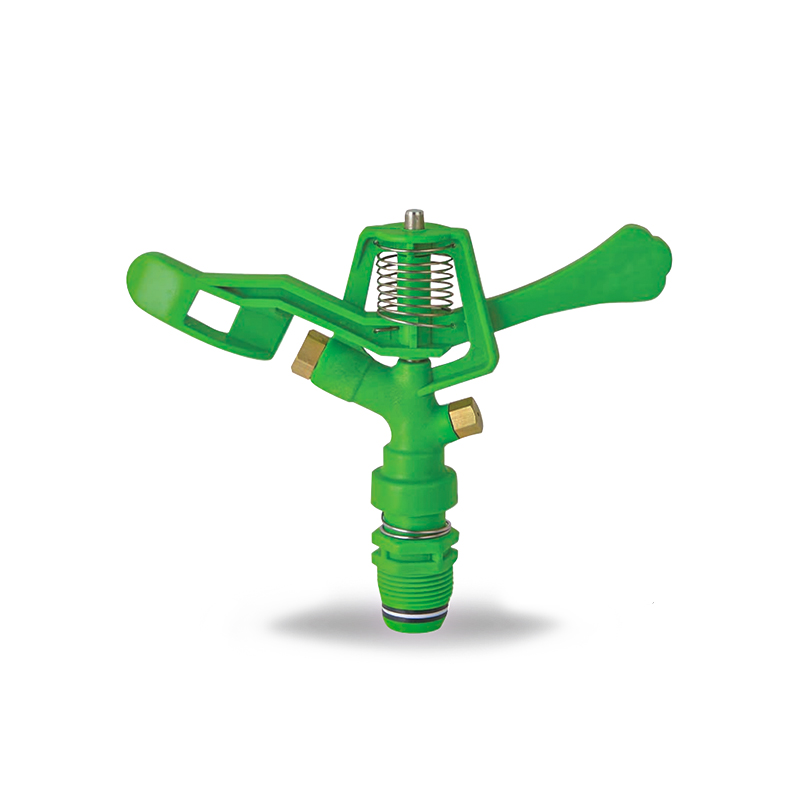
The POM Agricultural Irrigation Sprinkler with Metal Nozzles is a device designed for efficient irrigation, combining premium polyacetal (POM) material with durable metal nozzles to ensure superior sp...
See Details -
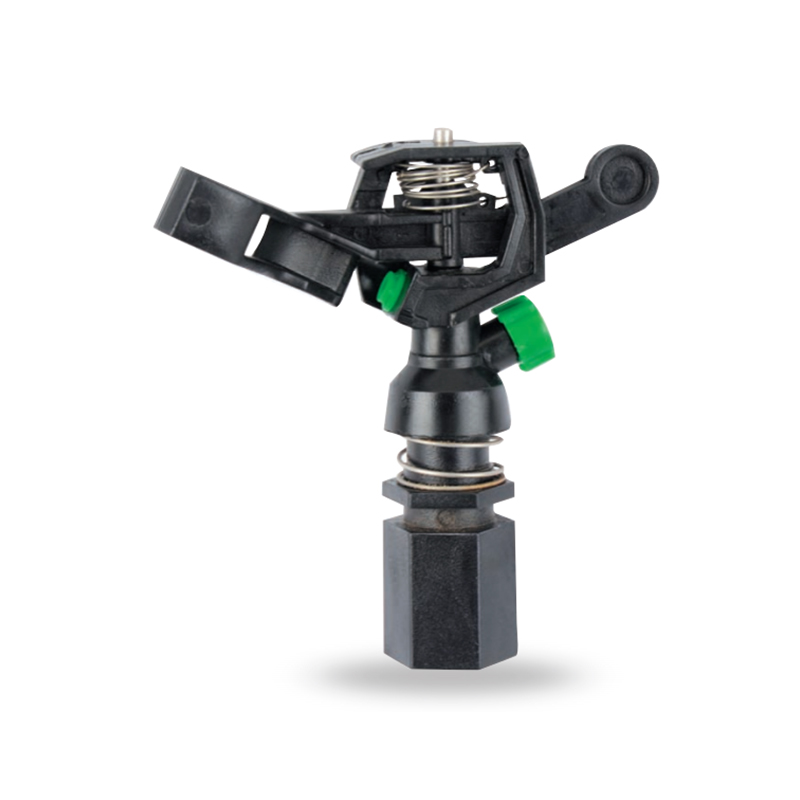
Watering irrigation system 3/4 inch nozzle field Impact Sprinkler is perfect for field irrigation and easily meets the water needs of large crops. Its powerful spray ensures that every nook and cranny...
See Details -
The POM Agricultural Irrigation Sprinkler with Brass Nozzles is an efficient and durable irrigation device designed to meet a wide range of agricultural needs. The sprinkler is made of polyacetal (POM...
See Details -
The Double Nozzle Garden Farm Impact Part-Circle Sprinkler is a highly efficient garden irrigation device designed for large planting areas. Its double nozzle design produces a strong, even stream of ...
See Details

PRODUCTS & SERVICES

CONTACT US
 No.518, Ruihao Road, Lizhou Street, Yuyao City, Zhejiang Province, China
 +86-13105554615 / +86-18005843886
 decheng@dcssq.com fredzhu@dcssq.com
 LISA
LISA
 Fred Zhu
Copyright © Ningbo Dewo Irrigation Equipment Co., Ltd. All Rights Reserved. China Agricultural Plastic Sprinkler Manufacturers Wholesale Irrigation Plastic Sprinkler Factory
