 Search for...
 English
 Español
 中文简体
中文简体How to Adjust an Oscillating Sprinkler for Perfect Coverage?
Content
- 1 How an Oscillating Sprinkler Actually Works
- 2 Identifying the Adjustment Controls on Your Oscillating Sprinkler
- 3 Step-by-Step: How to Adjust an Oscillating Sprinkler for a Rectangular Lawn
- 4 Adjusting for One-Side-Only or Partial Coverage
- 5 Oscillating Sprinkler Coverage Comparison Table
- 6 How to Adjust a Butterfly Sprinkler Specifically
- 7 Common Adjustment Mistakes and How to Fix Them
- 8 Optimizing Watering Schedules Around Your Adjustment Settings
- 9 Adjusting for Different Lawn Shapes
- 10 Maintenance Adjustments: Keeping Your Oscillating Sprinkler Accurate Over Time
- 11 How to Adjust an Oscillating Sprinkler Connected to a Timer
- 12 Water Efficiency Tips When Adjusting Your Oscillating Sprinkler
- 13 Choosing the Right Oscillating Sprinkler for Easy Adjustment
- 14 Frequently Asked Questions About Adjusting an Oscillating Sprinkler
Adjusting an oscillating sprinkler is straightforward once you know the three main controls: the range slider (how far the water shoots), the left and right end-stop tabs (the sweep angle), and the flow control knob (water pressure/volume). Get those three set correctly for your lawn shape and you will cover every dry patch without flooding your driveway or sidewalk. The sections below walk through each control in detail, explain common mistakes, and show you how to dial in a Butterfly Sprinkler or any comparable oscillating model for perfect lawn coverage.
How an Oscillating Sprinkler Actually Works
Before touching any adjustment dial, it helps to understand the mechanism. An oscillating sprinkler has a long metal or plastic tube drilled with anywhere from 16 to 20 small nozzle holes. A cam-and-gear assembly driven by water pressure rocks the tube back and forth across an arc that can span up to 180 degrees. The water exits each nozzle in a fan pattern, and the sweeping motion combines those fans into a rectangular coverage footprint — typically anywhere from 10 ft × 20 ft for a compact model up to 20 ft × 65 ft for a heavy-duty model like the Butterfly Sprinkler's larger variants.
The oscillating mechanism is powered entirely by water pressure. Most residential municipal supplies deliver 40–80 PSI at the outdoor spigot. Oscillating sprinklers are generally rated for 30–70 PSI optimal operation. Running them below 30 PSI causes the tube to stall mid-swing and leaves dry strips; running above 70 PSI can mist water away in wind or damage nozzle seals. Keep that pressure window in mind when you adjust.
Nozzle holes per tube
Maximum sweep arc
Optimal water pressure
Max length coverage
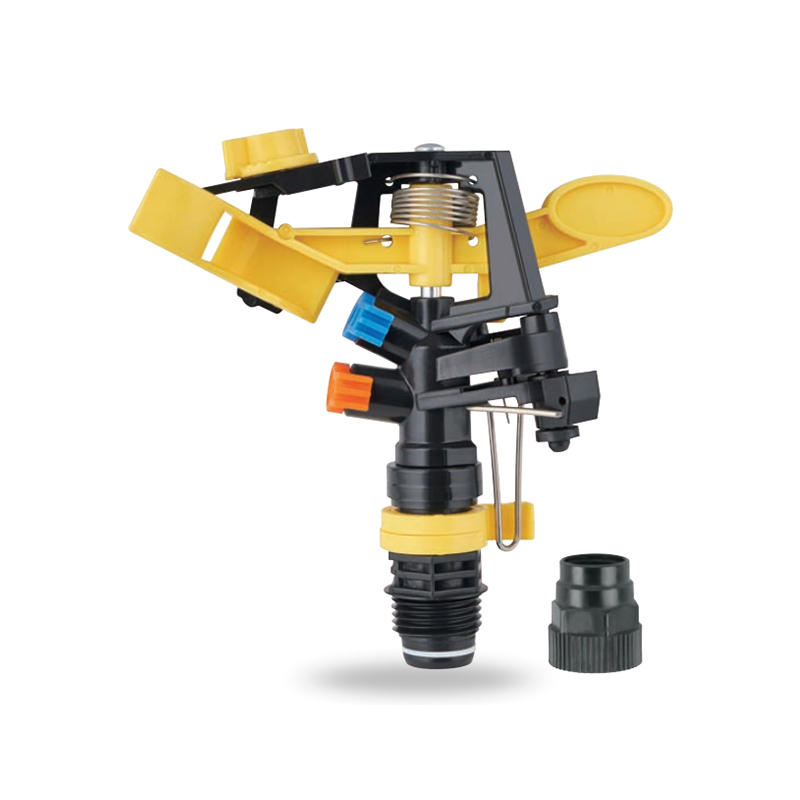
Identifying the Adjustment Controls on Your Oscillating Sprinkler
Different brands label their controls differently, but every oscillating sprinkler — including the Butterfly Sprinkler series — has the same three functional adjustments. Here is where to find them:
1
End-Stop Tabs (Left and Right Sweep Limiters)
These are small plastic tabs or sliders located at each end of the oscillating tube. Sliding them inward narrows the sweep arc; pushing them to the outer ends opens up the full 180-degree sweep. On the Butterfly Sprinkler, the tabs are color-coded — typically one tab is marked "L" and the other "R" — and they click into grooves spaced about 10 degrees apart. You will feel a distinct click at each position.
2
Range/Distance Slider
Located on the top of the tube or integrated into the base, the range slider partially blocks some nozzle holes to reduce the total throw distance. Sliding it fully open allows all holes to spray; sliding it partially closed blanks off the holes on one side (usually the far end of the tube), which shortens the rectangular coverage footprint. This is particularly useful when one side of your lawn borders a fence or building.
3
Flow Control Knob (Faucet or In-line)
This is technically at your outdoor spigot rather than on the sprinkler itself, but it is the most powerful adjustment. Turning the faucet partially closed drops pressure and reduces throw distance significantly — on most oscillating models, dropping from 60 PSI to 40 PSI cuts the throw distance by roughly 15–20%. If your sprinkler is overshooting in all directions, reduce faucet flow before touching the on-unit sliders.
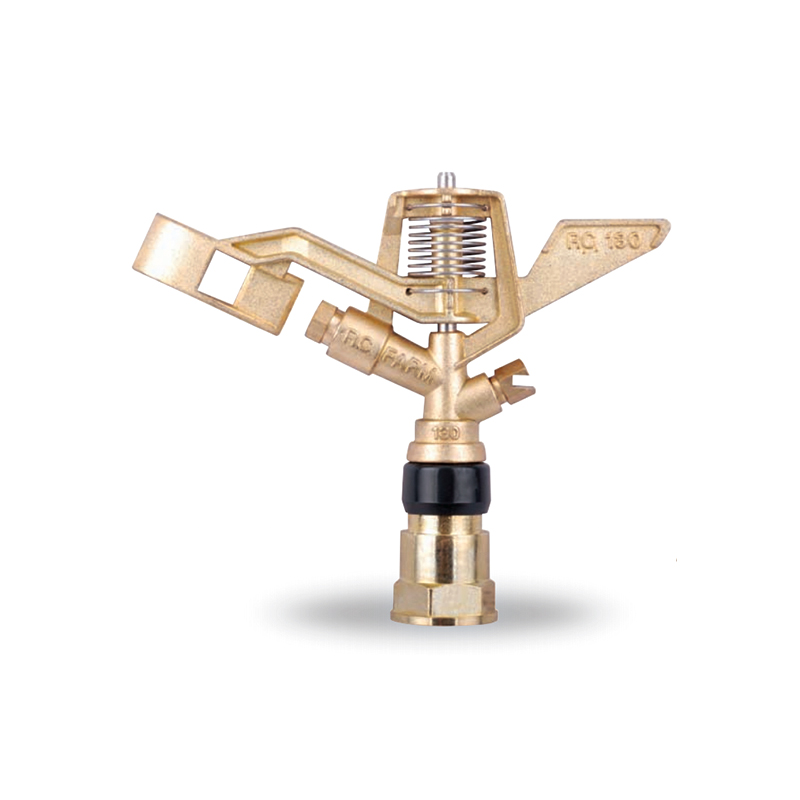
![]()
Step-by-Step: How to Adjust an Oscillating Sprinkler for a Rectangular Lawn
The most common lawn shape is a simple rectangle, and oscillating sprinklers are specifically designed for this shape. Follow these steps in order for the cleanest result.
- Measure your lawn. Use a tape measure or pacing to get the length and width in feet. Write it down. For example: 30 ft wide × 50 ft long.
- Check your sprinkler's rated coverage. The box or manual will show a range such as "up to 4,000 sq ft" or give dimensions like "20 ft × 65 ft." A Butterfly Sprinkler model rated for 20 ft × 65 ft can cover a 30 ft × 50 ft lawn in two positions.
- Position the sprinkler at the center of the width. For a 30-ft-wide lawn, place the sprinkler 15 ft in from either side edge. The tube axis should run parallel to the long dimension of the lawn.
- Set the end-stop tabs to full open (180 degrees). Push both tabs to their outermost positions. Turn on the water briefly (5–10 seconds) to see where the spray reaches on both sides.
- Adjust each tab inward if the spray overshoots the edge. Move the left tab inward one click at a time, test, repeat. Do the same for the right tab. Each click on most Butterfly Sprinkler models reduces the arc by approximately 10 degrees, which translates to roughly 1–2 ft of adjustment at the spray boundary.
- Adjust the range slider for throw distance. If the spray reaches too far along the long axis (the 50-ft direction in our example), slide the range control partially closed until the stream just reaches the far edge of the grass without hitting the fence or sidewalk.
- Fine-tune with faucet pressure. If you still overshoot after slider adjustment, close the faucet slightly. Check that the oscillating mechanism still swings smoothly — if it stalls, you have dropped pressure too low.
- Run a full cycle and inspect for dry spots. Let the sprinkler run for 2–3 complete sweeps, then walk the lawn perimeter. Any dry strip indicates the tab needs to be pushed outward one click, or the sprinkler needs to be repositioned.
Adjusting for One-Side-Only or Partial Coverage
Not every lawn is a neat rectangle. Sometimes you need to water only one half of the sweep — for example, when the sprinkler is placed near a house wall or a paved patio. Here is how to set up one-sided or partial oscillation:
One-Side Coverage (Up to 90 Degrees)
Push the center-line tab (some models have a center lock) to the middle of the tube's swing range. Pull the opposite end-stop tab all the way to center. The sprinkler will now sweep from center to one edge only. This is ideal for narrow strips alongside walkways. Butterfly Sprinkler models with a center-lock feature can hold the tube at any fixed angle while still allowing partial sweep on one side.
Asymmetric Arc (Different Left vs. Right Distance)
Set the left tab 2–3 clicks inward from the edge and leave the right tab fully open. This is useful when one side of your lawn ends at a flower bed and the other side has a full open grass area. Test with a short burst each time you move a tab — visual confirmation beats guesswork every time.
Oscillating Sprinkler Coverage Comparison Table
Different oscillating sprinkler models cover different areas. The table below gives a practical reference for common settings at standard residential water pressure (around 50 PSI). Note that actual coverage varies with water pressure — higher pressure increases throw distance, lower pressure reduces it.
| Sprinkler Type | Max Width (ft) | Max Length (ft) | Coverage Area (sq ft) | Best For |
|---|---|---|---|---|
| Compact Oscillating | 10 | 20 | 200 | Small garden beds |
| Mid-Range Oscillating | 16 | 40 | 640 | Average suburban lawn |
| Butterfly Sprinkler Standard | 20 | 50 | 1,000 | Medium-large lawns |
| Butterfly Sprinkler Heavy-Duty | 20 | 65 | 1,300 | Large lawns, sports fields |
| Full-Width Commercial | 24 | 80 | 1,920 | Commercial grounds |
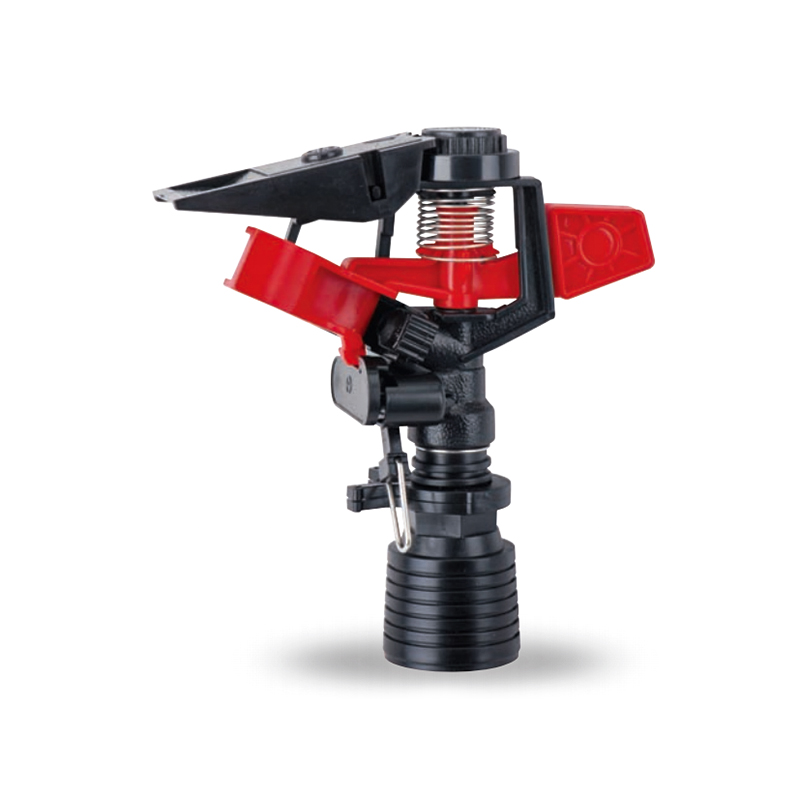
How to Adjust a Butterfly Sprinkler Specifically
The Butterfly Sprinkler is a popular oscillating sprinkler design known for its dual-wing base that locks firmly to the ground and its easy-grip end-stop tabs. Here is the specific adjustment process for Butterfly Sprinkler models:
Locating the Butterfly Sprinkler Tabs
On Butterfly Sprinkler units, look for two colored end caps at the tips of the spray tube. The left cap (typically blue or marked "L") and the right cap (typically red or marked "R") can each be pressed inward toward the center of the tube to restrict the sweep on that side. Press the cap inward and you will feel it click at each 10-degree interval. Pull it back outward to open the sweep wider. Some Butterfly Sprinkler variants use a sliding groove instead of a click-tab — in that case, slide the groove piece inward along a track.
Using the Butterfly Sprinkler Range Control
Some Butterfly Sprinkler models feature a top-mounted slider that runs along the length of the tube. Slide it toward the center of the tube to block more nozzle holes and reduce coverage length. Slide it to one end only if you need to cut coverage on one side (for example, if a sidewalk is close on the north end but open lawn extends far to the south). Always run a short test before committing to a setting.
Setting the Butterfly Sprinkler Base Angle
The dual-wing base design of the Butterfly Sprinkler also allows you to angle the entire unit forward or backward by pressing the base wings into soft ground at different depths. Tilting the nozzle tube forward by 5–10 degrees relative to horizontal can increase throw distance by 10–15% in calm wind conditions. This is an advanced tip particularly useful when your lawn is slightly larger than the sprinkler's rated distance at normal setup.
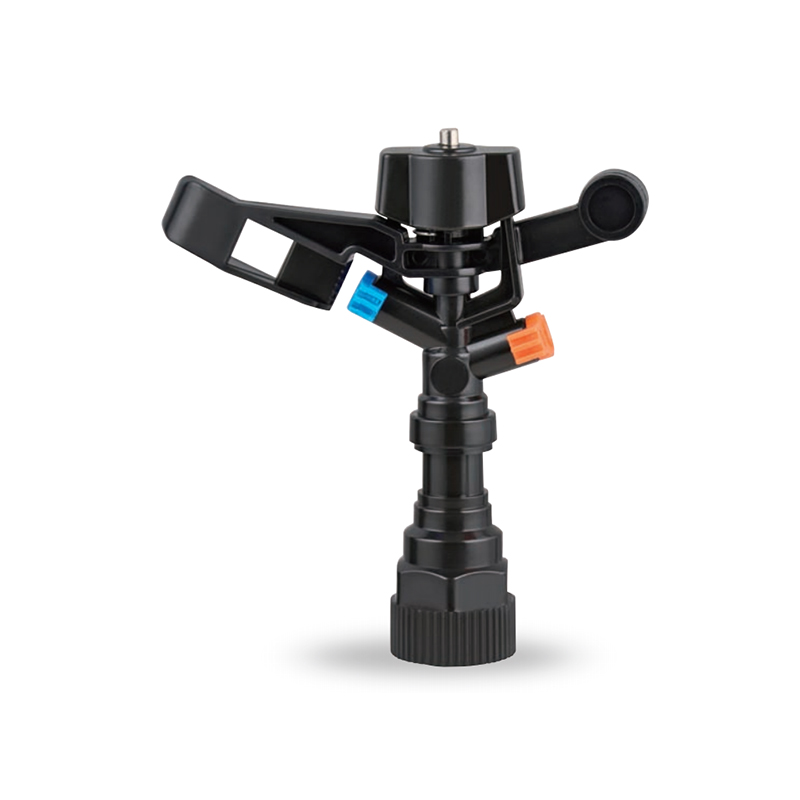
![]()
Common Adjustment Mistakes and How to Fix Them
Even experienced gardeners make the same handful of adjustment errors with oscillating sprinklers. Here are the most frequent problems and their solutions:
Dry Strips in the Middle of the Lawn
Cause: Clogged center nozzles or misaligned tube. The center of the tube often receives the least water because the spray arc is widest there.
Fix: Clean nozzles with a toothpick or needle. Verify the tube swings fully through its center point — sometimes a worn cam gear causes the tube to skip the center.
Sprinkler Stalls on One Side
Cause: Insufficient water pressure or end-stop tab set too far inward, creating a mechanical binding point.
Fix: Open the faucet slightly more. If the stall persists, pull the tab outward one click. Check for kinks in the supply hose — a kinked hose drops pressure dramatically.
Water Drifts Away in Wind
Cause: Pressure too high, creating a fine mist that wind carries off target.
Fix: Reduce faucet pressure until the spray streams are thick arcs rather than mist. A Butterfly Sprinkler positioned with the tube axis perpendicular to prevailing wind direction is less affected than one spraying into the wind.
Overspray on Sidewalk or Driveway
Cause: End-stop tabs fully open, or sprinkler not positioned at the correct center point.
Fix: First reposition the sprinkler so the paved area is fully outside the spray arc. If that does not help, bring both tabs inward incrementally. A common rule of thumb: bring each tab in by one click per foot of overspray you observe.
Uneven Water Distribution (One End Wetter)
Cause: Clogged nozzles on the less-wet end, or the tube is slightly tilted due to an uneven base.
Fix: Level the base by pressing the wings evenly into level ground. Then clear any blocked nozzles on the dry side with a needle.
Sprinkler Does Not Oscillate At All
Cause: Both end-stop tabs pushed to exactly the same position (the tube has no range to swing through), or pressure is below 25 PSI.
Fix: Push one tab outward at least 3 clicks relative to the other. Open the faucet fully. If it still does not move, the cam gear may be clogged with debris — flush with clean water.
Optimizing Watering Schedules Around Your Adjustment Settings
Getting the physical adjustment right is only half the job — knowing how long to run the sprinkler in each position matters just as much for lawn health. Here is a practical framework based on common lawn care guidance:
Run Time Calculation
Most lawns need 1 inch of water per week, including rainfall. An oscillating sprinkler at 50 PSI typically delivers about 0.5 inch per hour per covered zone. So a 30-minute run per zone twice a week hits the target. Use an empty tuna can placed in the spray zone to measure — when it has 0.5 inch of water in 30 minutes, your rate and timing are correct.
Best Time of Day
Water between 6 AM and 10 AM. Early morning watering reduces evaporation (midday can lose 30–50% of water to evaporation in hot weather, per University of California Agriculture research) and allows grass blades to dry before nightfall, reducing fungal disease risk. Evening watering leaves grass wet overnight, promoting mold and rot.
Overlap Positioning for Large Lawns
For lawns larger than your sprinkler's max coverage, run in overlapping zones. Move the sprinkler so each successive position overlaps the previous zone by roughly 10–15% of coverage width. For a Butterfly Sprinkler covering 20 ft wide, overlap by 2–3 ft between positions. This prevents the low-application edges common when zones are placed edge-to-edge without overlap.
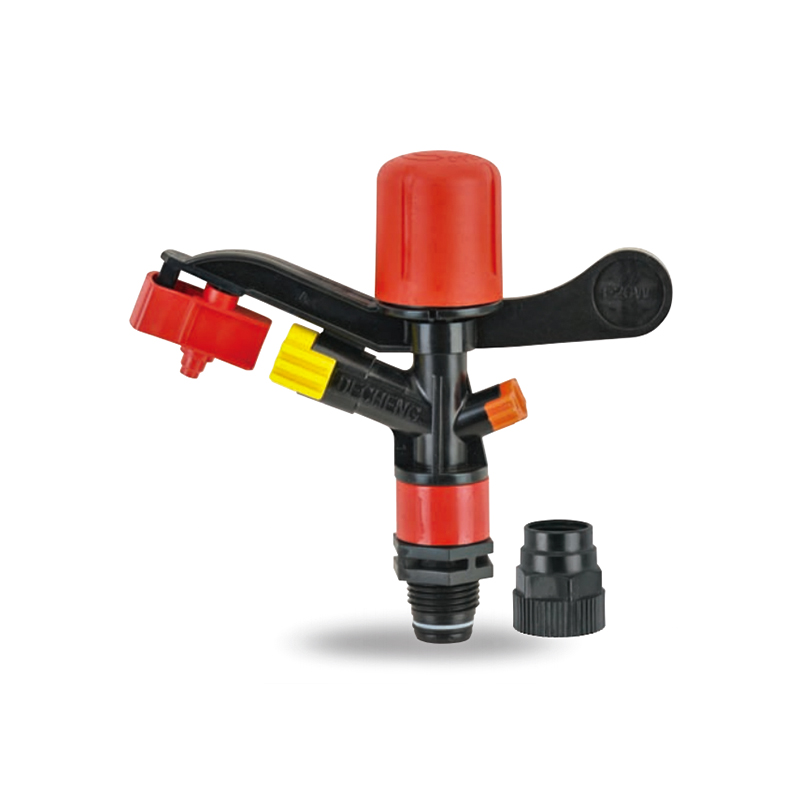
Adjusting for Different Lawn Shapes
Oscillating sprinklers excel on rectangles but can be configured for L-shapes, narrow strips, and corner lots with a little creative positioning. Here are the key strategies:
L-Shaped Lawn
Break the L into two rectangles. Position the sprinkler to cover the larger rectangle first with end-stop tabs set appropriately, then move it to cover the smaller arm. Set the tab on the side nearest the corner of the L to restrict overspray into the already-watered zone. Run time for each zone separately — do not try to cover the full L from a single sprinkler position.
Narrow Strip (Less Than 10 ft Wide)
For strips under 10 ft wide (common alongside driveways or fence lines), restrict both end-stop tabs heavily — bring them inward until the arc covers only 5–8 ft on each side of center. Consider turning the sprinkler so the tube axis is perpendicular to the strip's length rather than parallel. A Butterfly Sprinkler positioned across a narrow strip can deliver a precise band of coverage without hitting pavement.
Corner Lot or Triangular Area
Position the sprinkler at the right angle corner of the triangle, tube facing the opposite wall. Set one end-stop tab to limit spray at the short side of the corner, and leave the other side more open. Adjust the range slider to match the longest edge. Expect to leave a small triangle of the corner dry and hand-water or supplement with a separate small spot sprinkler.
Wide Lawn Needing Multiple Positions
For very wide lawns (over 40 ft), use two Butterfly Sprinkler units running simultaneously at opposite ends, with end-stop tabs set so the arcs meet at the center line without overlapping by more than 2–3 ft. Coordinate run times with a simple Y-connector and two hose timers to automate both positions.
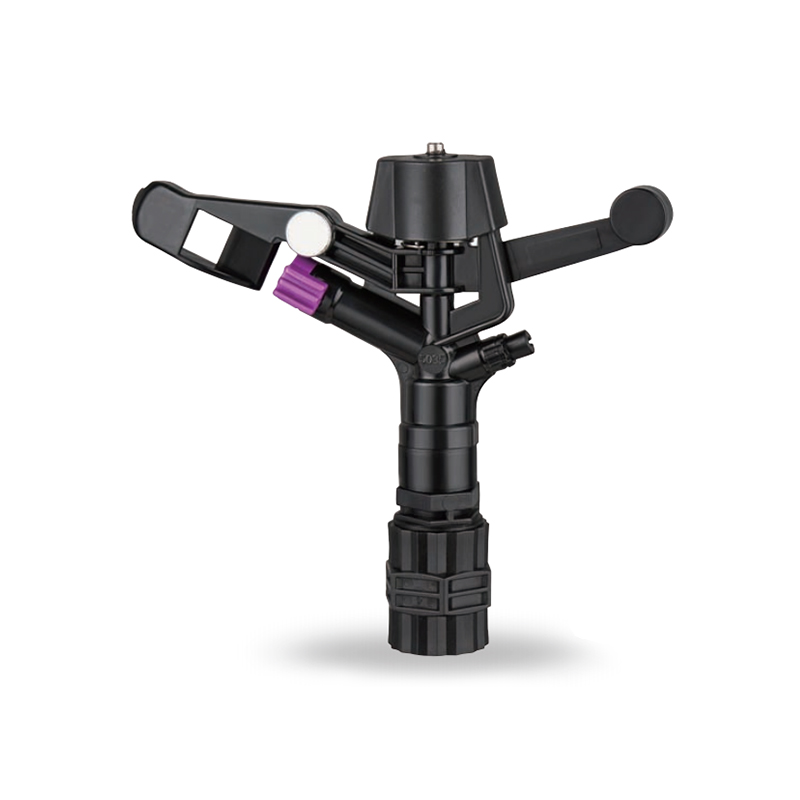
![]()
Maintenance Adjustments: Keeping Your Oscillating Sprinkler Accurate Over Time
Oscillating sprinklers lose adjustment accuracy over time due to nozzle clogging, worn cam gears, and degraded seals. These maintenance steps restore precise control:
01
Nozzle Cleaning (Every Season)
Mineral deposits from hard water clog individual nozzle holes, creating uneven spray patterns that no amount of tab adjustment will fix. Soak the tube in a 50/50 white vinegar and water solution for 30 minutes, then run clean water through at full pressure. For individual holes, use a thin needle or toothpick. Never use a drill bit — it enlarges the hole permanently and distorts the spray pattern. According to the American Water Works Association, water hardness above 200 mg/L (very common in arid regions) causes visible mineral buildup within a single season of regular use.
02
End-Stop Tab Inspection
Over time the click-groove mechanism inside the end-stop tabs can wear smooth, meaning tabs no longer hold their position under water pressure. Test this by setting a tab, turning the water on, and watching if the tab creeps outward during operation. If it does, the tab mechanism needs replacement. Many Butterfly Sprinkler models sell replacement tabs as a spare part. A quick field fix: wrap the tab base once with plumber's Teflon tape to add friction and hold the position temporarily.
03
Cam Gear Lubrication
The internal cam that drives the oscillating motion can wear out or seize after several seasons. If the sweep slows noticeably or becomes uneven (the tube pauses on one side longer than the other), the cam gear likely needs attention. Open the sprinkler base (usually two Phillips screws) and apply a small amount of waterproof silicone grease to the gear teeth. Petroleum-based greases degrade plastic gears — use only silicone. This simple fix can extend sprinkler life by 2–3 seasons.
04
Winter Storage to Preserve Adjustment Mechanisms
In freeze-prone climates, water left in the sprinkler tube during winter expands as ice and can crack both the tube and the range slider mechanism. Before the first frost, disconnect the sprinkler, hold it vertical with the hose connection pointing up, and blow out remaining water with a quick squeeze of the hose or a can of compressed air. Store the unit indoors away from direct sunlight. UV exposure degrades plastic tabs and sliders within 2–3 seasons, making the adjustment positions difficult to feel and hold.
How to Adjust an Oscillating Sprinkler Connected to a Timer
Hose timers and smart irrigation controllers are increasingly common. Adjusting your oscillating sprinkler in a timer-controlled setup involves a few extra considerations:
First, set all physical adjustments (end-stop tabs, range slider) before programming the timer. The timer only controls run time and schedule — it does not compensate for poor physical adjustment. A sprinkler hitting the sidewalk every morning at 6 AM is worse than one that requires manual re-positioning occasionally.
Second, if you use a smart timer that adjusts for weather (such as the Orbit B-hyve or Rain Bird models), factor in that it may cut run time on cool or cloudy days. Your physical adjustment should be calibrated for full-pressure, full-duration runs, and the timer scales from there. Recalibrate physical settings whenever you change from summer to fall watering schedules.
Third, if you run multiple Butterfly Sprinkler units on a split-zone timer, make sure each unit's hose segment is equal in length. Unequal hose lengths on a split connection create pressure imbalances — the unit on the shorter hose gets more pressure and overshoots its adjusted range, while the unit on the longer hose may stall mid-swing.
Quick Tip: After programming your timer, run the first automated cycle manually (override the timer to start it) while you are present. Walk the coverage area and confirm spray boundaries match your adjustment. This takes 5 minutes and prevents days of incorrect watering before you notice a problem.
Water Efficiency Tips When Adjusting Your Oscillating Sprinkler
Precise adjustment is also a water conservation tool. The U.S. Environmental Protection Agency (EPA) estimates that 30% of residential outdoor water use is lost to inefficient sprinkler application — primarily from overspray onto hardscape and from runoff caused by applying water faster than the soil can absorb it. Here is how to minimize waste while maximizing coverage:
- Use the cycle and soak method: instead of running the sprinkler for one continuous 30-minute session, run it 10 minutes, pause 20 minutes (let water soak in), then run another 10 minutes. This reduces runoff dramatically on sloped lawns and compacted soil.
- Set tabs to eliminate all hardscape overspray. Even a narrow strip of water hitting a driveway or sidewalk adds up to 5–10 gallons of waste per session.
- Reduce faucet pressure slightly on windy days. At wind speeds above 10 mph, fine mist spray drift wastes 20–30% of water before it reaches the ground, per research from the Irrigation Association.
- Use a rain gauge or soil moisture meter to skip watering sessions after natural rainfall. Most residential lawns do not need supplemental watering if they received 0.5 inch or more of rain in the past 3 days.
- Position a Butterfly Sprinkler so the long axis of coverage aligns with the longest dimension of your lawn. This minimizes the number of sprinkler positions needed to cover the area, reducing total run time and water use.
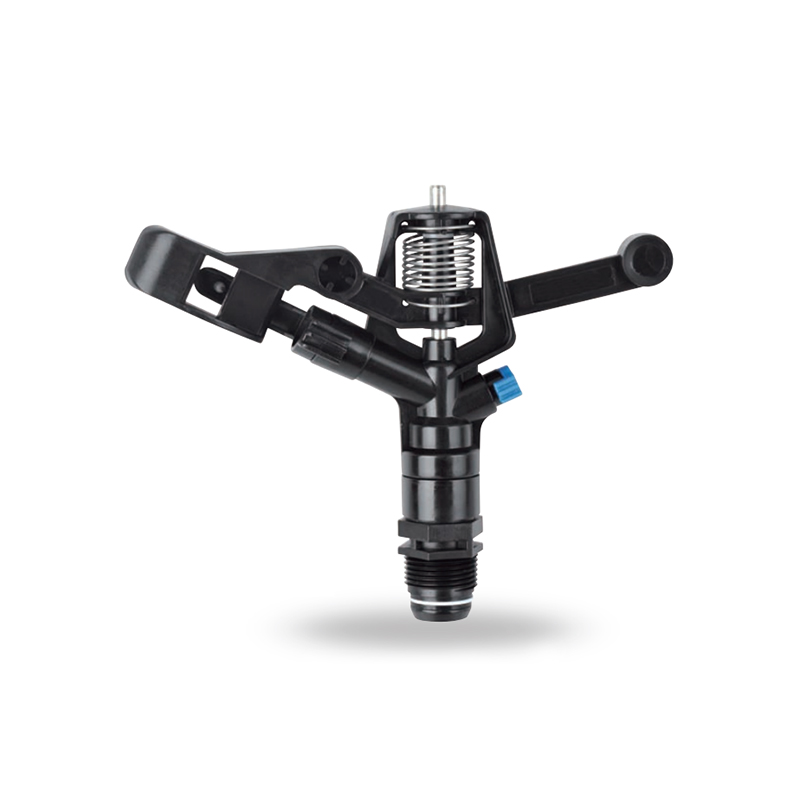
![]()
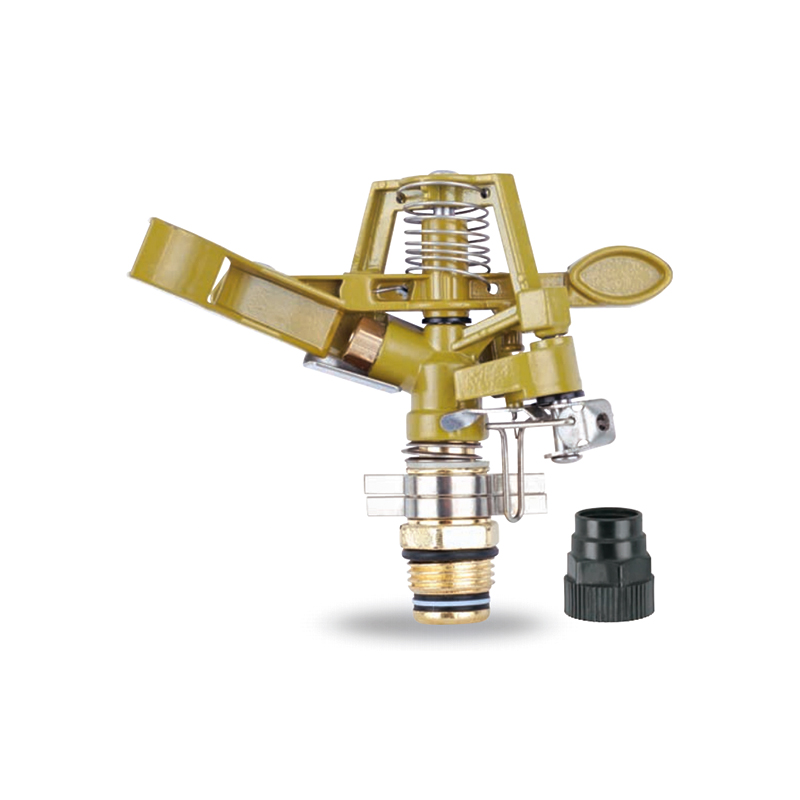
Choosing the Right Oscillating Sprinkler for Easy Adjustment
Not all oscillating sprinklers are equally easy to adjust. If you are shopping for a new unit or replacing a worn-out one, look for these features that make adjustment simpler and more precise:
1
Clearly Labeled Tabs
Look for color-coded or embossed L/R labels on the end-stop tabs. Unlabeled tabs are confusing in the field, especially when you are crouching down trying to see which tab corresponds to which side of the lawn.
2
Audible Click Positions
Tabs that click into position hold their setting under water pressure far better than smooth-sliding tabs. The Butterfly Sprinkler design is specifically recognized for its firm-click tab mechanism that resists creep during operation.
3
All-Metal Spray Tube
Metal tubes maintain straightness over multiple seasons, ensuring nozzles spray at consistent angles. Plastic tubes can warp in heat, causing some nozzles to spray slightly upward or downward and creating uneven coverage that adjustment alone cannot fix.
4
Stable Weighted Base
A heavy or spiked base keeps the sprinkler oriented correctly even when water pressure is high. A light base can rotate over time as the oscillating tube changes direction, gradually moving the sprinkler away from its calibrated position.
5
Wide Pressure Range Rating
A sprinkler rated for 20–80 PSI gives you maximum flexibility to fine-tune coverage via faucet pressure. Narrow-rated units (e.g., 40–60 PSI only) give you less room to adjust distance by pressure changes alone.
6
Separate Range Sliders Per Side
Some advanced oscillating sprinkler models — and certain Butterfly Sprinkler variants — offer independent range sliders for each half of the tube, so you can set different throw distances on the left and right sides independently. This is ideal for asymmetric lawns where one side needs more reach than the other.
Frequently Asked Questions About Adjusting an Oscillating Sprinkler
How do I adjust an oscillating sprinkler to only cover one side?
Push the end-stop tab on the side you want to exclude all the way inward to the center of the tube. The tab on the side you want to cover should remain at its normal outward position. This tells the oscillating mechanism to swing only from center to one edge, covering roughly 90 degrees of arc instead of the full 180 degrees.
Why does my oscillating sprinkler stop in the middle of swinging?
The most common cause is insufficient water pressure — below 25–30 PSI the cam gear lacks enough force to complete the swing. Open your faucet fully and check the hose for kinks. If pressure is adequate and the sprinkler still stalls, the cam gear may be clogged with debris; flush with clean water or apply silicone lubricant to the gear assembly.
How do I adjust a Butterfly Sprinkler to cover a narrow strip?
Press both end-stop tabs inward, leaving only 3–5 clicks of arc on each side. Then reduce faucet pressure to shorten the throw distance. If the strip is narrower than about 8 feet, consider rotating the Butterfly Sprinkler 90 degrees so the tube axis runs along the length of the strip instead of across it.
Can I adjust the throw distance of an oscillating sprinkler without a range slider?
Yes — faucet pressure is your main tool. Reducing pressure from 60 PSI to 40 PSI typically reduces throw distance by 15–20% on most oscillating models. You can also partially block individual nozzle holes with a small piece of waterproof tape as a temporary measure, though this is not ideal for long-term use.
How long should I run an oscillating sprinkler per zone?
At standard residential pressure (50 PSI), most oscillating sprinklers apply approximately 0.5 inch of water per 30 minutes per covered zone. For a target of 1 inch per week, run each zone for 30 minutes twice a week. Adjust based on soil type — sandy soils may need shorter, more frequent runs while clay soils benefit from the cycle-and-soak method.
Why does my oscillating sprinkler cover unevenly, with one end wetter than the other?
The most likely cause is clogged nozzles on the dry end. Soak the tube in white vinegar solution and clear the blocked holes with a needle. Also check that the tube is not warped (more common with plastic tubes after repeated summer heat exposure) — a warped tube sprays at inconsistent angles and creates uneven coverage regardless of tab settings.
What is the best water pressure for an oscillating sprinkler?
Most oscillating sprinklers, including Butterfly Sprinkler models, perform best between 40–60 PSI. Below 30 PSI the oscillating mechanism may stall; above 70 PSI water mists away in a fine spray that drifts in wind and overshoots the adjustment settings. If your municipal supply delivers high pressure, consider adding an inline pressure regulator before the sprinkler.
How do I adjust an oscillating sprinkler to water closer to the sprinkler base?
This is a known limitation of oscillating sprinklers — they tend to water better at distance than close to the base. To improve near-base coverage: reduce pressure so the streams arc more steeply, angle the unit slightly backward, or supplement the area directly adjacent to the sprinkler with a separate drip line. Some Butterfly Sprinkler models have a slightly downward-angled outer nozzle row specifically to improve close-in coverage.
Do I need to re-adjust my oscillating sprinkler every time I move it?
Yes, whenever you move the sprinkler to a new position on the lawn, you should verify the end-stop tab settings still match the spray boundary needed at that location. Most people mark their most-used positions on the lawn with small flags so they can re-deploy the sprinkler quickly without repeating the full calibration process each time.
Can I use an oscillating sprinkler on a slope?
Yes, but with modifications. On slopes steeper than 10 degrees, standard run times cause runoff before the water soaks in. Use the cycle-and-soak method — 10 minutes on, 20 minutes rest, 10 minutes on — to allow absorption between watering bursts. Also angle the Butterfly Sprinkler so water is sprayed across the slope (perpendicular to the fall line) rather than directly up or down the slope, which reduces runoff velocity.
Related products
-
Impact sprinkler for agricultural irrigation is a common and efficient agricultural irrigation tool designed for large areas of farmland. Its unique structure can evenly cover a large area by rotating...
See Details -
This 360 degree adjustable rocker arm nozzle impact sprinkler is an essential part of an irrigation system designed to meet a wide range of horticultural and agricultural needs. Its flexible adjustmen...
See Details -
The Plastic Full-Circle Impact Sprinkler Sprayer is a highly efficient full-circle irrigation device designed to provide even moisture coverage. Its lightweight plastic material makes this sprinkler e...
See Details -
The Irrigation System Adjustable Head Mobile Rotary Zinc Sprinkler is an efficient rotary sprinkler designed for flexible irrigation needs. Its adjustable head allows the user to easily adjust the dir...
See Details -
This 3/4” Zinc Alloy Swivel Arm Irrigation Watering System Impact Sprinkler is ideal for agricultural irrigation systems due to its superior durability and corrosion resistance. Its rugged constructio...
See Details -
The Double nozzle garden farm impact full-circle sprinkler is well-designed to efficiently and evenly spray water, thus enhancing the quality of crop growth. Whether it's in the home garden or on a la...
See Details -
Double nozzle agricultural water plastic impact sprinkler for irrigation sprinkler combines practicality and durability with a dual nozzle system that provides extensive water coverage for a wide rang...
See Details -
The POM agricultural irrigation sprinkler water impact sprinkler is known for its excellent abrasion resistance and durability, ensuring consistent performance over time. It is designed to increase wa...
See Details -
The POM Agricultural Irrigation Sprinkler with Metal Nozzles is a device designed for efficient irrigation, combining premium polyacetal (POM) material with durable metal nozzles to ensure superior sp...
See Details -
Watering irrigation system 3/4 inch nozzle field Impact Sprinkler is perfect for field irrigation and easily meets the water needs of large crops. Its powerful spray ensures that every nook and cranny...
See Details -
The POM Agricultural Irrigation Sprinkler with Brass Nozzles is an efficient and durable irrigation device designed to meet a wide range of agricultural needs. The sprinkler is made of polyacetal (POM...
See Details -
The Double Nozzle Garden Farm Impact Part-Circle Sprinkler is a highly efficient garden irrigation device designed for large planting areas. Its double nozzle design produces a strong, even stream of ...
See Details


PRODUCTS & SERVICES

CONTACT US
 No.518, Ruihao Road, Lizhou Street, Yuyao City, Zhejiang Province, China
 +86-13105554615 / +86-18005843886
 decheng@dcssq.com fredzhu@dcssq.com
 LISA
LISA
 Fred Zhu
Copyright © Ningbo Dewo Irrigation Equipment Co., Ltd. All Rights Reserved. China Agricultural Plastic Sprinkler Manufacturers Wholesale Irrigation Plastic Sprinkler Factory
