

 Search for...
 English
 Español
 中文简体
How to Connect a Water Hose to PVC Pipe: Adapters, Sizes, and Leak-Free Steps
Content
- 1 Why Hose Thread and PVC Pipe Thread Are Not Interchangeable
- 2 Three Connection Methods Compared
- 3 Method 1: The Threaded Adapter Route, Best for Most Jobs
- 4 Method 2: Solvent Welded Slip Fittings for Permanent Lines
- 5 Method 3: Barbed Insert Fittings and Hose Clamps for Quick Hookups
- 6 Sizing Rules That Prevent Most Leaks
- 7 Sealing, Tightening, and Supporting the Joint
- 8 Troubleshooting: Match the Leak to the Cause
- 9 Tools and Materials Checklist
- 10 Turning the Hookup into a Small Irrigation System
- 11 Frequently Asked Questions
- 11.1 Can I screw a garden hose straight onto a 3/4 inch PVC threaded fitting?
- 11.2 What is the difference between MHT and MIP on a fitting label?
- 11.3 How long do I wait after gluing before turning the water on?
- 11.4 Will a hose clamp hold at 60 PSI?
- 11.5 Do I need primer, or is cement enough on its own?
- 11.6 Can I bury the hose to PVC connection?
- 11.7 What size PVC should I use for a garden hose line?
- 11.8 Why does my adapter drip even after I tighten it?
Connecting a water hose to PVC pipe comes down to one fact that most trips to the hardware store miss: garden hose thread and PVC pipe thread are not the same thread. A 3/4 inch hose coupling will start onto a 3/4 inch PVC threaded fitting, feel almost right for half a turn, and then cross thread the plastic. That joint will weep within a week and split within a season.
The reliable connection is a two piece transition. A PVC threaded adapter attaches to the pipe, and a hose thread adapter converts pipe thread to garden hose thread. The hose then seals on its own rubber washer, hand tight, at the 40 to 60 PSI that most household and small farm water systems run.
That stack works whether you are adding a hose outlet to an existing irrigation mainline, replacing a broken spigot, or feeding a soaker hose from a buried PVC run. Three methods cover nearly every situation: a threaded adapter stack, a solvent welded slip fitting, or a barbed insert fitting with hose clamps. The right choice depends on whether the joint has to come apart, how deep it sits, and how much flow the hose needs.
Why Hose Thread and PVC Pipe Thread Are Not Interchangeable
The mismatch lives in the pitch and in the way each joint seals. Garden hose thread is 3/4 inch nominal with 11.5 threads per inch, cut straight, and it seals on a flat rubber washer pressed against the face of the male fitting. The pipe thread used on PVC fittings is NPT, tapered, and cut at 14 threads per inch in both the 1/2 inch and 3/4 inch sizes. It seals inside the threads, not on a washer.
| Thread or socket type | Nominal size | Threads per inch | Form | How it seals |
|---|---|---|---|---|
| GHT hose thread | 3/4 inch | 11.5 | Straight | Rubber washer |
| NPT pipe thread | 1/2 inch | 14 | Tapered | PTFE tape or paste |
| NPT pipe thread | 3/4 inch | 14 | Tapered | PTFE tape or paste |
| PVC slip socket | 1/2 to 1 inch | None | Smooth | Solvent cement weld |
A useful sanity check before you buy anything: ask which 3/4 inch you are holding. Adapters made for hoses are labeled GHT, MHT for male hose thread, or FHT for female hose thread. Fittings made for pipe are labeled MIP or FIP, sometimes MPT or FPT. When the label carries both, for example 3/4 inch MIP by 3/4 inch MHT, you are looking at the part that solves the whole problem.
Three Connection Methods Compared
Each method fits a different job. A threaded adapter stack is right when the hose screws on and off. A welded slip joint is right when the line is buried or feeding a permanent run. A barbed insert with clamps is right when the connection lives for one season or moves with the job.
| Method | Best for | Tools needed | Comes apart again | Comfortable pressure |
|---|---|---|---|---|
| Threaded adapter stack | Hose outlets, spigot replacements, valve boxes | Cutter, primer, cement, PTFE tape, two wrenches | Yes, at the hose end | 100 PSI and above |
| Solvent welded slip joint | Buried mainlines and long permanent runs | Cutter, chamfer tool, primer, cement | No, must be cut out | Full pipe rating |
| Barbed insert plus clamps | Seasonal hookups and short flexible runs | Knife, two clamps, screwdriver | Yes, with new clamps | 60 PSI or less |
If the pipe is going in the ground, weld the joints and keep only the hose connection threaded and reachable. That single habit saves a shovel and a repair on the day a washer finally gives out.
Method 1: The Threaded Adapter Route, Best for Most Jobs
This is the approach for a hose that screws on and off, and it is the one most people actually need. A 3/4 inch PVC female threaded adapter goes on the pipe, and a 3/4 inch MIP by 3/4 inch MHT hose adapter screws into it.
- Shut off the water and open a tap downstream to drain pressure out of the line.
- Cut the PVC square. A ratcheting cutter or miter box keeps the cut at 90 degrees, and a slanted cut leaves a gap that cement cannot fill.
- Chamfer the outside edge and deburr the inside with a chamfer tool or 120 grit paper, then wipe the surface clean and dry.
- Dry fit the PVC female threaded adapter onto the pipe and mark the insertion depth with a pencil mark so you do not stop halfway.
- Wrap 2 to 3 turns of PTFE tape clockwise around the male pipe threads of the hose adapter. Leave the hose end bare, because the rubber washer does that sealing.
- Screw the hose adapter into the plastic female adapter until hand tight, then a quarter turn more with a wrench on the brass hex. Stop when it seats. Plastic threads crack long before they feel tight.
- Prime and cement the slip end into the pipe, holding the joint still for 30 seconds.
- Let the joint cure, then screw the hose on by hand with a fresh washer in place.
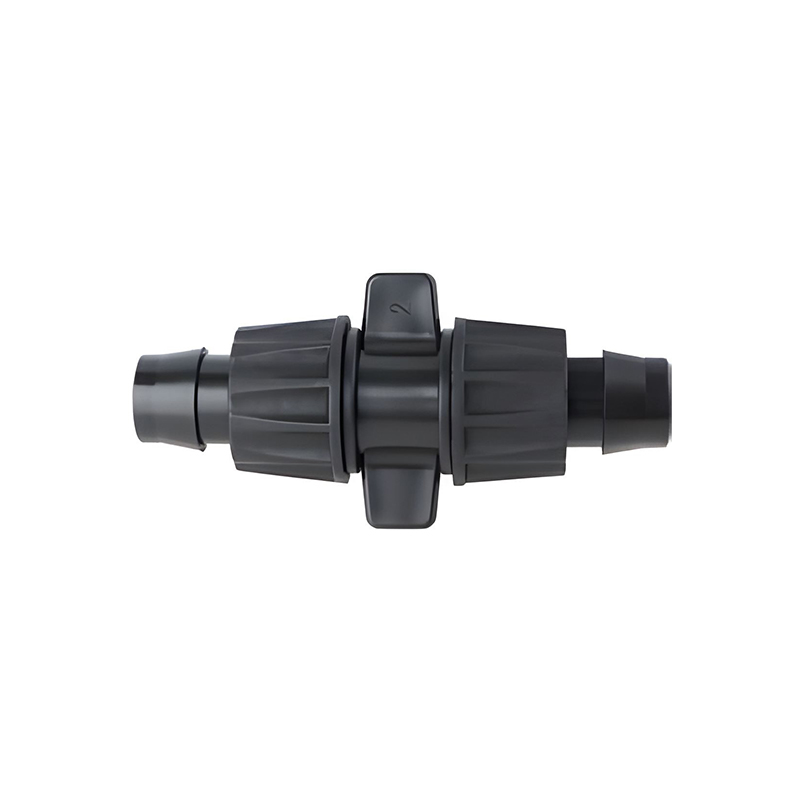 Agricultural Irrigation Pipe Fitting ManufacturersPipe Fitting is a range of pipe fittings used in irrigation systems, designed to control water flow, manage pressure and connect pipes. These products ensure the effic...View Product →
One detail worth copying from commercial installations: aim the outlet sideways or upward so the hose pulls across the fitting rather than hanging straight down. A hose full of water weighs roughly 5 pounds per 10 feet, and that steady load is what eventually cracks an unsupported adapter.
Method 2: Solvent Welded Slip Fittings for Permanent Lines
For a buried mainline, weld the pipe and leave only the final hose adapter threaded. Solvent cement does not glue the parts together in the usual sense. It softens both surfaces so they fuse into a single piece of plastic, which is why welded joints hold at the full rating of the pipe.
Cut, Chamfer, and Dry Fit
Cut the pipe square, chamfer the outer edge at a shallow angle, and test fit every joint before any cement touches the pipe. Dry fitting catches a wrong reducer while the parts are still clean.
Prime and Cement
Apply primer to the pipe end and the socket, then cement to both while the primer is still wet. Push the pipe in with a quarter turn and hold it for 30 seconds so it cannot push back out. Wipe the bead of cement that squeezes out, and do not wipe inside the socket.
Cure Before You Pressurize
Cement makers such as Oatey and Weld-On publish cure charts, and for pipe up to 1 inch at 60 to 100 F the numbers are broadly consistent:
- About 15 minutes before the joint can be handled
- About 2 hours before a low pressure test
- About 24 hours for full cure at working pressure
Cold weather stretches those times, so check the chart printed on the can rather than guessing. Then leave the final threaded adapter accessible in a valve box instead of burying it.
Method 3: Barbed Insert Fittings and Hose Clamps for Quick Hookups
When the connection is temporary, a barbed adapter and two stainless steel clamps get you running in five minutes. The barb goes inside flexible tubing or a cut hose, and the clamp compresses the wall onto the barb.
- Match the barb to the inside diameter of the hose or tubing, not the outside diameter.
- Push the hose fully onto the barb, past the last ridge, so the clamp sits on plastic and not on air.
- Use two clamps with the screw heads on opposite sides when the line runs near 60 PSI.
- Tighten to snug plus a quarter turn. If the hose wall bulges between the clamp and the barb, you have gone past the point of useful compression.
- Warm the hose end in a cup of hot water for a minute if the fit is tight. Never heat a hose over an open flame.
 Drip Tape Adapter ManufacturersAn Adapter is a component used to support and secure irrigation equipment, designed to ensure that the equipment remains stable and safe during use. The bracket can be...View Product →
Barbed connections are a seasonal answer. Replace the clamps each time you take the joint apart, because a compressed clamp loses grip, and check them after the first hour of running, when a new joint usually shows where it wants to weep.
Sizing Rules That Prevent Most Leaks
PVC pipe is sold by nominal size, but what you measure with calipers is the outside diameter. Those two numbers are different, and that gap causes a lot of wrong parts being carried home.
- 1/2 inch Schedule 40 PVC has an outside diameter of 0.840 inch, and fits fittings marked for 1/2 inch pipe, not for 1/2 inch tubing.
- 3/4 inch Schedule 40 PVC measures about 1.050 inch outside.
- 1 inch Schedule 40 PVC measures about 1.315 inch outside.
- Most garden hoses are 5/8 inch inside diameter and carry 3/4 inch hose thread fittings at both ends, so the hose thread size does not change with the hose diameter.
- A 3/4 inch line moves noticeably more water than a 1/2 inch line of the same length. If you plan to run two sprinklers or a long soaker hose, start with 3/4 inch.
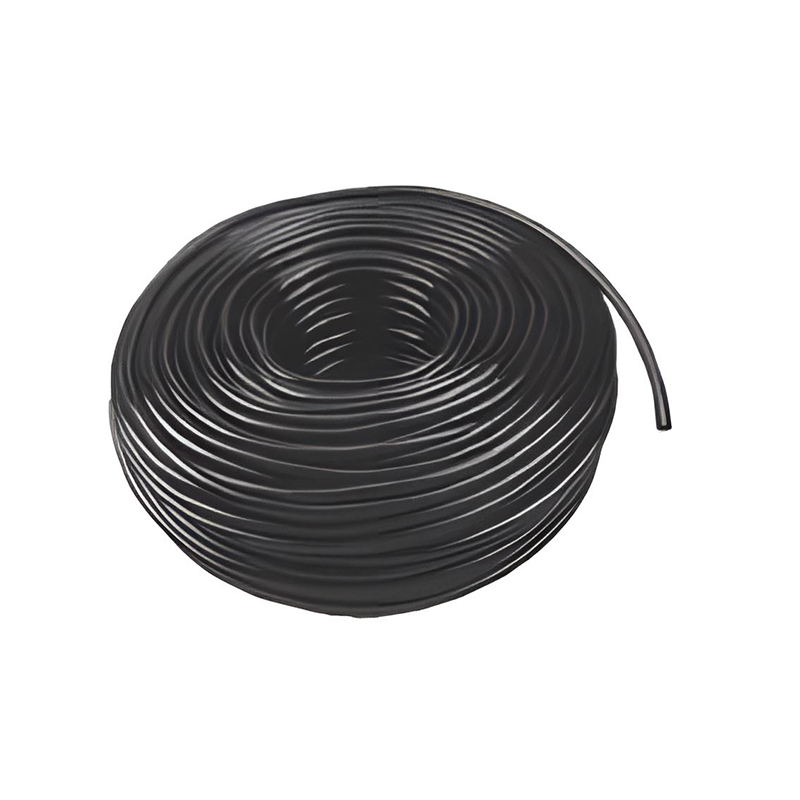 PVC PIPE ManufacturersPVC Pipe is a type of pipe widely used in irrigation and drainage systems. It is favored for its superior corrosion resistance, lightness and strength. The pipe is mad...View Product →
Pressure is rarely the limiting factor. Published Schedule 40 ratings at 73 F are around 600 PSI for 1/2 inch, 480 PSI for 3/4 inch, and 450 PSI for 1 inch, so a garden hose system at 50 PSI asks very little of the pipe. Heat is the real number to watch, because those ratings fall as water temperature climbs.
Sealing, Tightening, and Supporting the Joint
Put Sealant Only Where It Belongs
PTFE tape belongs on tapered pipe threads and nowhere else. Wrapping tape on hose threads makes the washer sit unevenly, which creates a leak that looks like a thread problem and is not one.
Tighten Plastic Like Plastic
Hand tight plus a quarter turn is the working range for plastic threads. A long wrench on a PVC female adapter will split the socket, and the crack often opens slowly over days rather than snapping immediately.
Take the Load Off the Pipe
Add a bracket, a pipe strap, or a short stake near the outlet so the hose pull transfers into the ground instead of into the fitting. On a raised stub, keep the exposed length under about 12 inches, because a long unsupported riser flexes every time someone tugs the hose.
Troubleshooting: Match the Leak to the Cause
| Symptom | Likely cause | Fix |
|---|---|---|
| Drip at the hose coupling | Missing, hardened, or doubled rubber washer | Fit one new washer and tighten by hand |
| Weep at the threaded plastic joint | Too little PTFE tape, or a cracked socket from over tightening | Re tape with 3 wraps, or cut out and replace the adapter |
| Water across the whole thread line | Hose thread forced onto pipe thread | Replace with a GHT to NPT adapter |
| Joint pulls apart under pressure | Hose weight and no support | Add a strap or stake, shorten the riser |
| Slip joint leaks soon after gluing | Pipe moved during cure, or cement skinned over before assembly | Cut out, redo with fresh cement, hold 30 seconds |
| Crack appears after the first frost | Water left in the line | Drain the run and leave the outlet open for winter |
One more habit that pays off: after any new connection, run the water for ten minutes and look at the joint twice, once right away and once when the pipe has warmed up. Most failures announce themselves in that window.
Tools and Materials Checklist
- PVC pipe in 1/2 inch or 3/4 inch Schedule 40
- PVC female threaded adapter, slip by FIP, in the pipe size you are using
- Hose adapter, 3/4 inch MIP by 3/4 inch MHT, brass or reinforced plastic
- Spare 3/4 inch rubber hose washers
- PTFE thread tape
- PVC primer and solvent cement rated for the pipe diameter
- Ratcheting pipe cutter or fine tooth saw with a miter box
- Chamfer tool or 120 grit sandpaper
- Two adjustable wrenches, one for the hex on the adapter
- Pipe straps, stakes, or a bracket for support
- Stainless steel hose clamps, two per barbed connection if you go that route
- Clean rag and a small brush for the cement
Turning the Hookup into a Small Irrigation System
Once a hose outlet exists on a PVC line, the natural next step is to stop moving the hose at all. A three quarter inch mainline with a few threaded outlets will feed drip tubing, micro sprinklers, or a header of impact sprinklers without anyone dragging a hose across the yard.
Flow control is the part most home systems get wrong. A single valve that shuts off abruptly sends a pressure spike down the line, and the last joint on the run takes the hit. Adding a small regulating valve at the branch, sized to the flow you actually need, keeps pressure steady at the emitters and makes watering times repeatable rather than a guess. If you want the reasoning behind that, this guide on precise flow control in large scale irrigation projects walks through valve sizing and pressure behavior in more detail.
From there, the hardware choices are straightforward: pressure compensating drippers where elevation changes across a slope, adjustable drippers where plant water needs differ row by row, impact sprinklers where coverage matters more than precision, and micro sprinklers or foggers where you want humidity as much as water. Each one uses the same threaded and slip connections you have just learned to build.
Frequently Asked Questions
Can I screw a garden hose straight onto a 3/4 inch PVC threaded fitting?
No. The hose coupling has 11.5 threads per inch and the PVC fitting has 14, so the two will bind after half a turn and leak. Use a hose thread adapter to make the transition.
What is the difference between MHT and MIP on a fitting label?
MHT means male hose thread, which is what a garden hose coupling screws onto. MIP means male iron pipe thread, which is the tapered thread used on PVC pipe fittings. A part labeled both is the adapter you want.
How long do I wait after gluing before turning the water on?
Plan on roughly 15 minutes of handling time, 2 hours before a low pressure test, and 24 hours before full working pressure for pipe up to 1 inch in mild weather. Follow the cure chart on the cement can for colder conditions.
Will a hose clamp hold at 60 PSI?
Yes, with the correct barb size and two stainless clamps on a sound hose wall. Barbed connections are still the least permanent option, so check them each season and replace the clamps whenever the joint is taken apart.
Do I need primer, or is cement enough on its own?
Primer cleans the surface and softens it so the cement can fuse properly, and cement manufacturers base their cure charts on primed joints. Skipping it is one of the most common reasons a slip joint weeps a week later.
Can I bury the hose to PVC connection?
Buried welded joints are fine. Keep the threaded hose adapter above ground in a valve box so you can reach the washer and the adapter without digging.
What size PVC should I use for a garden hose line?
Use 3/4 inch Schedule 40 for anything longer than a short stub or anything feeding more than one outlet. Half inch pipe works, but friction loss over a long run shows up quickly as weak pressure at the far end.
Why does my adapter drip even after I tighten it?
Check three things in order: the rubber washer on the hose end, the tape on the pipe threads, and whether the plastic socket has a hairline crack from over tightening. A cracked adapter cannot be sealed and has to be replaced.
The whole job comes back to one rule: hose thread seals on a washer, pipe thread seals with tape, and the two only meet through an adapter. Get the transition right, support the outlet so the hose is not hanging on the plastic, and give solvent welded joints their full cure time. Everything after that is routine.
If you are buying fittings in volume for a farm, a nursery, or a landscaping crew, it helps to source the pipe, threaded adapters, drippers, and valves from one place so the thread standards match across the whole order. You can browse the full range at our irrigation equipment catalog and match adapters to the pipe sizes you already use.
Prev:No previous articleNext:How Much PSI for Sprinkler System? Complete Pressure Guide for Homeowners
Related products
-
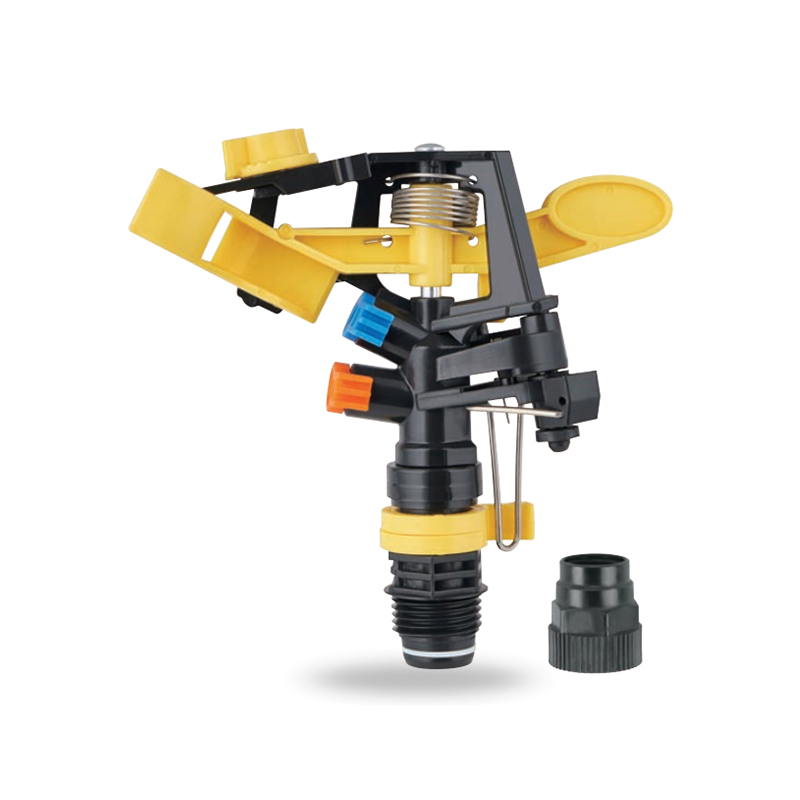
Impact sprinkler for agricultural irrigation is a common and efficient agricultural irrigation tool designed for large areas of farmland. Its unique structure can evenly cover a large area by rotating...
See Details -
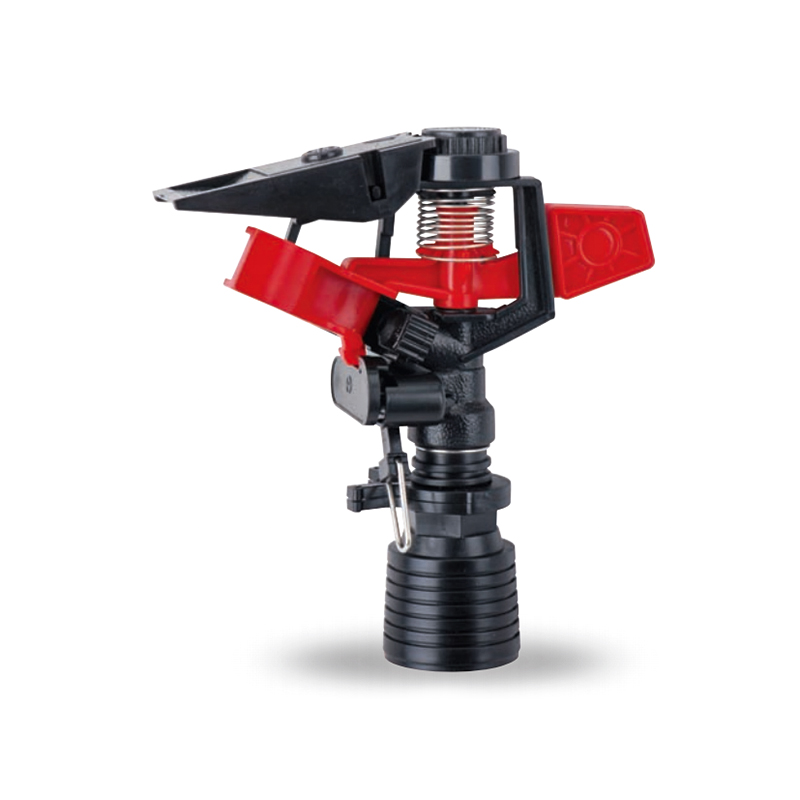
This 360 degree adjustable rocker arm nozzle impact sprinkler is an essential part of an irrigation system designed to meet a wide range of horticultural and agricultural needs. Its flexible adjustmen...
See Details -
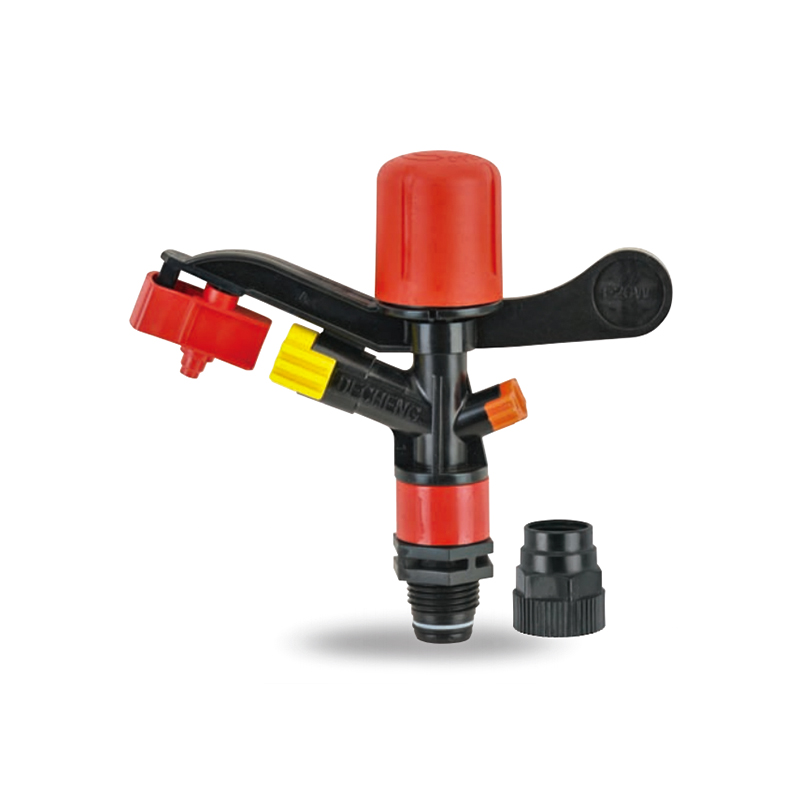
The Plastic Full-Circle Impact Sprinkler Sprayer is a highly efficient full-circle irrigation device designed to provide even moisture coverage. Its lightweight plastic material makes this sprinkler e...
See Details -
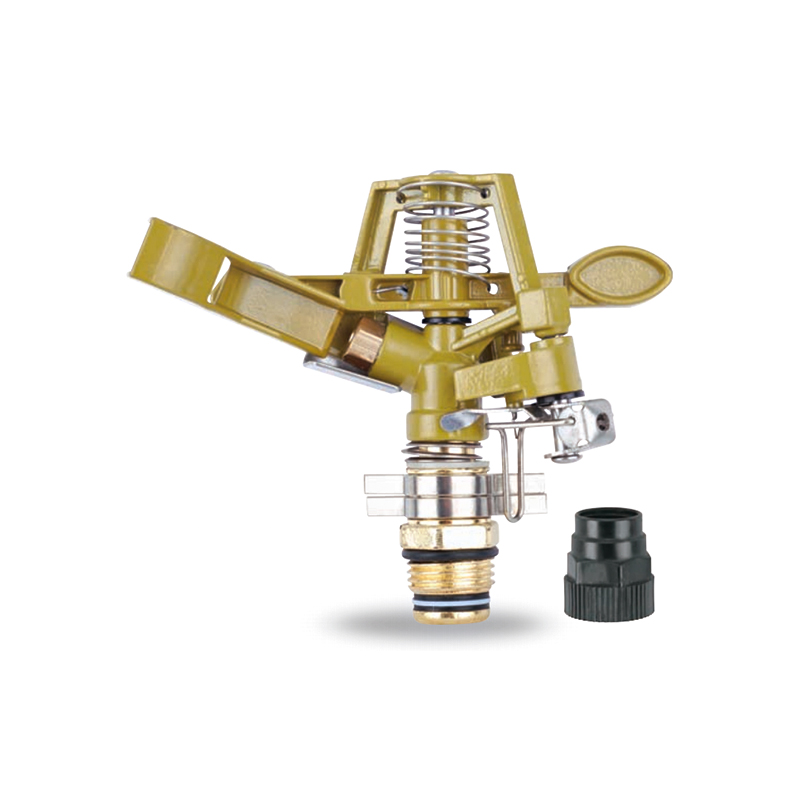
The Irrigation System Adjustable Head Mobile Rotary Zinc Sprinkler is an efficient rotary sprinkler designed for flexible irrigation needs. Its adjustable head allows the user to easily adjust the dir...
See Details -
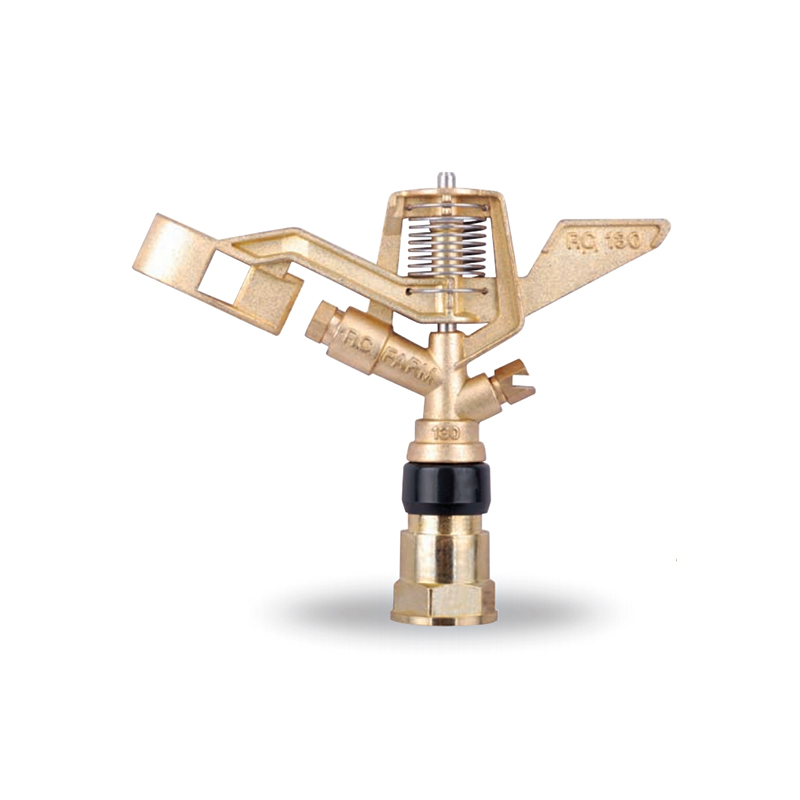
This 3/4” Zinc Alloy Swivel Arm Irrigation Watering System Impact Sprinkler is ideal for agricultural irrigation systems due to its superior durability and corrosion resistance. Its rugged constructio...
See Details -
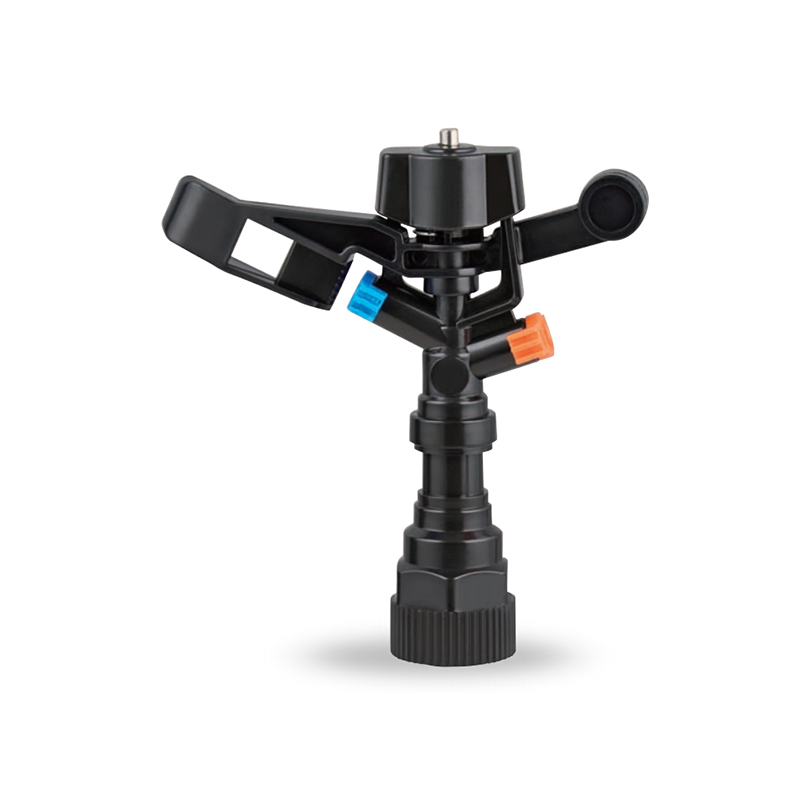
The Double nozzle garden farm impact full-circle sprinkler is well-designed to efficiently and evenly spray water, thus enhancing the quality of crop growth. Whether it's in the home garden or on a la...
See Details -
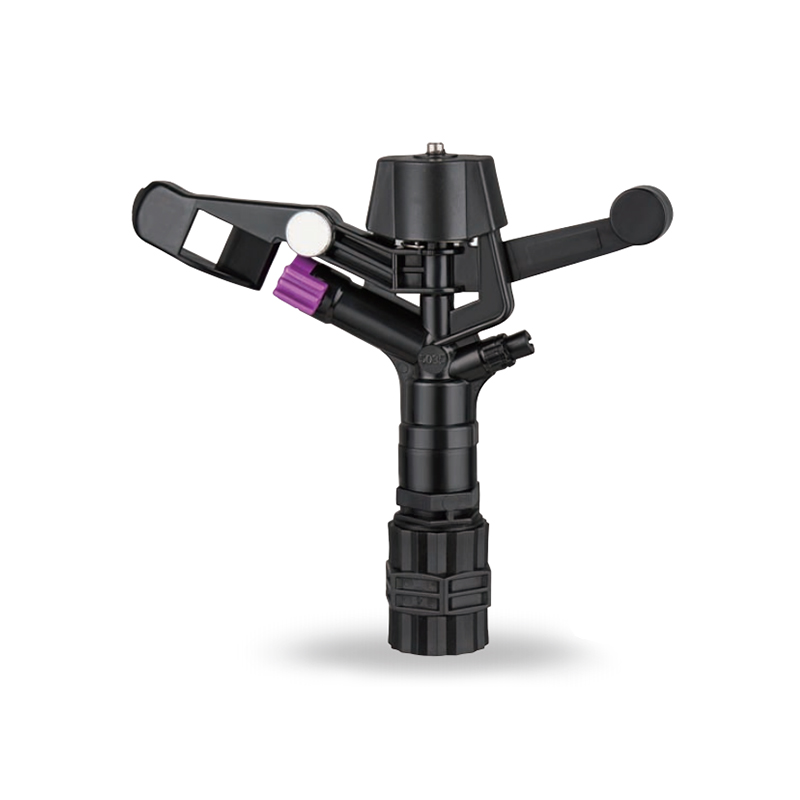
Double nozzle agricultural water plastic impact sprinkler for irrigation sprinkler combines practicality and durability with a dual nozzle system that provides extensive water coverage for a wide rang...
See Details -
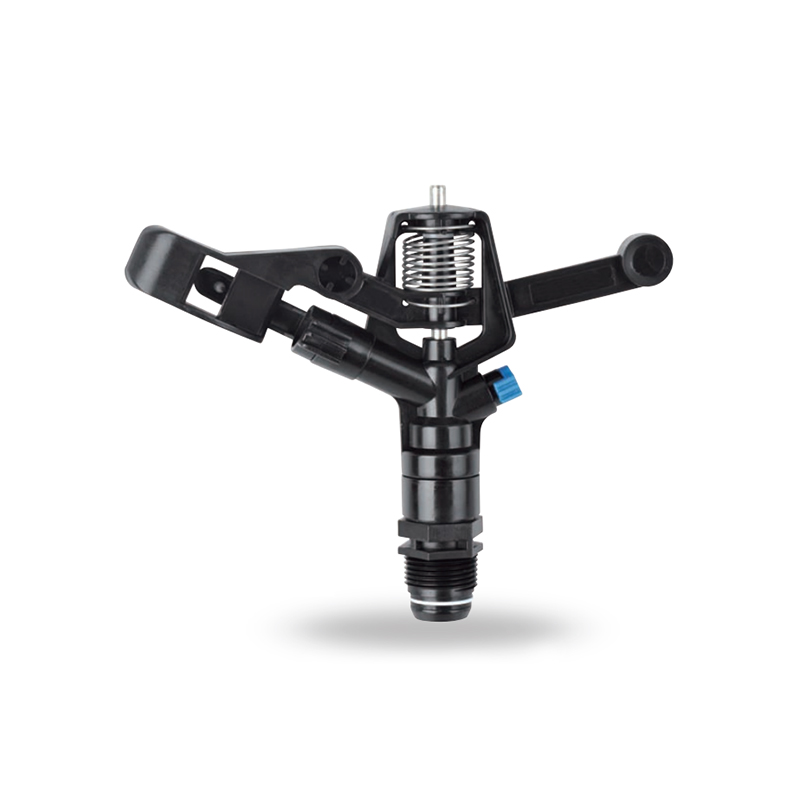
The POM agricultural irrigation sprinkler water impact sprinkler is known for its excellent abrasion resistance and durability, ensuring consistent performance over time. It is designed to increase wa...
See Details -
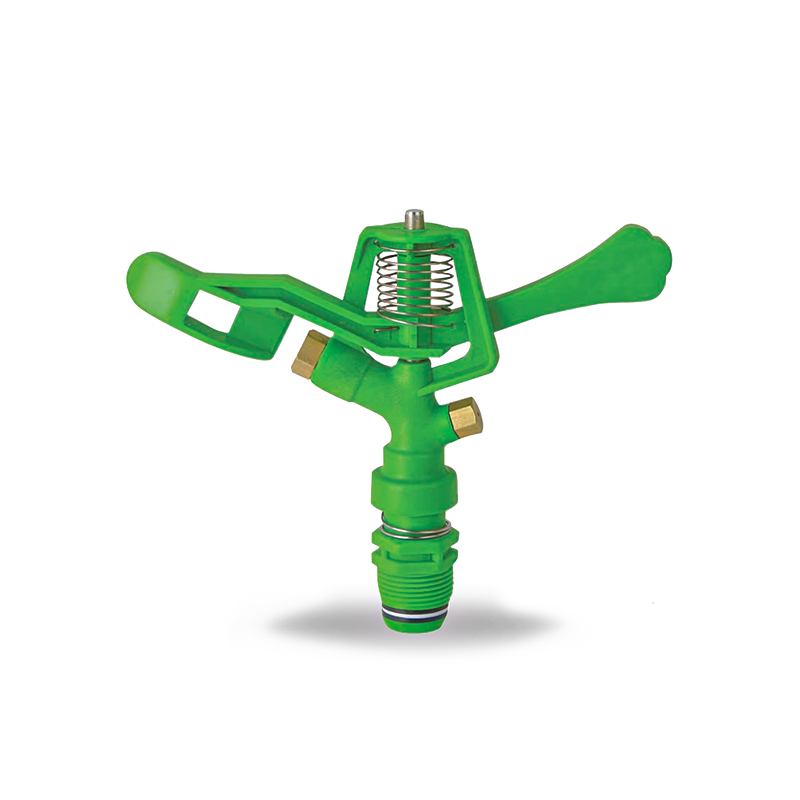
The POM Agricultural Irrigation Sprinkler with Metal Nozzles is a device designed for efficient irrigation, combining premium polyacetal (POM) material with durable metal nozzles to ensure superior sp...
See Details -
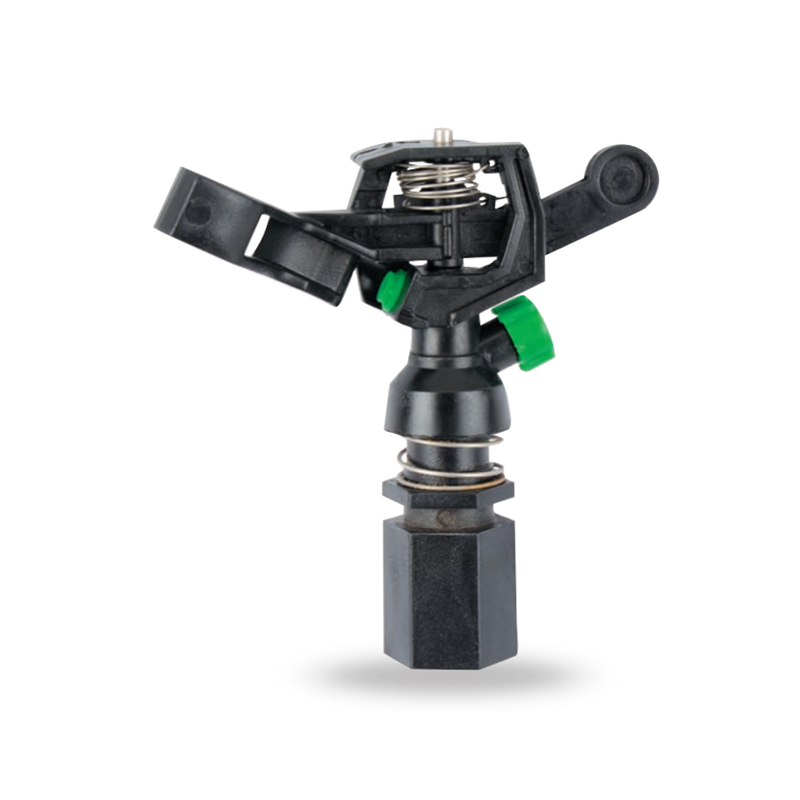
Watering irrigation system 3/4 inch nozzle field Impact Sprinkler is perfect for field irrigation and easily meets the water needs of large crops. Its powerful spray ensures that every nook and cranny...
See Details -
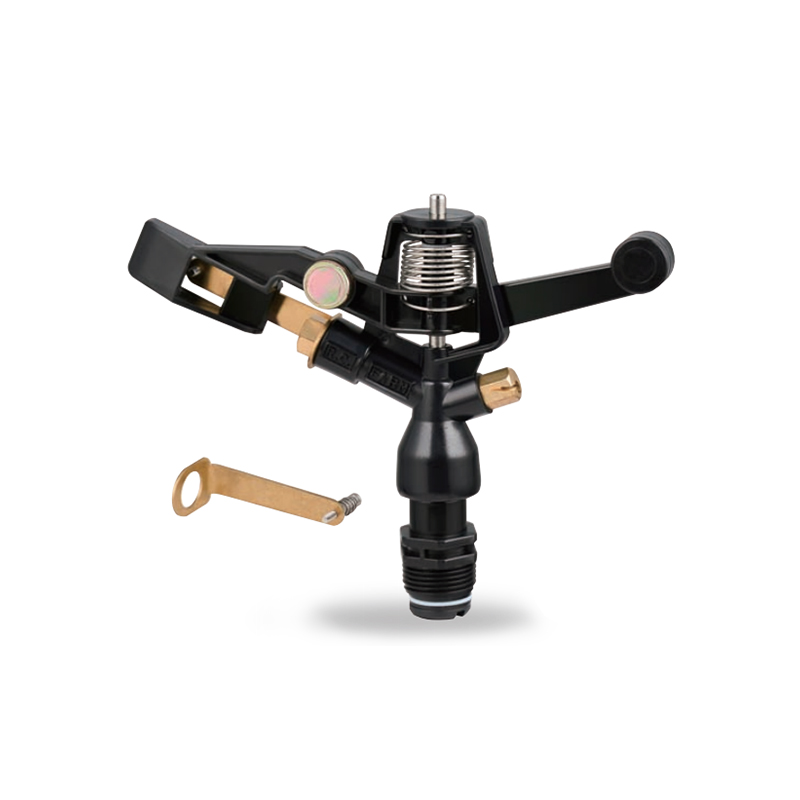
The POM Agricultural Irrigation Sprinkler with Brass Nozzles is an efficient and durable irrigation device designed to meet a wide range of agricultural needs. The sprinkler is made of polyacetal (POM...
See Details -
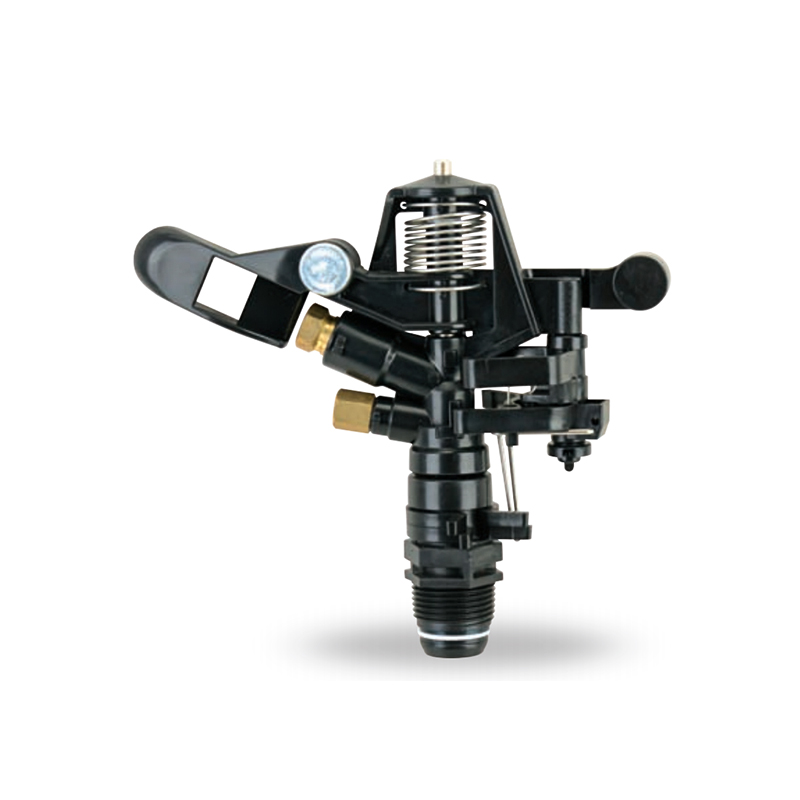
The Double Nozzle Garden Farm Impact Part-Circle Sprinkler is a highly efficient garden irrigation device designed for large planting areas. Its double nozzle design produces a strong, even stream of ...
See Details

PRODUCTS & SERVICES

CONTACT US
 No.518, Ruihao Road, Lizhou Street, Yuyao City, Zhejiang Province, China
 +86-13105554615 / +86-18005843886
 decheng@dcssq.com fredzhu@dcssq.com
 LISA
 Fred Zhu
Copyright © Ningbo Dewo Irrigation Equipment Co., Ltd. All Rights Reserved. China Agricultural Plastic Sprinkler Manufacturers Wholesale Irrigation Plastic Sprinkler Factory
