

 Search for...
 English
 Español
 中文简体
中文简体How to Put a Hose on a Hose Reel Cart: Full Guide
Content
- 1 How To Put A Hose On A Hose Reel Cart: The Short Answer
- 2 Tools And Materials You Will Need
- 3 Choosing The Right Hose Reel Cart Before You Install Anything
- 4 Step-By-Step Guide To Mounting The Hose
- 4.1 Step 1: Position The Cart And Unroll The Hose
- 4.2 Step 2: Identify The Reel's Inlet Port
- 4.3 Step 3: Attach The Swivel Connector
- 4.4 Step 4: Feed The Hose Through The Guide Arm
- 4.5 Step 5: Connect The Hose To The Swivel Fitting
- 4.6 Step 6: Wind The Hose Onto The Drum
- 4.7 Step 7: Test The Connection
- 4.8 Step 8: Unwind And Rewind Once As A Final Check
- 5 Understanding Irrigation Pipe Fitting Types For Reel Connections
- 6 Matching Water Pressure And Flow Rate To Your Reel Setup
- 7 Types Of Hose Reel Carts And How Installation Differs
- 8 Seasonal Considerations For Installing And Storing A Reel Cart
- 9 Troubleshooting Reference For Common Reel Cart Problems
- 10 Common Mistakes That Cause Leaks Or A Hose That Slips Off
- 11 Maintenance Tips To Extend The Life Of The Hose And Fittings
- 12 Brass, Plastic, Or Stainless: Choosing The Right Fitting Material
- 13 Frequently Asked Questions
- 13.1 Do I need thread tape if the fitting already has a rubber washer?
- 13.2 Why does my hose keep piling up on one side of the reel?
- 13.3 Can I put a 1 inch hose on a reel rated for 3/4 inch?
- 13.4 What size fitting does a standard garden hose reel use?
- 13.5 How do I stop the swivel joint from leaking after months of use?
- 13.6 Is it better to mount the reel cart near the spigot or use a leader hose?
- 13.7 Can I connect a hose reel cart directly to a drip irrigation line?
- 13.8 Why does the crank feel harder to turn than when the cart was new?
- 13.9 Should the guide arm be tight against the hose or slightly loose?
- 13.10 Is it normal for a brand new fitting to weep slightly the first time water runs through it?
- 13.11 Can I repair a cracked plastic fitting instead of replacing it?
- 13.12 How often should the entire hose be removed and inspected rather than just the fittings?
How To Put A Hose On A Hose Reel Cart: The Short Answer
The fastest way to mount a garden hose on a reel cart is this: uncoil the hose fully on the ground first, attach a female swivel connector to the end that will sit at the reel's center hub, thread that end through the guide arm, screw it onto the reel's inlet fitting, then wind the hose onto the drum by turning the crank handle while walking backward to keep tension even. The whole process takes 10 to 15 minutes for a standard 100-foot hose once the fittings are correctly matched.
Most problems people run into are not really about winding technique. They come from mismatched thread sizes, a missing washer, or an Irrigation Pipe Fitting that does not match the reel's inlet port. Get the fitting right first, and the winding step becomes almost mechanical. The sections below walk through the full process from start to finish, the fitting types you are likely to encounter, how to pick the right cart in the first place, seasonal considerations, a troubleshooting reference, and the mistakes that cause slow leaks or a hose that jumps off the drum halfway through winding.
This guide is written for the full range of setups people actually have in their yards: a simple wheeled cart next to a single spigot, a wall-mounted reel plumbed into a stub-out pipe, and larger industrial carts used on farms, nurseries, and commercial grounds crews. Whichever category applies to you, the underlying logic is the same. A reel cart only works well when the fitting at the hub matches the fitting on the hose, when the hose lays flat as it winds, and when the connections are checked periodically rather than assembled once and forgotten.
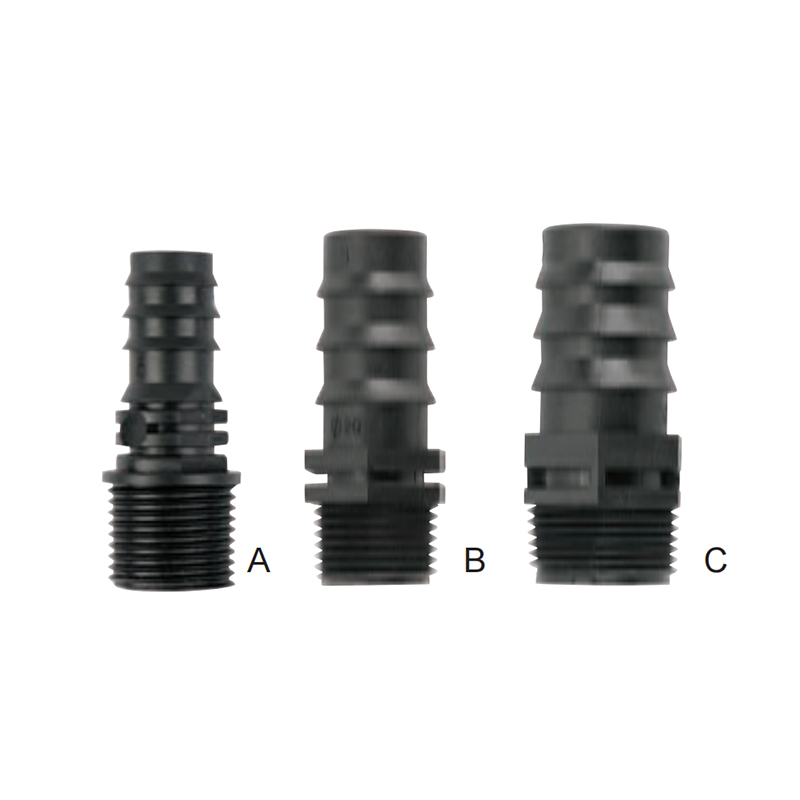
Tools And Materials You Will Need
Before starting, lay everything out so you are not searching for a wrench with a wet hose in your hand. A typical installation calls for the following:
- The hose reel cart itself, positioned near a hose bib or a permanent water line
- A garden hose, most commonly 5/8 inch or 3/4 inch in diameter for residential use
- A female-to-female swivel connector if the reel's inlet is a male thread
- Rubber or nylon hose washers, at least two spares
- An adjustable wrench or channel-lock pliers
- PTFE thread seal tape, sometimes called plumber's tape
- A short length of leader hose if the reel is mounted more than a few feet from the spigot
- A bucket or towel to catch residual water when disconnecting an old hose
- A tape measure, useful for confirming the distance between the spigot and the mounting point before drilling any wall anchors
Almost all hose reel carts sold for home use follow the 3/4 inch GHT standard, which stands for Garden Hose Thread. This is a different thread pitch than the pipe threads used in household plumbing, so a fitting that works on a kitchen faucet will not thread directly onto a reel hub without an adapter. Garden hose thread uses 11.5 threads per inch on a straight, non-tapered thread, while household plumbing generally relies on National Pipe Thread, which is tapered and seals by compression rather than by a washer. Confusing the two is the single most common reason a first-time installer buys the wrong part at the hardware store.
A quick way to check what you are dealing with before shopping: hold the reel's inlet fitting up to the light and look at the thread profile. If the threads run straight along the fitting with no visible taper and there is a small groove for a rubber washer just inside the opening, it is GHT. If the threads visibly narrow toward the tip and there is no washer groove, it is pipe thread, and you will need a pipe-to-hose adapter rather than a simple hose washer.
Choosing The Right Hose Reel Cart Before You Install Anything
If you have not purchased a cart yet, or you are replacing one that never worked well, a few sizing decisions up front save a lot of frustration later. The cart needs to match three things: the length of hose you actually use, the diameter of that hose, and the water pressure at your spigot.
Matching Drum Capacity To Hose Length
Reel drums are rated for a maximum length at a given diameter, and this rating drops as diameter increases because a thicker hose takes up more space per wrap. A drum rated for 150 feet of 5/8 inch hose might only hold around 100 feet of 3/4 inch hose. Buying a cart rated close to your actual hose length, rather than well beyond it, keeps the winding tight and prevents the outer layers from slipping loose.
Matching Frame Material To Climate
Steel-framed carts are more rigid and hold up better under heavy, frequent use, but they need a rust-resistant coating if left outdoors year-round in a humid or coastal climate. Resin and powder-coated aluminum frames cost a little more but shrug off moisture without maintenance, which matters more in regions with long wet seasons than in dry climates.
Manual Crank Versus Auto-Rewind
A manual crank reel is simpler, cheaper, and easier to repair if something breaks, since the only moving parts are the axle, the crank handle, and the guide arm. An auto-rewind reel uses an internal spring to retract the hose automatically, which is convenient for frequent short tasks like rinsing a car or watering potted plants, but the internal spring mechanism is sealed and generally not user-serviceable if it fails.
Step-By-Step Guide To Mounting The Hose
Step 1: Position The Cart And Unroll The Hose
Set the cart within reach of the water source, ideally within 3 to 6 feet so the connecting hose or leader pipe does not have to stretch or kink. Unroll the entire garden hose flat on the ground in a straight line, away from foot traffic if possible. Winding a hose that still has coils or twists in it is the single biggest cause of a lopsided, jamming reel later on, and it is far easier to remove a twist while the hose is lying flat on the ground than after it has already gone onto the drum.
If the hose has been stored coiled for a season, let it sit unrolled in the sun for ten to fifteen minutes before winding. Cold or stiff hose material resists lying flat and will fight the winding process, while a slightly warmed hose relaxes into a straighter line and winds far more evenly.
Step 2: Identify The Reel's Inlet Port
Most carts have the inlet at the center of the drum, where the axle passes through. This port is almost always a 3/4 inch male GHT fitting. A smaller number of models, particularly industrial or wall-mounted reels, use a threaded pipe fitting on the side of the housing instead. Check which type you have before buying any adapter, since a mismatch here is the most common return reason for reel carts.
On some dual-purpose carts designed to also feed a sprinkler or drip line from the same drum, there may be a second port on the outlet side of the reel, separate from the inlet at the hub. Confirm which port connects to your water source and which one feeds out to your hose before threading anything on, since connecting to the wrong side will simply prevent water from reaching the hose at all.
Step 3: Attach The Swivel Connector
Wrap the male threads of the inlet port with 2 to 3 turns of PTFE tape, working clockwise so the tape does not unravel when the connector is threaded on. Screw the swivel fitting onto the port by hand until snug, then give it a quarter turn with the wrench. Do not overtighten; brass fittings crack under excessive torque, and a quarter turn past hand-tight is normally enough to seal properly.
The swivel connector's job is to let the hose rotate freely as the drum turns, so that the hose itself does not twist tighter with every revolution. Confirm the swivel actually spins freely by hand before moving on. If it feels stiff, back it off slightly rather than forcing rotation, since a stiff swivel under load is what eventually strips the internal seal.
Step 4: Feed The Hose Through The Guide Arm
Nearly every reel cart has a small guide arm or roller bar that keeps the hose aligned as it winds. Feed the male end of the hose through this guide before connecting it to the swivel. Skipping this step is the number one reason hoses wind unevenly and pile up on one side of the drum.
On carts with an adjustable guide arm, set the arm's width to match the hose diameter as closely as possible. A guide opening that is much wider than the hose lets the hose wander side to side while winding, which is exactly what produces the uneven, lopsided coil that eventually jams the crank.
Step 5: Connect The Hose To The Swivel Fitting
Thread the hose's female end onto the swivel connector. Hand-tighten fully, then use the wrench for a final quarter turn. Check that the internal washer is seated; a missing or cracked washer is responsible for the majority of drip leaks at this joint.
Before tightening fully, briefly turn the water on at very low pressure with the connection just hand-tight. This lets you confirm the washer is seated and sealing before committing to the final wrench turn, and it avoids the situation where a leak is only discovered after the hose is already fully wound onto the drum.
Step 6: Wind The Hose Onto The Drum
Turn the crank handle steadily, guiding the hose with your free hand so it lays flat and stacks evenly, layer over layer. For long hoses, pause every 20 to 25 feet to check that the winding stays flat rather than crossing over itself, which creates pressure points that wear through the outer jacket over time.
Keep light tension on the hose as it feeds in, rather than letting slack build up between your hand and the drum. Slack causes the hose to bunch rather than lay in a clean spiral, and a bunched first layer throws off every layer wound on top of it.
Step 7: Test The Connection
Turn the water on at low pressure first. Watch the swivel joint and the hose end for drips. A slow drip usually means the washer needs reseating rather than the fitting needing more torque, so check the washer before reaching for the wrench again.
Once the low-pressure test confirms a dry connection, open the spigot fully and let water run through the entire length of hose for thirty seconds. This clears any dust or debris that settled inside the hose during storage and confirms the swivel continues to seal properly under full pressure rather than just a light trickle.
Step 8: Unwind And Rewind Once As A Final Check
Before considering the installation finished, unwind roughly a third of the hose and rewind it. This confirms the guide arm alignment and swivel rotation are working together smoothly under real conditions, rather than just during the initial, careful winding. Catching a misalignment now takes thirty seconds; catching it after a season of use usually means unwinding the entire drum to fix it.
Understanding Irrigation Pipe Fitting Types For Reel Connections
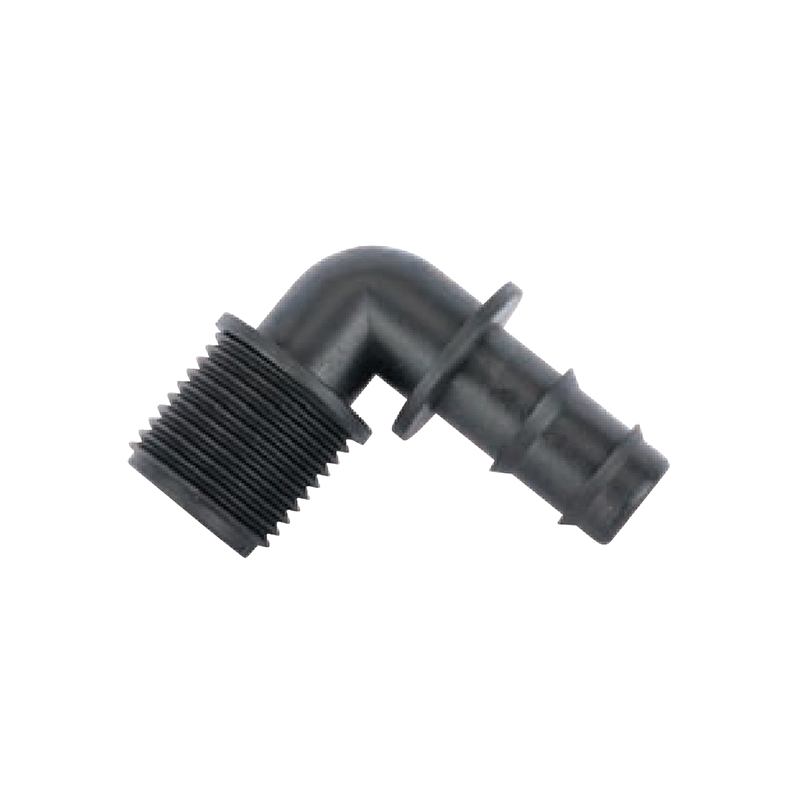
Hose reel carts intersect with two different fitting worlds: the garden hose thread used on the reel and hose itself, and the broader family of Irrigation Pipe Fitting components used when a reel is plumbed into a permanent line rather than connected to a simple spigot. Knowing which one applies to your setup avoids buying the wrong adapter twice.
| Fitting Type | Thread Standard | Typical Use |
|---|---|---|
| Garden Hose Thread (GHT) | 3/4 inch, 11.5 threads per inch | Hose-to-reel and hose-to-spigot joints |
| National Pipe Thread (NPT) | Varies by pipe size, tapered | Wall-mounted reel inlets plumbed to a fixed line |
| Barbed Insert Fitting | Push-fit, secured with a clamp | Connecting drip line or poly tubing to a reel outlet |
| Quick-Connect Coupler | Snaps together, no threading | Swapping tools or extensions without a wrench |
| Compression Fitting | Seals by tightening a ring over tubing | Rigid poly pipe runs feeding a wall-mounted reel |
| Threaded Reducer Bushing | Steps down from a larger to smaller pipe size | Connecting a large-diameter industrial reel to a standard hose |
For anyone connecting a reel cart into an irrigation system rather than a simple hose bib, the transition typically happens at an NPT-to-GHT adapter. This single fitting bridges the tapered pipe threads used throughout irrigation plumbing with the straight threads used on hoses and reels, and it is worth keeping a spare on hand since it is the fitting most likely to be misplaced during a seasonal changeover.
Barbed Versus Threaded Connections On The Outlet Side
If the reel feeds a drip irrigation zone rather than a spray nozzle, the outlet side often switches from a threaded hose fitting to a barbed insert designed for flexible poly tubing. These barbed fittings rely on a hose clamp rather than threads to hold the seal, and they should be checked periodically since the clamp can loosen as the tubing softens slightly in warm weather.
When To Use A Reducer Bushing
Larger industrial reels built around 1 inch or 1.25 inch pipe cannot accept a standard garden hose without stepping the diameter down. A threaded reducer bushing handles this transition in a single fitting, but it does reduce flow slightly at that joint, which is worth accounting for if the setup is already running close to the pump or spigot's maximum output.
Matching Water Pressure And Flow Rate To Your Reel Setup
Fittings only stay sealed if the pressure running through them stays within a reasonable range. Most residential hose bibs deliver somewhere between 40 and 60 psi, which is well within the working range of standard GHT fittings and rubber washers. Problems tend to show up at the extremes: pressure below roughly 20 psi produces weak flow that makes a reel feel like it is not working at all, while pressure above 80 psi stresses washers and swivel seals more quickly than normal use would.
If your property runs on well water with a pressure tank, check the tank's cut-in and cut-out settings before assuming a fitting is defective. A reel that leaks only when the pump first kicks on, then stops leaking once pressure stabilizes, is often responding to a pressure spike rather than a bad washer.
Flow Rate And Hose Diameter
A 5/8 inch hose and a 3/4 inch hose can carry noticeably different flow rates at the same pressure, since the larger internal diameter allows more water through with less friction loss. For a reel feeding a single sprinkler or nozzle, 5/8 inch is usually sufficient. For a reel feeding a longer irrigation run or multiple outlets, the wider 3/4 inch hose keeps pressure from dropping off toward the far end of the line.
Types Of Hose Reel Carts And How Installation Differs
Not every cart is assembled the same way, and knowing the category ahead of time saves a return trip to the hardware store.
Portable Wheeled Carts
These free-standing carts are the most common residential type. The inlet sits at the axle, and a short leader hose usually runs from the spigot to the cart's swivel connector, allowing the whole unit to be rolled to a new spot without disconnecting the main hose. Because the leader hose flexes every time the cart moves, it is worth inspecting that shorter connection for wear more often than the main hose itself, since it takes the most repeated bending.
Wall-Mounted Reels
Fixed to an exterior wall or a fence post, these reels are plumbed directly into a stub-out pipe using an NPT fitting rather than a garden hose swivel. Installation involves more permanent plumbing work, and the connection at the wall should be checked for leaks after the first several uses since seated threads can loosen slightly as the pipe settles. Mounting height matters here too; setting the reel so the guide arm sits at roughly waist height makes winding far more comfortable than a reel mounted too low or too high.
Retractable Auto-Wind Reels
These use an internal spring mechanism instead of a hand crank. The hose attachment procedure at the drum is identical to a manual reel, but the housing itself should never be opened to adjust the spring tension, since that mechanism operates under continuous load. If an auto-wind reel starts retracting too fast and snapping the hose end, that is usually a sign the unit needs servicing rather than something to fix by attempting to relieve spring tension manually.
Cart-Mounted Industrial Reels
Used for larger diameter hose, often 1 inch or more, these frequently rely on a threaded pipe fitting rather than GHT, and a step-down adapter is usually required to connect a standard consumer hose. These carts are also more likely to use a geared crank rather than a direct-drive handle, which lowers the effort needed to wind a heavier, water-filled hose back onto the drum.
Stationary Ground-Mounted Reels
Common on farms and larger properties, these reels bolt to a concrete pad or post rather than moving on wheels. Because they are not repositioned, the plumbing connection is typically a fixed pipe fitting rather than a leader hose, and the inlet side should be installed with a shutoff valve close by so the line can be isolated for maintenance without cutting water to the whole property.
Seasonal Considerations For Installing And Storing A Reel Cart
Spring Setup
When bringing a reel cart back into service after winter, check every washer and fitting before the first use rather than assuming last season's seal is still good. Cold storage temperatures can cause rubber washers to stiffen and lose some of their sealing ability, and a fitting that sealed perfectly in October may need a fresh washer in April.
Fall Winterization
Before freezing temperatures arrive, disconnect the hose from the spigot side first, then open the reel's outlet briefly to let residual water drain from the hose while it is still on the drum. Water trapped inside a hose that freezes can expand enough to split the inner wall, which will not be visible until the hose is used again the following spring and begins to bulge or leak along its length.
Storage Location
Where possible, store the entire cart in a garage, shed, or other covered space over winter. If it must stay outdoors, a breathable cover protects the fittings from ice buildup while still letting any trapped moisture evaporate, which a fully sealed tarp does not allow.
Troubleshooting Reference For Common Reel Cart Problems
| Symptom | Likely Cause | Fix |
|---|---|---|
| Drip at the swivel joint | Worn or missing washer | Replace the rubber washer and reseat the fitting |
| Hose piles up on one side of the drum | Hose fed outside the guide arm, or twisted before winding | Unwind, straighten the hose, rewind through the guide |
| Crank feels stiff or grinds | Grit in the swivel bearing or dry axle | Clean the swivel and apply a light silicone lubricant to the axle |
| Weak flow at the nozzle | Low source pressure or a kinked hose | Check for kinks first, then check spigot pressure |
| Fitting cracked shortly after install | Overtightening with a wrench | Replace the fitting and hand-tighten plus a quarter turn only |
| Auto-rewind reel retracts too fast | Internal spring mechanism wearing out | Have the unit serviced rather than opening the housing |
Common Mistakes That Cause Leaks Or A Hose That Slips Off
- Skipping the thread tape on the male fitting, which is the most frequent cause of a slow drip at the swivel joint
- Overtightening a brass connector with a wrench, which can crack the fitting rather than improve the seal
- Winding a hose that still has twists in it, causing uneven layers that jam the crank
- Forgetting the internal rubber washer entirely, which almost always results in a visible drip under pressure
- Feeding the hose past the guide arm instead of through it, which lets the hose pile unevenly on one side of the drum
- Using a hose diameter the reel was not rated for, which strains the crank mechanism and shortens its working life
- Mounting the cart too far from the spigot, forcing the leader hose to stretch tight and pull on the swivel every time the cart moves
- Ignoring a stiff swivel instead of cleaning it, which eventually leads to the swivel seizing entirely under load
- Leaving standing water in the hose over winter, which risks a split hose wall from freeze expansion
- Reusing an old, flattened washer instead of replacing it, which looks fine visually but no longer compresses enough to seal
Most of these mistakes share a common thread: they happen when someone tries to rush the connection step to get to the winding. Spending an extra two minutes checking thread tape and washer placement before the first crank turn prevents nearly all of the repeat leaks reported with reel carts.
Maintenance Tips To Extend The Life Of The Hose And Fittings
A reel cart is only as good as the connections holding it together. A few habits keep both the hose and the fittings working for years rather than a single season.
- Drain the hose fully before winter storage to prevent freeze cracking inside the wall of the hose
- Inspect the rubber washer at the start of each season and replace it if it looks flattened or cracked
- Re-wrap thread tape any time a fitting is removed and reinstalled, since old tape rarely reseals well
- Wipe down the swivel joint occasionally, since grit trapped in the swivel bearing is a common cause of a stiff, hard-to-turn crank
- Store the cart under cover when possible, since UV exposure is the leading cause of brittle, cracking hose jackets
- Check the crank handle's mounting bolt periodically, since repeated cranking can gradually loosen it
- Keep the guide arm rollers free of dirt buildup so the hose slides through smoothly instead of dragging
- Rinse salt or fertilizer residue off the hose exterior periodically, since both accelerate rubber degradation over time
A Simple Seasonal Maintenance Schedule
Checking the cart on a predictable schedule, rather than only when something goes wrong, catches small issues while they are still easy to fix. A reasonable rhythm is a full fitting and washer inspection at the start of the watering season, a mid-season check of the swivel and guide arm after several months of regular use, and a full drain and cover before the first hard freeze.
Brass, Plastic, Or Stainless: Choosing The Right Fitting Material
| Material | Durability | Best For |
|---|---|---|
| Brass | High, resists corrosion well | Everyday residential and light commercial use |
| Plastic or Nylon | Moderate, can become brittle over time | Budget setups and short-term or seasonal use |
| Stainless Steel | Very high, resists wear and corrosion | High-frequency commercial or industrial reels |
For most households, a brass swivel fitting offers the best balance of cost and durability. Plastic fittings are fine for a hose that gets moved indoors between seasons, but they are the first part to fail if a cart is left outside year-round in a climate with hard freezes.
Why Fitting Material Affects The Washer Seal
A slightly out-of-round plastic fitting will not seat a washer as evenly as a machined brass or stainless fitting, which is one reason budget plastic connectors are more prone to a persistent, hard-to-fix drip even with a fresh washer installed. If a connection keeps leaking despite trying multiple washers, replacing the fitting itself rather than continuing to swap washers is usually the more effective repair.
Frequently Asked Questions
Do I need thread tape if the fitting already has a rubber washer?
Yes for the male threaded end, no for the washer side. The washer seals the straight-thread garden hose connection, while thread tape seals the tapered pipe threads found on NPT fittings. The two do different jobs and are often both needed on the same reel.
Why does my hose keep piling up on one side of the reel?
This almost always means the hose was fed past the guide arm rather than through it, or that the hose still had a twist in it before winding began. Unwind the hose fully, straighten it on the ground, and rewind while guiding it by hand through the arm.
Can I put a 1 inch hose on a reel rated for 3/4 inch?
Not without an adapter, and it is not recommended even then. The drum, guide arm, and crank mechanism on a 3/4 inch rated reel are sized for that diameter's weight and stiffness. A larger hose strains the crank gearing and can bend the guide arm over time.
What size fitting does a standard garden hose reel use?
The overwhelming majority use 3/4 inch Garden Hose Thread, regardless of the hose's actual inner diameter. Hose diameter and fitting thread size are two separate specifications, which is a common point of confusion when shopping for adapters.
How do I stop the swivel joint from leaking after months of use?
Remove the connector, inspect the washer, and replace it if it is flattened, cracked, or missing entirely. Reapply thread tape to the male threads before reassembling. If the leak continues after a fresh washer and tape, the fitting itself has likely worn out and should be replaced rather than repeatedly tightened.
Is it better to mount the reel cart near the spigot or use a leader hose?
Either works, but a short leader hose gives more flexibility to reposition the cart without disconnecting the main line, which is useful for portable wheeled carts that get moved around a yard seasonally.
Can I connect a hose reel cart directly to a drip irrigation line?
Yes, but the outlet side usually needs a barbed adapter rather than a threaded hose fitting, since drip tubing is generally push-fit rather than threaded. A GHT-to-barb adapter handles this transition and should be paired with a hose clamp for a secure seal.
Why does the crank feel harder to turn than when the cart was new?
This is most often grit or dried residue built up in the swivel bearing rather than a problem with the crank gearing itself. Wiping down the swivel and applying a small amount of silicone lubricant to the axle usually restores smooth operation.
Should the guide arm be tight against the hose or slightly loose?
Snug is better than loose. A guide opening that closely matches the hose diameter keeps the hose tracking straight as it winds, while a loose opening lets the hose wander and produces the uneven piling that eventually jams the reel.
Is it normal for a brand new fitting to weep slightly the first time water runs through it?
A very brief weep during the first test, before the washer fully compresses under pressure, is common and usually stops on its own within the first minute of water flow. A drip that continues steadily after that point points to a washer or tape issue rather than normal break-in.
Can I repair a cracked plastic fitting instead of replacing it?
Generally no. A hairline crack in a plastic fitting will continue to spread under the repeated pressure cycles of turning the water on and off, so replacing the fitting is more reliable than attempting a patch or sealant repair.
How often should the entire hose be removed and inspected rather than just the fittings?
Once a season is reasonable for typical residential use. Unrolling the full length lets you check for soft spots, bulges, or abrasion along the hose wall that would not be visible while it is wound tightly on the drum.
Prev:How to Set an Oscillating Sprinkler: Complete Setup GuideNext:How Do Impact Sprinklers Work? Mechanism, Pressure & FAQ
Related products
-
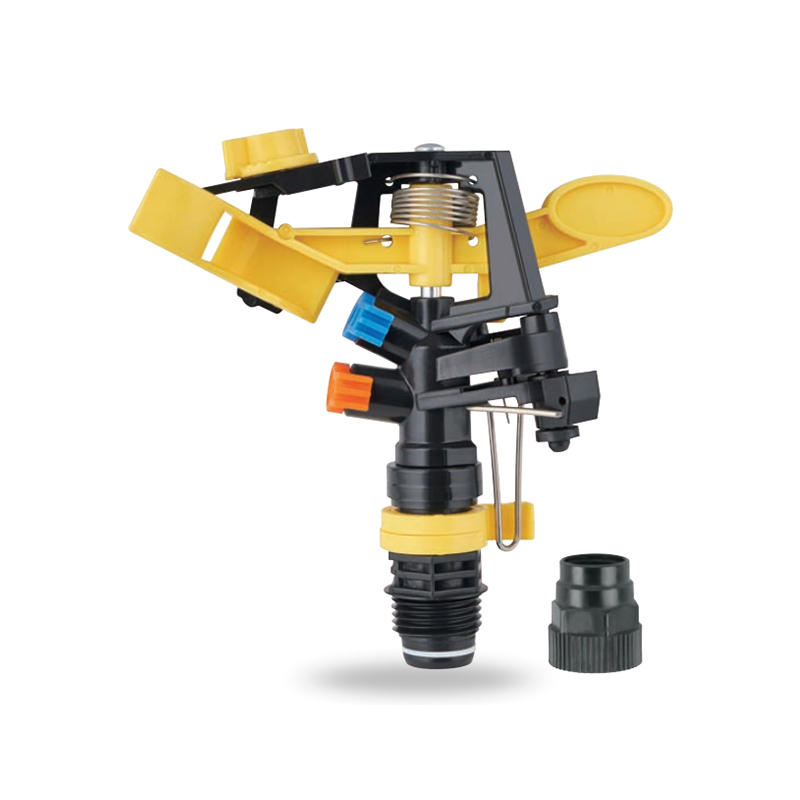
Impact sprinkler for agricultural irrigation is a common and efficient agricultural irrigation tool designed for large areas of farmland. Its unique structure can evenly cover a large area by rotating...
See Details -
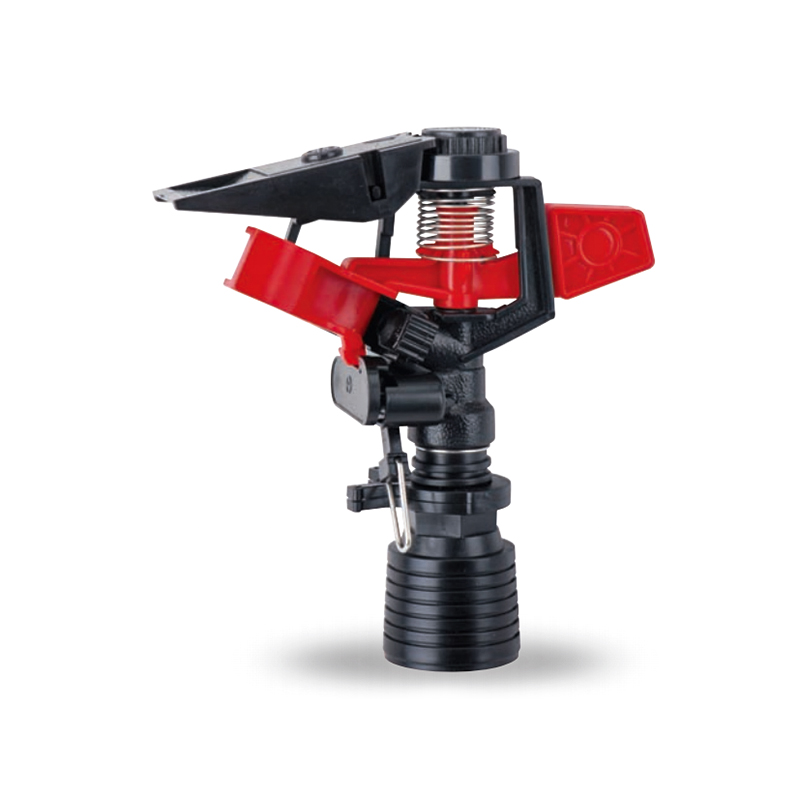
This 360 degree adjustable rocker arm nozzle impact sprinkler is an essential part of an irrigation system designed to meet a wide range of horticultural and agricultural needs. Its flexible adjustmen...
See Details -
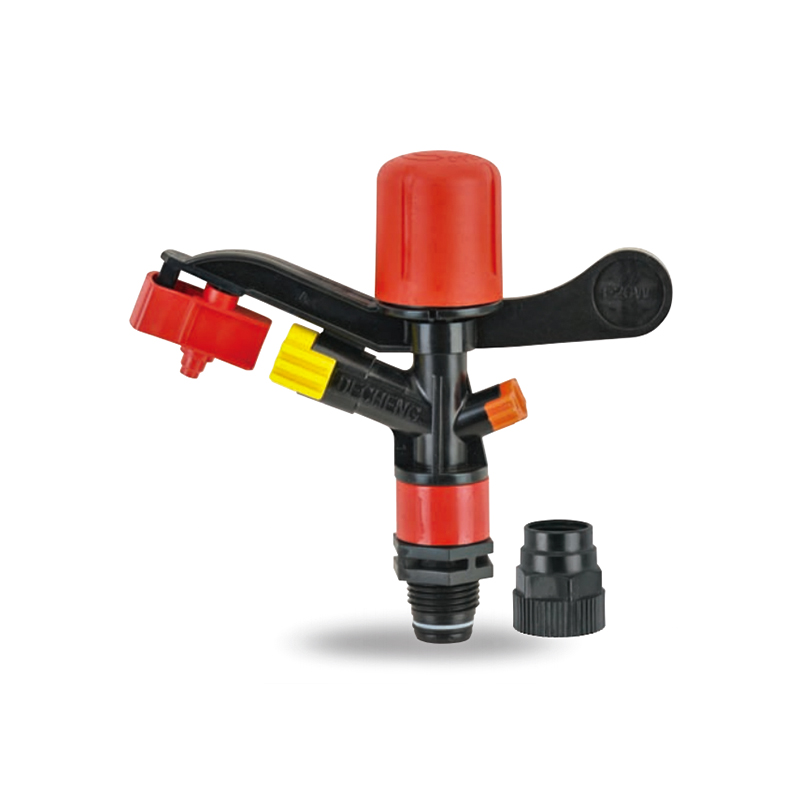
The Plastic Full-Circle Impact Sprinkler Sprayer is a highly efficient full-circle irrigation device designed to provide even moisture coverage. Its lightweight plastic material makes this sprinkler e...
See Details -
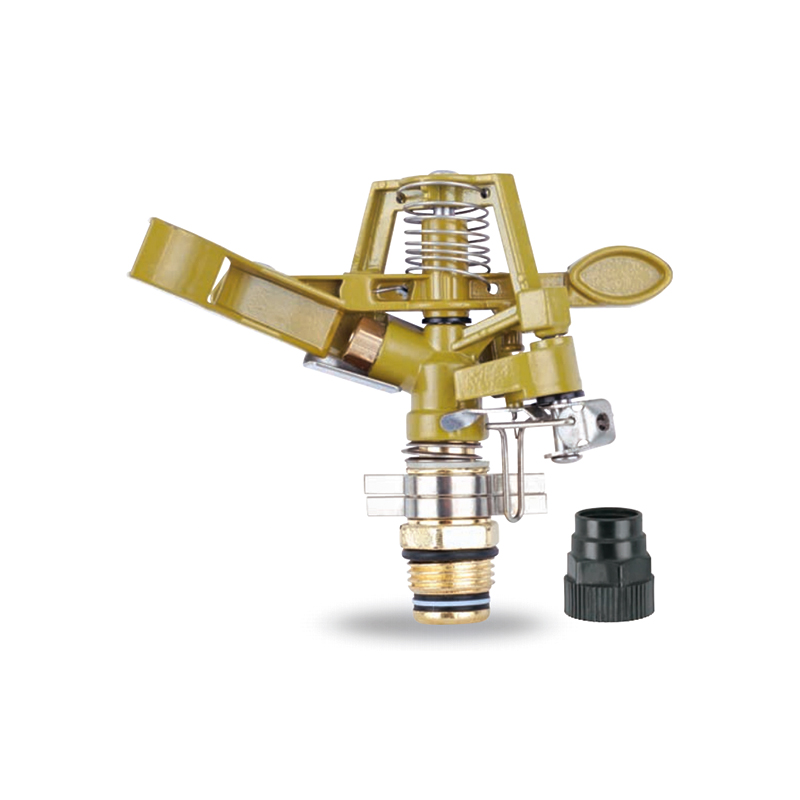
The Irrigation System Adjustable Head Mobile Rotary Zinc Sprinkler is an efficient rotary sprinkler designed for flexible irrigation needs. Its adjustable head allows the user to easily adjust the dir...
See Details -
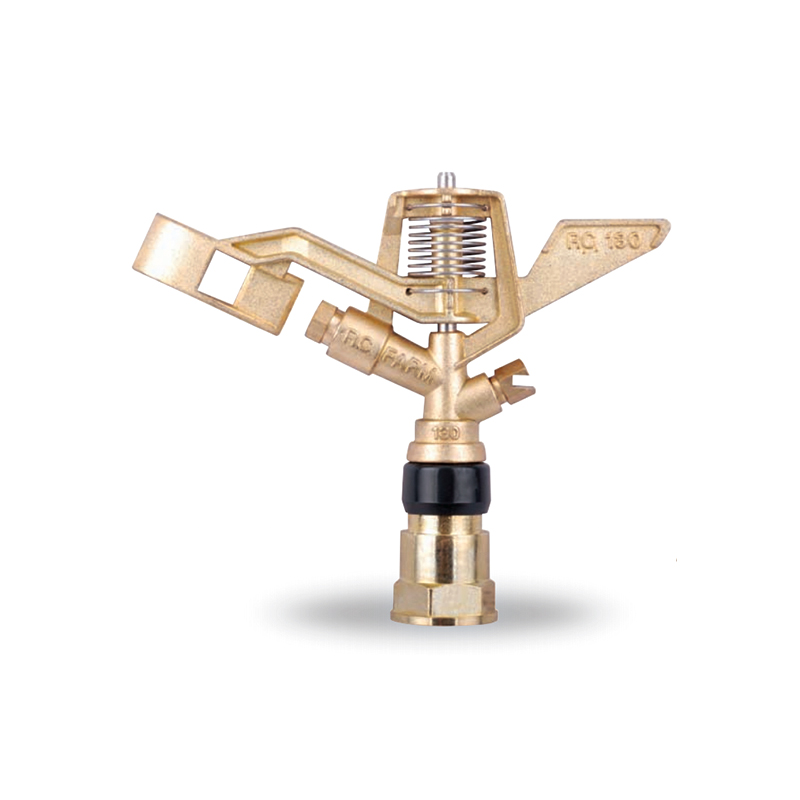
This 3/4” Zinc Alloy Swivel Arm Irrigation Watering System Impact Sprinkler is ideal for agricultural irrigation systems due to its superior durability and corrosion resistance. Its rugged constructio...
See Details -
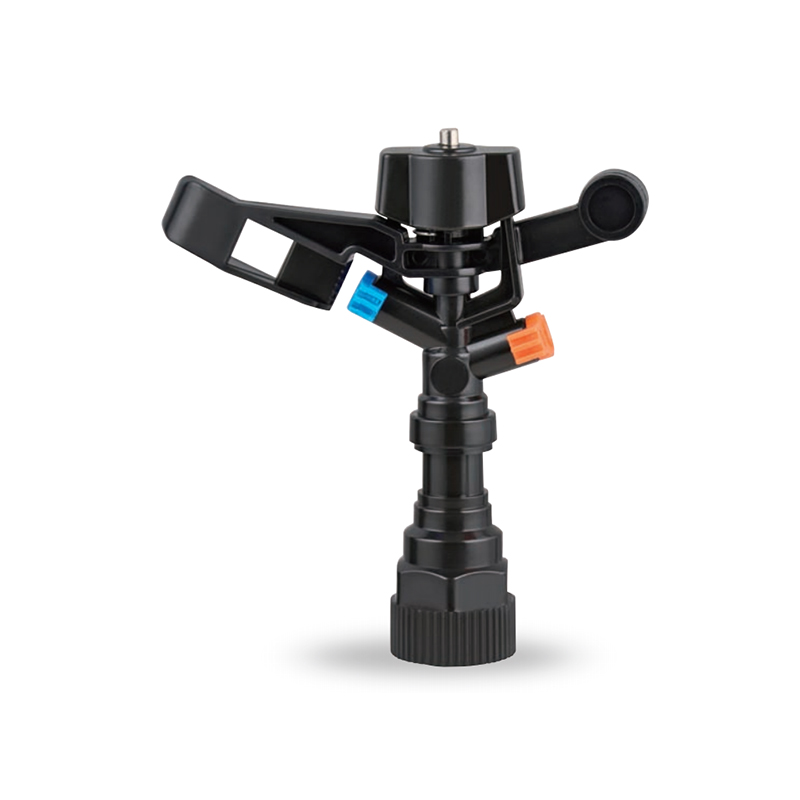
The Double nozzle garden farm impact full-circle sprinkler is well-designed to efficiently and evenly spray water, thus enhancing the quality of crop growth. Whether it's in the home garden or on a la...
See Details -
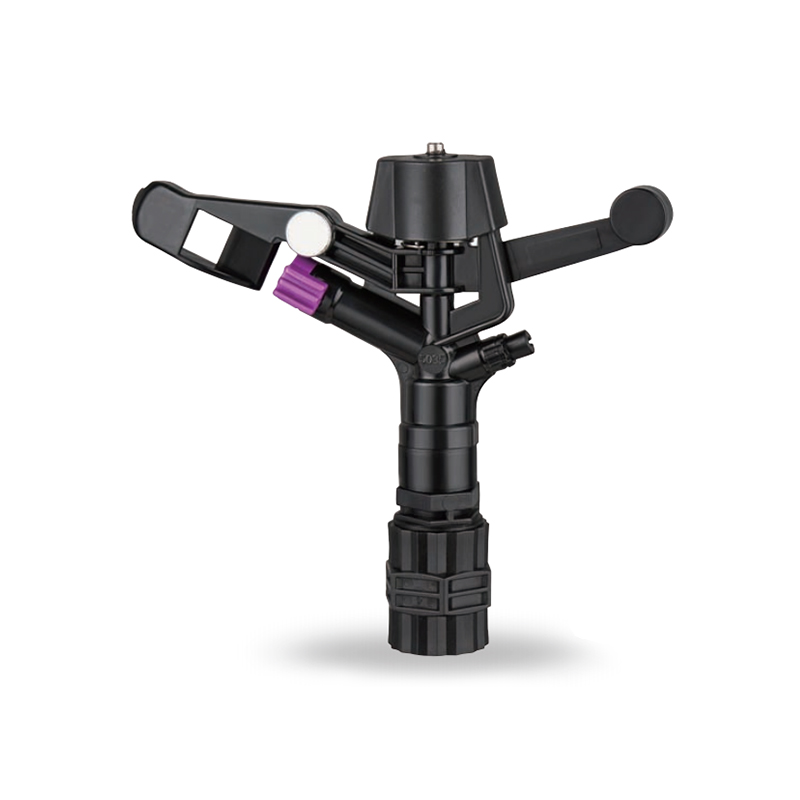
Double nozzle agricultural water plastic impact sprinkler for irrigation sprinkler combines practicality and durability with a dual nozzle system that provides extensive water coverage for a wide rang...
See Details -
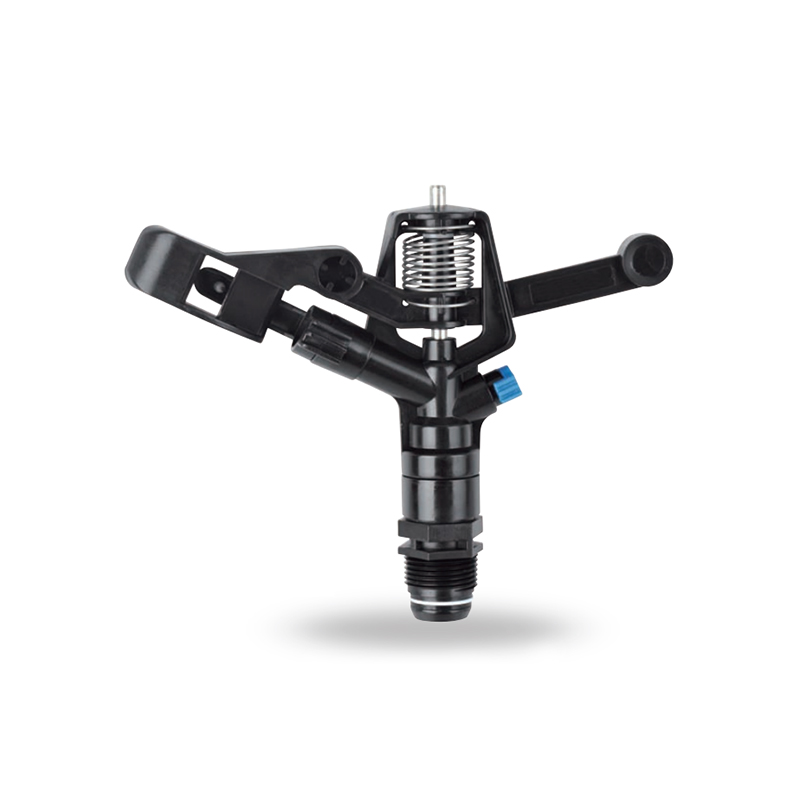
The POM agricultural irrigation sprinkler water impact sprinkler is known for its excellent abrasion resistance and durability, ensuring consistent performance over time. It is designed to increase wa...
See Details -
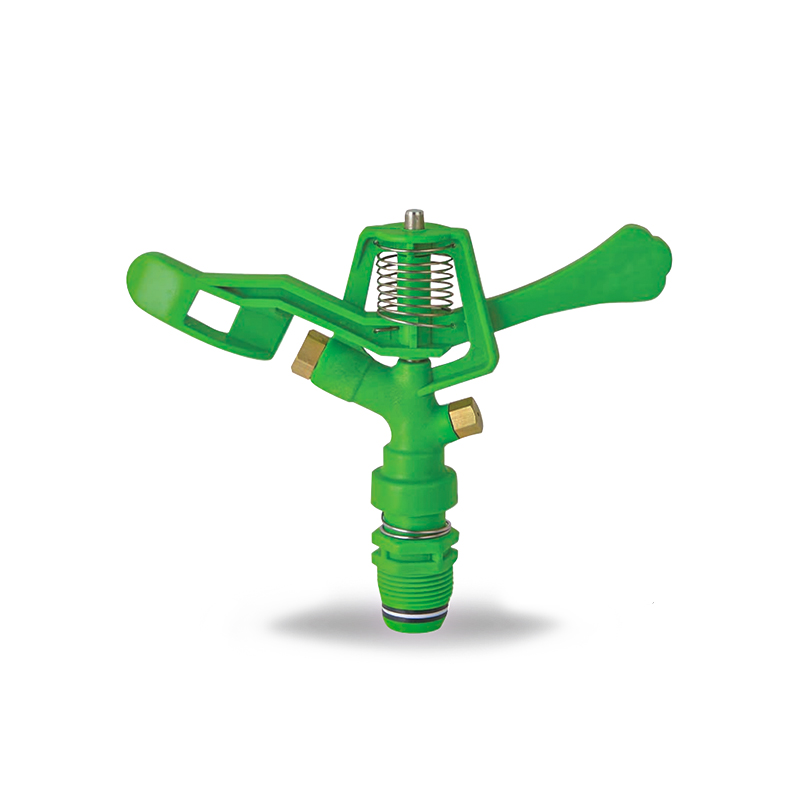
The POM Agricultural Irrigation Sprinkler with Metal Nozzles is a device designed for efficient irrigation, combining premium polyacetal (POM) material with durable metal nozzles to ensure superior sp...
See Details -
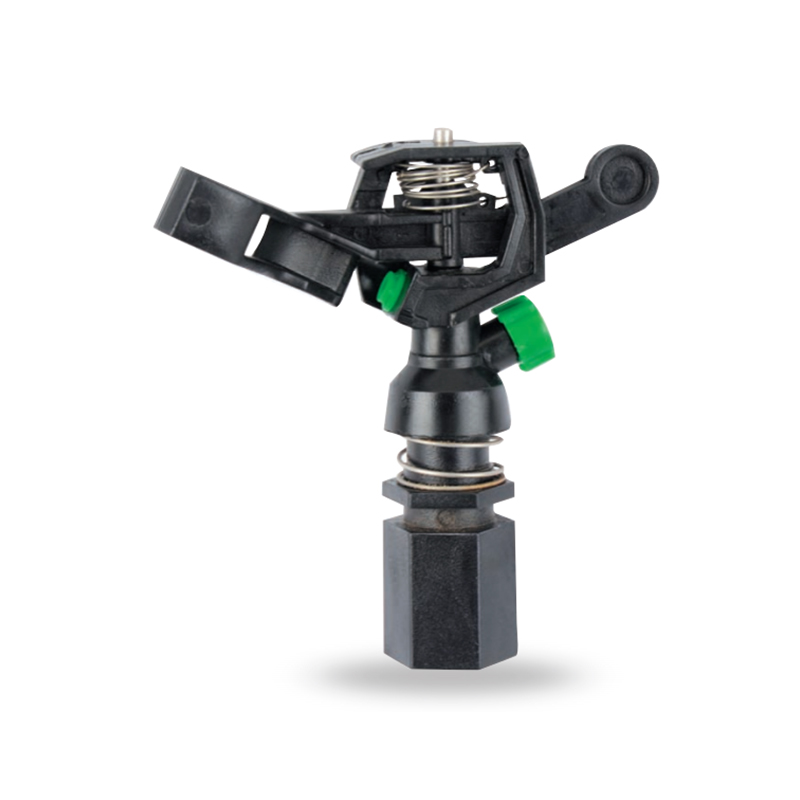
Watering irrigation system 3/4 inch nozzle field Impact Sprinkler is perfect for field irrigation and easily meets the water needs of large crops. Its powerful spray ensures that every nook and cranny...
See Details -
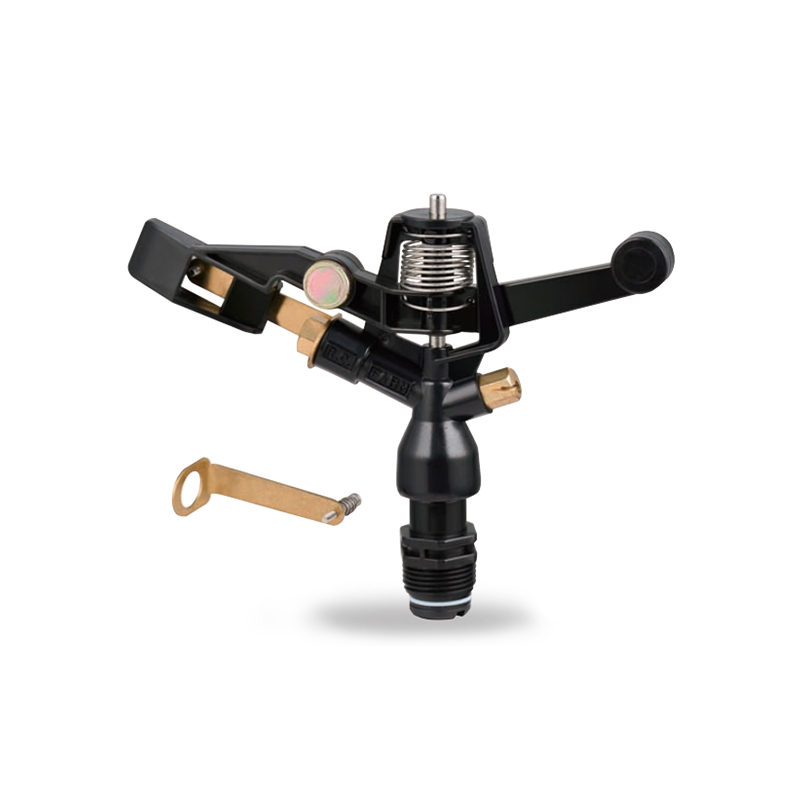
The POM Agricultural Irrigation Sprinkler with Brass Nozzles is an efficient and durable irrigation device designed to meet a wide range of agricultural needs. The sprinkler is made of polyacetal (POM...
See Details -
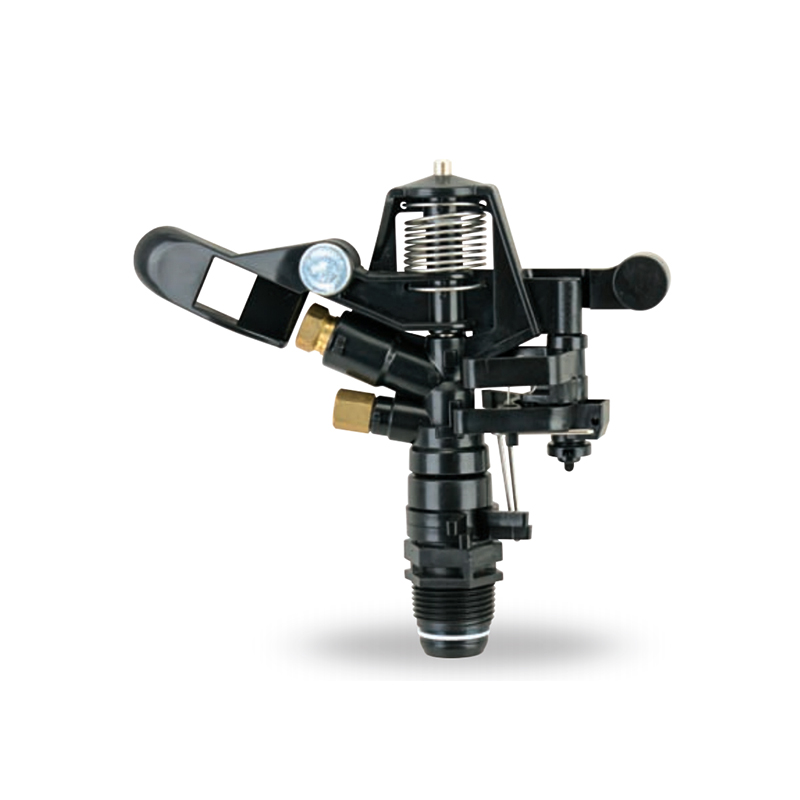
The Double Nozzle Garden Farm Impact Part-Circle Sprinkler is a highly efficient garden irrigation device designed for large planting areas. Its double nozzle design produces a strong, even stream of ...
See Details


PRODUCTS & SERVICES

CONTACT US
 No.518, Ruihao Road, Lizhou Street, Yuyao City, Zhejiang Province, China
 +86-13105554615 / +86-18005843886
 decheng@dcssq.com fredzhu@dcssq.com
 LISA
LISA
 Fred Zhu
Copyright © Ningbo Dewo Irrigation Equipment Co., Ltd. All Rights Reserved. China Agricultural Plastic Sprinkler Manufacturers Wholesale Irrigation Plastic Sprinkler Factory
