 Search for...
 English
 Español
 中文简体
中文简体How to Set Up a Hose Reel: Complete Step-by-Step Guide
Content
- 1 The Short Answer: How to Set Up a Hose Reel
- 2 Types of Hose Reels and Which One Fits Your Setup
- 3 Tools and Materials You Need Before You Start
- 4 Step-by-Step: How to Set Up a Wall-Mounted Hose Reel
- 4.1 Step 1: Choose the Right Wall Location
- 4.2 Step 2: Mark and Drill Mounting Holes
- 4.3 Step 3: Attach the Mounting Bracket
- 4.4 Step 4: Hang the Reel on the Bracket
- 4.5 Step 5: Connect the Leader Hose to the Spigot
- 4.6 Step 6: Load the Garden Hose onto the Drum
- 4.7 Step 7: Attach Your End Fitting or Sprinkler
- 4.8 Step 8: Test the System for Leaks
- 5 Step-by-Step: How to Set Up a Portable Cart Hose Reel
- 6 Connecting an Impact Sprinkler to Your Hose Reel Setup
- 7 Common Mistakes When Setting Up a Hose Reel
- 8 Hose Reel Maintenance to Keep Everything Working
- 9 Choosing the Right Hose for Your Reel and Impact Sprinkler
- 10 Troubleshooting Common Hose Reel Problems
- 11 How Hose Reel Placement Affects Impact Sprinkler Coverage
The Short Answer: How to Set Up a Hose Reel
Setting up a hose reel is straightforward once you understand the basic steps: mount or position the reel near your water source, connect the inlet hose to the spigot, thread your garden hose onto the reel drum, and test for leaks before winding. Most standard hose reels take under 30 minutes to set up, whether you're installing a wall-mounted unit or assembling a portable cart model.
If you're also planning to connect an Impact Sprinkler or a rotary impact sprinkler head at the end of your hose, the setup process requires a few extra considerations—particularly around water pressure, hose diameter, and the distance between the reel and the watering zone. This guide covers all of it in detail.
Types of Hose Reels and Which One Fits Your Setup
Before diving into installation, it's worth knowing what you're working with. Hose reels come in several configurations, and each has a different setup process.
Wall-Mounted Hose Reels
These are fixed to an exterior wall, fence, or post. They're ideal for homes with a permanent outdoor tap and a defined watering area. Wall-mounted reels often have a direct-feed connection to a wall spigot, which means they stay neat and don't need to be moved. They're the best choice for pairing with an Impact Sprinkler system that covers a fixed zone in a lawn or garden.
Freestanding Cart Reels
Cart-style reels sit on wheels and can be moved around the yard. They usually come with a leader hose (typically 6 feet long) that connects to the spigot, and the main hose winds onto the drum. These are practical for larger properties where you need to move the sprinkler setup to different areas. They also work well with portable impact sprinkler heads that you reposition throughout the week.
Retractable Hose Reels
Retractable reels automatically wind the hose back using a spring-loaded mechanism. They can be wall-mounted or freestanding. The internal spring mechanism is sensitive to hose weight, so it's important not to exceed the reel's rated hose length—usually between 50 and 100 feet—especially if you're running a heavy-duty hose to an impact sprinkler at the far end of the garden.
Hose Reel Boxes
These look like decorative garden boxes and conceal the hose when not in use. Setup is similar to wall-mounted units, but they're typically freestanding near a spigot. While aesthetically pleasing, they're not the most practical choice if you frequently switch between garden watering and running a rotary impact sprinkler across a large turf area.
| Reel Type | Best For | Typical Setup Time | Impact Sprinkler Compatible |
|---|---|---|---|
| Wall-Mounted | Fixed watering zones | 20–45 minutes | Yes |
| Cart (Freestanding) | Large or multi-zone yards | 15–30 minutes | Yes |
| Retractable | Convenience-focused users | 20–40 minutes | Yes (check hose length limit) |
| Hose Reel Box | Aesthetic-focused gardens | 10–20 minutes | Yes (smaller coverage areas) |
Tools and Materials You Need Before You Start
Getting everything ready before you begin saves you from stopping halfway through installation. Here's what you'll typically need:
- The hose reel unit and any included hardware (screws, brackets, leader hose)
- A power drill and appropriate drill bits (for wall-mounted models)
- Wall anchors or masonry screws if mounting to brick or concrete
- Adjustable wrench or pliers
- PTFE thread seal tape (plumber's tape) for all threaded connections
- Your garden hose (verify it matches the reel's rated diameter—usually ½ inch or ⅝ inch)
- An Impact Sprinkler head or any other attachment you plan to use at the hose end
- A level (optional but recommended for wall-mounted units)
- Pencil or marker for marking drill points
One item people consistently forget is the PTFE tape. Every threaded connection on a hose reel—inlet, outlet, and the junction between the leader hose and the drum—should be wrapped with PTFE tape to prevent slow leaks. Using two to three wraps in the direction of the thread is usually sufficient.
Step-by-Step: How to Set Up a Wall-Mounted Hose Reel
Wall-mounted hose reels are the most common type for residential use. Follow these steps carefully for a clean, secure installation.
Step 1: Choose the Right Wall Location
Mount the reel within 6 feet of your outdoor spigot to avoid stretching the leader hose or creating kink points. The height should be comfortable for hand-cranking—typically between 3.5 and 4.5 feet off the ground. Make sure the wall surface can support the weight of the reel plus a full hose, which can exceed 15 lbs for a 100-foot hose.
Check for any electrical wiring or plumbing behind the wall before drilling. If you're mounting to a masonry or brick wall, you'll need masonry anchors rated for at least 50 lbs per anchor point.
Step 2: Mark and Drill Mounting Holes
Hold the mounting bracket against the wall and use a pencil to mark the drill points. Use a level to confirm the bracket is perfectly horizontal before marking—a tilted reel will cause the hose to pile up on one side of the drum and wind unevenly. Drill the holes to the depth specified for your wall anchor type. For wood-sided walls, standard wood screws with a 2.5-inch minimum depth are usually adequate.
Step 3: Attach the Mounting Bracket
Insert anchors into the holes if required, then screw the bracket firmly into place. Give the bracket a firm tug to test stability before hanging the reel. A loose bracket is the number one cause of hose reel failures—the weight of the hose and the rotational force during winding place significant stress on the mounting point.
Step 4: Hang the Reel on the Bracket
Most wall-mounted reels hang on a pivot arm or hook system. Slide or clip the reel body onto the bracket and confirm it swings freely if it's designed to pivot. A swivel function allows the reel to face different directions as you pull the hose, which reduces friction and wear on the hose near the drum outlet.
Step 5: Connect the Leader Hose to the Spigot
Wrap the male threaded end of the leader hose with two to three layers of PTFE tape. Thread it onto the spigot by hand first, then tighten with pliers—no more than a quarter turn past hand-tight. Over-tightening can crack plastic fittings. Connect the other end of the leader hose to the reel's inlet port, again using PTFE tape on the threads.
Step 6: Load the Garden Hose onto the Drum
Thread the male end of your garden hose through the hose guide (the small loop or channel at the front of the reel) and into the drum's inlet. Tighten the connection at the drum. Begin winding the hose onto the drum by turning the crank. Wind the hose in even, overlapping layers rather than piling it all in the center. Uneven winding creates pressure points that wear through the hose over time.
Step 7: Attach Your End Fitting or Sprinkler
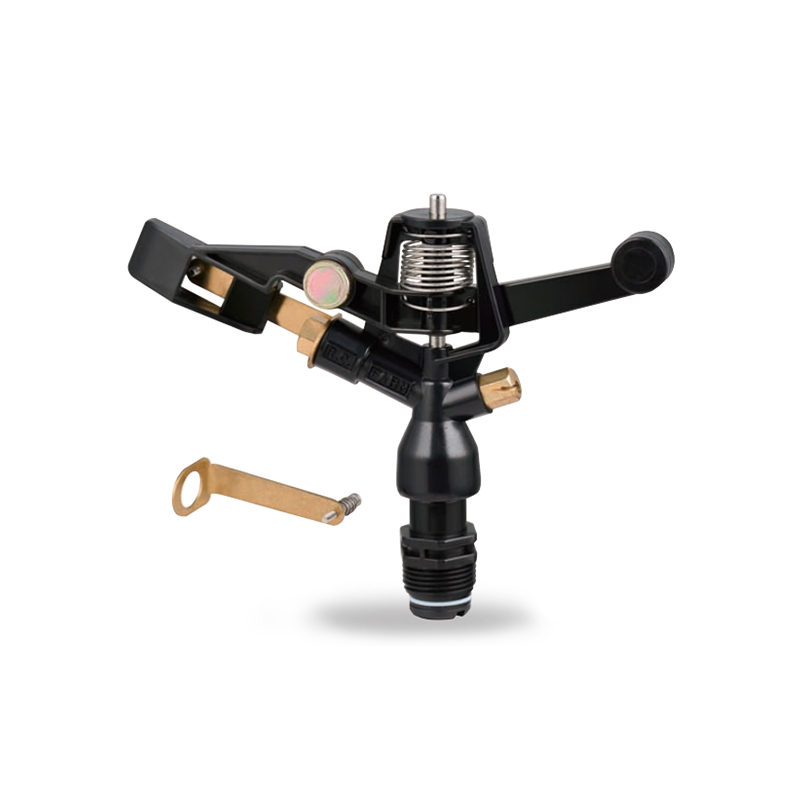
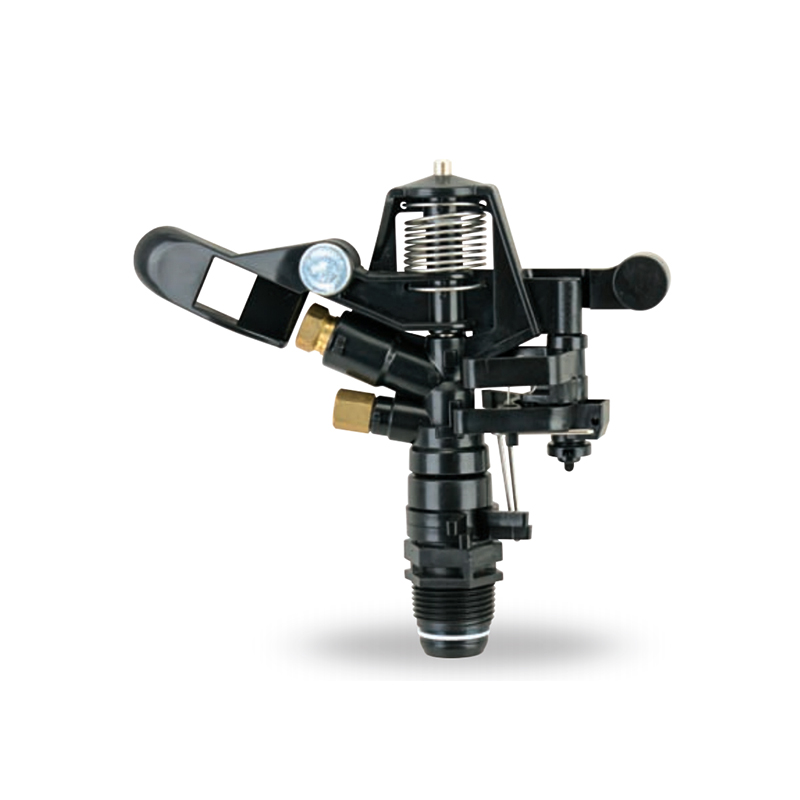
Leave the last 3 to 4 feet of hose off the drum so you can easily access the female end. This is where you'll attach your Impact Sprinkler, nozzle, or other fitting. Wrap the sprinkler's inlet thread with PTFE tape before connecting. Many impact sprinkler heads use a standard ¾-inch GHT (Garden Hose Thread) fitting, which is the universal standard for US garden hoses.
Step 8: Test the System for Leaks
Turn the spigot on slowly and walk the full length of the connection, checking every fitting junction for drips or sprays. Pay particular attention to the leader hose connections and the drum inlet—these are the most common leak points. If you see a slow drip, turn off the water, dry the fitting, add another wrap of PTFE tape, and re-tighten.
Step-by-Step: How to Set Up a Portable Cart Hose Reel
Cart hose reels require assembly rather than wall installation. Most arrive partially assembled but need the axle, wheels, and handle attached before use.
Assemble the Frame
Follow the manufacturer's diagram to attach the legs, axle, and handle to the reel drum housing. Use the included hardware—don't substitute bolts, as the length and thread pitch are calibrated for the specific frame thickness. Tighten all bolts snugly but don't strip the plastic threads if the frame is polymer-based. Most cart reels take 10 to 15 minutes to fully assemble if you lay out all parts before starting.
Attach the Wheels
Slide wheels onto the axle and secure with the included pins or caps. Check that the wheels spin freely and don't wobble. A wobbly wheel will cause the cart to tip when the hose is fully loaded.
Connect the Leader Hose
Cart reels typically include a 6-foot leader hose that runs from the drum inlet to the spigot. Connect it to the reel's inlet fitting using PTFE tape, and position the cart close enough to the spigot so the leader hose hangs loose rather than pulling taut. A taut leader hose will eventually crack at the connection point from constant tension.
Load and Wind the Hose
Thread the hose through the guide and connect to the drum inlet. Wind slowly, keeping the hose evenly distributed across the width of the drum. For a cart that you'll use with an impact sprinkler at the end, make sure the female connector end is accessible without fully unwinding—leave about 5 feet of hose off the drum for easy attachment.
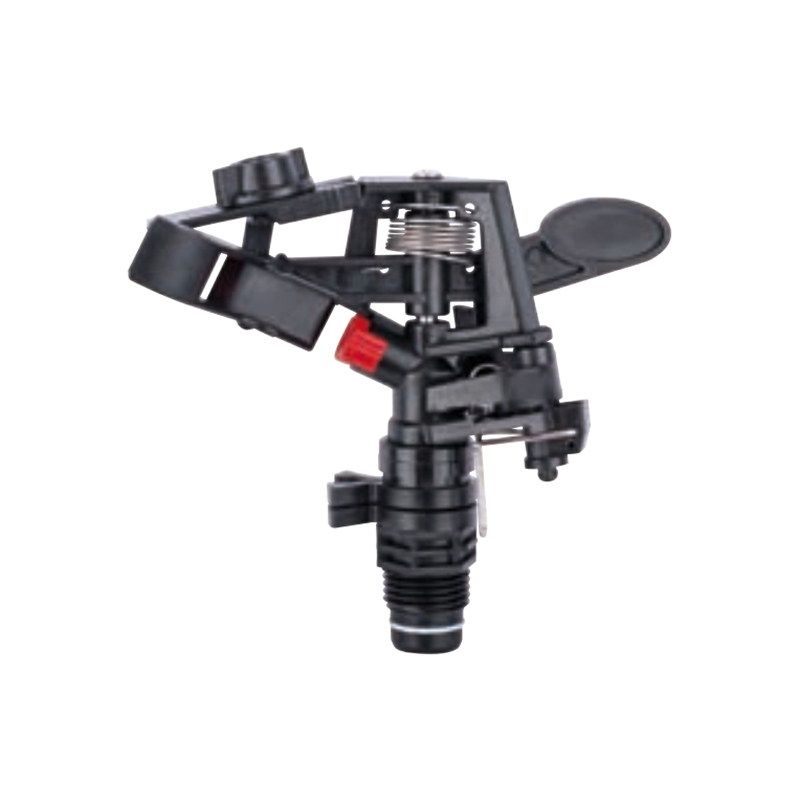
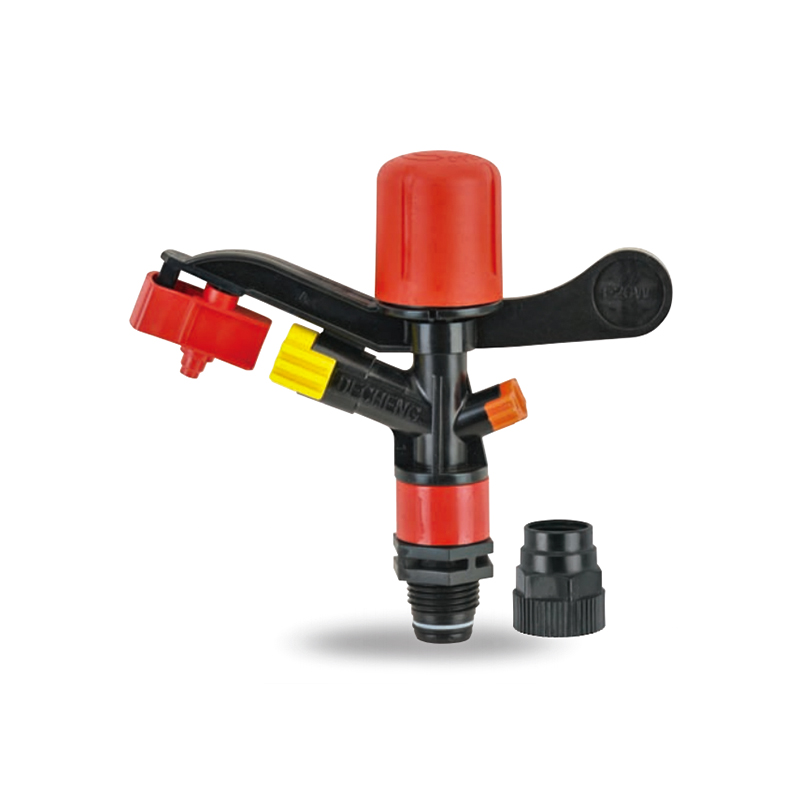
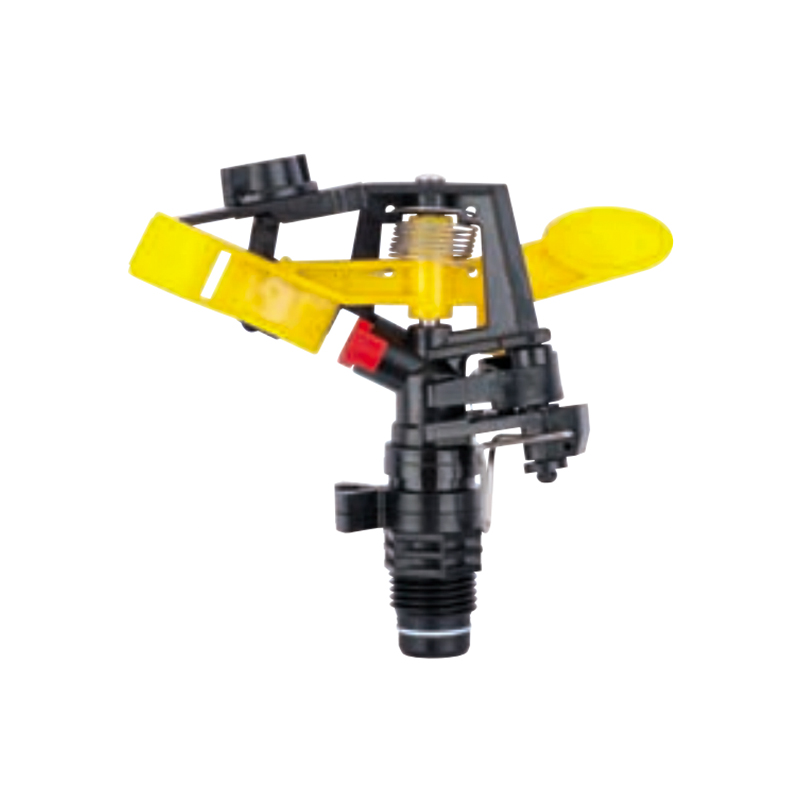
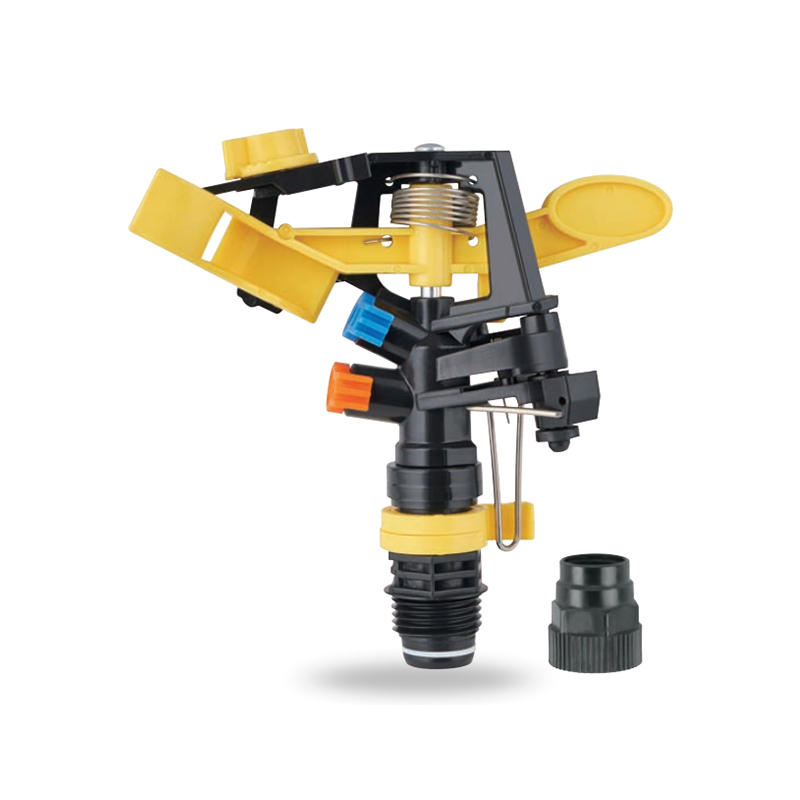
Connecting an Impact Sprinkler to Your Hose Reel Setup
An Impact Sprinkler—sometimes called a rotary impact sprinkler or impulse sprinkler—is one of the most effective sprinkler types for medium to large lawn areas. When paired with a hose reel, it creates a highly flexible and portable irrigation solution.
Why Impact Sprinklers Work Well with Hose Reels
Impact sprinklers operate by using the force of the water stream to drive a rotating arm, which deflects the stream in a sweeping arc. They typically cover a radius of 25 to 50 feet depending on water pressure, making them ideal for open lawn spaces. Unlike oscillating sprinklers that rely on an even water column, impact sprinklers perform consistently even with slightly fluctuating pressure—which is common when water travels through a long hose on a reel.
Because hose reels let you extend your reach across the yard without dragging a hose manually, combining a cart reel with a portable impact sprinkler head on a spike lets you irrigate multiple zones simply by repositioning the cart and adjusting the sprinkler's arc pins.
Water Pressure Requirements
Most residential impact sprinkler models require between 25 and 50 PSI at the sprinkler head for proper operation. The problem is that water pressure drops as it travels through a hose—roughly 1 PSI per foot in a narrow ½-inch hose under high flow conditions, and less in a ⅝-inch or ¾-inch hose. For a 100-foot ½-inch hose, you could lose 8 to 12 PSI between the spigot and the sprinkler.
If your home's water pressure at the spigot is around 45 PSI, and you're running 75 feet of ½-inch hose, you might arrive at the impact sprinkler with just 35 to 38 PSI—still workable, but on the lower end. Using a ⅝-inch diameter hose significantly reduces this pressure loss and is the preferred choice when running an impact sprinkler at distance.
Hose Length and Coverage Area
A standard cart hose reel holds between 50 and 150 feet of ⅝-inch hose. For most residential lawns, a 75-foot hose on a reel paired with an impact sprinkler covers an area of roughly 5,000 to 8,000 square feet by repositioning the sprinkler two or three times. This is substantially more coverage than a fixed oscillating sprinkler, which typically handles 2,000 to 3,500 square feet per position.
How to Attach the Impact Sprinkler
- Pull the desired length of hose off the reel drum.
- Wrap the impact sprinkler's inlet thread with PTFE tape (two to three wraps).
- Thread the sprinkler onto the female end of the garden hose by hand.
- Tighten an additional quarter turn with pliers if necessary, but avoid over-tightening.
- Place the sprinkler on its spike in the desired position in the lawn.
- Set the arc adjustment pins on the sprinkler head to control the sweep range (partial arc or full 360°).
- Turn on the water slowly and allow the pressure to stabilize before adjusting to full flow.
Common Mistakes When Setting Up a Hose Reel
Even experienced gardeners make avoidable errors during hose reel installation. Here are the most frequent issues and how to prevent them.
Skipping the PTFE Tape
Dry-threading garden hose fittings without PTFE tape almost always results in slow drips at connection points. Water under pressure finds any imperfection in a threaded joint. PTFE tape costs less than $2 and takes 30 seconds to apply—there's no reason to skip it.
Overloading the Drum
Every hose reel has a maximum hose capacity listed in the specifications. Exceeding it—say, forcing 125 feet of hose onto a drum rated for 100 feet—creates excessive pressure on the drum axle and crank mechanism. It also traps the inner hose layers under so much compression that kinking becomes inevitable. Always match hose length to the reel's rated capacity.
Mounting Too Far from the Spigot
If the reel is mounted more than 6 feet from the outdoor tap, the included leader hose is usually not long enough. Using an extension hose as a leader hose adds unnecessary connection points and increases leak risk. When choosing a mounting location, prioritize proximity to the water source over visual aesthetics.
Winding a Wet or Twisted Hose
Winding a hose that still has water inside it adds unnecessary weight to the drum, and winding a twisted hose sets the twist permanently into the hose material. Before winding, drain the hose by running it downhill or briefly disconnecting the end fitting. Work out any twists by walking the hose out straight before rewinding.
Using the Wrong Hose Diameter for an Impact Sprinkler
As mentioned earlier, ½-inch hoses cause significant pressure drop over long distances. If you're running an impact sprinkler at the end of 75+ feet of hose, a ½-inch hose may not deliver enough pressure for the sprinkler to rotate properly. Switch to a ⅝-inch diameter hose for any run over 50 feet where an impact sprinkler is the end attachment.
Leaving the Hose Under Pressure When Not in Use
Many people leave the spigot open 24/7 and only control water flow at the nozzle end. This keeps the entire hose, leader hose, and reel fittings under constant water pressure—up to 80 PSI in some municipal systems. Over time, this accelerates wear at every joint and can cause the hose to balloon near connection points. Close the spigot after each use and release pressure by briefly opening the sprinkler or nozzle fitting.
Hose Reel Maintenance to Keep Everything Working
A hose reel that's set up correctly can last 10 to 20 years with minimal maintenance. Neglected reels typically fail within 3 to 5 years due to seized cranks, cracked hoses, or corroded fittings.
Lubricate the Crank and Axle
Once or twice a season, apply a light machine oil or silicone spray to the crank shaft, axle bearings, and any pivot points on a swivel-mount reel. This prevents the gritty resistance that develops from dust and mineral deposits and keeps winding smooth. Do not use WD-40 as a long-term lubricant—it evaporates quickly and attracts dirt. Use a dedicated machine oil or dry silicone spray.
Inspect Fittings Before Each Season
At the start of spring, before you first use the reel, check every threaded connection for cracking or corrosion. Plastic fittings can become brittle after UV exposure over winter, and metal fittings may show green corrosion if they were stored wet. Replace any fitting that shows visible cracking before applying water pressure.
Winterize Before the First Freeze
In climates that experience freezing temperatures, water left in the hose and fittings will expand and crack them. Before the first frost, disconnect the leader hose from the spigot, drain the entire hose by pulling it off the reel and letting it hang on a slope, and store the reel in a garage or shed. Even a single freeze cycle can split a garden hose or crack a plastic fitting beyond repair.
Clean the Impact Sprinkler Nozzle Annually
Mineral deposits from hard water gradually clog the nozzle orifice of an impact sprinkler, reducing its throw distance and causing uneven rotation. Once a season, remove the sprinkler head, soak it in a 1:3 white vinegar and water solution for 30 minutes, and rinse thoroughly. This restores full nozzle performance without damaging the plastic or rubber components.
Choosing the Right Hose for Your Reel and Impact Sprinkler
The hose you choose matters more than most people realize. Not all garden hoses perform the same way under the flow demands of an impact sprinkler, and not all hoses are compatible with every reel drum size.
| Hose Diameter | Flow Rate (gal/min) | Best Use | Impact Sprinkler Performance |
|---|---|---|---|
| ½ inch | ~9 GPM | Small gardens, short runs | Adequate under 50 ft |
| ⅝ inch | ~17 GPM | Standard residential use | Recommended for most setups |
| ¾ inch | ~23 GPM | Long runs, large lawns | Best for 100+ ft runs |
Beyond diameter, look for hoses with a burst pressure rating of at least 150 PSI. Premium hoses use a reinforced inner braid layer—often nylon or polyester—that prevents ballooning under high pressure. Lightweight "expandable" hoses are not suitable for impact sprinkler use, as they restrict flow too significantly and are prone to leaking at fittings under sustained pressure.
A rubber hose is heavier than a vinyl hose but significantly more durable, especially when wound onto a reel repeatedly and left in direct sunlight. For any setup where the hose will be wound and unwound daily, a rubber or hybrid rubber-vinyl hose is worth the extra cost.
Troubleshooting Common Hose Reel Problems
Even a correctly installed reel can develop issues over time. Here's how to diagnose and fix the most common problems.
The Crank Is Stiff or Hard to Turn
This is usually caused by mineral buildup on the axle or by the hose being wound too tightly. Try applying a few drops of machine oil to the crank shaft and axle. If the crank is still stiff, partially unwind the hose and check whether the inner layers are compressed against each other. A drum that's overloaded will always have a stiff crank.
Water Drips at the Leader Hose Connection
Turn off the water and dry the connection point. Remove the fitting, check the rubber washer inside the hose connector for cracks or deformation, and replace it if necessary. Rubber washers inside garden hose fittings are inexpensive and typically the first component to fail. Reapply PTFE tape to the threaded portion before reconnecting.
The Impact Sprinkler Isn't Rotating
If the sprinkler head isn't spinning, the most common cause is insufficient water pressure at the head. Check whether other taps in the house are running simultaneously, which would reduce your spigot pressure. Also verify that the hose isn't kinked somewhere along its length on the drum. A single kink in a wound hose can reduce flow enough to stop an impact sprinkler from rotating.
If pressure seems fine, remove the sprinkler head and flush the nozzle orifice with clean water to clear any debris. Sand, grit, or mineral scale inside the nozzle can block the small aperture that drives the rotation arm.
The Hose Keeps Kinking at the Drum Exit Point
Kinking at the point where the hose exits the drum guide is a sign that the guide's opening is too sharp or the hose is too stiff for the bend radius required. Some hose reels include a rubber or flexible collar at the exit guide to soften the bend angle. If yours doesn't, wrap the hose with a short section of foam pipe insulation at the exit point to cushion the bend and reduce kinking.
Retractable Reel Won't Retract
If a retractable reel's spring won't pull the hose back, the most common cause is either a broken spring or a hose that exceeds the reel's weight capacity. Spring-loaded retractable reels are not suitable for rubber hoses, which can weigh twice as much as an equivalent vinyl hose. If the spring is intact but still can't retract, switch to a lighter hose. If the spring is broken, the reel typically needs to be replaced—spring mechanisms are usually not field-serviceable in residential models.
How Hose Reel Placement Affects Impact Sprinkler Coverage
Where you position your hose reel relative to your lawn directly affects how efficiently you can irrigate with an impact sprinkler. Strategic placement minimizes the hose length you need to pull off the reel for each zone, reduces pressure drop, and extends the life of the hose by reducing the number of wind/unwind cycles.
For a rectangular lawn of 3,000 square feet (roughly 50 by 60 feet), a wall-mounted reel near the midpoint of one of the longer sides allows an impact sprinkler to cover the entire area from two positions with just 40 to 50 feet of hose per position. Mounting the reel at a corner of the house instead would require 75 to 100 feet of hose to reach the far corner, significantly increasing pressure drop at the sprinkler head.
For irregularly shaped lawns or properties with multiple distinct garden zones, a cart hose reel offers more flexibility. You can park the cart at different spigots around the property and adjust coverage simply by relocating the cart and re-positioning the impact sprinkler spike. Many homeowners find that one 75-foot reel and two impact sprinkler heads cover an average suburban yard of 5,000 square feet in three to four sprinkler positions per watering session.
Prev:How Do You Do the Sprinkler? A Complete Step-by-Step GuideNext:How Long to Run Oscillating Sprinkler for a Healthy Lawn?
Related products
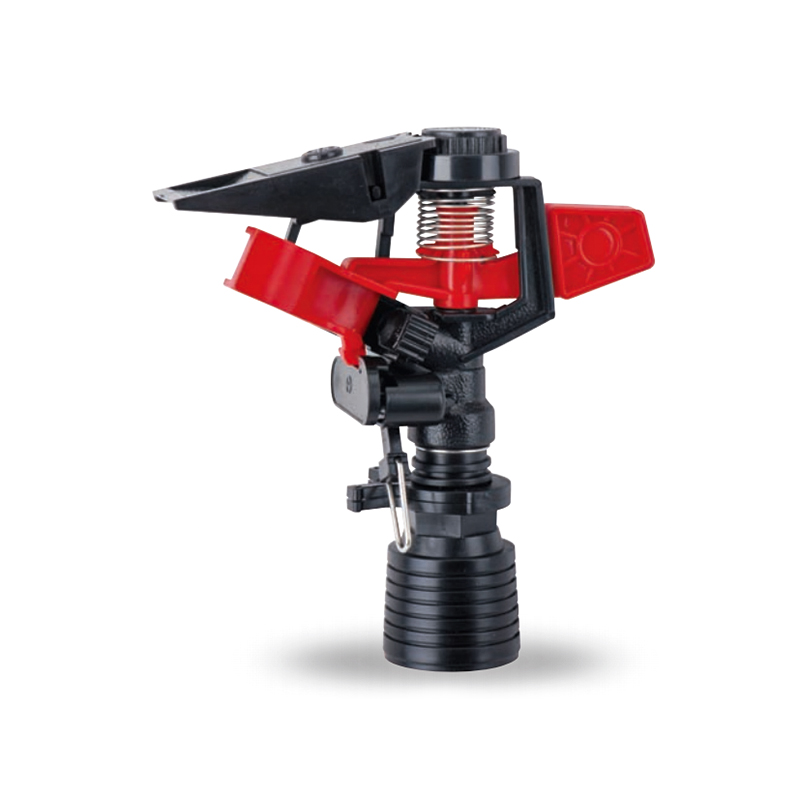
-
Impact sprinkler for agricultural irrigation is a common and efficient agricultural irrigation tool designed for large areas of farmland. Its unique structure can evenly cover a large area by rotating...
See Details -
This 360 degree adjustable rocker arm nozzle impact sprinkler is an essential part of an irrigation system designed to meet a wide range of horticultural and agricultural needs. Its flexible adjustmen...
See Details -
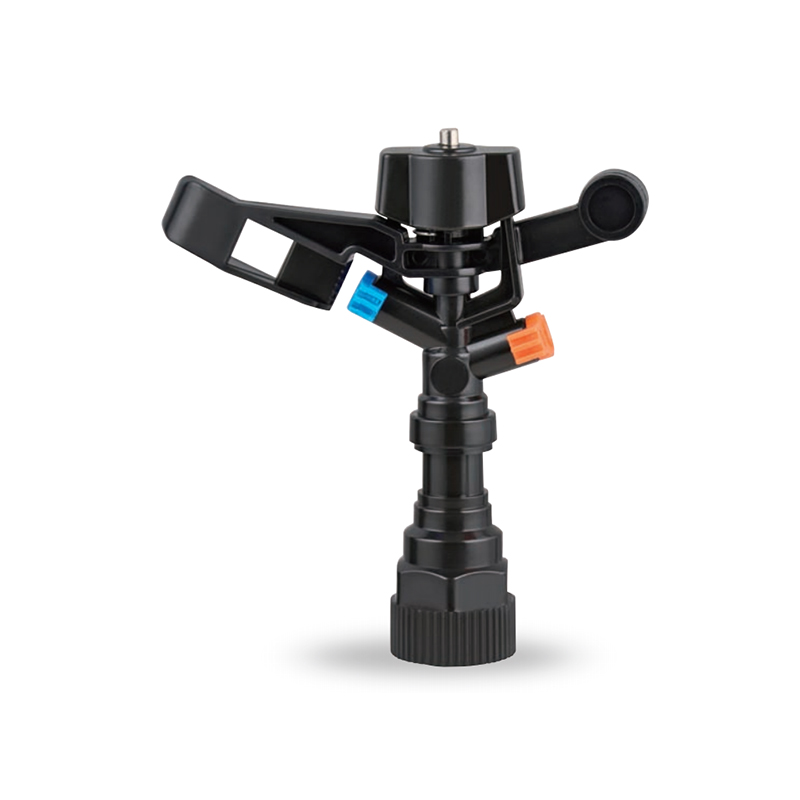
The Plastic Full-Circle Impact Sprinkler Sprayer is a highly efficient full-circle irrigation device designed to provide even moisture coverage. Its lightweight plastic material makes this sprinkler e...
See Details -
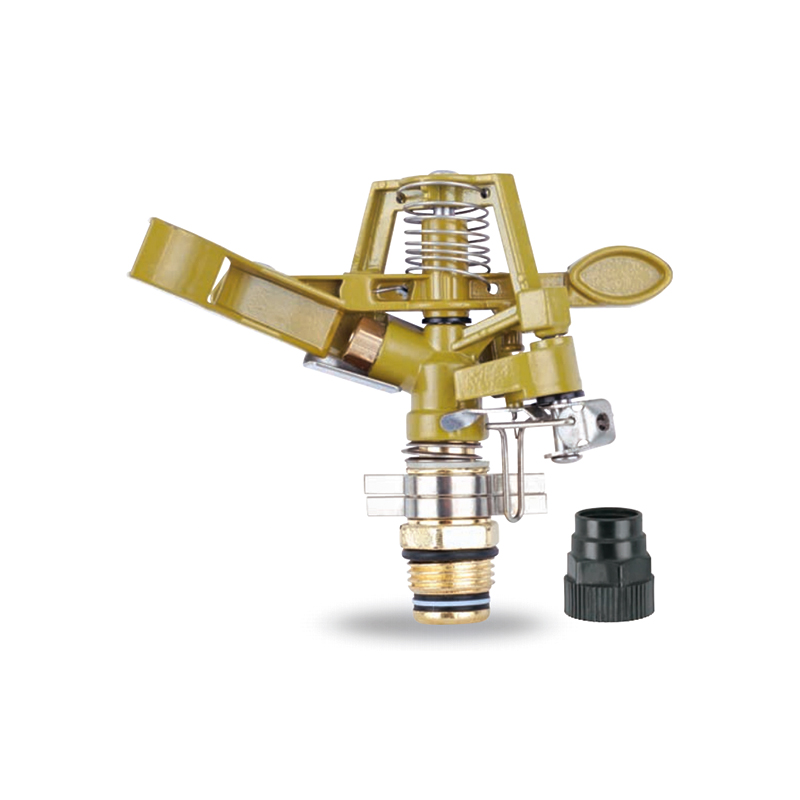
The Irrigation System Adjustable Head Mobile Rotary Zinc Sprinkler is an efficient rotary sprinkler designed for flexible irrigation needs. Its adjustable head allows the user to easily adjust the dir...
See Details -
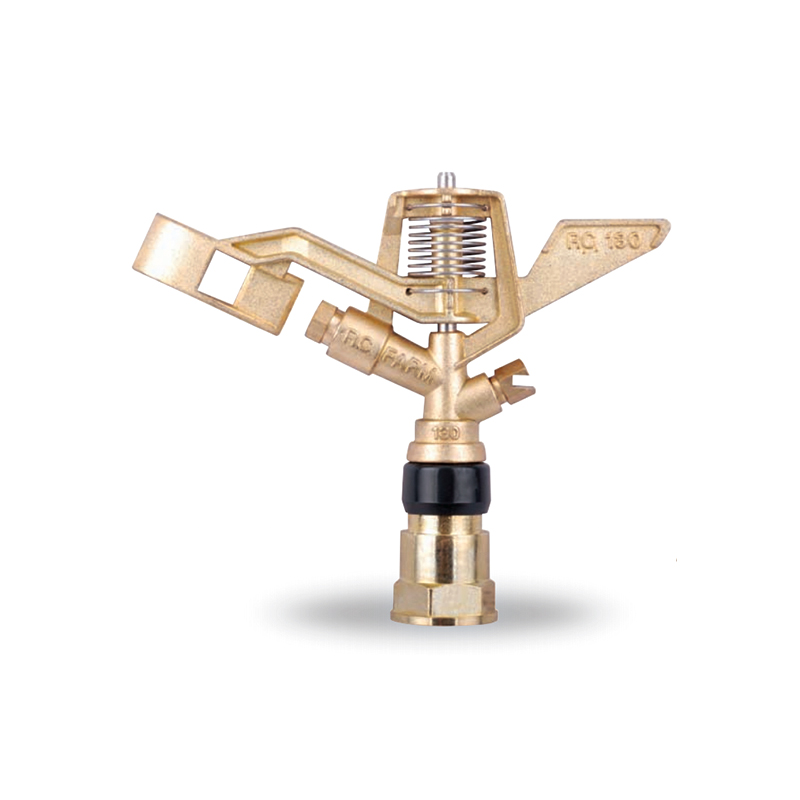
This 3/4” Zinc Alloy Swivel Arm Irrigation Watering System Impact Sprinkler is ideal for agricultural irrigation systems due to its superior durability and corrosion resistance. Its rugged constructio...
See Details -
The Double nozzle garden farm impact full-circle sprinkler is well-designed to efficiently and evenly spray water, thus enhancing the quality of crop growth. Whether it's in the home garden or on a la...
See Details -
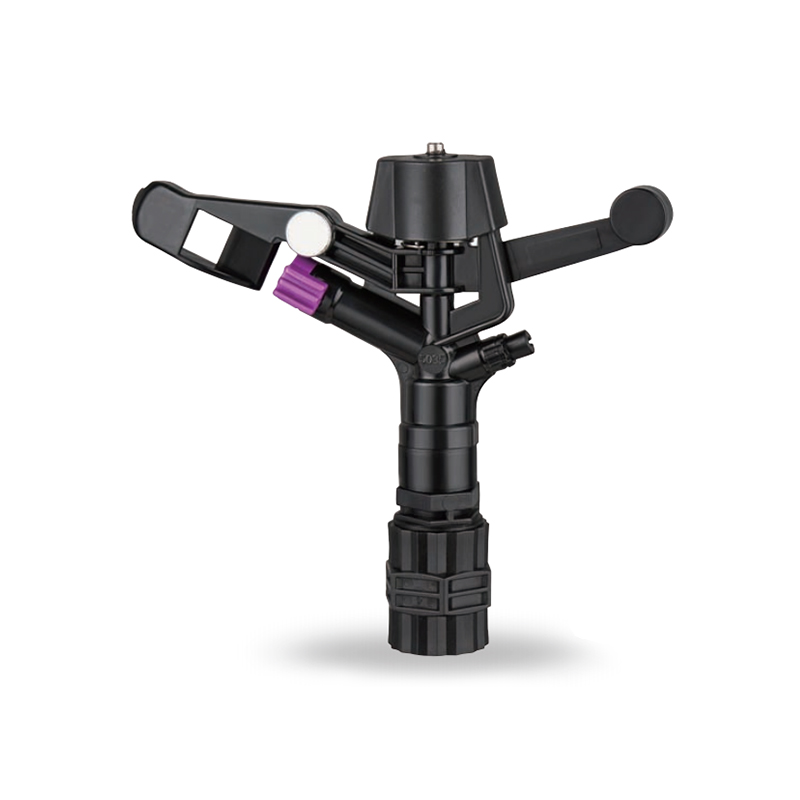
Double nozzle agricultural water plastic impact sprinkler for irrigation sprinkler combines practicality and durability with a dual nozzle system that provides extensive water coverage for a wide rang...
See Details -
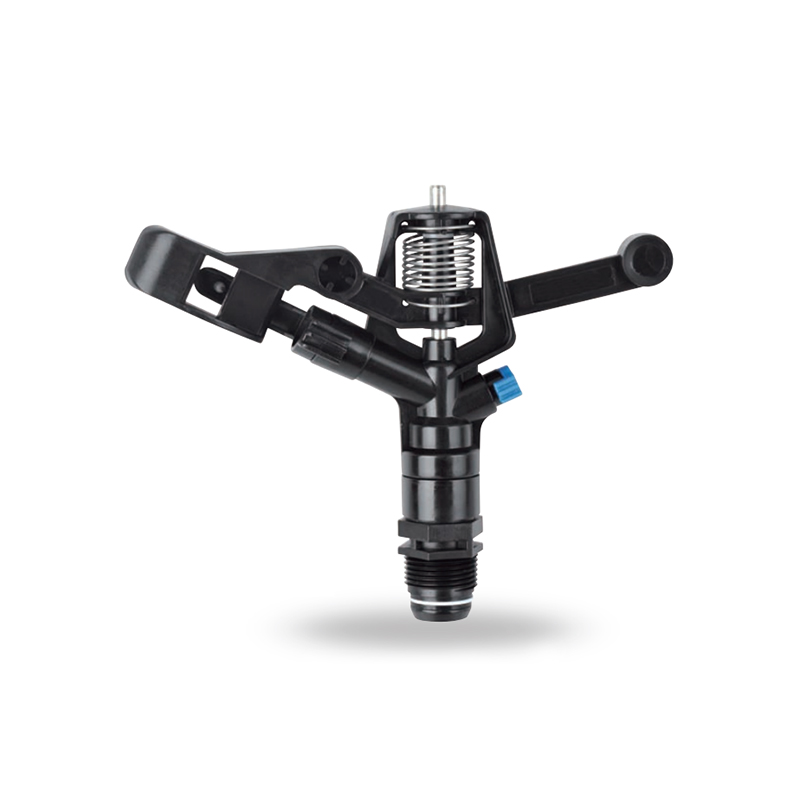
The POM agricultural irrigation sprinkler water impact sprinkler is known for its excellent abrasion resistance and durability, ensuring consistent performance over time. It is designed to increase wa...
See Details -
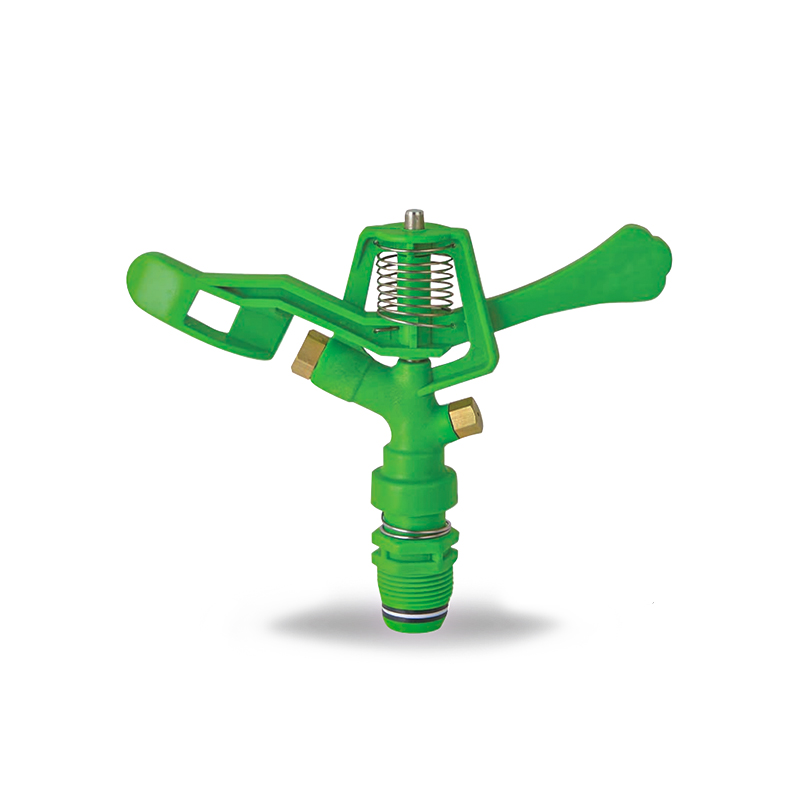
The POM Agricultural Irrigation Sprinkler with Metal Nozzles is a device designed for efficient irrigation, combining premium polyacetal (POM) material with durable metal nozzles to ensure superior sp...
See Details -
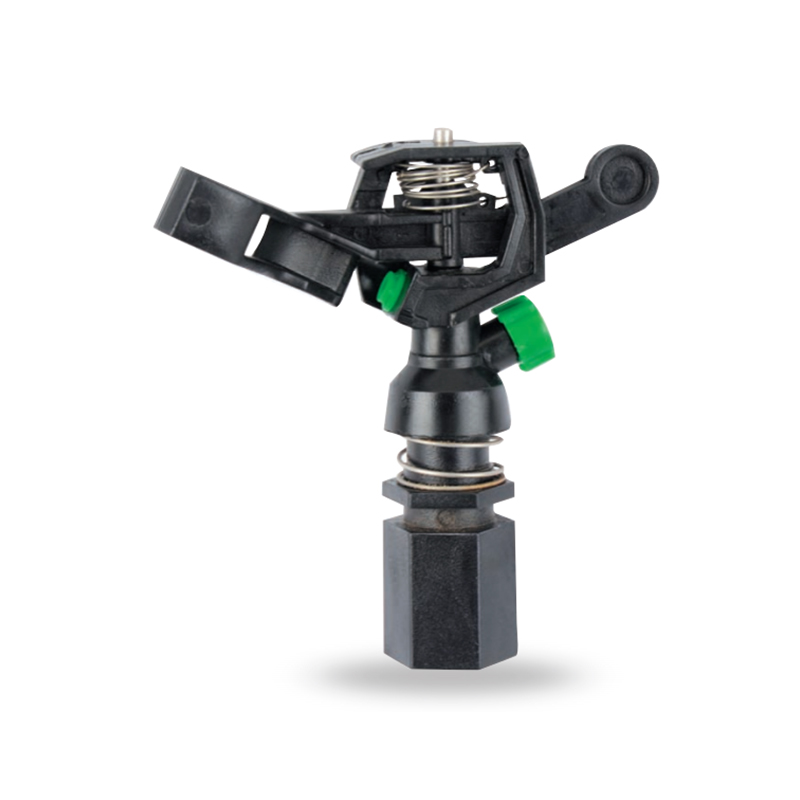
Watering irrigation system 3/4 inch nozzle field Impact Sprinkler is perfect for field irrigation and easily meets the water needs of large crops. Its powerful spray ensures that every nook and cranny...
See Details -
The POM Agricultural Irrigation Sprinkler with Brass Nozzles is an efficient and durable irrigation device designed to meet a wide range of agricultural needs. The sprinkler is made of polyacetal (POM...
See Details -
The Double Nozzle Garden Farm Impact Part-Circle Sprinkler is a highly efficient garden irrigation device designed for large planting areas. Its double nozzle design produces a strong, even stream of ...
See Details

PRODUCTS & SERVICES

CONTACT US
 No.518, Ruihao Road, Lizhou Street, Yuyao City, Zhejiang Province, China
 +86-13105554615 / +86-18005843886
 decheng@dcssq.com fredzhu@dcssq.com
 LISA
LISA
 Fred Zhu
Copyright © Ningbo Dewo Irrigation Equipment Co., Ltd. All Rights Reserved. China Agricultural Plastic Sprinkler Manufacturers Wholesale Irrigation Plastic Sprinkler Factory
