

 Search for...
 English
 Español
 中文简体
中文简体How to Set Up a Sprinkler System: Complete Step-by-Step Installation Guide
Content
- 1 Before You Dig: Three Checks That Decide Your Layout
- 2 Design Your Zones: Choose the Right Sprinkler or Dripper for Each Area
- 3 What You Need Before You Start: Tools and Materials Checklist
- 4 Step-by-Step Sprinkler Installation Process
- 5 Wiring and Controller Setup for Automated Zones
- 6 Common Startup Problems and How to Fix Them
- 7 Maintenance Routines That Extend Sprinkler Life
- 8 Frequently Asked Questions About Sprinkler Installation
If your lawn turns brown every July and dragging a hose around the garden feels like a daily chore, you have probably thought about installing a sprinkler system. The answer you need up front is this: you can install a sprinkler system yourself with the right sequence of planning, pipework, valves, and sprinkler heads. It does not require a construction company. It does require a clear understanding of water pressure, zone design, and installation order. This guide walks you through the exact workflow, the tools you need, and the most common mistakes that force people to call a professional.
You will also see how to connect the system to a working controller or a simple manual valve, how to flush the lines safely before covering them, and what a reliable maintenance routine looks like. The goal is to keep the text practical and reusable, so you can measure your own garden, pick the right components, and finish with a system that waters evenly and quietly for years.
Before You Dig: Three Checks That Decide Your Layout
Your first decision is not about sprinkler models. It is about the water supply behind them. A well-designed irrigation system fails only when it is built on assumptions instead of measurements. Take these three checks in order before you buy a single pipe fitting.
1. Measure Static and Operating Water Pressure
Attach a pressure gauge to the closest outdoor faucet. Make sure all other taps are closed. This gives you static pressure, which is the pressure when no water is flowing. For the operating pressure, open the faucet fully and let the gauge settle. A typical residential water supply in the United States runs between 35 and 55 psi. If your static pressure is below 30 psi, impact sprinklers will spray in weak arcs and drip lines will barely feed. If it is above 60 psi, you need a pressure regulator before the first valve, because most plastic sprinkler heads are rated for 30 to 50 psi.
2. Test the Flow Rate with a Bucket
Pressure tells you how hard water pushes. Flow tells you how much water is available. The simplest field test is a bucket test. Place a 5-gallon bucket under the same outdoor faucet, open it fully, and time how many seconds it takes to fill. Divide 60 by the number of seconds to get gallons per minute. For example, if a 5-gallon bucket fills in 30 seconds, your flow rate is 2.5 gpm, which is low for a large lawn. If it fills in 18 seconds, you have about 3.3 gpm. Most home irrigation systems run between 4 and 12 gpm. Choosing sprinkler heads without knowing this number is the fastest way to build a zone that starves half of its heads.
3. Map Plant Types and Soil Depth
Waterings needs vary. Turf grass needs shallow, frequent drinking because its roots stay in the top 15 to 20 cm of soil. A vegetable garden benefits from a slow drip that soaks deeper. A raised flower bed will be disturbed by a high-pressure spray. Walk around the area you plan to irrigate and write down what is growing. This map drives the division between spray zones and drip zones. If you skip this step, you will end up watering a tomato row with a spray head that wets the leaves, which invites fungi and wastes water.
Design Your Zones: Choose the Right Sprinkler or Dripper for Each Area
Your layout plan is where the system starts to take shape. Divide the property into zones based on plant type, sun exposure, and water pressure. A common rule for residential systems is to give each zone no more than 8 to 10 sprinkler heads. The total flow of all the heads in one zone must stay below the flow rate you measured with the bucket test. This ensures every head gets enough water.
There is also a visual principle to follow. Do not mix spray heads and drip lines in the same zone. Spray heads throw water over a wide area, while drip lines release water exactly at the base of a plant. Mixing them usually leaves the drip line dry or the lawn flooded.
The table below compares the main sprinkler families and their typical applications. Keep it on your desk when you are picking out heads.
| Sprinkler Type | Best For | Typical Radius |
|---|---|---|
| Impact / Rotating | Large lawns, farms, orchards | 8 to 20 m |
| Mist / Mid-range | Greenhouses, small gardens, fine mist coverage | 2 to 6 m |
| Adjustable Dripper | Flower beds, vegetable rows, individual shrubs | 0 to 0.5 m |
When you compare options, ask yourself whether the head is designed for irrigation or just for decoration. A farmer will not use a decorative mid-range nozzle for a 10-acre field. A gardener will not use a 20-meter impact sprinkler for a rose bed. The product you choose has to match the area size, the water pressure, and the target vegetation.
What You Need Before You Start: Tools and Materials Checklist
Do not open a trench until every pipe, fitting, valve, and head is stacked beside the work area. This prevents abandoned homes and the terrible moment of finding a missing elbow after the pipe is glued. On a typical 10 m by 20 m lawn, you will need roughly 30 to 50 m of mainline pipe, 10 to 16 m of branch pipe, four to six valves, and one screwdriver and pipe wrench set.
- Shovel or trenching spade for the mainline and branch lines
- PVC pipe with the correct diameter for your zone flow
- PVC elbows, tees, and end caps for the mainline
- Solenoid valves or manual mini valves for each zone
- Pressure regulator and filter before the first valve
- Pipe cement and solvent for waterproof connections
- Teflon tape for threaded connections
- Sprinkler heads or drip emitters for each zone
- Five-gallon bucket with a lid to flush the lines
- Level and string line for setting head heights
A practical start is to use 19 mm or 25 mm PVC for the mainline and thin 13 mm drip tubing for the branch lines. Keep the pipe diameter bigger than the required flow. If a zone needs 8 gpm, a 25 mm mainline will move that without chocking friction. The diameter is not about looks; it is about pressure loss.
Step-by-Step Sprinkler Installation Process
Below is the installation sequence we recommend for any residential or small commercial project. Follow each step in order. Cutting corners usually creates a leak or a zone that never comes up to pressure.
1. Draw the Layout Plan
Walk the ground with flag markers. Mark each sprinkler head position and every valve location. Draw a rough map on paper with distances in meters. Mark where the mainline will travel and where it will take a branch into each zone. The plan does not need to be professional, but it must be complete before you dig. It becomes your reference for the rest of the project.
2. Dig the Trench
For a standard home system, dig the mainline trench 40 to 50 cm deep. Branch lines can sit 30 to 40 cm deep. Keep the soil clear of large stones, glass debris, and thick tree roots. A clean trench bottom is important. Sharp rocks can puncture PVC if the ground shifts.
3. Lay the Mainline and Branch Lines
Assemble the PVC mainline with primer and solvent cement. Work from the water source outward. Use elbows only where you actually need a 90-degree turn. For each zone, add a tee and run a branch line toward the zone's heads. Leave a temporary open end at the end of the mainline so you can flush later. If you bury the mainline before flushing, you will trap sand and debris inside.
4. Install Valves and Manifold
Place the valves in a plastic valve box near the edge of the garden. If you are building an automatic system, use solenoid valves. If this is a manual system, install a reliable manual valve. Space the valves at least 150 mm so the covers do not overlap. A valve box near the mainline is standard for both home and farm systems. In a small garden or a vegetable plot, manual zone control is often easier than a complex controller.
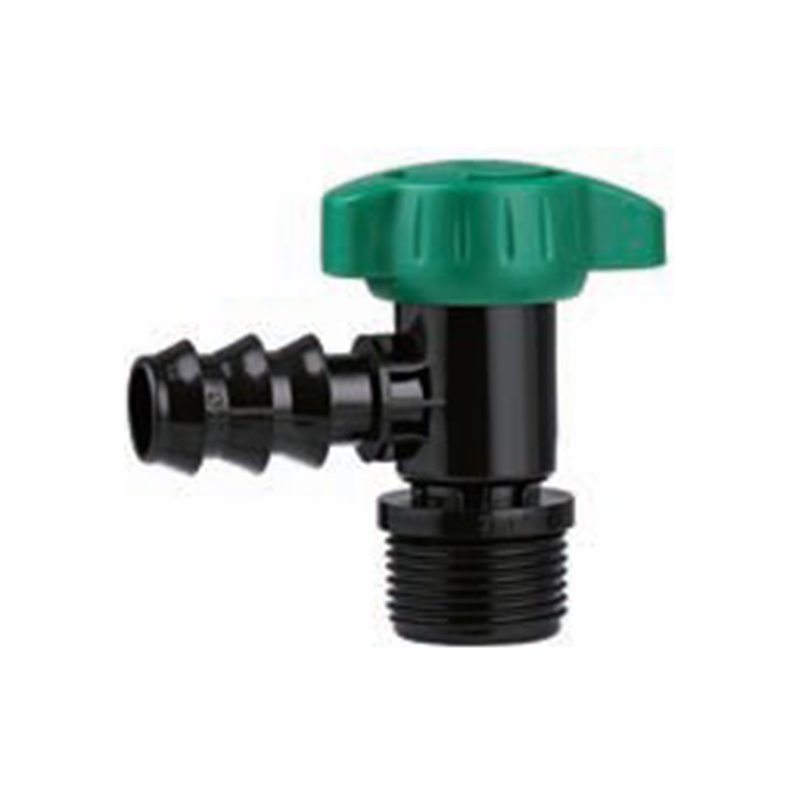 High-Flow Mini Valve for Large-Scale Irrigation SystemsThis mini valve is built for high-flow irrigation in farms, orchards, and pastures. Its corrosion-resistant body and quick-install design make it a reliable choice for both manual and automatic zone control.View Product →
One important detail is the placement of the pressure regulator. Install it upstream of the valve manifold. This protects every head from overpressure. In a zone with 5 to 8 impact sprinklers, a 40 psi regulator works well. In a drip zone, a 25 to 30 psi regulator is standard.
5. Connect Drip Lines and Sprinkler Heads
For spray zones, place the sprinkler heads on risers at the height listed in the head manual. Level the head tops with a hand level. For drip zones, stretch the drip tubing along the plant rows. Insert the drippers into the tubing with a hole punch, pushing each emitter gently into the soil. The position of the dripper matters: for a tomato plant, keep the dripper 10 to 15 cm from the stem. For a flower bed, space the drippers every 30 to 40 cm.
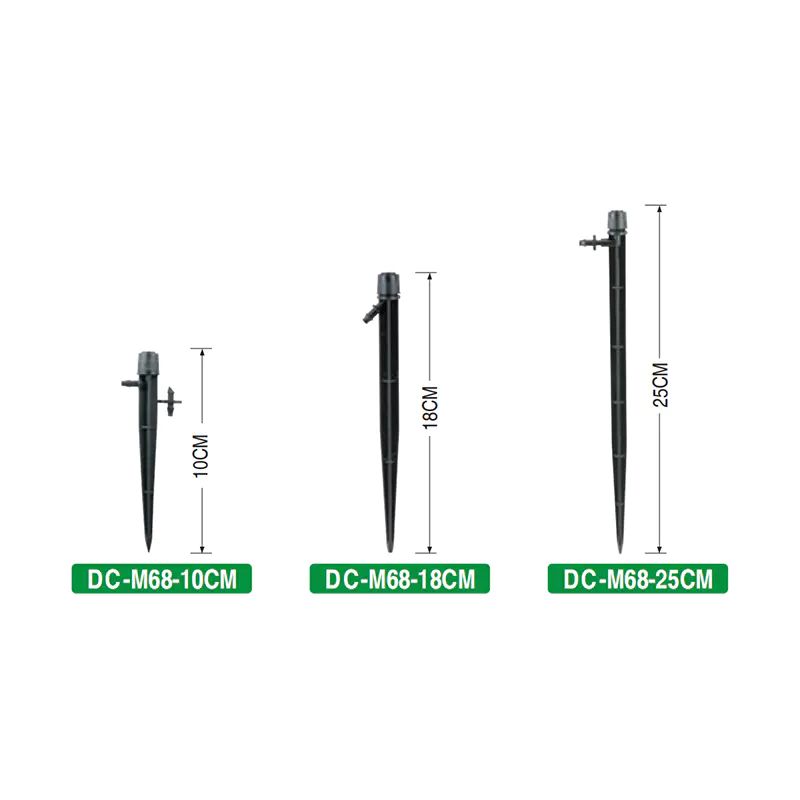 360-Degree Adjustable Flow Diffuser Tip for Even Water CoverageThis diffuser tip offers full-circle rotation and adjustable flow to match plant needs. Its durable, UV-resistant build suits various climates, while easy installation makes it practical for precise irrigation setup.View Product →
6. Flush the System
Flush every line before you backfill. Remove the end cap from the mainline and open the farthest valve. Let the water run until it comes out clear. Then close the mainline cap and open each zone one at a time. This clears sand and small plastic shavings left from cutting pipe. A thumb-sized clump of sand in a nozzle can stop the rotation of an impact sprinkler, so this step is non-negotiable.
7. Backfill and Compact
Backfill in layers. Put down the first 10 cm of soil, tamp it lightly, then water it to settle. Wait 20 minutes, fill the trench, and compact again. This prevents a dust channel along the pipe. If you backfill everything in one go, a soft spot will appear in the lawn a month later.
Wiring and Controller Setup for Automated Zones
If your system uses solenoid valves, there is a second set of wires in the trench. Run a single low-voltage wire from the controller to the valve box. In the box, splice the common wire to the common line of each valve. Then run a separate controlled wire for each valve. For example, zone 1 gets its own wire, zone 2 gets its own wire, and every valve shares the common ground. Use waterproof connectors or self-splicing gel capsules.
When you set the controller, start with the time of day. Early morning irrigation is effective because the air is cool and the wind is usually slow. Set the watering duration based on the soil type. Sand drains quickly and needs a shorter run. Clay absorbs slowly and needs a longer run with a shorter interval. A practical starting schedule is three times per week, 20 to 30 minutes per zone. When the water reaches the root zone, not just the top 5 cm, you can increase the interval.
Manual Valve Alternative
If you prefer to skip the controller, use a manual valve at each zone. A mini valve with a quarter-turn handle is easy to operate and works in many small garden systems. This approach also removes the risk of controller errors and gives you a hands-on feel for the water flow of each zone.
Common Startup Problems and How to Fix Them
After the first watering, inspect each zone. Most problems appear in the first week. The list below gives you a quick map from symptom to solution.
- One head is dry while others spray fine. Remove the nozzle and look for a pebble or insect in the filter. If it is clean, check if the branch line has a low point that may keep air trapped. Open the end cap of that zone's line for a few seconds to release the air.
- The pump or meter runs but the pressure drops fast. This narrows down to a restricted filter or a line leak. Tighten the filter housing and check all glued joints. If a joint is weeping, the pipe was not cleaned before applying solvent, and that joint must be redone.
- One zone pressure is good, another is weak. This usually means too many heads in one zone. Remove two heads from the weak zone and move them to a new zone, or split the existing zone into two with a new valve.
- There is a hammering noise when the valve closes. This is the water hammer effect. It typically comes from a valve that closes too quickly. Switch the controller to use a longer valve cycle, or install a water hammer suppressor at the mainline.
Another useful startup check is the wetting radius. Place a few empty tuna cans around the lawn before watering. After 20 minutes, compare the water depth in each can. If one can has 5 mm and another has 15 mm, that zone needs an adjustment in head spacing or a change in nozzle size. This test takes 20 minutes and pays dividends all season.
Maintenance Routines That Extend Sprinkler Life
You want the sprinkler system to work without constant attention. A simple three-step routine is enough for most systems. In spring, open the valves gradually, clean the filter, and test every zone. In summer, check the nozzle flow at the start of each month. In autumn, drain the entire system and crack the zone valves open to avoid trapped water freezing.
For drip zones, inspect the emitters manually every two months. A clogged dripper starves a plant quickly because the water is delivered only at one point. The same goes for spray nozzles. Sand erodes the brass and plastic over time, so a nozzle that has run for two or three years may no longer meet its original performance. Replacing a worn nozzle with the same model is cheap and avoids patchy watering.
A seasonal flake is also worth following: flush the system once at the start and once in the middle of the season. This only takes 15 minutes and keeps the internal screens clean. Long-term, you save water because each head produces its intended pattern.
Frequently Asked Questions About Sprinkler Installation
How long does it take to set up a sprinkler system?
For a 100 to 200 m² residential lawn, a first-time installer can complete the job in one weekend, counting around 12 to 16 hours of labor. If the trench runs through hard clay or many flower beds, plan for another day. The key is to finish the digging and pipe assembly in one session so the trench does not stay open overnight in a cold climate.
Do I need a pump for a home sprinkler system?
You normally do not. Municipal water with a static pressure of 35 to 50 psi is enough to drive a modern impact sprinkler. A pump becomes necessary when your flow rate is under 4 gpm or when you draw from a well or rainwater tank. If you install a pump, add a pressure switch and a pressure tank near the mainline to avoid motor cycling.
Why are some sprinklers not rotating?
This is almost always a clogged nozzle or debris stuck in the rotating mechanism. Take the nozzle off, rinse it with water, and reinsert it. If the problem repeats, check the filter screen at the base of the sprinkler. In an impact sprinkler, a vibrating arm may also be misaligned. A gentle seat of the arm with pliers often solves it.
Can I install drip irrigation underground?
You can, but you have to be careful about root intrusion. Bury the drip line at least 30 cm deep and use pressure-compensating drippers that deliver a constant flow. Also install a flush valve at the end of the buried line. For most vegetable gardens, keeping the drip line on the surface or under a layer of mulch works better because you can see the emitter and remove clogs simply.
When is the best time to water with a sprinkler?
Early morning is the standard answer. From sunrise to about 8 AM, the temperature is still low, the wind is calm, and the sun has not yet started evaporating the droplets. Watering at midday wastes up to 30 percent of the water, depending on temperature and wind. Watering at night can leave the leaves wet and invite fungal diseases.
How often should I flush the lines?
Flush the mainline and zone lines once in spring after the first startup and once more in the winter before draining. If you live in a dusty or sandy area, add a third flush in midsummer. The cost is small and it removes the particles that would otherwise clog the nozzles.
Prev:No previous articleNext:How to Design a Sprinkler System: Step-by-Step for Homeowners and Farms
Related products
-
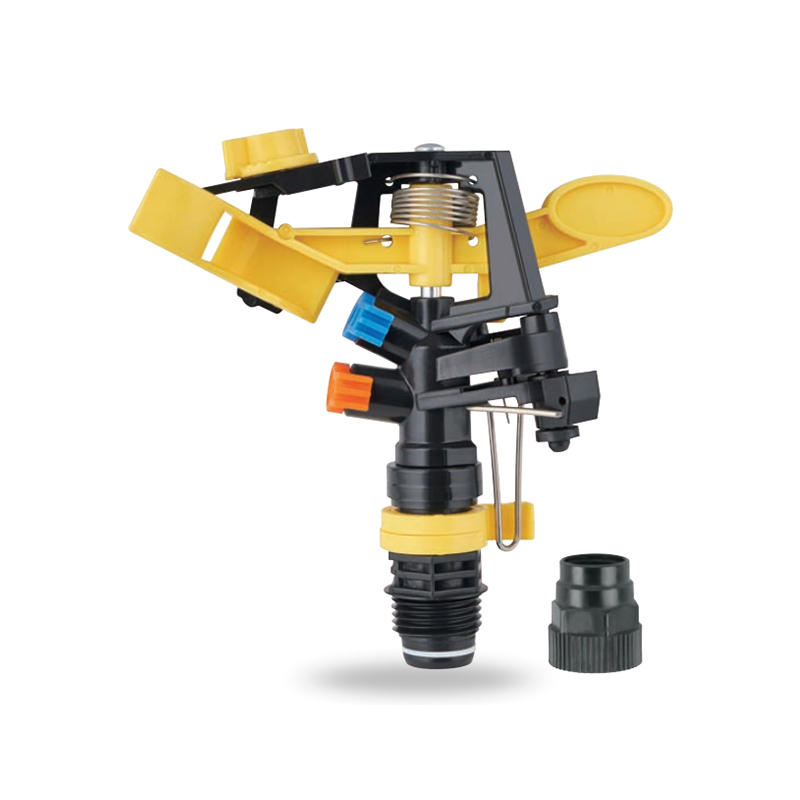
Impact sprinkler for agricultural irrigation is a common and efficient agricultural irrigation tool designed for large areas of farmland. Its unique structure can evenly cover a large area by rotating...
See Details -
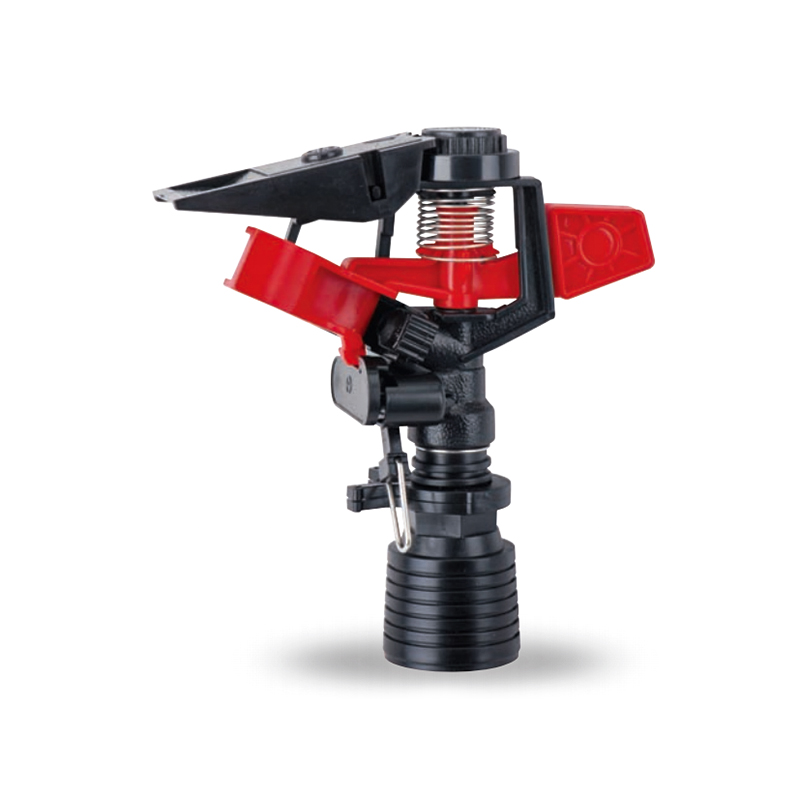
This 360 degree adjustable rocker arm nozzle impact sprinkler is an essential part of an irrigation system designed to meet a wide range of horticultural and agricultural needs. Its flexible adjustmen...
See Details -
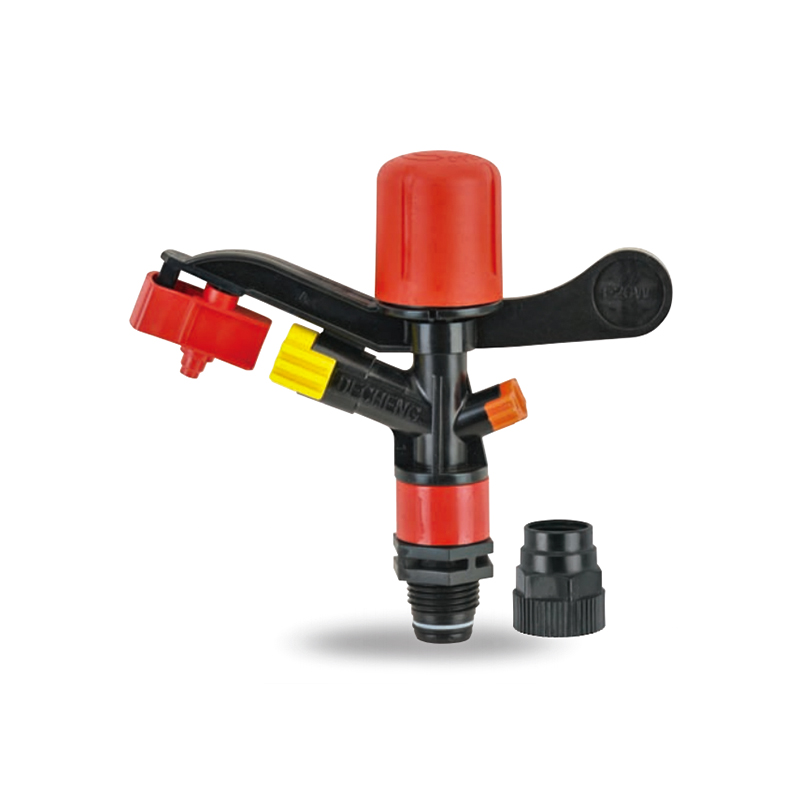
The Plastic Full-Circle Impact Sprinkler Sprayer is a highly efficient full-circle irrigation device designed to provide even moisture coverage. Its lightweight plastic material makes this sprinkler e...
See Details -
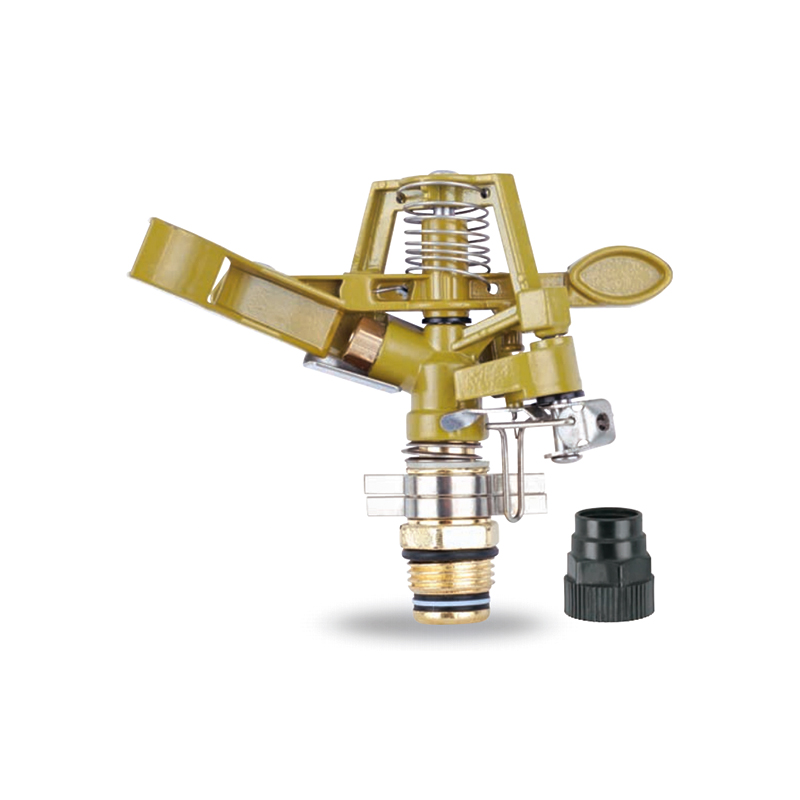
The Irrigation System Adjustable Head Mobile Rotary Zinc Sprinkler is an efficient rotary sprinkler designed for flexible irrigation needs. Its adjustable head allows the user to easily adjust the dir...
See Details -
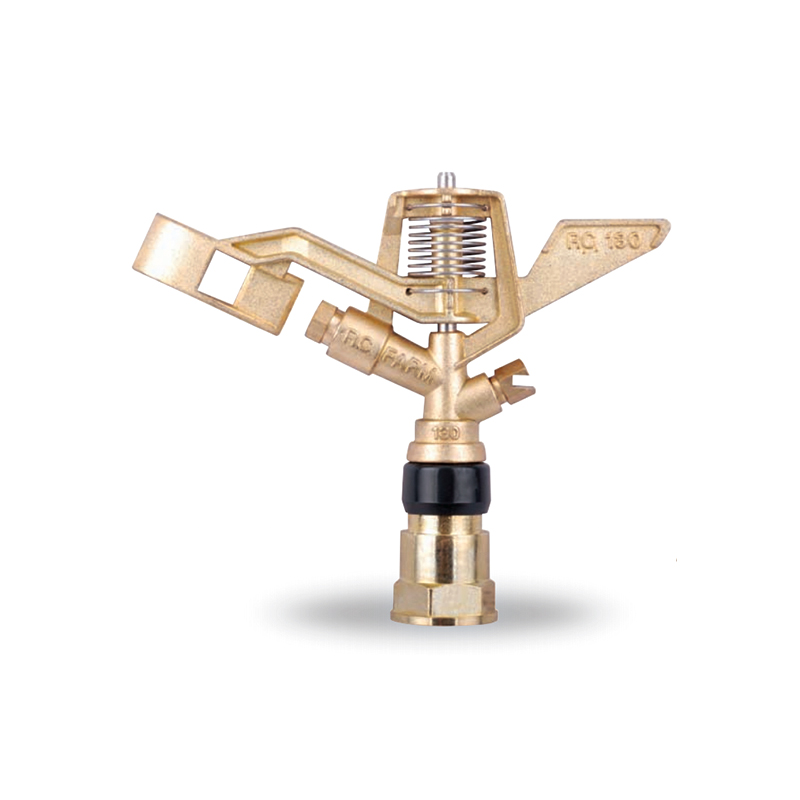
This 3/4” Zinc Alloy Swivel Arm Irrigation Watering System Impact Sprinkler is ideal for agricultural irrigation systems due to its superior durability and corrosion resistance. Its rugged constructio...
See Details -
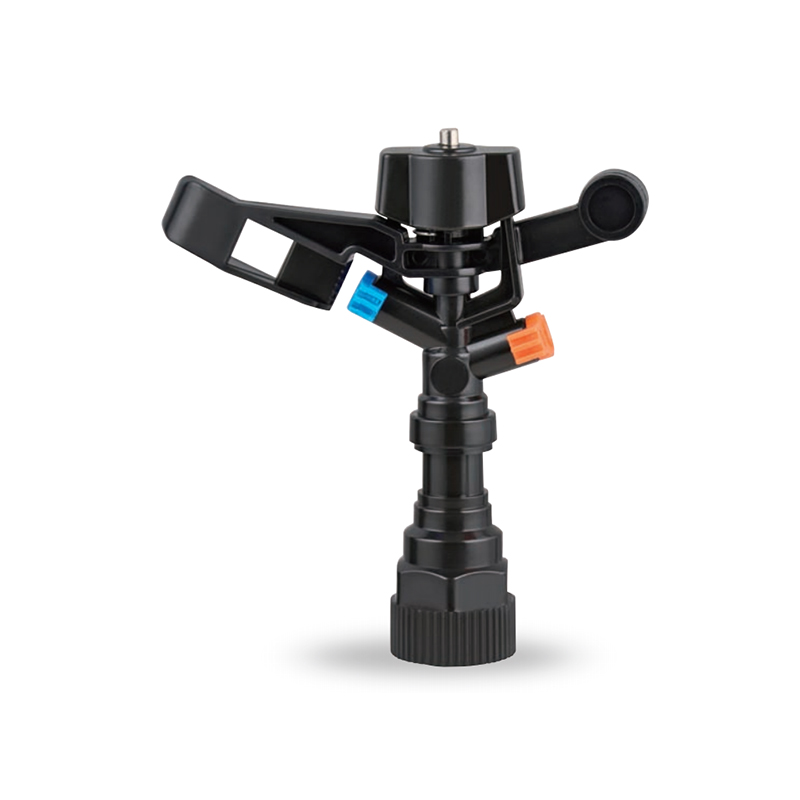
The Double nozzle garden farm impact full-circle sprinkler is well-designed to efficiently and evenly spray water, thus enhancing the quality of crop growth. Whether it's in the home garden or on a la...
See Details -
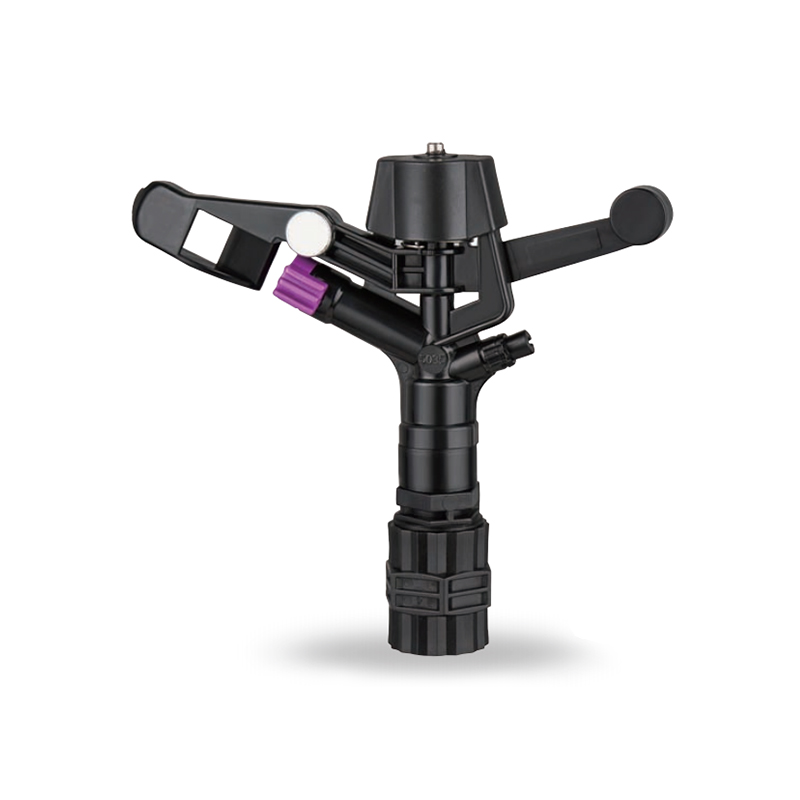
Double nozzle agricultural water plastic impact sprinkler for irrigation sprinkler combines practicality and durability with a dual nozzle system that provides extensive water coverage for a wide rang...
See Details -
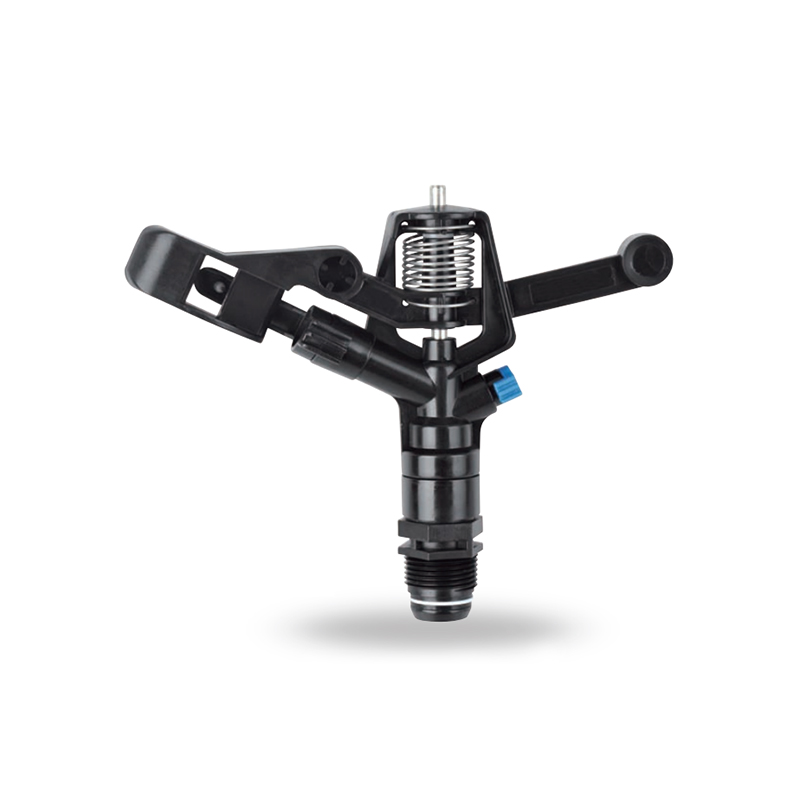
The POM agricultural irrigation sprinkler water impact sprinkler is known for its excellent abrasion resistance and durability, ensuring consistent performance over time. It is designed to increase wa...
See Details -
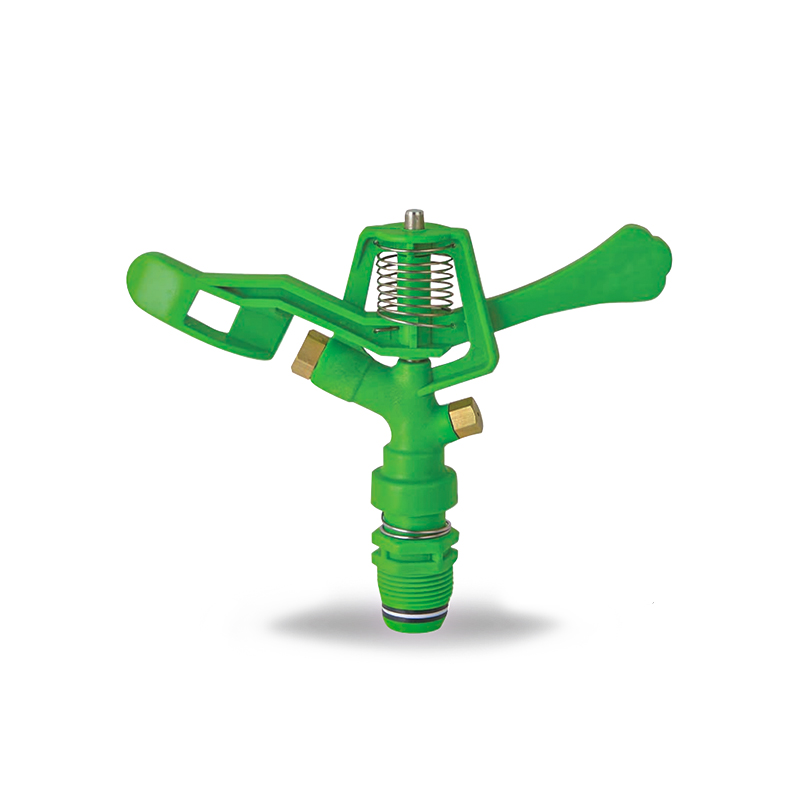
The POM Agricultural Irrigation Sprinkler with Metal Nozzles is a device designed for efficient irrigation, combining premium polyacetal (POM) material with durable metal nozzles to ensure superior sp...
See Details -
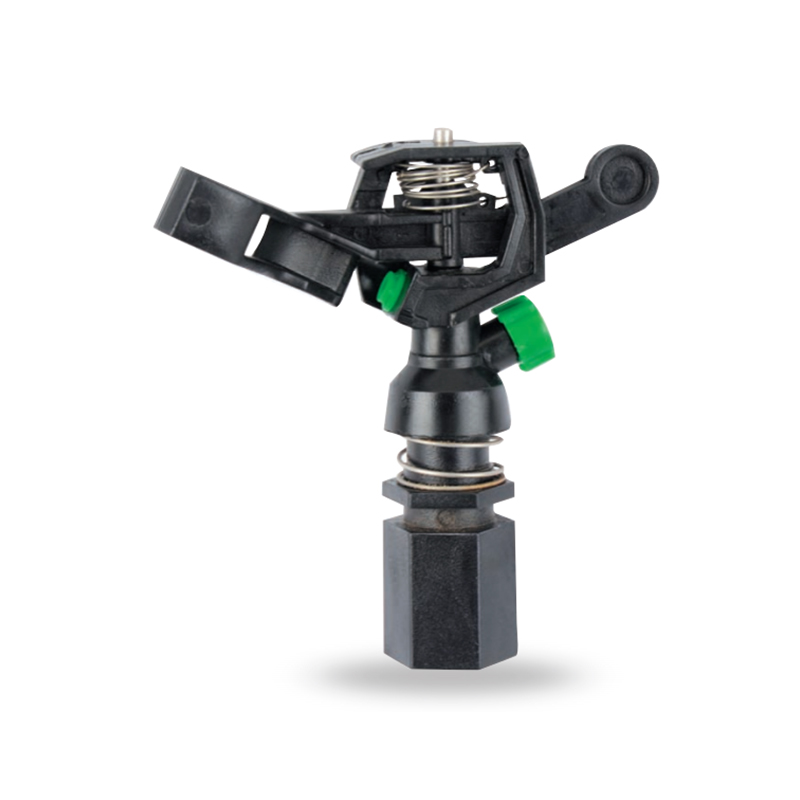
Watering irrigation system 3/4 inch nozzle field Impact Sprinkler is perfect for field irrigation and easily meets the water needs of large crops. Its powerful spray ensures that every nook and cranny...
See Details -
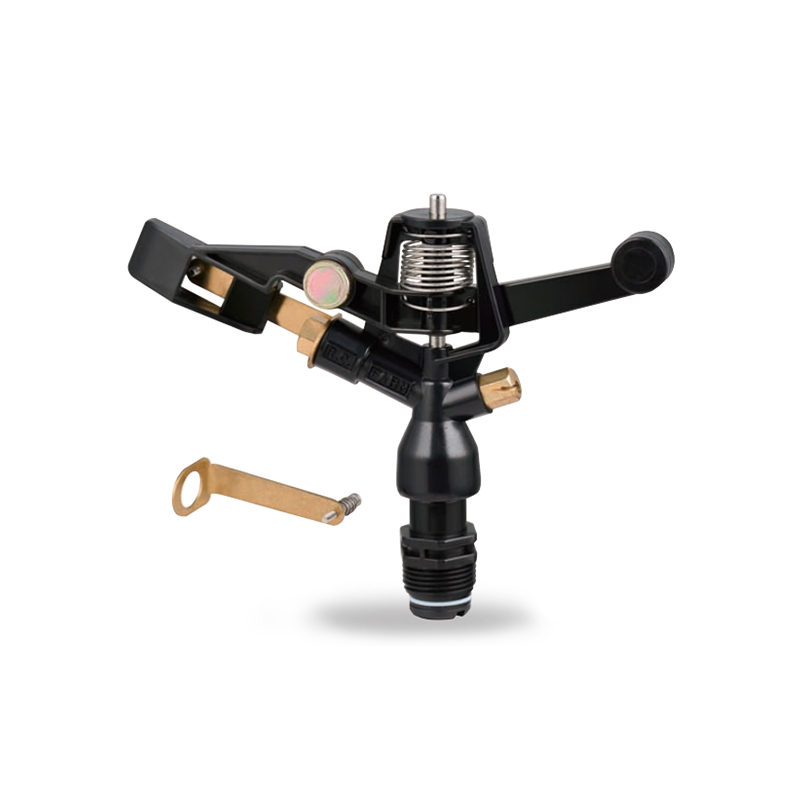
The POM Agricultural Irrigation Sprinkler with Brass Nozzles is an efficient and durable irrigation device designed to meet a wide range of agricultural needs. The sprinkler is made of polyacetal (POM...
See Details -
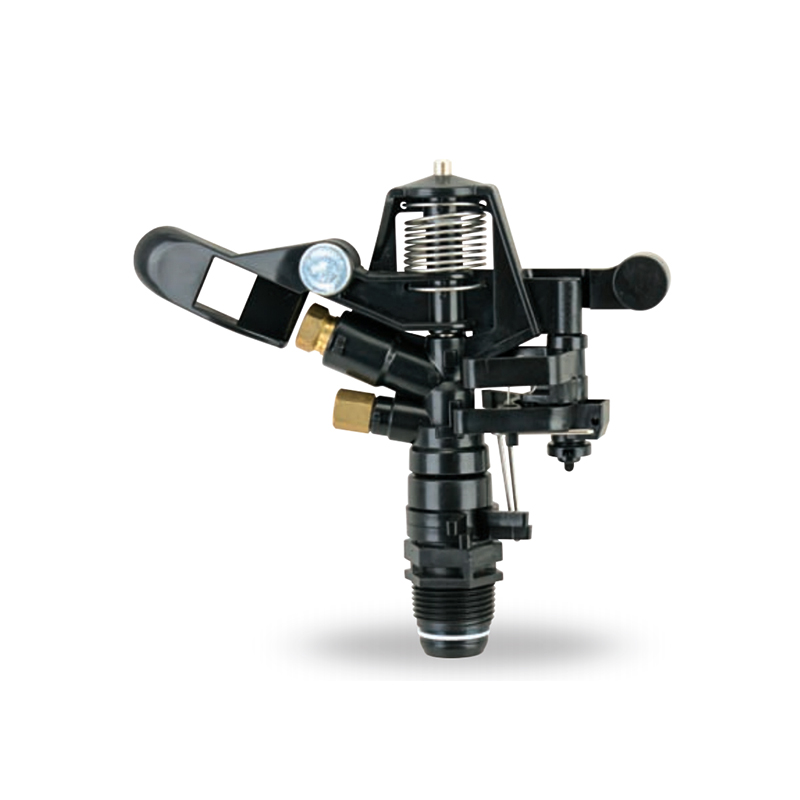
The Double Nozzle Garden Farm Impact Part-Circle Sprinkler is a highly efficient garden irrigation device designed for large planting areas. Its double nozzle design produces a strong, even stream of ...
See Details


PRODUCTS & SERVICES

CONTACT US
 No.518, Ruihao Road, Lizhou Street, Yuyao City, Zhejiang Province, China
 +86-13105554615 / +86-18005843886
 decheng@dcssq.com fredzhu@dcssq.com
 LISA
LISA
 Fred Zhu
Copyright © Ningbo Dewo Irrigation Equipment Co., Ltd. All Rights Reserved. China Agricultural Plastic Sprinkler Manufacturers Wholesale Irrigation Plastic Sprinkler Factory
