

 Search for...
 English
 Español
 中文简体
中文简体How to Design a Sprinkler System: Step-by-Step for Homeowners and Farms
Content
- 1 Start With Water Pressure and Flow
- 2 Map Your Landscape and Divide into Zones
- 3 Choose the Right Sprinkler Heads
- 4 Drip and Micro Irrigation Options
- 5 Select Valves, Fittings, and Tools
- 6 Lay Out the Pipes and Wiring
- 7 Plan Your Irrigation Schedule
- 8 Common Design Mistakes to Avoid
- 9 Frequently Asked Questions
- 9.1 How do I calculate the flow rate for my sprinkler system?
- 9.2 What is the difference between impact sprinklers and drip irrigation?
- 9.3 Can I mix different sprinkler heads on the same zone?
- 9.4 How many sprinkler heads can I put on one valve?
- 9.5 How deep should the sprinkler pipe be buried?
- 9.6 Do I really need a pressure regulator?
Designing a sprinkler system is a practical job, not a guessing game. The right design starts with three measurements: available water pressure, flow rate, and the shape of your area. Once you have those, you can divide the landscape into independent zones, choose the emission devices that match each zone, and wire everything through the right valves and pipes. A correctly designed system uses less water, grows healthier plants, and needs fewer repairs. Here is the step-by-step path that professional irrigation installers follow, adapted for anyone who wants to build a reliable system.
Start With Water Pressure and Flow
The single most common reason a spray system fails is that the design was built without knowing how much water is actually available. Homeowners and farm operators frequently skip this step, then wonder why the last sprinkler in the row does not pop up. The fix is simple. Attach a pressure gauge to an outdoor faucet, open the faucet fully, and record the static pressure in psi. Then run a hose into a 5-gallon bucket and time the fill with a stopwatch. If the bucket fills in 30 seconds, the flow is 10 gpm. If it fills in 15 seconds, the flow is 20 gpm. Write both numbers down.
Do not assume that the morning reading is the same as evening. Municipal systems usually drop pressure during peak demand, and irrigation professionals design conservatively using the lowest pressure you will see during the season. If your static pressure is under 30 psi, a standard impact sprinkler will not perform at its rated radius. If it is above 80 psi, you need a pressure reducing valve downstream of the meter, otherwise high-pressure systems can wear out seals and cause dramatic misting.
With flow and pressure in hand, you can set a design limit. A common rule is to keep the total demand of any single valve zone below 80 percent of the available flow. For example, if you have 10 gpm at the meter, you should not place sprinklers in one zone that need more than 8 gpm. This reserve helps cover friction loss in pipes and fittings, especially on long runs.
| Device | Typical Flow Range |
|---|---|
| Impact sprinkler | 3 - 12 gpm |
| Mid-range mist sprinkler | 1 - 3 gpm |
| Micro sprinkler | 0.2 - 1.0 gpm |
| Adjustable dripper | 0.5 - 2.0 gph |
| Pressure-compensating dripper | 0.4 - 1.0 gph |
Map Your Landscape and Divide into Zones
A sprinkler design that treats every plant the same way will disappoint you. Divide the property into smaller irrigation zones, each with its own valve, so that plants with similar needs receive similar amounts of water. This is the easiest way to avoid over-watering one bed while starving another.
Start by drawing a rough map of the property. Include structures, hardscaping, slopes, sun exposure, and plant types. Use a measuring wheel or a 100-foot tape to measure the width and depth of each area. Mark the locations of the water meter, outdoor faucets, and any existing underground utilities. This map becomes your zone plan.
- Plant type: turf, shrubs, vegetables, and trees have different root depths and water needs.
- Light: areas in full sun dry out faster than shaded areas.
- Slope: water runs downhill quickly, so slopes often need a separate lower-flow zone.
- Soil type: sandy soil drains fast and needs shorter, more frequent cycles; clay soil holds water and needs longer, less frequent cycles.
- Odd shapes: narrow strips, corners, and small beds require spray or drip devices with adjustable arcs to avoid wasting water on pavement.
For windy or sloped areas, reduce the spacing between heads. As a rule of thumb, if you install impact sprinklers on a 10 percent slope, move them 10 to 15 percent closer together to maintain overlap. This reduces dry spots and keeps water where the roots need it. Different crops and ornamentals also respond differently to sprinkler selection, so it pays to check which plants are suitable for different types of irrigation sprinklers before you finalize the zone plan.
Choose the Right Sprinkler Heads
Sprinkler heads are classified by their spray radius, flow rate, and droplet size. The right choice depends on whether you are watering a 5-foot flower bed or a 25-foot vegetable row. Using the wrong type will either blast water onto a driveway or create a thin mist that evaporates before it reaches the soil.
Impact sprinklers
Impact sprinklers are the workhorses of agriculture and large landscapes. They rotate a rocker arm to produce a heavy, rain-like spray that is highly wind-resistant. Choose a full-circle impact for open fields and a part-circle version when you need to water a corner or a narrow strip. Models with multiple nozzles let you adjust the reach and flow by changing the nozzle size or number of active nozzles. For vegetable farms and rectangular fields, a 3/4-inch thread impact sprinkler with a plastic body is a common durable choice because it resists corrosion and can handle high pressures without sudden failure.
 3/4-Inch Thread Impact Sprinkler for Vegetable FarmingThis durable impact sprinkler with a 3/4-inch thread and plastic body resists corrosion and handles high pressure, making it a reliable choice for irrigating vegetable fields and rectangular plots.View Product →
Mid-range and mist sprinklers
For medium-sized areas such as orchards, nurseries, and garden beds, mid-range and mist sprinklers produce fine droplets over a shorter radius. Mist sprinklers are especially useful for delicate crops and greenhouses where gentle humidity is needed. They operate at lower flow rates than impact sprinklers, so they allow more heads per zone. However, they are more sensitive to wind, so avoid them in open windy fields.
Pop-up sprinklers
Pop-up sprinklers are designed for turf and low-growing plants. They hide below grade when not in use, which prevents mowers and foot traffic from damaging the heads. Pop-up heads are usually paired with a spray nozzle or a rotary nozzle. They are not ideal for tall crops because the nozzle sits close to the ground and the spray pattern may be blocked by foliage.
Drip and micro devices
Drip emitters and micro sprinklers deliver water directly to the root zone. They are the best choice for rows of vegetables, shrubs, and container plants because they minimize evaporation and runoff. For sloped terrain, pressure-compensating drippers are recommended, since they maintain steady output even when the water pressure changes across a long line.
You can also browse our manufacturer website to combine different heads for your specific layout.
Drip and Micro Irrigation Options
Drip irrigation is a different design path from sprinklers, but many properties need both. Drip lines typically operate at 10 to 25 psi, much lower than impact sprinklers. This means you need a pressure regulator at a drip zone. If you connect drip to a zone designed for 3/4-inch impact sprinklers without regulation, you may blow out emitters.
An adjustable dripper with a stake allows you to set the water output for each plant. A pressure-compensating dripper uses a flexible membrane to keep the flow constant within a pressure window, which is valuable on uneven ground or long rows. For example, a DCM89-360 PC dripper is designed with a 360-degree outlet pattern and pressure compensation, making it a useful option for a garden that needs even distribution over a wide area. The stake holds the dripper upright in the soil so the output is directed exactly where it is needed.
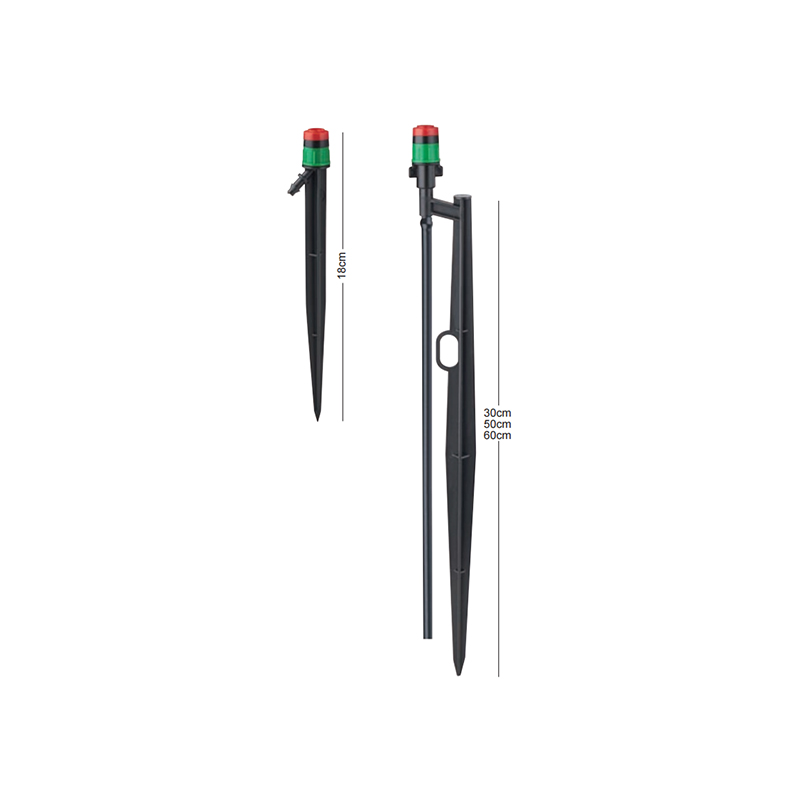 360-Degree Pressure-Compensating Dripper for Even WateringThis pressure-compensating dripper delivers a consistent 360-degree spray despite pressure fluctuations, ensuring uniform moisture across garden beds and helping maintain healthy plant growth.View Product →
Micro sprinklers fill the gap between drip and impact sprinklers. They spray small droplets over a radius of 5 to 10 feet, making them suitable for flower beds and citrus trees. Foggers are an even finer option, producing a mist that humidifies greenhouse air without soaking the floor.
Select Valves, Fittings, and Tools
Central to any automatic sprinkler system is the valve. Valves open and close the water supply to each zone based on the controller. The most common types are solenoid valves and manual mini valves. Solenoid valves are electrically operated and can be triggered from a digital controller. Mini valves are simple ball or butterfly valves that you open and close by hand, which is useful for small manual systems or for isolating a particular branch for maintenance.
Fittings create the network that moves water from the main line to each zone. Pipes and fittings are usually made of PVC for main lines and polyethylene for lateral lines. Use schedule 40 PVC for underground mains and schedule 80 for high-pressure areas. When choosing fittings, match the thread type (NPT or BSP) carefully; mismatched threads can leak and cause long-term maintenance problems. Clamp saddles and quick coupling valves give you access points so you can add a hose or a new zone without tearing up the trench.
Installation tools also matter. A hole punch makes it possible to insert drip tubing into polyethylene pipe without leaks. A weight helps stabilize the drip line in water or at the end of a line. Gaskets and adaptors prevent chatter and keep connections secure. Buying these small items together with the irrigation set means fewer delays once the trenching starts.
Lay Out the Pipes and Wiring
The layout of pipes determines how evenly the system delivers water. Start at the meter and run a main line that stays below the frost line or at least 10 inches deep in warm climates. Use a larger main line if you plan to add zones later. Branch lines can be smaller, but keep the flow velocity under 5 feet per second to avoid water hammer. A simple table can help you choose pipe sizes based on flow and length.
| Pipe Size | Max Recommended Flow |
|---|---|
| 1/2 inch | 5 gpm |
| 3/4 inch | 8 gpm |
| 1 inch | 16 gpm |
| 1 1/4 inch | 25 gpm |
After the pipe comes the wiring. Solenoid valves use 24V AC signals from the controller. Use 14-gauge or 16-gauge colored wires and install them in a separate conduit or direct burial cable. Mark every wire at the valve and at the controller so future troubleshooting is fast. If you have a multi-wire system, label each zone number at both ends.
For installation details, follow a step-by-step installation guide that covers trenching, pipe gluing, and valve placement before you turn on the water.
Plan Your Irrigation Schedule
A perfectly designed system still fails if the controller program is wrong. Water deeply but infrequently, so roots grow downward and the soil profile drains. As a starting point, apply 0.5 to 0.75 inches of water per week in the growing season, split into two or three cycles. During hot and dry spells, increase watering, but never water every shallow two minutes. Doing that creates shallow roots and diseases.
Schedule by zone. Zones with drip lines should run longer than spray zones because drip emitters deliver water at very low rates. For example, a 15-minute cycle for a spray zone and a 45-minute cycle for a drip zone are common starting points. But the actual runtime is determined by the precipitation rate of the devices and the soil type. Set the controller to water early in the morning, between 4 and 7 a.m., to reduce evaporation and avoid evening fungus.
Use a rain sensor or a smart controller that adjusts to local weather. This is a simple way to avoid wasting water after a storm. Check the system monthly and shorten or lengthen runtimes as the season changes.
Common Design Mistakes to Avoid
Many designs fail from small oversights. We have compiled the most repeated issues that lead to repairs and uneven watering.
Watch out for these problems
- Skipping pressure and flow tests: The most destructive mistake. Without measured numbers, every later decision is guesswork.
- Using too many heads per zone: Exceeding the available flow starves the last heads. Keep total demand under 80 percent of flow.
- Placing heads too far apart: Gaps cause dry patches. Use the head-to-head spacing rule.
- Not zoning by plant type: Mixing thirsty turf with drought-tolerant shrubs leads to one being overwatered or underwatered.
- Ignoring slope: Slopes cause runoff; use separate lower-flow zones and shorter runtimes.
- Pointing sprinklers at windows or driveways: Adjust the arc and nozzle to avoid wasting water on pavement.
- Using mismatched fittings and threads: Leaks develop and require rework.
Each of these problems can be prevented with the design steps above. When you choose components, match the product's performance to your measured pressure, not to a general guess.
Frequently Asked Questions
How do I calculate the flow rate for my sprinkler system?
Connect a standard 5-gallon bucket to your outdoor faucet, turn the water on fully, and count the seconds. Divide 5 by the seconds and multiply by 60. For example, 5 gallons in 30 seconds is 10 gpm. That number is your available flow. Subtract 20 percent as a reserve, then design each zone to use less than the remaining flow.
What is the difference between impact sprinklers and drip irrigation?
Impact sprinklers spray water into the air over a large radius, so they are better for large plants, lawns, and windy areas. Drip irrigation releases water slowly at the soil surface or root zone, so it is better for rows, shrubs, and containers, and it uses 30 to 50 percent less water in many cases.
Can I mix different sprinkler heads on the same zone?
Generally no. Different heads have different flow rates and precipitation rates. Mixing an impact sprinkler with a micro sprinkler creates uneven coverage. Keep each zone dedicated to one type of device.
How many sprinkler heads can I put on one valve?
Divide the available flow for the zone by the flow per head. For example, if your zone can handle 8 gpm and each impact sprinkler uses 2 gpm, you can install four heads. Do not exceed the zone's flow limit.
How deep should the sprinkler pipe be buried?
In areas where frost is a concern, bury the pipe below the frost depth. In warm climates, bury main lines at least 10 inches deep and lateral lines 6 to 8 inches deep to protect them from lawn equipment.
Do I really need a pressure regulator?
If your static pressure exceeds 80 psi or your system uses drip lines, yes. High pressure causes misting and seal wear. Drip emitters require lower pressure, typically 10 to 25 psi, so a regulator is essential.
Prev:No previous articleNext:Drip Irrigation How to: Complete Step-by-Step Installation Guide for Gardeners
Related products
-
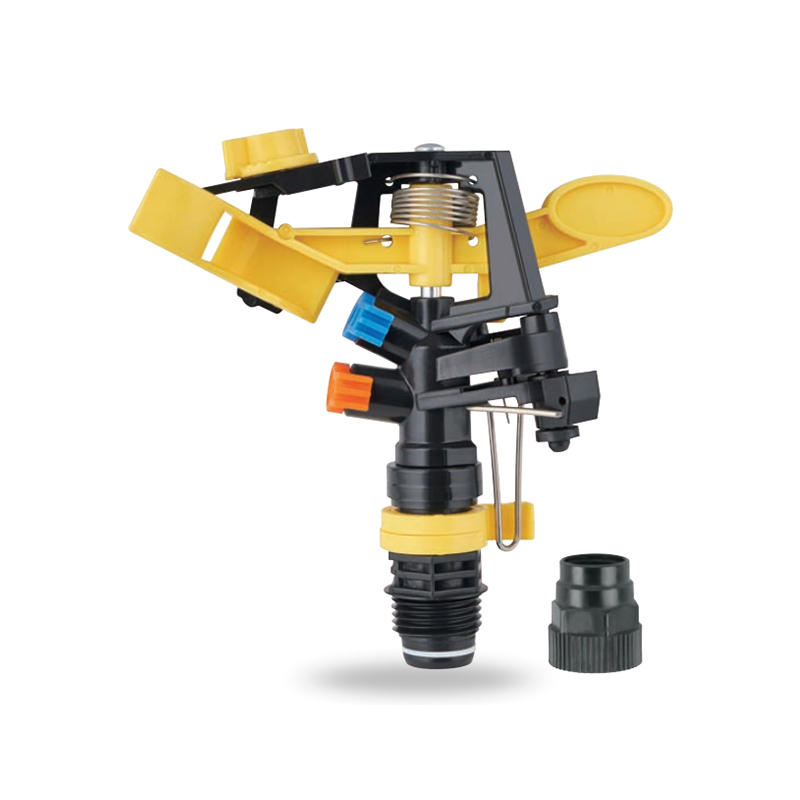
Impact sprinkler for agricultural irrigation is a common and efficient agricultural irrigation tool designed for large areas of farmland. Its unique structure can evenly cover a large area by rotating...
See Details -
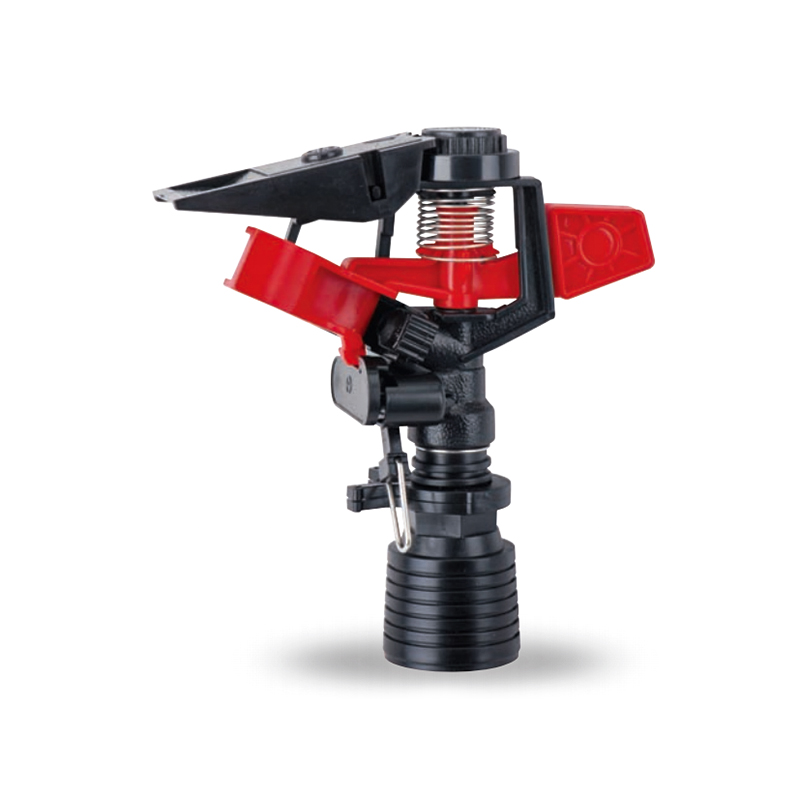
This 360 degree adjustable rocker arm nozzle impact sprinkler is an essential part of an irrigation system designed to meet a wide range of horticultural and agricultural needs. Its flexible adjustmen...
See Details -
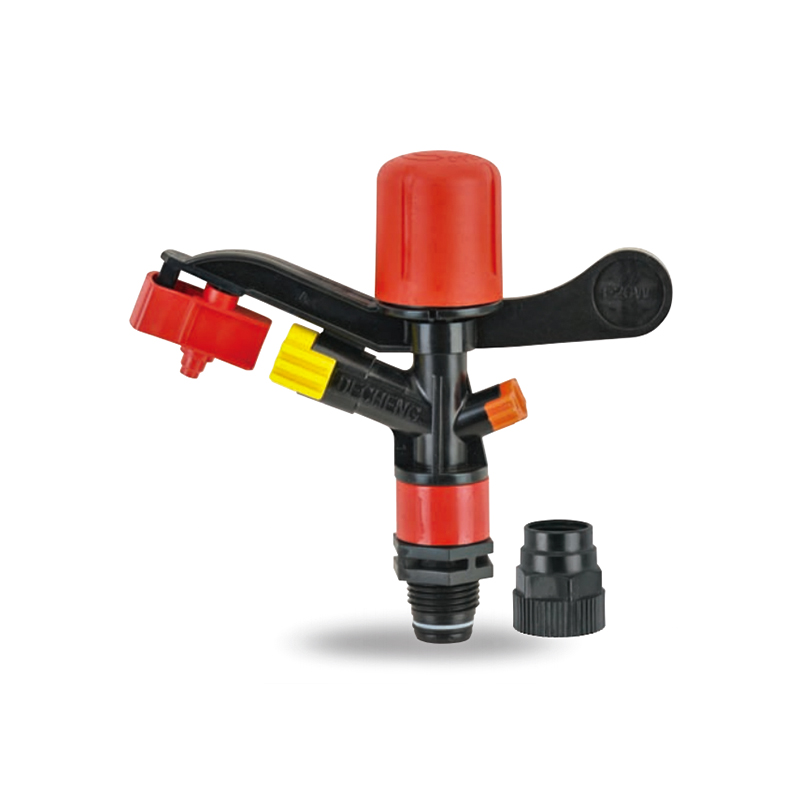
The Plastic Full-Circle Impact Sprinkler Sprayer is a highly efficient full-circle irrigation device designed to provide even moisture coverage. Its lightweight plastic material makes this sprinkler e...
See Details -
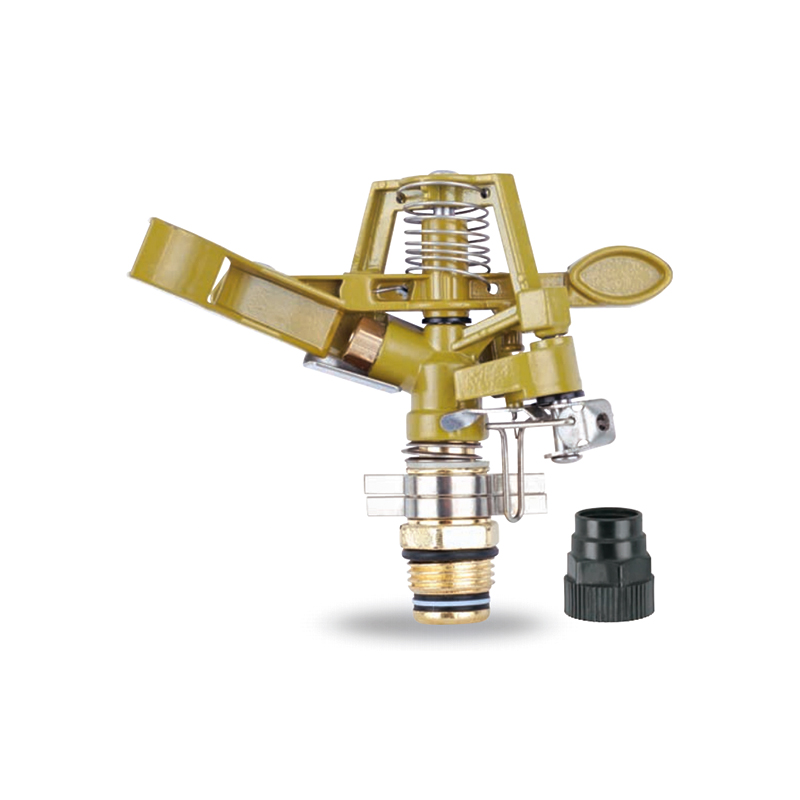
The Irrigation System Adjustable Head Mobile Rotary Zinc Sprinkler is an efficient rotary sprinkler designed for flexible irrigation needs. Its adjustable head allows the user to easily adjust the dir...
See Details -
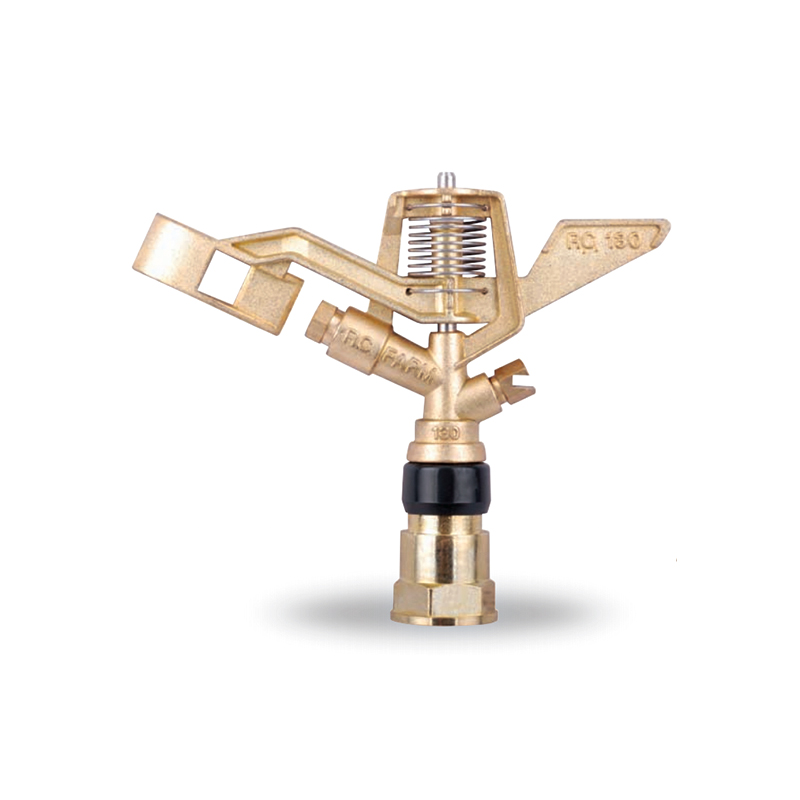
This 3/4” Zinc Alloy Swivel Arm Irrigation Watering System Impact Sprinkler is ideal for agricultural irrigation systems due to its superior durability and corrosion resistance. Its rugged constructio...
See Details -
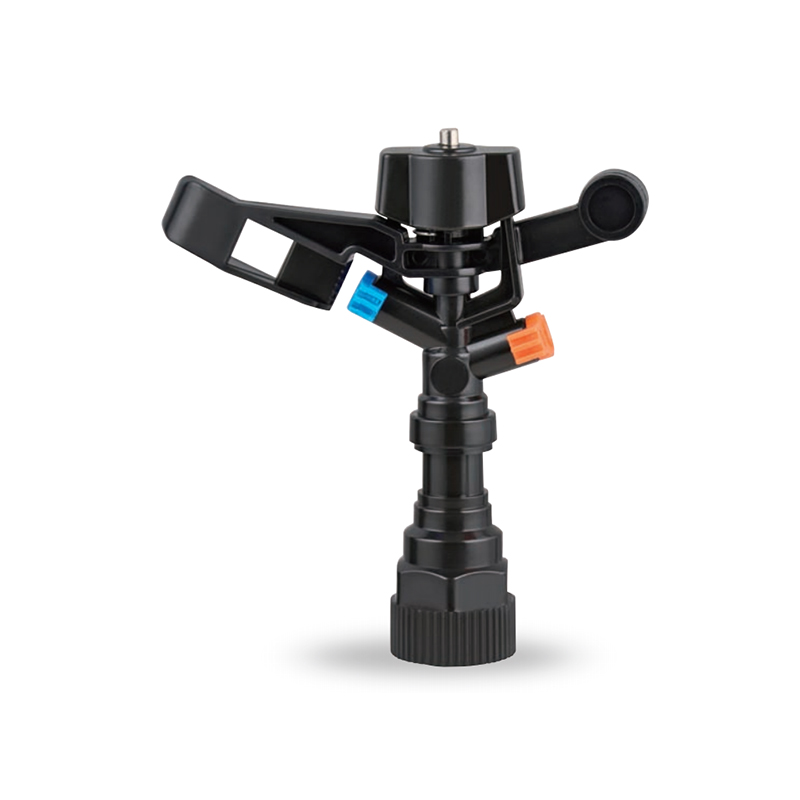
The Double nozzle garden farm impact full-circle sprinkler is well-designed to efficiently and evenly spray water, thus enhancing the quality of crop growth. Whether it's in the home garden or on a la...
See Details -
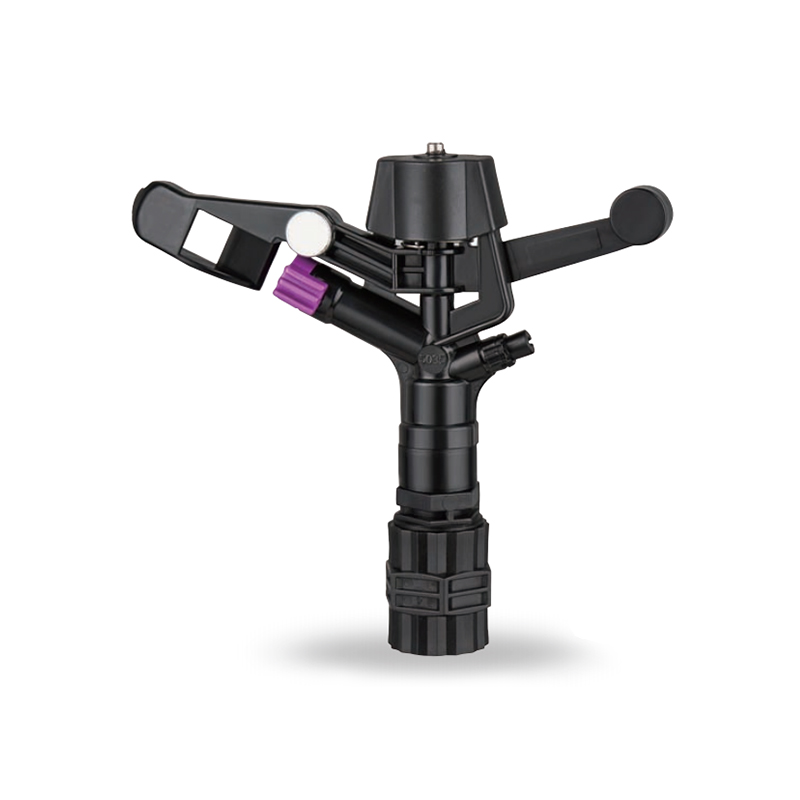
Double nozzle agricultural water plastic impact sprinkler for irrigation sprinkler combines practicality and durability with a dual nozzle system that provides extensive water coverage for a wide rang...
See Details -
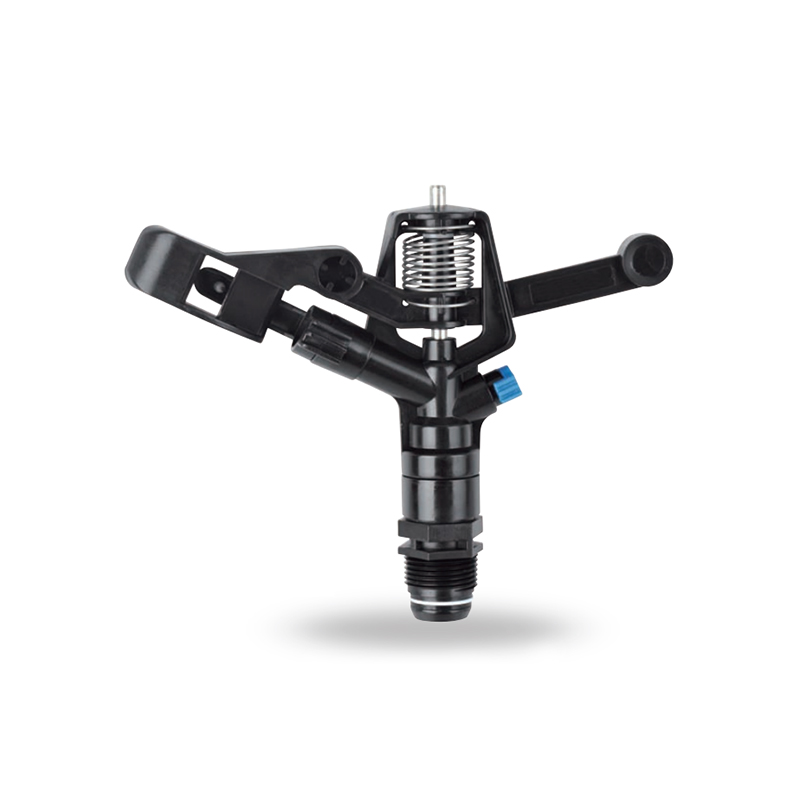
The POM agricultural irrigation sprinkler water impact sprinkler is known for its excellent abrasion resistance and durability, ensuring consistent performance over time. It is designed to increase wa...
See Details -
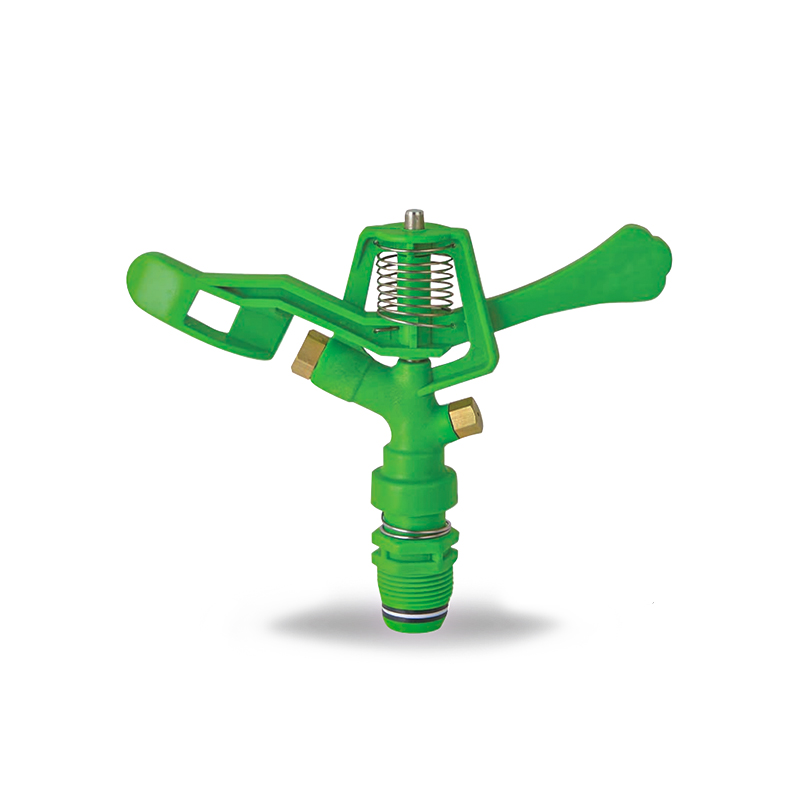
The POM Agricultural Irrigation Sprinkler with Metal Nozzles is a device designed for efficient irrigation, combining premium polyacetal (POM) material with durable metal nozzles to ensure superior sp...
See Details -
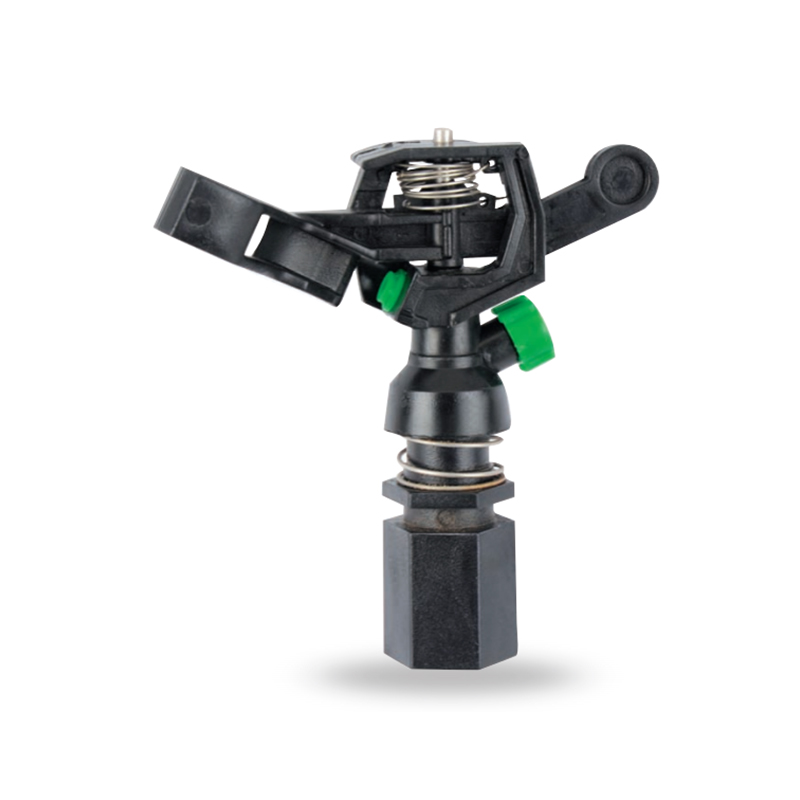
Watering irrigation system 3/4 inch nozzle field Impact Sprinkler is perfect for field irrigation and easily meets the water needs of large crops. Its powerful spray ensures that every nook and cranny...
See Details -
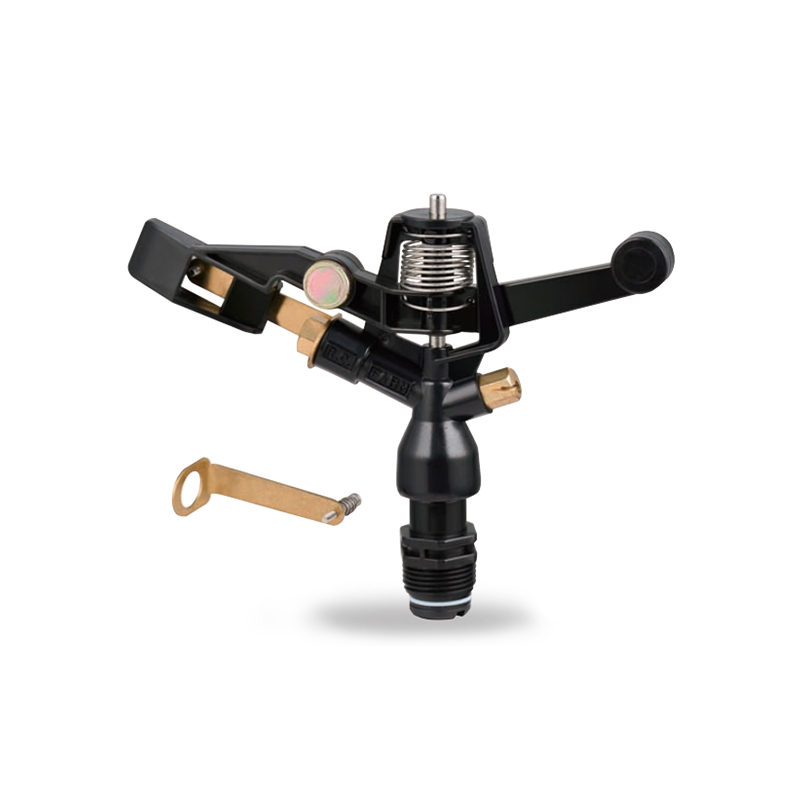
The POM Agricultural Irrigation Sprinkler with Brass Nozzles is an efficient and durable irrigation device designed to meet a wide range of agricultural needs. The sprinkler is made of polyacetal (POM...
See Details -
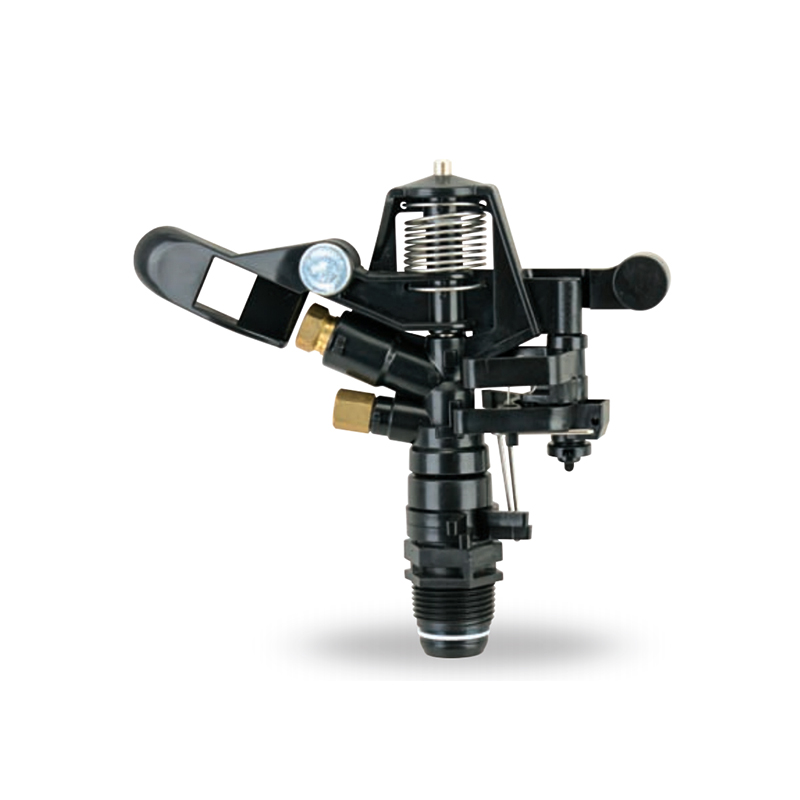
The Double Nozzle Garden Farm Impact Part-Circle Sprinkler is a highly efficient garden irrigation device designed for large planting areas. Its double nozzle design produces a strong, even stream of ...
See Details

PRODUCTS & SERVICES

CONTACT US
 No.518, Ruihao Road, Lizhou Street, Yuyao City, Zhejiang Province, China
 +86-13105554615 / +86-18005843886
 decheng@dcssq.com fredzhu@dcssq.com
 LISA
LISA
 Fred Zhu
Copyright © Ningbo Dewo Irrigation Equipment Co., Ltd. All Rights Reserved. China Agricultural Plastic Sprinkler Manufacturers Wholesale Irrigation Plastic Sprinkler Factory
