

 Search for...
 English
 Español
 中文简体
中文简体Drip Irrigation How to: Complete Step-by-Step Installation Guide for Gardeners
Content
- 1 Drip Irrigation How to: The Bottom Line Up Front
- 2 Step 1: Map the Root Zone Before You Buy Anything
- 3 Step 2: Calculate Flow Rate and Pressure Before Connecting Anything
- 4 Step 3: Understand Every Essential Component
- 5 Step 4: Install the System in Eight Practical Steps
- 6 Step 5: Match the Emitter Type to Each Zone
- 7 Step 6: Troubleshoot and Maintain Your System
- 8 Seasonal Adjustments and Winterizing Your Drip System
- 9 Frequently Asked Questions About Drip Irrigation
Drip Irrigation How to: The Bottom Line Up Front
A drip irrigation system works when you plan the layout around actual root zones, select components that match your water pressure and flow rate, and install each emitter or sprayer with a deliberate watering radius. The most common installation failure is not a broken part; it is uneven water distribution caused by improper spacing and missing pressure regulation. According to the U.S. Department of Agriculture, drip irrigation can reduce water use by 30 to 50 percent compared with conventional sprinklers, but only if emitters are placed correctly and the system is maintained. When we compare drip irrigation with other methods, it is helpful to see how different products fit into a water-saving strategy. For a broader view of how a specific type of sprinkler supports conservation goals, you can review the water-saving role of impact sprinklers. This guide walks you through the entire process, from mapping your garden to troubleshooting low flow.
Step 1: Map the Root Zone Before You Buy Anything
Do not start shopping for tubing and emitters until you have a scale drawing of the area. Walk the site and note every plant or bed that needs water. The goal is to wet 50 to 60 percent of the active root-zone area, not 100 percent of the soil surface. This guideline comes from Utah State University Extension research on backyard drip irrigation. Drawing the root zone prevents two classic errors: overwatering at the base of shrubs and underwatering on the outer edge of root spread.
How to Map the Layout in Practice
- Measure the total length of each bed and the distance from your water source.
- Separate plants into high, medium, and low water-use groups.
- Group plants with similar needs into the same irrigation zone.
- Mark where each emitter outlet should sit, spacing them based on soil texture. Sandy soil needs tighter spacing than clay soil.
For point-source emitters, the typical spacing is 30 to 60 cm for sandy soil and 60 to 90 cm for loam. If you are using inline drip tubing with built-in emitters, the emitter spacing is fixed on the line, so you must cut and connect lengths to match your bed geometry.
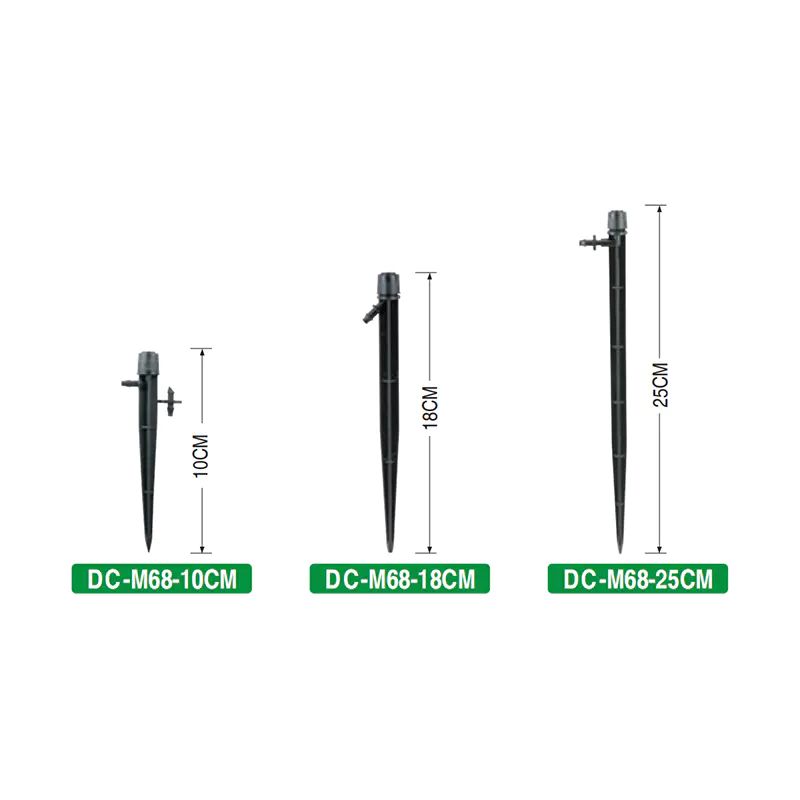 360-Degree Adjustable Flow Dripper for Point-Source IrrigationThis adjustable dripper delivers full-circle coverage and lets you fine-tune flow to match your crop and soil. Its corrosion-resistant build suits varied climates, while easy installation supports the emitter spacing tips above and the pressure regulation advice below.View Product →
Step 2: Calculate Flow Rate and Pressure Before Connecting Anything
Every drip system has a pressure threshold. The emitters and micro-sprinklers you buy will have a specified working pressure range, usually printed on the product label. For example, many adjustable drippers run at 1.0 to 2.5 bar (14.5 to 36 psi). The practical rule is to install a pressure regulator if your household pressure exceeds 3.0 bar. A missing pressure regulator is the number one cause of premature emitter wear and inconsistent water delivery.
Flow rate matters just as much. Measure your available flow with a simple bucket test: time how long it takes to fill a 10-liter bucket from the outdoor tap. If it takes 10 seconds, your flow is 1 liter per second, or 60 liters per minute. Compare that to the total flow demand of your planned system. Add the flow of each emitter. A typical adjustable dripper at 2 liters per hour will require 16 drippers to use 2 liters per minute. You do not want the system to exceed 75 percent of your source flow.
Step 3: Understand Every Essential Component
A complete drip irrigation system has more parts than just tubing. Here is a breakdown of each component and what it does.
| Component | Purpose | Selection Tip |
|---|---|---|
| Mainline Tubing | Carries water from the source to the drip lines | Use a larger diameter for longer runs to avoid pressure loss |
| Pressure Regulator | Reduces high household pressure to the emitter working range | Set to 1.5 to 2.0 bar for most drip systems |
| Filter | Prevents particles from clogging emitters | Use at least 120 mesh for drip emitters |
| Emitters / Drippers | Release water at a controlled rate to the root zone | Choose pressure-compensating models for sloped gardens |
| Micro Sprinklers | Cover larger root areas with fine droplets | Useful for vegetable beds and ground covers |
| Fittings and Stakes | Connect tubing segments and hold emitters in position | Use UV-resistant materials for outdoor life |
When you shop for emitters, look for pressure-compensating versions if your garden has elevation changes. A pressure-compensating dripper keeps output steady even when the pressure changes along the line. This is especially important on slopes or long runs. Non-compensating emitters will deliver more water at the start of the line and less at the end.
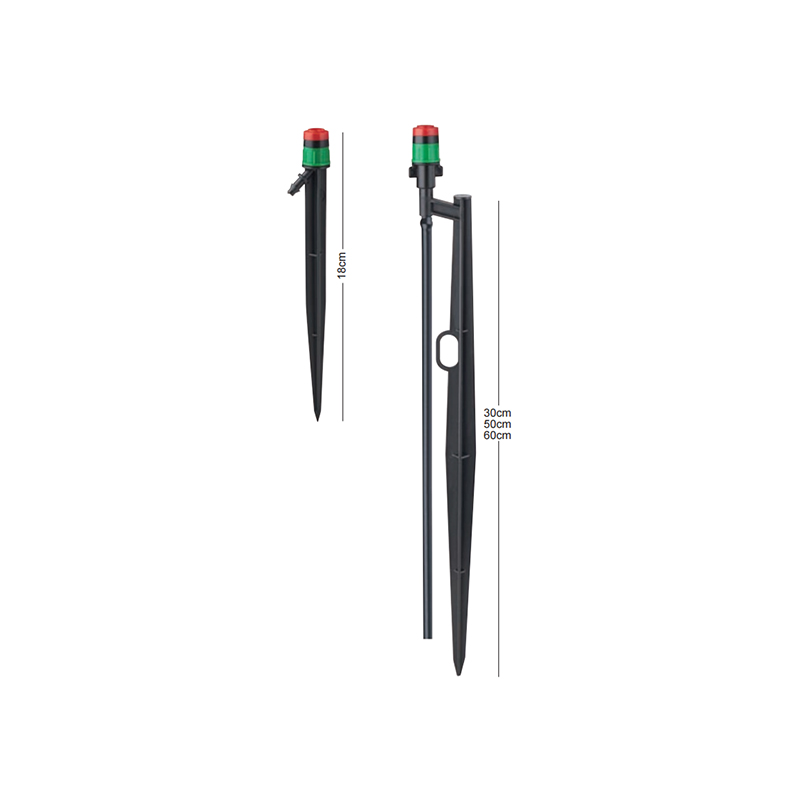 Pressure-Compensating 360-Degree Dripper for Slopes and Long LinesThis pressure-compensating emitter maintains steady output despite line pressure fluctuations, making it ideal for uneven terrain or extended runs. It pairs well with the preceding guidance on selecting compensating emitters and the installation sequence that follows.View Product →
Step 4: Install the System in Eight Practical Steps
Follow this sequence to avoid rework and leaks. Each step builds on the previous one.
- Attach the backflow preventer and pressure regulator to the outdoor faucet. Backflow prevention protects your drinking water supply from contamination.
- Install the filter downstream from the pressure regulator. A screen filter with 120 mesh is adequate for most drip emitters.
- Lay the mainline tubing along the planned path. Use pipe saddles or stakes to secure it at 1- to 1.5-meter intervals.
- Flush the mainline before adding any fittings, to remove dirt and debris that can clog emitters later.
- Cut the drip lines or connect individual emitters at the marked plant positions. Use a hole punch for inline tubing if needed.
- Insert emitters or stake sprayers firmly into the soil. A stake keeps the emitter above the mulch and prevents the outlet from being blocked by roots.
- Connect all lines with barbed fittings and tighten any compression nuts. Test each connection for visible leaks.
- Turn on the water slowly and inspect the entire system for leaks, dry spots, or overspray. Adjust emitter flow or spacing as needed.
A useful trick from experienced installers is to soak cut tubing ends in hot water for about 20 seconds before inserting barbed fittings. This softens the plastic and makes connection much easier, especially in cold weather.
Step 5: Match the Emitter Type to Each Zone
Not every area in your garden needs the same delivery method. Tree rows and large vegetable beds benefit from point-source drippers, while ground cover, flower borders, and planters often need a wider distribution pattern. For irregular or dense planting, a micro-sprinkler can cover a larger area with a gentle mist. For example, a mist micro-sprinkler is a good option for shallow-rooted plants and seedlings because it delivers water as a fine spray that wets the top layer of soil evenly.
Choose the emitter spacing based on the plant canopy. A small shrub with a 40 cm diameter root zone will need one emitter at the base, while a 1-meter-wide vegetable bed might need three emitters spaced 30 cm apart. If you are watering a row of container plants, consider a set with upright stakes so the emitters stay above the soil surface.
Step 6: Troubleshoot and Maintain Your System
Even a well-planned drip system needs periodic checks. The three most common issues are clogged emitters, low flow at the far end, and dry spots.
| Symptom | Likely Cause | Fix |
|---|---|---|
| Some plants dry out while others are wet | Wrong emitter spacing or uneven pressure | Re-space emitters and install a pressure regulator |
| Water runs out at the fittings | Loose or broken barbed connection | Cut the tubing cleanly, re-insert the fitting, or replace it |
| Crusty white deposits on emitters | Hard water or mineral buildup | Soak emitters in a vinegar solution and add an inline filter |
Check your first and last emitter on each branch. If the last emitter delivers significantly less water than the first, you have either a pressure loss issue or a partial clog. Flush the lines by removing the end cap and running water for a minute. Also, replace any O-rings or gaskets that have become brittle. The rubber gaskets and O-rings in most drip fittings wear out after two to three seasons, and replacing them solves many leaks.
Seasonal Adjustments and Winterizing Your Drip System
Drip systems need fewer sessions in spring and more in summer, but the exact schedule depends on your local evapotranspiration rate. A simple rule is to increase run time by 10 minutes per week during the hottest month until the root zone is moist to a depth of 15 cm. In autumn, reduce watering gradually as temperatures drop.
Winterizing in Cold Climates
If you live in a region with freezing winters, drain all water from the lines before the first hard freeze. Disconnect the mainline from the faucet, open the end caps, and let the water run out. Remove any above-ground fittings that could crack. If your system is buried, use an air compressor to blow out the lines at 0.35 bar. Do not use high pressure, which can rupture the tubing.
Leaving water in the tubing during winter will cause it to expand and crack the plastic, making your entire system unusable the next spring. A few minutes of blowout work saves you a full reinstall.
Frequently Asked Questions About Drip Irrigation
How deep should drip irrigation lines be buried?
Most drip lines are installed on the soil surface or covered with a thin layer of mulch. If you want to bury them, keep them at a depth of 15 to 20 cm to avoid root intrusion and make it easier to repair. Do not bury emitters too deep; water must exit within the active root zone.
Can I use drip irrigation on a slope?
Yes, but you need pressure-compensating emitters and a pressure regulator. Without compensation, emitters at the top of the slope will get more water than those at the bottom. A pressure-compensating dripper maintains a constant output across a wide pressure range.
How long should I run the drip system each day?
Run time depends on emitter flow and plant water needs. A common starting point is 30 to 60 minutes per watering session for a 2-liter-per-hour dripper, twice a week. In sandy soil, you may need shorter, more frequent runs. Monitor the root zone moistness and adjust.
Do I need a filter for a small garden system?
Yes. Even small systems clog. A 120-mesh screen filter is inexpensive and saves you from replacing emitters every month. If your water source is a pond or well, use a disc filter instead.
Can I connect drip irrigation to a rain barrel?
You can, but you need enough head pressure. A rain barrel at ground level will have very low pressure, so use a gravity-fed drip kit with low-flow emitters and keep the barrel at least 1 meter above the garden bed.
Prev:No previous articleNext:How Do You Install a Drip Irrigation System? A Complete Step-by-Step Guide
Related products
-
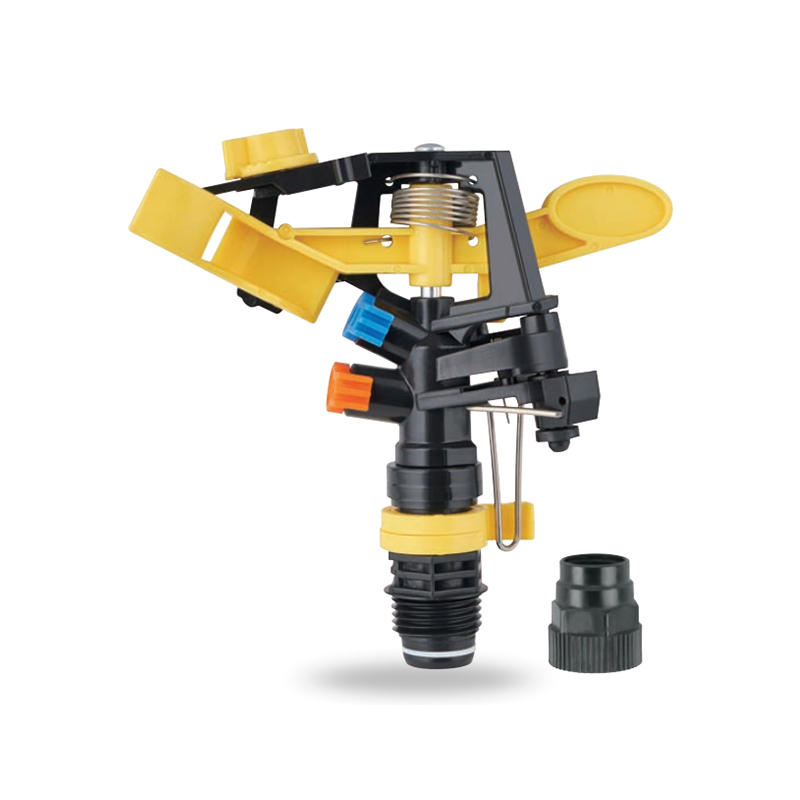
Impact sprinkler for agricultural irrigation is a common and efficient agricultural irrigation tool designed for large areas of farmland. Its unique structure can evenly cover a large area by rotating...
See Details -
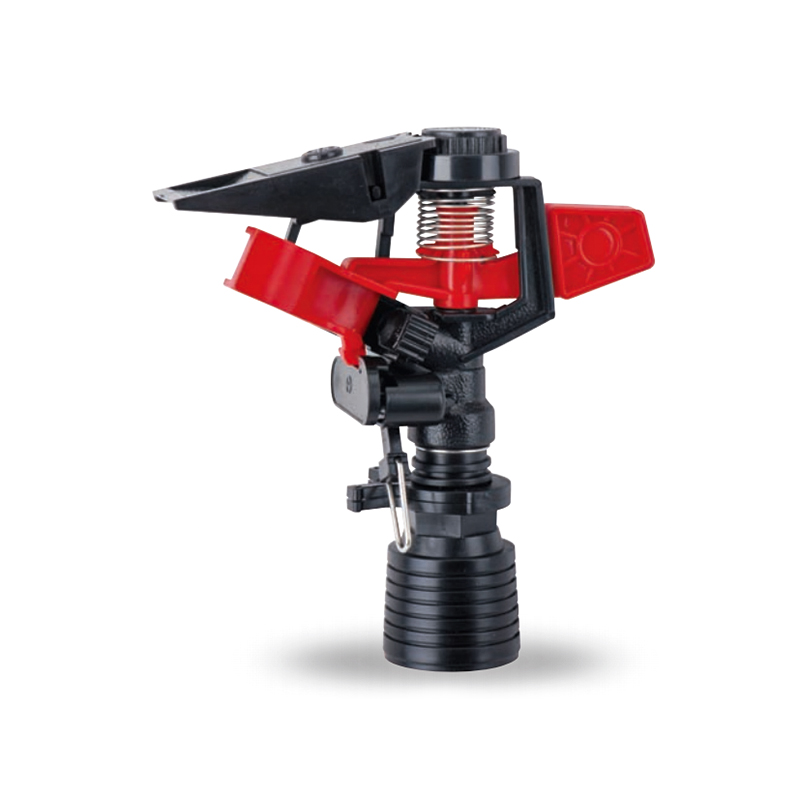
This 360 degree adjustable rocker arm nozzle impact sprinkler is an essential part of an irrigation system designed to meet a wide range of horticultural and agricultural needs. Its flexible adjustmen...
See Details -
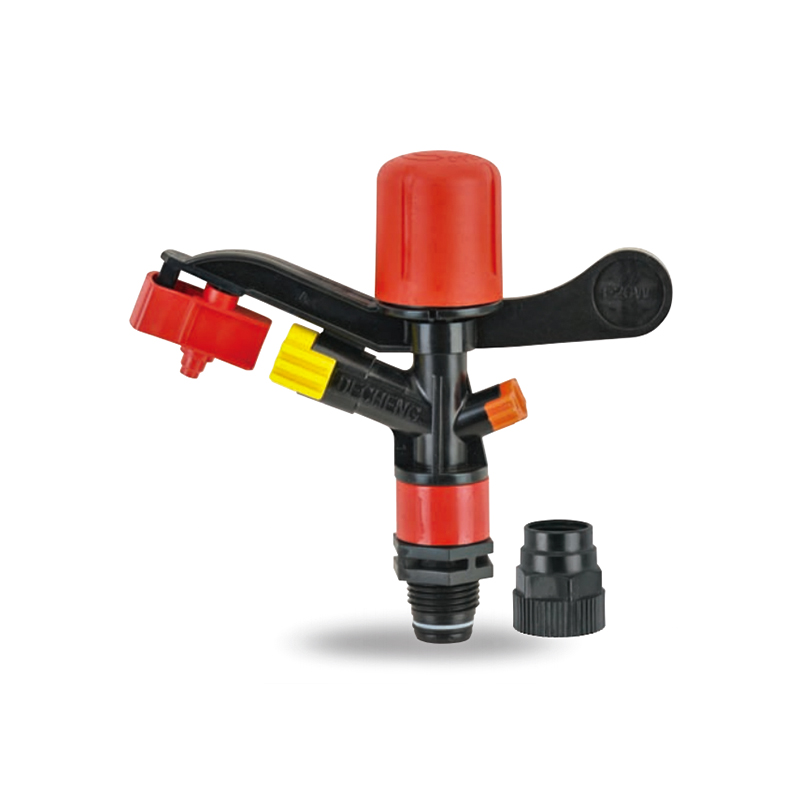
The Plastic Full-Circle Impact Sprinkler Sprayer is a highly efficient full-circle irrigation device designed to provide even moisture coverage. Its lightweight plastic material makes this sprinkler e...
See Details -
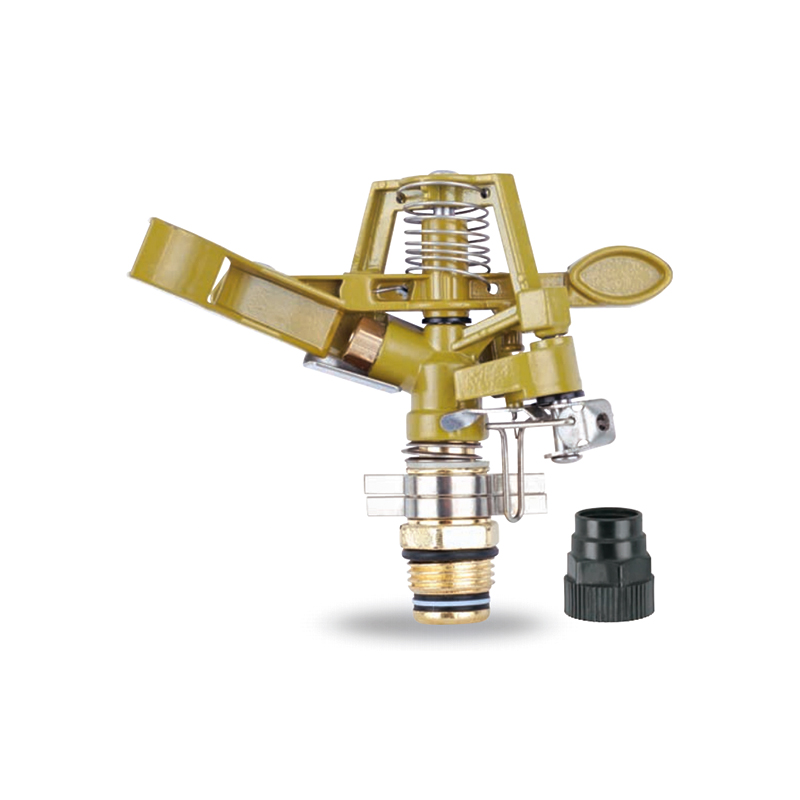
The Irrigation System Adjustable Head Mobile Rotary Zinc Sprinkler is an efficient rotary sprinkler designed for flexible irrigation needs. Its adjustable head allows the user to easily adjust the dir...
See Details -
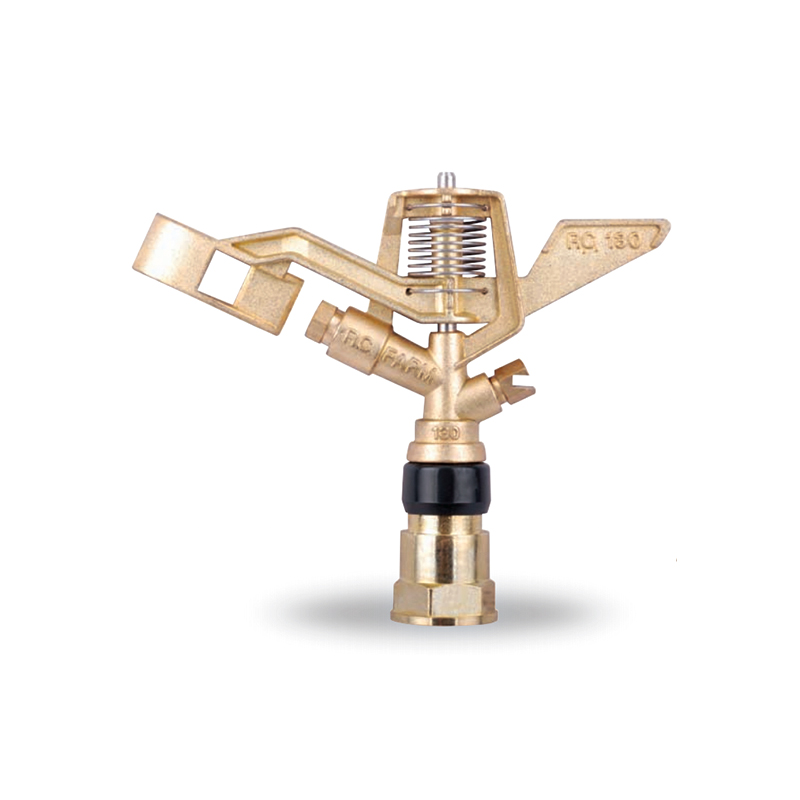
This 3/4” Zinc Alloy Swivel Arm Irrigation Watering System Impact Sprinkler is ideal for agricultural irrigation systems due to its superior durability and corrosion resistance. Its rugged constructio...
See Details -
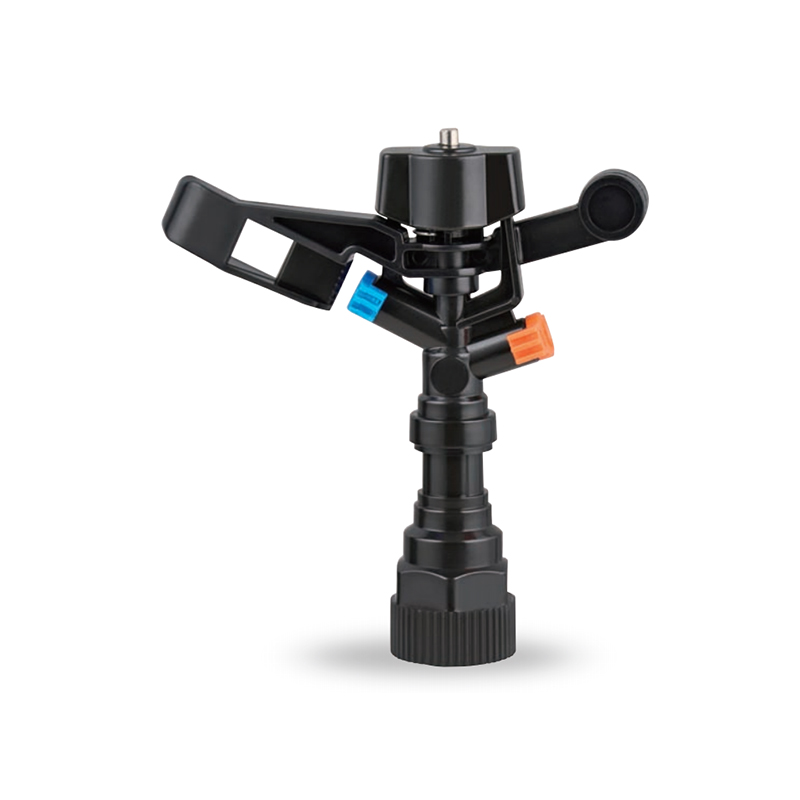
The Double nozzle garden farm impact full-circle sprinkler is well-designed to efficiently and evenly spray water, thus enhancing the quality of crop growth. Whether it's in the home garden or on a la...
See Details -
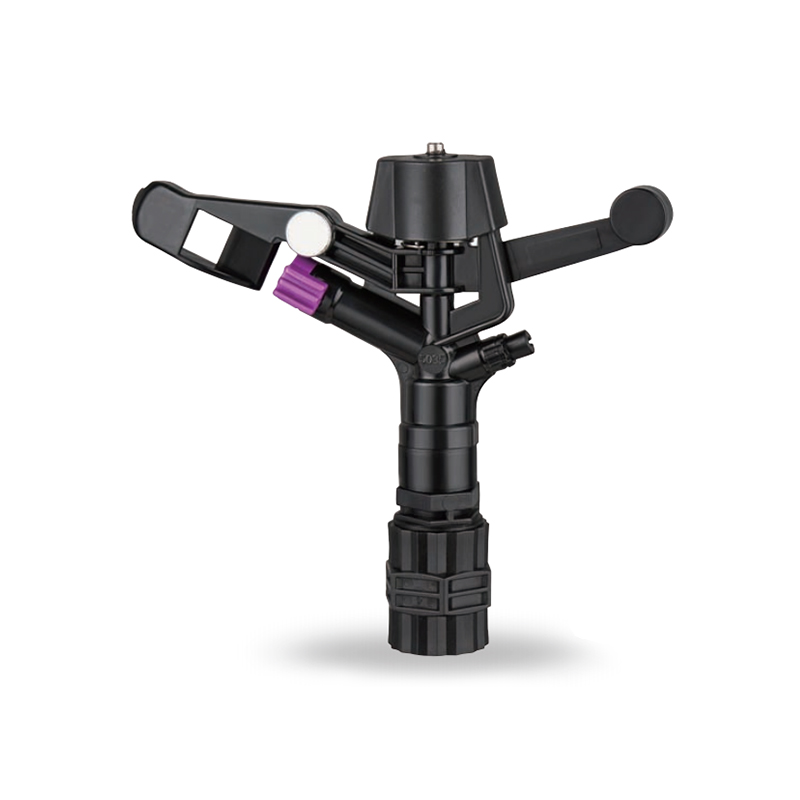
Double nozzle agricultural water plastic impact sprinkler for irrigation sprinkler combines practicality and durability with a dual nozzle system that provides extensive water coverage for a wide rang...
See Details -
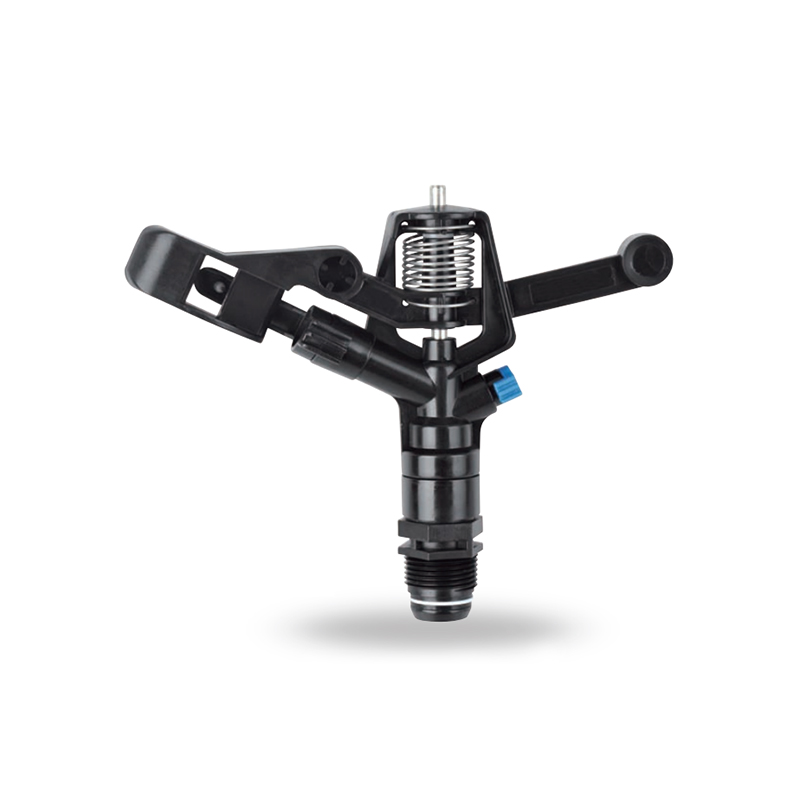
The POM agricultural irrigation sprinkler water impact sprinkler is known for its excellent abrasion resistance and durability, ensuring consistent performance over time. It is designed to increase wa...
See Details -
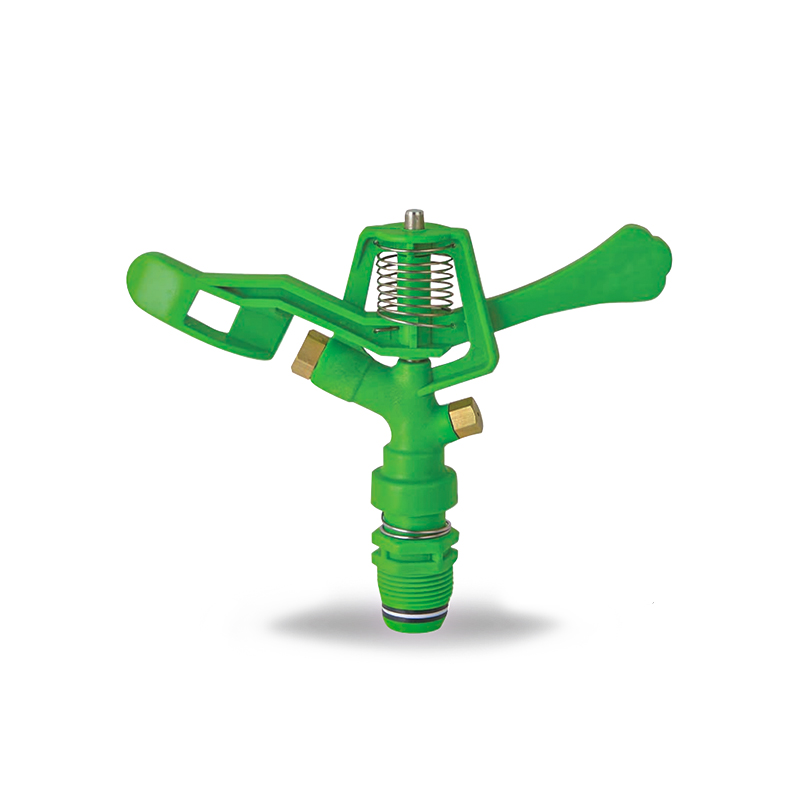
The POM Agricultural Irrigation Sprinkler with Metal Nozzles is a device designed for efficient irrigation, combining premium polyacetal (POM) material with durable metal nozzles to ensure superior sp...
See Details -
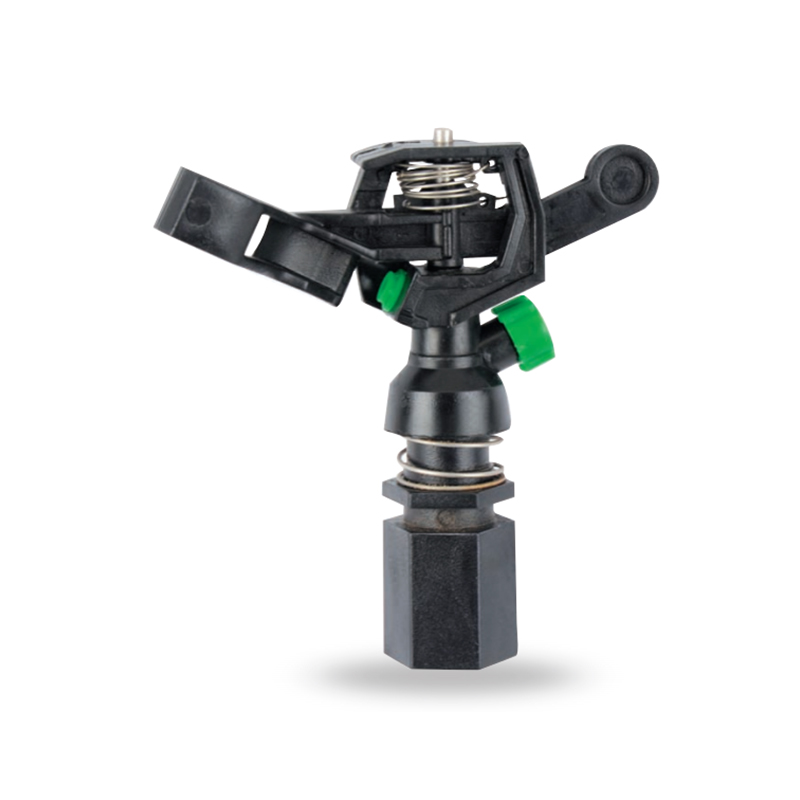
Watering irrigation system 3/4 inch nozzle field Impact Sprinkler is perfect for field irrigation and easily meets the water needs of large crops. Its powerful spray ensures that every nook and cranny...
See Details -
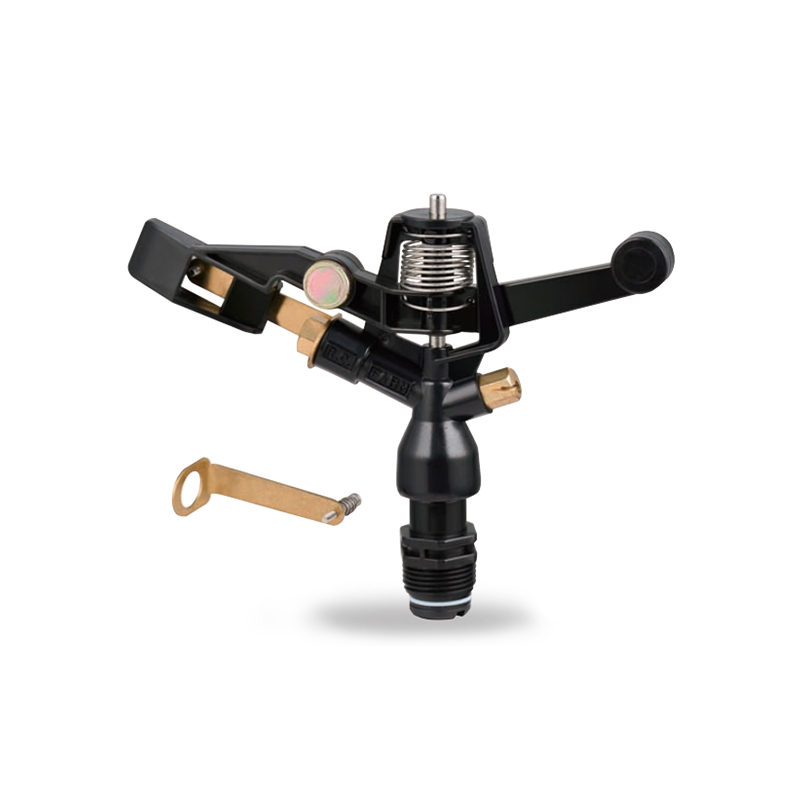
The POM Agricultural Irrigation Sprinkler with Brass Nozzles is an efficient and durable irrigation device designed to meet a wide range of agricultural needs. The sprinkler is made of polyacetal (POM...
See Details -
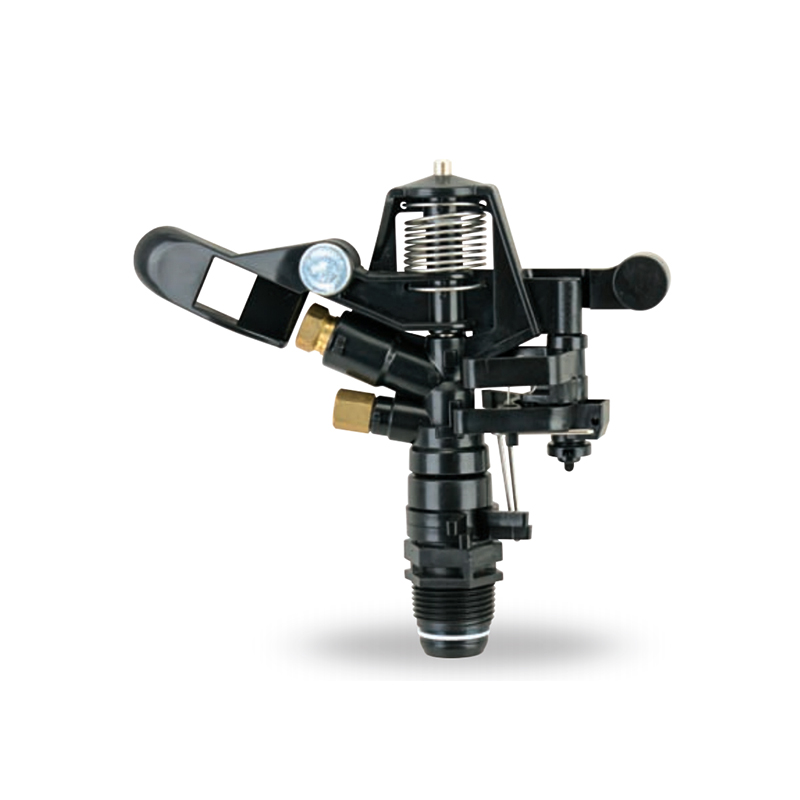
The Double Nozzle Garden Farm Impact Part-Circle Sprinkler is a highly efficient garden irrigation device designed for large planting areas. Its double nozzle design produces a strong, even stream of ...
See Details

PRODUCTS & SERVICES

CONTACT US
 No.518, Ruihao Road, Lizhou Street, Yuyao City, Zhejiang Province, China
 +86-13105554615 / +86-18005843886
 decheng@dcssq.com fredzhu@dcssq.com
 LISA
LISA
 Fred Zhu
Copyright © Ningbo Dewo Irrigation Equipment Co., Ltd. All Rights Reserved. China Agricultural Plastic Sprinkler Manufacturers Wholesale Irrigation Plastic Sprinkler Factory
