

 Search for...
 English
 Español
 中文简体
中文简体How Do You Install a Drip Irrigation System? A Complete Step-by-Step Guide
Content
- 1 The Short Answer: How To Install a Drip Irrigation System
- 2 Before You Buy or Assemble Anything
- 3 Step 1: Plan the Layout and Count Emitters
- 4 Step 2: Assemble the Water Connection
- 5 Step 3: Run the Mainline and Branch Lines
- 6 Step 4: Install Emitters and Driplines
- 7 Step 5: Flush, Test, and Adjust
- 8 Maintenance and Seasonal Care
- 9 Common Mistakes To Avoid
- 10 Frequently Asked Questions
- 10.1 What pressure do drip irrigation systems run at?
- 10.2 How often should I flush a drip irrigation system?
- 10.3 How deep should I bury drip irrigation tubing?
- 10.4 Can I connect a drip system to a standard garden hose?
- 10.5 What is the difference between drip irrigation and sprinkler irrigation?
- 10.6 Do I need a filter if I have city water?
- 10.7 Can I use the same drip line for roses and vegetables?
The Short Answer: How To Install a Drip Irrigation System
The core installation method is the same for most residential and commercial drip systems. You plan the layout, connect a filtered and pressure-regulated water source, run a mainline through the planting area, insert emitters or connect driplines near each plant, flush the lines, and test the system. No professional contractor is required if you have a standard outdoor faucet and a basic understanding of flow rates. Most small and medium systems can be assembled in one weekend with a few basic tools.
- Plan the zones and calculate how much water the plants need.
- Install the backflow preventer, filter, pressure regulator, and shut-off valve.
- Run the mainline from the water source through the planting area.
- Connect branch lines and punch holes for emitters.
- Install emitters or attach driplines near the root zones.
- Flush every line, test the pressure at the farthest emitter, and adjust the timing.
The order matters. If you punch holes before the lines are flushed, sediment can clog the emitters. If you skip the pressure regulator, the emitters may deliver more water than the plants can absorb. This guide follows the sequence that prevents the most common installation failures.
Before You Buy or Assemble Anything
Before you open a package, you need to know what a complete drip system contains. The exact component list changes with the size of the garden, but the essential lineup is stable. In most cases, you will use several basic parts that are easy to replace and maintain.
What a Complete Drip System Needs
- A backflow preventer or vacuum breaker, if you connect to a household water line.
- A Y-filter or a similar filtration unit, typically rated at 120 mesh or finer.
- A pressure regulator set for the target drip pressure.
- A shut-off mini valve, so you can isolate each irrigation zone.
- Mainline tubing, usually 1/2 in. or 3/4 in. polyethylene tubing.
- Branch lines and emitter tubing in 1/4 in. or the same size as the mainline.
- Emitters, drippers, or inline dripline sections that match the plant spacing.
- End caps, compression fittings, barbed connectors, stakes, and a hole punch.
Water Pressure and Pressure Regulators
Residential drip systems usually perform best at 15 to 25 psi. If your outdoor spigot produces 60 psi, a downstream pressure regulator is not optional. Without a regulator, every emitter will release a higher volume than intended. That uneven flow can cause root rot in some plants and dry patches under others. The first number to verify is the outlet pressure at the faucet before you select any emitter.
How To Choose the Right Tubing Size
The tubing size changes how much water can travel through a zone. A small line will lose even more pressure if you use it for a long run. Use the table below as a starting point for planning a residential drip installation.
| Line Size | Typical Flow Range | Best Use |
|---|---|---|
| 1/4 in. | 0.5–1 GPM | Containers, short branch runs, hanging baskets |
| 1/2 in. | 2–4 GPM | Raised beds, medium gardens, most landscapes |
| 3/4 in. | 5–8 GPM | Longer rows, orchard lines, larger zones |
Always use the manufacturer's flow chart when you select emitters. The table above is a planning guide, not a replacement for pressure and flow testing at the original source.
Step 1: Plan the Layout and Count Emitters
Planning takes under an hour and prevents most repair work later. You need to know the area shape, the available water flow, the slope of the land, and the plant spacing.
Measure, Draw, and Check the Slope
Sketch the bed to scale on a piece of paper. Mark the location of the water source and note any elevation changes. If the garden slopes downhill, place the drip line across the slope instead of down the slope. Short perpendicular runs let you use one pressure zone with less variation. A single 30 ft run with a 5 ft elevation drop will unevenly distribute water unless you use pressure-compensating emitters.
Calculate How Many Emitters You Need
As a practical example, a 100 sq ft vegetable bed with tomato plants spaced 24 in. apart needs roughly 18 to 20 emitters if each plant receives one emitter. If you plant lettuce in rows, you can switch to inline dripline and reduce the number of individual emitters by 30 to 50 percent. For a larger orchard row, point-source emitters are still the easiest way to match water to individual tree trunks.
Another useful check is to compare the total emitter flow to the flow rate at the tap. If the tap supplies 3 GPM at 20 psi, you should not install more than 150 one-gallon-per-hour (GPH) emitters in one zone. The formula is simple: total emitters multiplied by individual GPH must stay below the water source flow with a 20 percent safety buffer.
Step 2: Assemble the Water Connection
The water connection is where the system meets the faucet. If this part is assembled correctly, the rest of the installation becomes much easier. The four key items are a backflow preventer, a filter, a pressure regulator, and a shut-off valve.
Thread Connection and Sealing
Wrap Teflon tape around all male threaded fittings in the same direction as the thread rotation. Tighten the connections by hand, then add a half turn with a wrench for a watertight seal. Do not overtighten plastic fittings. A stainless steel compression adapter is the best option when you move from a garden hose thread to a poly tubing mainline.
Why the Mini Valve Matters
A shut-off mini valve may seem like a small detail, but it gives you practical control over each zone. Instead of turning the whole system on and off, you can close one zone during rainy weather, adjust another zone manually, or drain a line for maintenance without disturbing the rest of the bed. This is particularly useful for mixed plantings with different water needs.
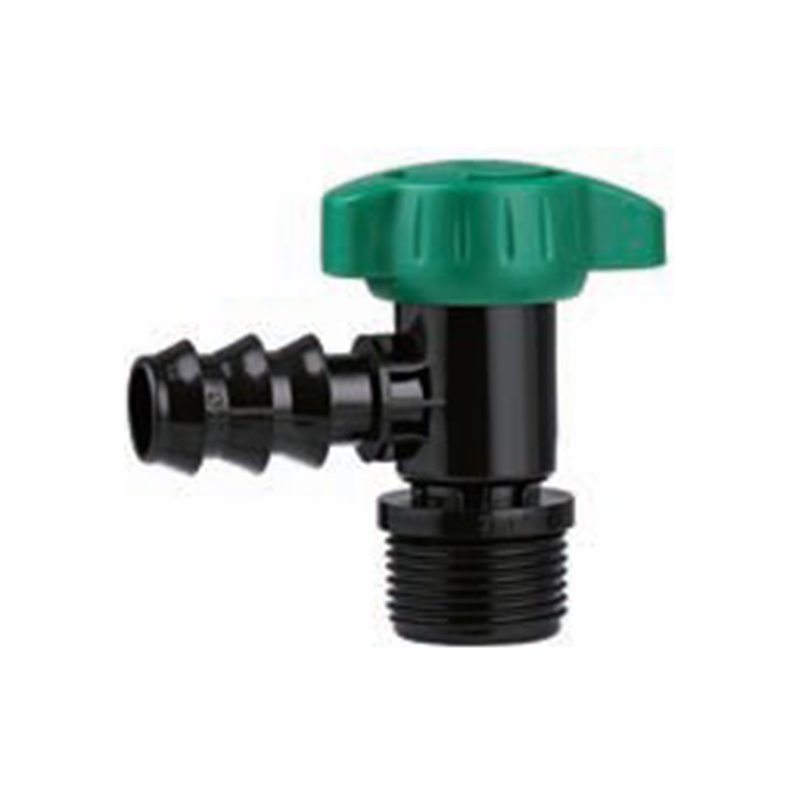 Agricultural Mini Valve for High-Flow Irrigation ControlThis mini valve manages water flow in large-scale irrigation systems. Its sturdy, corrosion-resistant construction suits tough field conditions, while quick installation and compatibility with various pipelines make it a practical choice for precise zone control.View Product →
Step 3: Run the Mainline and Branch Lines
The mainline is the backbone of the system. It carries water from the connection assembly to the areas that need irrigation. The mainline can lie on the surface, under mulch, or in a shallow trench, depending on the garden type.
How To Lay Tubing
Unroll the tubing in the sun for 15 to 30 minutes before installation. Warm polyethylene tubing is much easier to bend into corners without kinking. Lay the mainline along one side of the bed, not through the middle, so you can access it from the edge. Use stakes or wire ties every 3 to 5 ft to keep the tubing from moving.
Connecting the Mainline to the Branch Lines
For a single-row garden, you may not need branch lines at all. For a wide bed, use a 3/4 in. to 1/2 in. reducing tee or a compression fitting to split the mainline into several branch rows. Push each fitting over the tubing until it seats fully. Avoid sharp bends at the connection point, because a partial kink restricts flow and makes the emitter near that point run dry.
If you use a large impact sprinkler for a separate area of the property, keep the drip zones completely separate from that sprinkler zone. Drip irrigation and conventional impact sprinkler systems operate at different pressures and deliver water at different speeds. Mixing them in one line can cause poor coverage.
Step 4: Install Emitters and Driplines
This is the most important step for getting water to the actual plant root zone. You have two main choices: point-source emitters placed near individual plants, or inline dripline with emitters already spaced inside the tubing. Many gardeners use both in the same system.
Punch Holes Correctly
Use a hole punch to create a clean circular hole in the mainline. A knife can tear the tubing and create an irregular opening that leaks over time. A typical barbed emitter requires a 2 mm or 3 mm hole, depending on the model. Punch the hole at a natural angle that matches the direction you want the emitter to point, then push the barb in until it clicks or seats flush with the tubing.
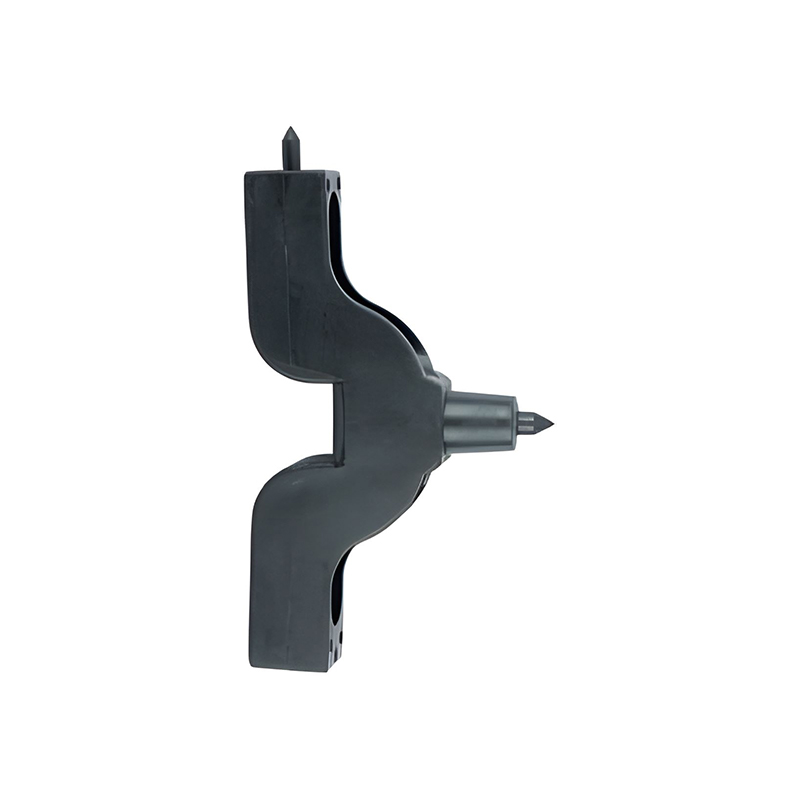 Hole Punch Tool for Clean Irrigation Tubing HolesThis hole punch creates precise circular holes in irrigation pipes, ensuring secure connections for emitters and accessories. Its durable, ergonomic design simplifies installation and maintenance, helping you build a leak-free drip system.View Product →
Insert Emitters and Pressure Compensating Drippers
On flat ground, any standard emitter will work. On a slope, use pressure-compensating drippers. A pressure-compensating emitter keeps the outlet flow stable across a wider pressure range than a conventional dripper. When the terrain changes by several feet, this difference prevents the downhill plants from being flooded while the uphill plants stay dry.
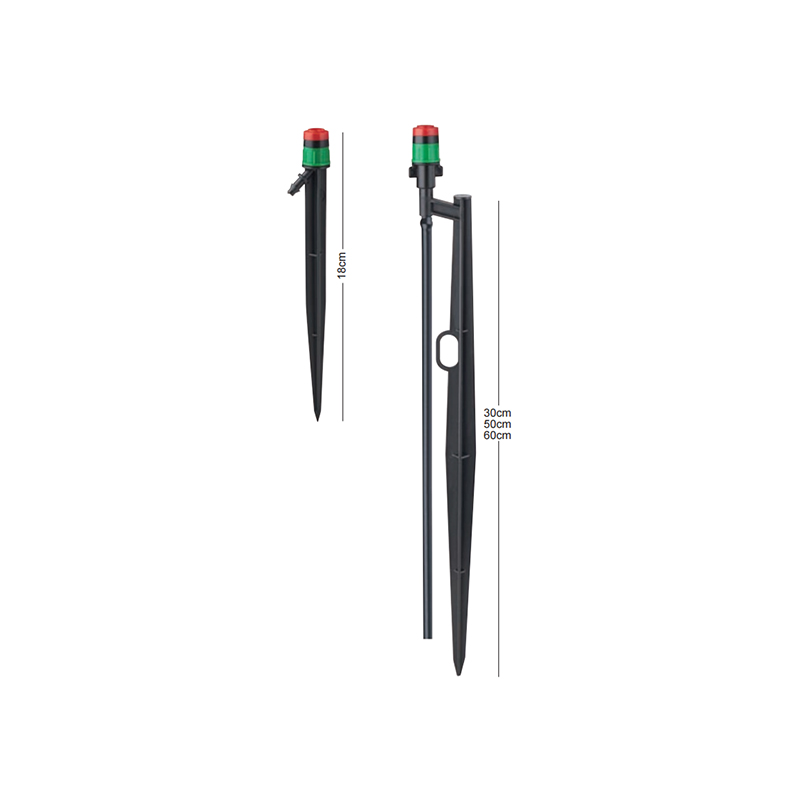 360-Degree Pressure-Compensating Dripper for Uniform WateringThis dripper maintains steady flow despite pressure changes, delivering even 360-degree coverage. Made from durable, UV-resistant materials, it’s ideal for slopes and varied terrain, reducing water waste while promoting healthy plant growth.View Product →
Drip Line vs. Point-Source Emitters
Choose inline dripline for row crops and ground covers where the spacing is uniform. Choose point-source emitters for tomatoes, peppers, shrubs, and fruit trees, because you can move each emitter as the plant grows. In a raised bed, point-source emitters also reduce the chance of watering the weeds between the crop rows.
Step 5: Flush, Test, and Adjust
Do not skip this step. A new drip line has microscopic pieces of plastic and dirt from the manufacturing process. If you close the line before flushing, those particles settle in the emitters and become permanent clogs.
Flush Every Line
Leave the end cap, flush valve, or open end of each line open. Turn on the water and let the system run for 1 to 2 minutes until the water flowing out is clear. Then close each end. For large zones with multiple branch lines, flush each branch separately so you can confirm that every line receives flow.
Pressure and Flow Testing at the Farthest Emitter
Place a measuring cup under the emitter located at the end of the shortest branch after the most distant bend. Measure the output for one minute. If the output is 0.5 GPH lower than the emitter rating, the line may be undersized, the filter may be dirty, or the pressure regulator is faulty. If the output is higher than the rating, the pressure regulator is too high or missing.
Adjusting the System
After the first test, walk through the planting area and check every emitter. Dry spots often mean that the emitter is slightly too far from the root zone or the line has a kink. Wet spots usually mean that the emitter is too large for the plant. Swap to a lower output emitter or move the drip line closer to the plant. Over time, the root system will establish a stronger wetting zone.
Maintenance and Seasonal Care
A well-built drip system can last five to ten years if you keep it clean. The maintenance routine is not complicated, but it has to be completed on a schedule. Filters are the most critical component because they protect every emitter.
- Check the filter cartridge every 2 to 4 weeks during the growing season. Rinse it under tap water and replace it if the mesh is damaged.
- Flush the lines at least once per month in hot weather. Open the end caps and let the water run until it is clear.
- Look for wet spots around fittings after each watering. A small leak can waste a surprising amount of water over a season.
- Before winter, drain the entire system. If you live in a cold climate, use an air compressor to blow out the remaining water from the mainline and branch lines.
- Disconnect the filter and backflow preventer so they do not crack in freezing temperatures.
Winterization
If the system is completely buried, you may not need to drain it. But surface lines and dripline tubing exposed to freezes will expand and split. Use an air compressor set below 30 psi, and blow out each zone from the farthest valve to the closest one. Do not leave the timer on because a scheduled cycle can freeze a line.
Common Mistakes To Avoid
Many drip systems fail not because the parts are expensive, but because the installation process skipped one small detail. Here are the most frequent mistakes I have seen in both new and existing irrigation zones.
- Using unfiltered water. Even city water contains rust, sand, or fine biological material. Without a filter, the smallest emitters clog within a few weeks.
- Overloading a line. A 1/2 in. mainline cannot run 300 one-gallon emitters at 3 GPM. Reduce the number of emitters or split the zone into two lines.
- Burying tubing too deep. Surface lines are easier to inspect and repair. In a permanent orchard, 8 to 12 in. is acceptable, but only after you have tested the system for a full season.
- Forgetting to flush after assembly. New tubing contains shavings and dust that become permanent clogs if you skip the flushing step.
- Using a single 1/4 in. line for a 100 ft run. The pressure loss will be severe. Use a larger mainline and shorter 1/4 in. spurs.
- Setting the timer for the same duration as a sprinkler. Drip lines need longer cycles, but they run at a lower flow rate. A tomato bed might need 30 to 60 minutes, not 8 minutes.
Frequently Asked Questions
What pressure do drip irrigation systems run at?
Most residential drip systems run at 15 to 25 psi. Pressure-compensating emitters can handle a slightly wider range, but the system still needs a pressure regulator. If the pressure is too high, the tubing fittings can leak and the emitters will deliver too much water. If the pressure is too low, the farthest emitters will not deliver enough flow.
How often should I flush a drip irrigation system?
Flush the lines once every 2 to 4 weeks during active use. In dusty conditions, or when you pump water from a pond or canal, flush weekly. Open the end caps and let the water run for one minute at the start of a watering cycle. This keeps sediment moving out while the line is under pressure.
How deep should I bury drip irrigation tubing?
For temporary beds, leave the tubing on the soil surface or under 2 in. of mulch. For a permanent orchard or a landscape bed, bury the mainline 8 to 12 in. deep. Point-source emitters on the surface can be moved easily, while buried emitter lines are hard to reach when they need repair.
Can I connect a drip system to a standard garden hose?
Yes. Use a garden hose thread adapter, then connect the backflow preventer, filter, pressure regulator, and the drip mainline. A standard outdoor faucet is the most common connection point for a residential drip system. For a larger system, you can connect two hoses together, but verify the flow rate first.
What is the difference between drip irrigation and sprinkler irrigation?
Drip irrigation applies water directly to the root zone, one emitter at a time. Sprinkler irrigation sprays water into the air and wets the leaves. Drip systems use much lower pressure, lose less water to evaporation, and are more efficient for row crops, vegetables, and trees. Sprinklers are better for lawns and ground covers. For a detailed answer, see which plants are suitable for different types of irrigation sprinklers.
Do I need a filter if I have city water?
Yes. City water is clean, but old pipes, service work, or seasonal changes in a municipal supply can introduce particles. A 120-mesh filter removes the very small particles that clog a 1 GPH emitter. The filter is the least expensive insurance against a damaged system.
Can I use the same drip line for roses and vegetables?
You can, but it is better to separate them into different zones because their water schedules are different. Vegetables need frequent, shallow watering. Roses and shrubs need deeper, less frequent watering. Use a mini valve on each zone to control the schedule independently.
Prev:No previous articleNext:How Long Should Drip Irrigation Run? Complete Timing Guide, Charts & FAQ
Related products
-
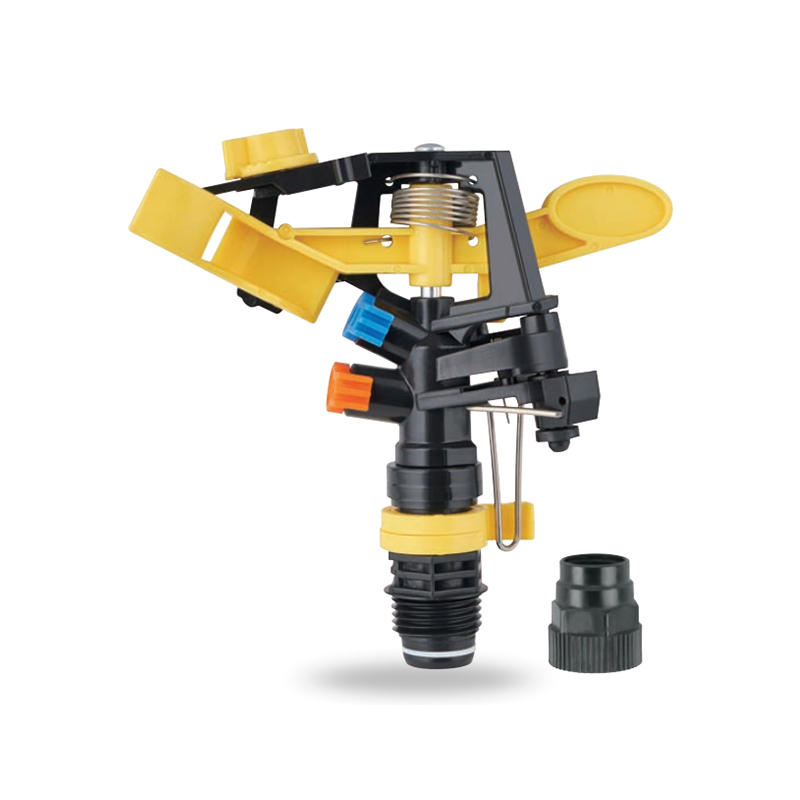
Impact sprinkler for agricultural irrigation is a common and efficient agricultural irrigation tool designed for large areas of farmland. Its unique structure can evenly cover a large area by rotating...
See Details -
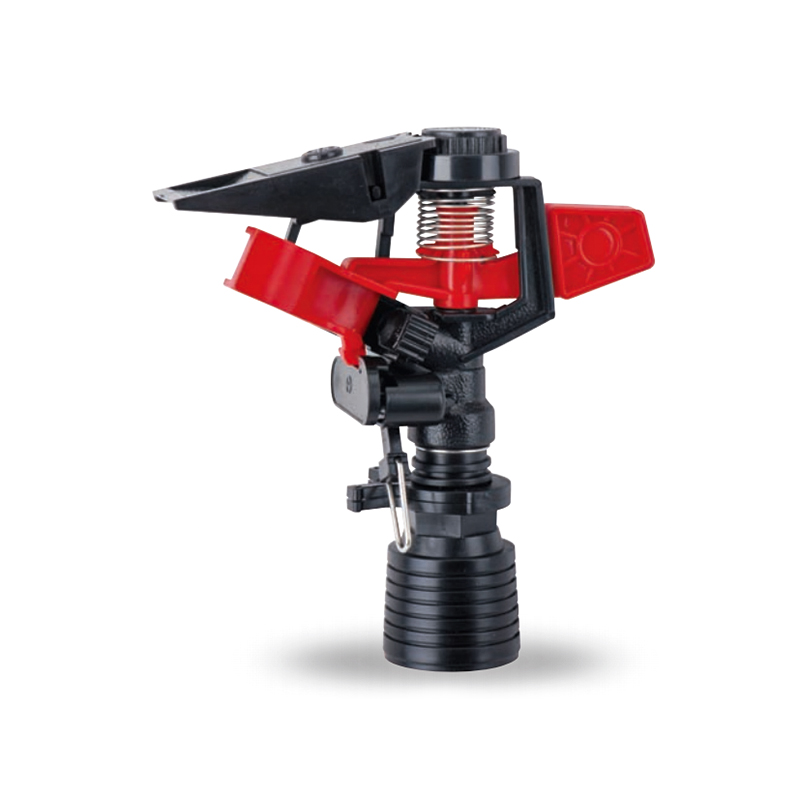
This 360 degree adjustable rocker arm nozzle impact sprinkler is an essential part of an irrigation system designed to meet a wide range of horticultural and agricultural needs. Its flexible adjustmen...
See Details -
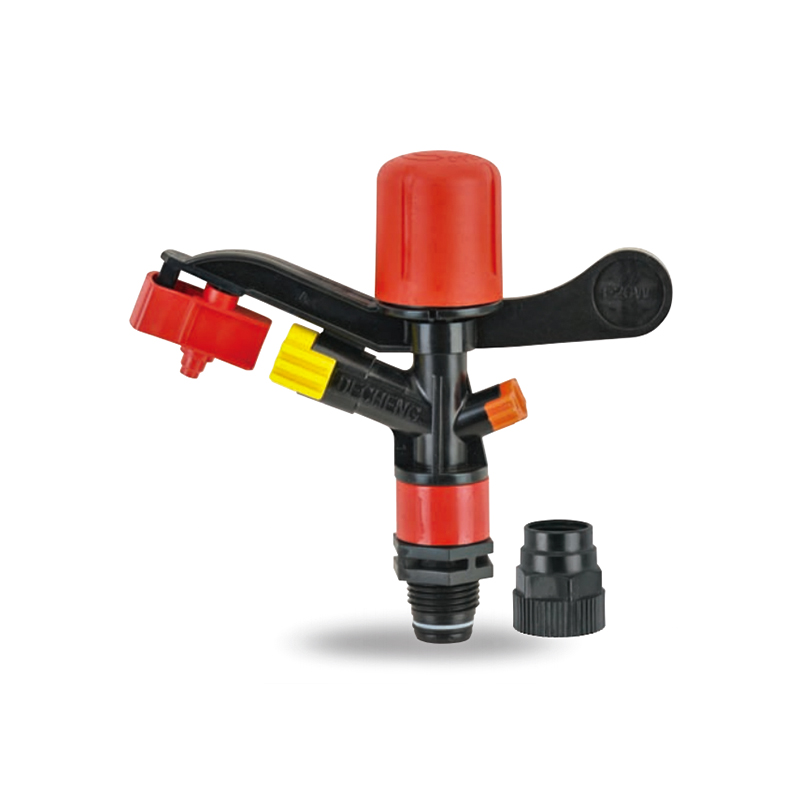
The Plastic Full-Circle Impact Sprinkler Sprayer is a highly efficient full-circle irrigation device designed to provide even moisture coverage. Its lightweight plastic material makes this sprinkler e...
See Details -
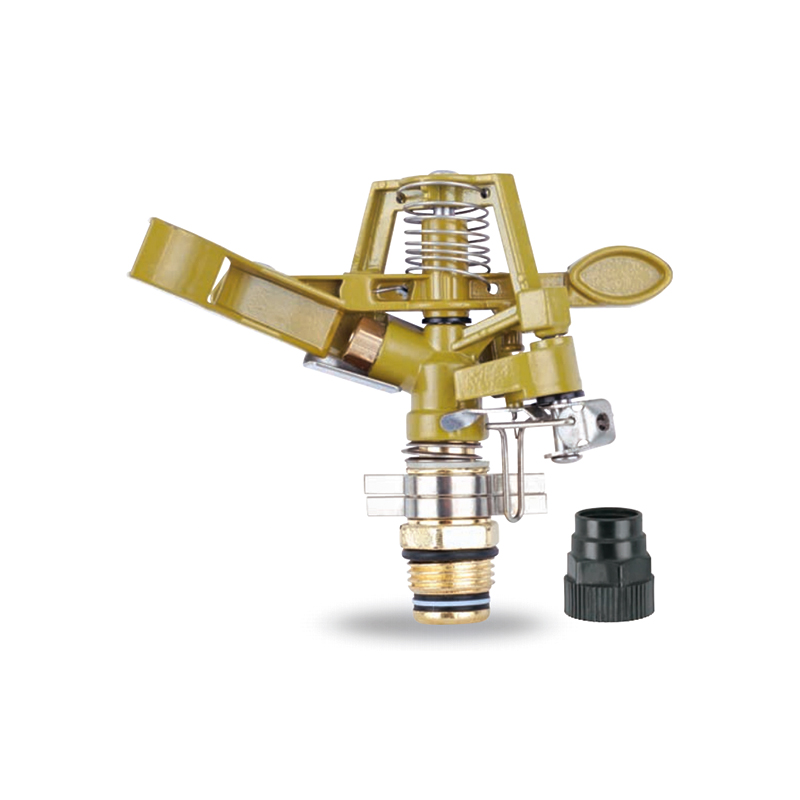
The Irrigation System Adjustable Head Mobile Rotary Zinc Sprinkler is an efficient rotary sprinkler designed for flexible irrigation needs. Its adjustable head allows the user to easily adjust the dir...
See Details -
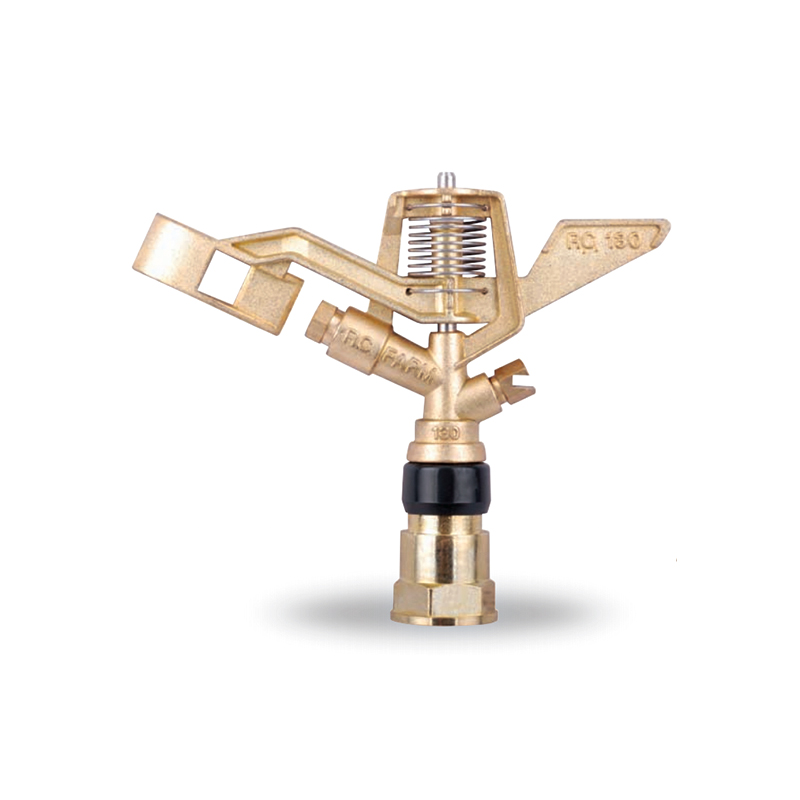
This 3/4” Zinc Alloy Swivel Arm Irrigation Watering System Impact Sprinkler is ideal for agricultural irrigation systems due to its superior durability and corrosion resistance. Its rugged constructio...
See Details -
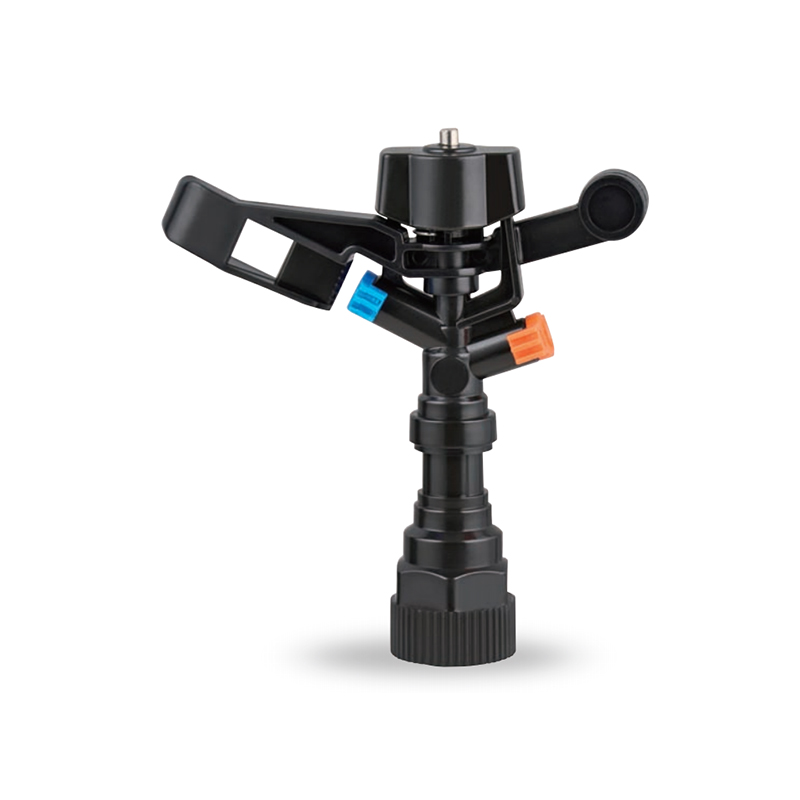
The Double nozzle garden farm impact full-circle sprinkler is well-designed to efficiently and evenly spray water, thus enhancing the quality of crop growth. Whether it's in the home garden or on a la...
See Details -
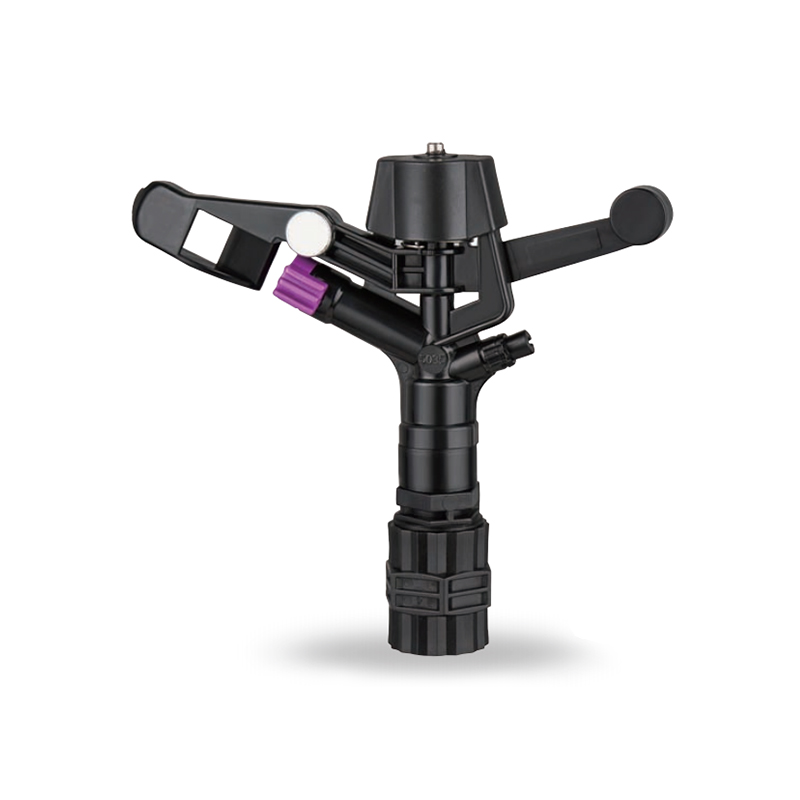
Double nozzle agricultural water plastic impact sprinkler for irrigation sprinkler combines practicality and durability with a dual nozzle system that provides extensive water coverage for a wide rang...
See Details -
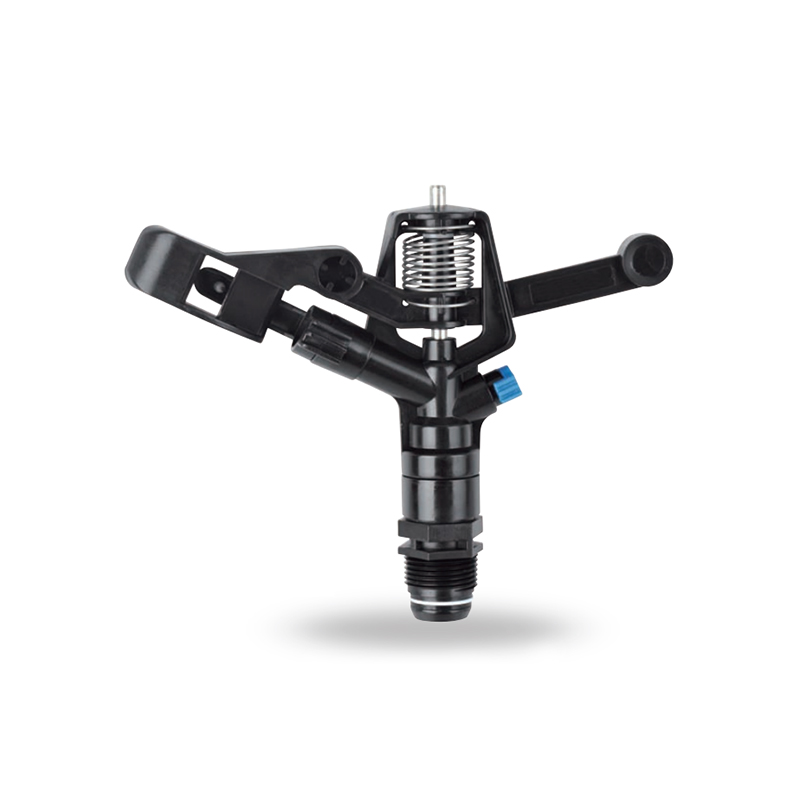
The POM agricultural irrigation sprinkler water impact sprinkler is known for its excellent abrasion resistance and durability, ensuring consistent performance over time. It is designed to increase wa...
See Details -
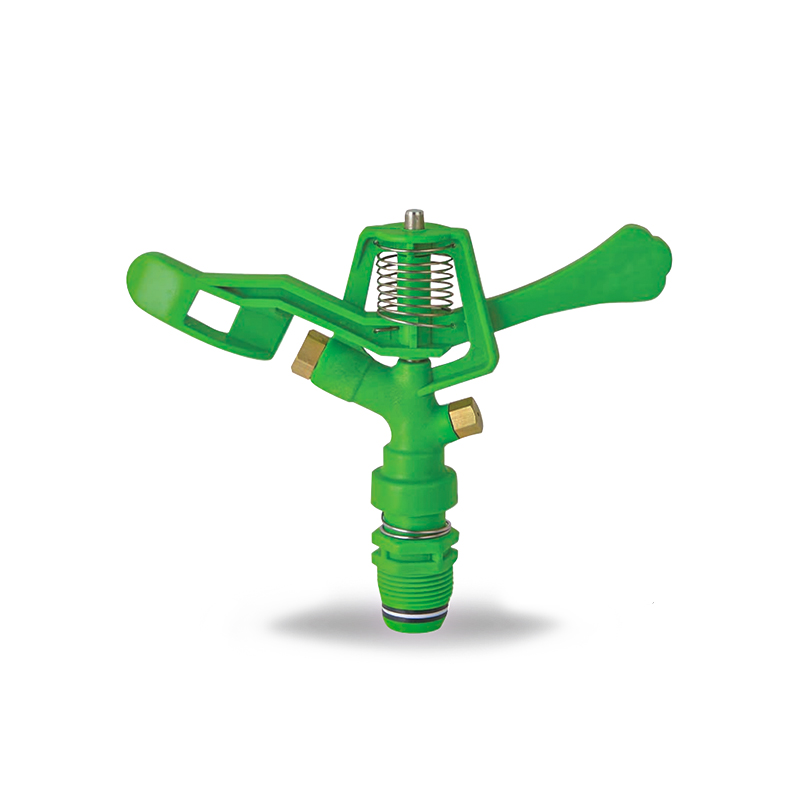
The POM Agricultural Irrigation Sprinkler with Metal Nozzles is a device designed for efficient irrigation, combining premium polyacetal (POM) material with durable metal nozzles to ensure superior sp...
See Details -
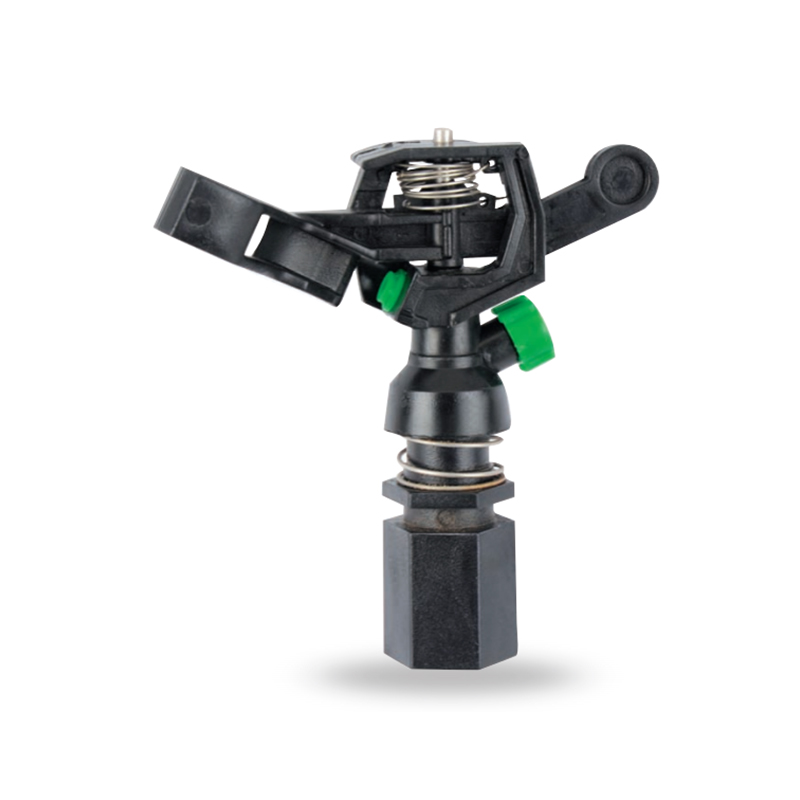
Watering irrigation system 3/4 inch nozzle field Impact Sprinkler is perfect for field irrigation and easily meets the water needs of large crops. Its powerful spray ensures that every nook and cranny...
See Details -
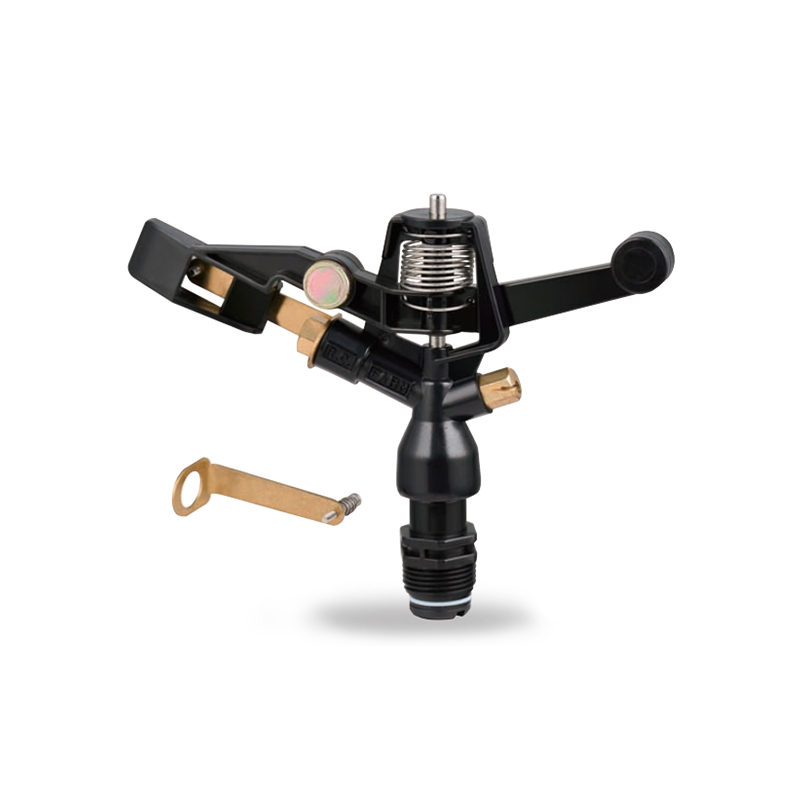
The POM Agricultural Irrigation Sprinkler with Brass Nozzles is an efficient and durable irrigation device designed to meet a wide range of agricultural needs. The sprinkler is made of polyacetal (POM...
See Details -
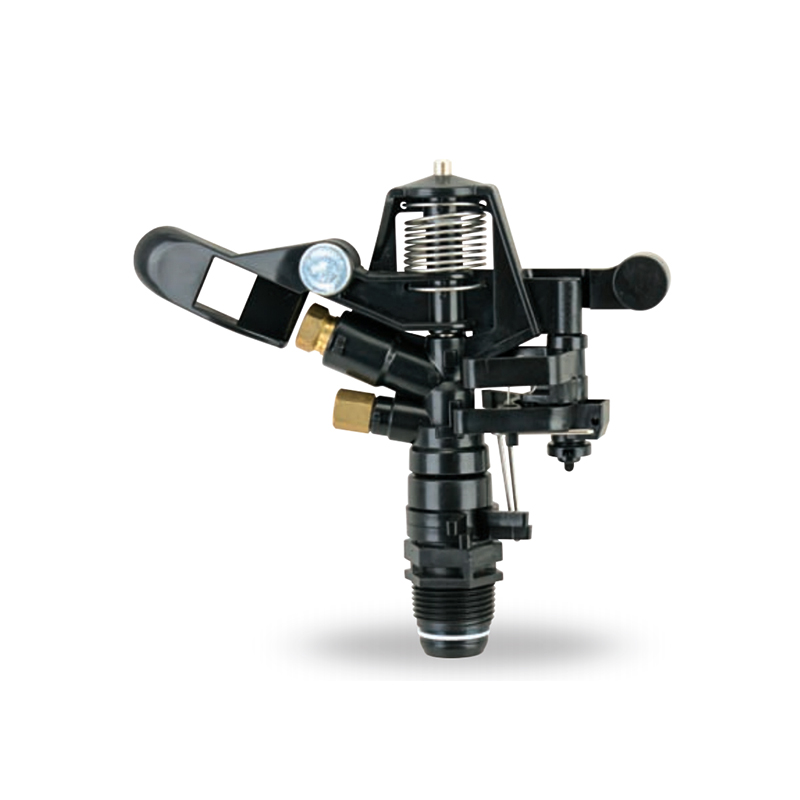
The Double Nozzle Garden Farm Impact Part-Circle Sprinkler is a highly efficient garden irrigation device designed for large planting areas. Its double nozzle design produces a strong, even stream of ...
See Details

PRODUCTS & SERVICES

CONTACT US
 No.518, Ruihao Road, Lizhou Street, Yuyao City, Zhejiang Province, China
 +86-13105554615 / +86-18005843886
 decheng@dcssq.com fredzhu@dcssq.com
 LISA
LISA
 Fred Zhu
Copyright © Ningbo Dewo Irrigation Equipment Co., Ltd. All Rights Reserved. China Agricultural Plastic Sprinkler Manufacturers Wholesale Irrigation Plastic Sprinkler Factory
