 Search for...
 English
 Español
 中文简体
中文简体How to Use a Hose Reel: Setup, Winding & Sprinkler Tips
Content
- 1 How to Use a Hose Reel: The Direct Answer
- 2 Types of Hose Reels and Which One Suits Your Setup
- 3 Installing a Wall-Mounted Hose Reel the Right Way
- 4 Loading Hose onto the Reel Without Tangles or Kinks
- 5 Daily Use: Unwinding, Watering, and Rewinding
- 6 Using a Hose Reel with an Impact Sprinkler System
- 7 Other Sprinkler and Nozzle Types Compatible with Hose Reels
- 8 Troubleshooting Common Hose Reel Problems
- 9 Seasonal Maintenance and Winter Storage
- 10 Choosing the Right Hose for Your Reel
- 11 Advanced Tips for Getting More from Your Hose Reel Setup
- 12 Safety Considerations When Using a Hose Reel
- 13 Frequently Asked Questions About Hose Reel Use
- 13.1 Can you use a hose reel with the hose fully wound on the drum?
- 13.2 How long should a garden hose last on a reel?
- 13.3 Can I connect two hoses together on a single reel?
- 13.4 Why does my impact sprinkler rotate slowly or stop?
- 13.5 Is it better to store the hose with water in it or drain it completely?
How to Use a Hose Reel: The Direct Answer
Using a hose reel comes down to four core steps: mount or position the reel correctly, connect your garden hose to the inlet fitting, thread the hose through the guide arm, and wind the hose evenly under light tension as you retract it. That basic process works whether you have a wall-mounted unit, a freestanding cart, or a retractable reel. Done right, a hose reel protects your hose from UV degradation, kinking, and tripping hazards — and it makes connecting accessories like an Impact Sprinkler or nozzle significantly faster every single time you water.
The sections below go deeper into every aspect of hose reel use, from installation and daily operation to pairing your reel with different sprinkler types, troubleshooting common problems, and extending the life of your equipment. If you skip everything else, at least read the winding technique section — incorrect winding causes most of the hose damage people blame on cheap hoses.
Types of Hose Reels and Which One Suits Your Setup
Before diving into how to use a hose reel, it helps to know what kind you have or plan to buy, because the operation differs in small but meaningful ways between types.
Wall-Mounted Hose Reels
These screw directly into a wall, fence, or post and are permanently connected to an outdoor faucet via a short leader hose. They suit homeowners who always water from the same spot. Most wall-mounted reels hold between 100 and 200 feet of standard ⅝-inch hose. Because they are fixed, they demand a deliberate installation phase — get that wrong and everything downstream suffers.
Freestanding Cart Reels
Cart reels sit on wheels or a frame and can be moved around the yard. They are ideal for larger properties or users who need to bring water to multiple zones. Many professional landscapers pair cart reels with a heavy-duty impact sprinkler that they relocate between planting beds, turf sections, and garden rows throughout the week. Capacity typically ranges from 150 to 300 feet.
Retractable Hose Reels
Retractable reels use a spring mechanism to auto-wind the hose back onto the drum. You pull the hose out to the length you need, lock it in place, and when you are done, a gentle tug releases the lock and the spring recoils the hose. These are the most convenient type but also the most expensive, typically ranging from $80 for basic units up to $400 or more for commercial-grade stainless models. They require slightly more care to keep the spring mechanism in good condition.
Compact Portable Reels
Small, hand-crank reels designed for balconies, patios, and tight spaces. They usually hold 50 to 100 feet of lighter-duty hose. If you use these with a rotating sprinkler or micro-drip system on a small garden, they are perfectly adequate and much cheaper than larger models.
| Reel Type | Typical Hose Capacity | Best Use Case | Price Range |
|---|---|---|---|
| Wall-Mounted | 100–200 ft | Fixed watering zones | $30–$150 |
| Cart / Freestanding | 150–300 ft | Large yards, multiple zones | $50–$200 |
| Retractable | 50–200 ft | Convenience-focused users | $80–$400+ |
| Compact Portable | 50–100 ft | Balconies, small gardens | $20–$70 |
Installing a Wall-Mounted Hose Reel the Right Way
Installation sets the foundation for every future use. A reel mounted too low forces awkward bending when winding. One mounted on a flimsy surface wobbles under the weight of a full hose drum — a 100-foot ⅝-inch rubber hose weighs roughly 15 to 20 pounds when dry, more when wet. Follow these steps carefully.
Step 1 — Choose the Right Mounting Location
Mount the reel within 3 to 5 feet of your outdoor faucet so the leader hose reaches comfortably without creating a sharp bend right at the connection. The ideal height for the center of the reel drum is between 36 and 48 inches from the ground — roughly waist height — so winding the hose feels natural rather than strenuous. Choose a shaded or semi-shaded wall if possible; constant direct sun shortens hose life noticeably.
Step 2 — Verify Wall Strength
Most reels come with lag bolts and wall anchors. For a wood fence or timber post, drill pilot holes slightly smaller than the lag bolt diameter and drive them directly into the wood grain. For masonry or brick, use masonry anchors rated for at least 50 pounds each — most reels use two or four mounting points. Never mount on vinyl siding alone; always find the stud or sheathing behind it.
Step 3 — Connect the Leader Hose
Most wall-mounted reels have an inlet port on the back or side that connects to your outdoor spigot via a short leader hose (sometimes included, sometimes sold separately). Wrap the threaded connection with two to three layers of PTFE plumber's tape before tightening. Hand-tighten first, then give it a quarter to half turn with pliers — overtightening cracks the plastic fittings on budget reels. Turn on the water briefly to check for leaks before loading the main hose onto the drum.
Step 4 — Thread the Main Hose Through the Guide
Most reels have a guide arm or roller that the hose passes through before entering the drum. This guide prevents the hose from crossing over itself and causing a jam. Thread the free end of your hose through this guide, then connect it to the drum's outlet fitting. Some drums have a simple barb connector; others have a ¾-inch threaded female fitting. Use a rubber washer inside the coupling to prevent drips.
Loading Hose onto the Reel Without Tangles or Kinks
This is where most people make their first and most consequential mistake. Loading hose incorrectly creates problems that are extremely difficult to fix later, especially with longer hoses.
Lay the Hose Flat First
Before winding a brand-new hose onto the reel, lay the entire length out straight on the lawn or driveway on a warm day. Warm temperatures make hose material more flexible. This step removes the factory coil memory and allows the hose to wind smoothly onto the drum without fighting itself. For a 100-foot hose, this takes about five minutes but saves considerably more frustration later.
Wind with Consistent Tension
As you turn the crank or guide the hose onto the drum, maintain light, consistent forward tension on the hose with your free hand. This prevents loose loops from forming between tighter ones — a situation that creates kinks when you try to unwind later. Think of it like winding a garden hose the same way a professional wraps an extension cord: even tension, even spacing.
Wind in Rows, Not Piles
Guide the hose back and forth across the width of the drum in even rows, similar to how thread winds on a spool. Start at one side, wind across, then guide back the other direction. Hose piled in the center of the drum or wound randomly tends to slip sideways under pressure and jam inside the housing when you try to unwind it quickly — which is exactly what happens when you are rushing to move an impact sprinkler head to a new position.
Do Not Overfill the Drum
Every reel has a rated hose capacity, usually printed on the box or housing. Exceeding it by even 20 to 30 feet creates a hose that bulges against the housing cover, makes cranking feel like lifting weights, and stresses the drum bearings. If your hose is longer than the drum allows, cut it to size or switch to a reel with greater capacity. Trying to force 150 feet onto a 100-foot drum is one of the most common causes of reel failure.
Daily Use: Unwinding, Watering, and Rewinding
Once the reel is installed and loaded, day-to-day operation is straightforward but still benefits from good habits that prevent wear and tear over time.
Unwinding the Hose
Pull the hose out at a moderate, steady pace rather than yanking it hard. Rapid pulls on a manual reel can cause the drum to spin too fast and allow the hose to pile up loosely on the drum side, creating a tangle. For retractable reels, hold the hose close to the housing entry point as you pull to maintain control and reduce friction on the guide roller. Pull out only the length you need — leaving excess hose on the drum puts less stress on the hose and the mechanism.
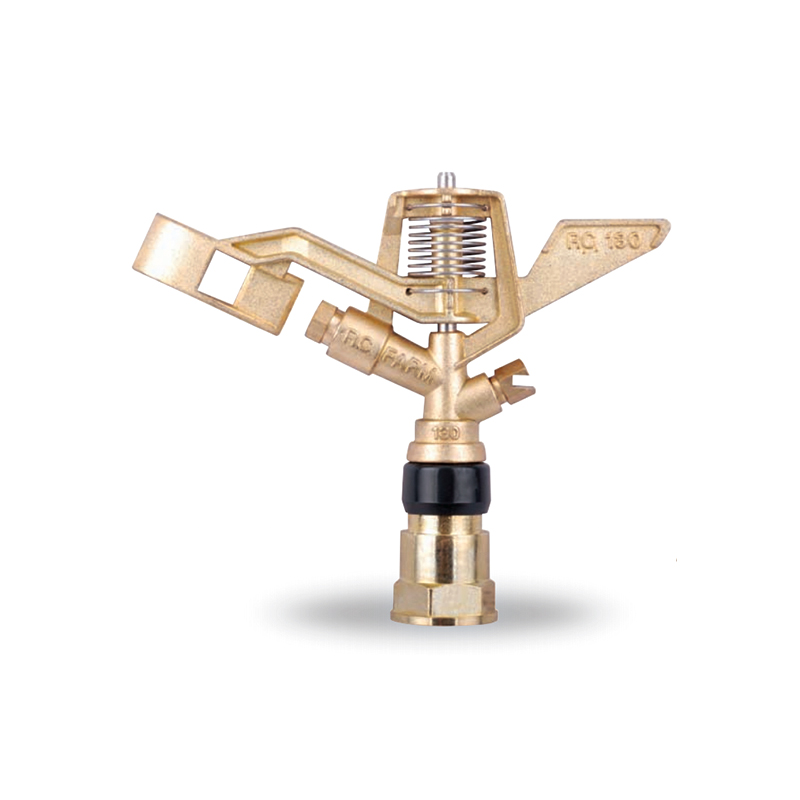
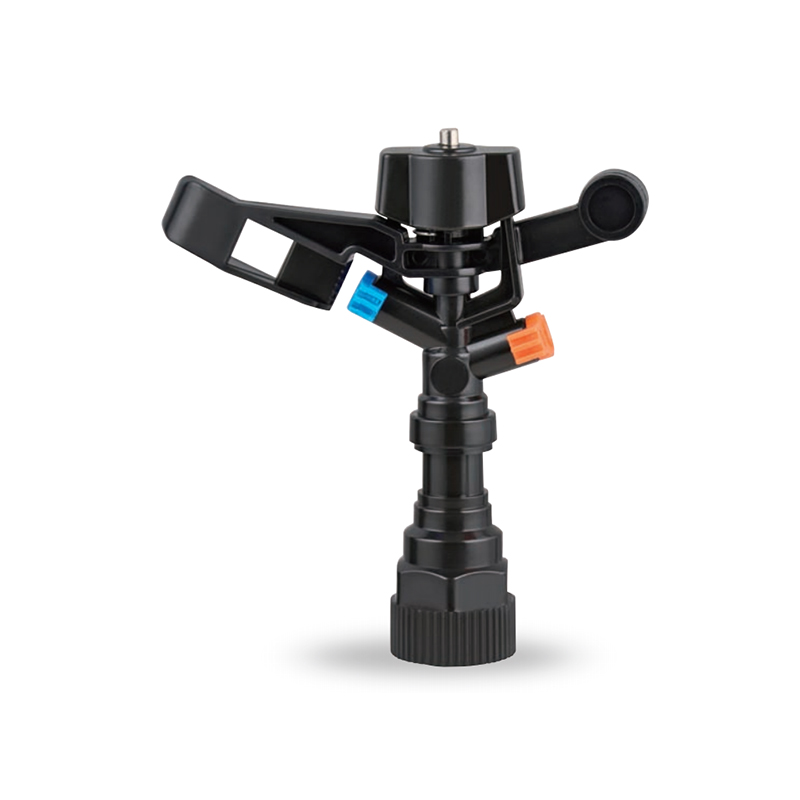
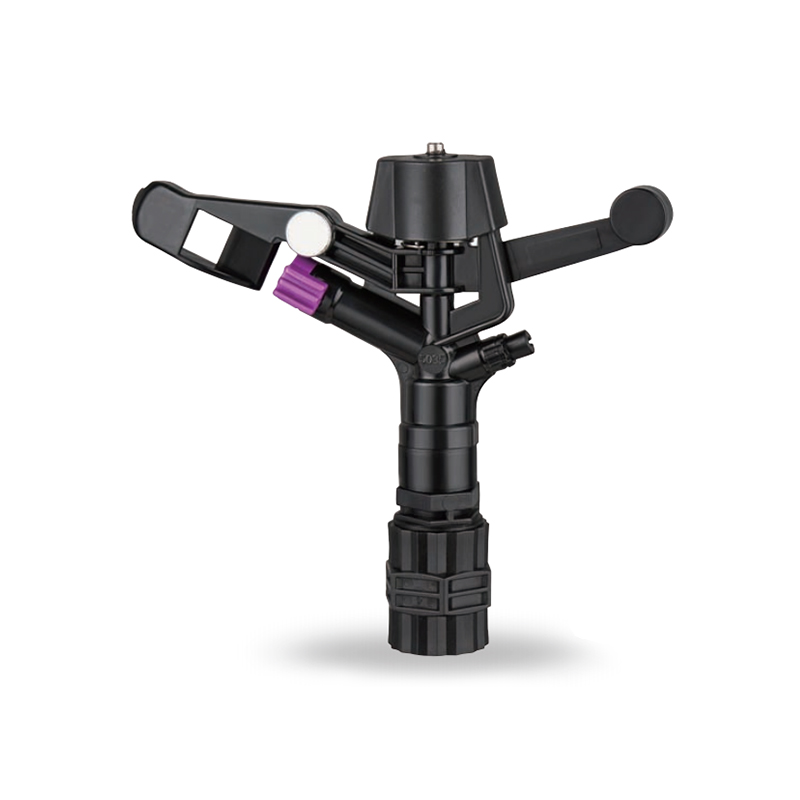
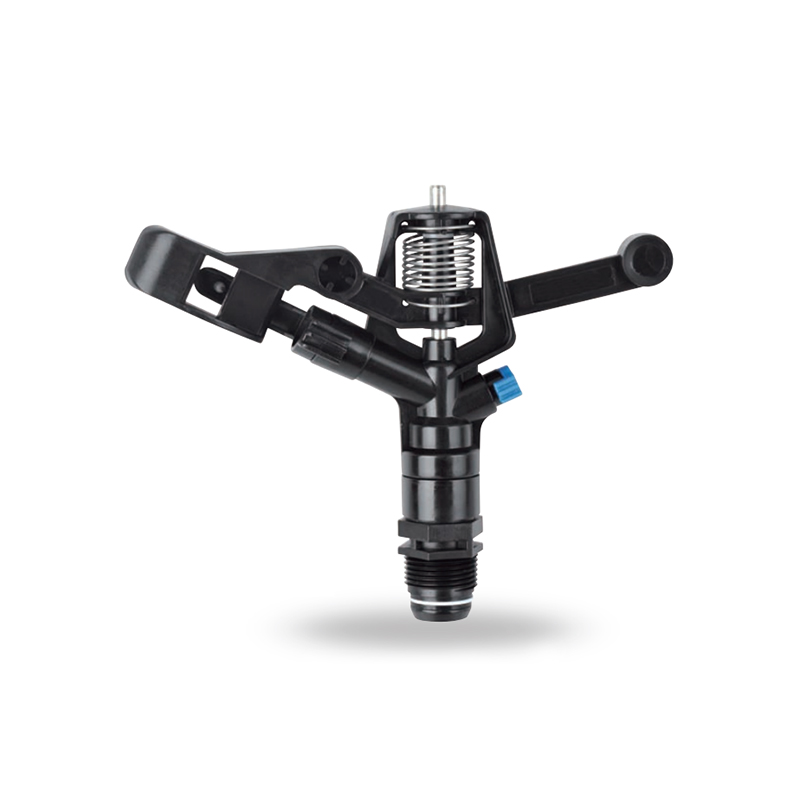
Connecting an Impact Sprinkler or Other Attachments
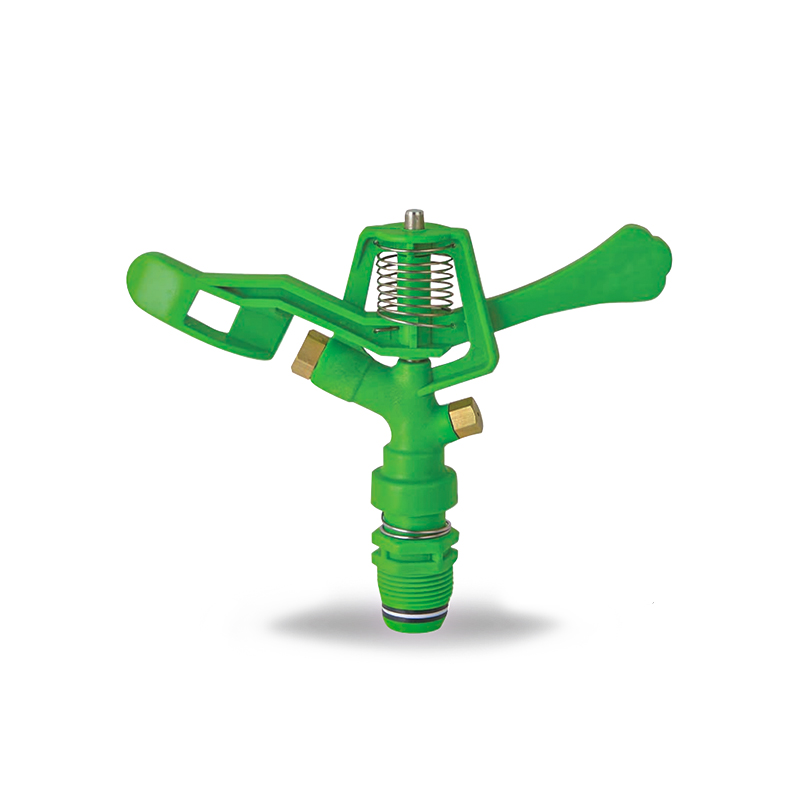
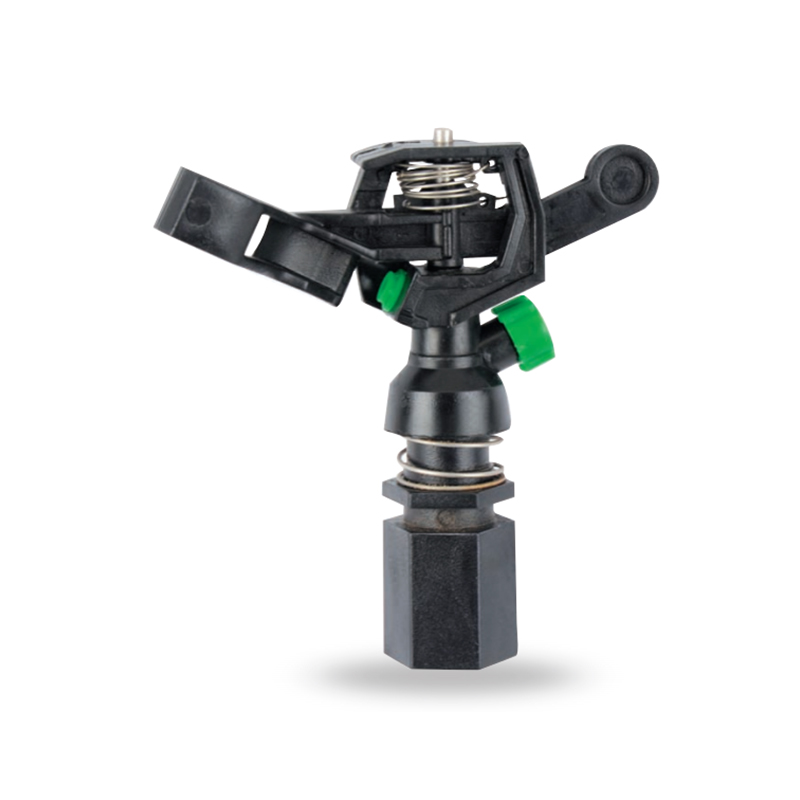
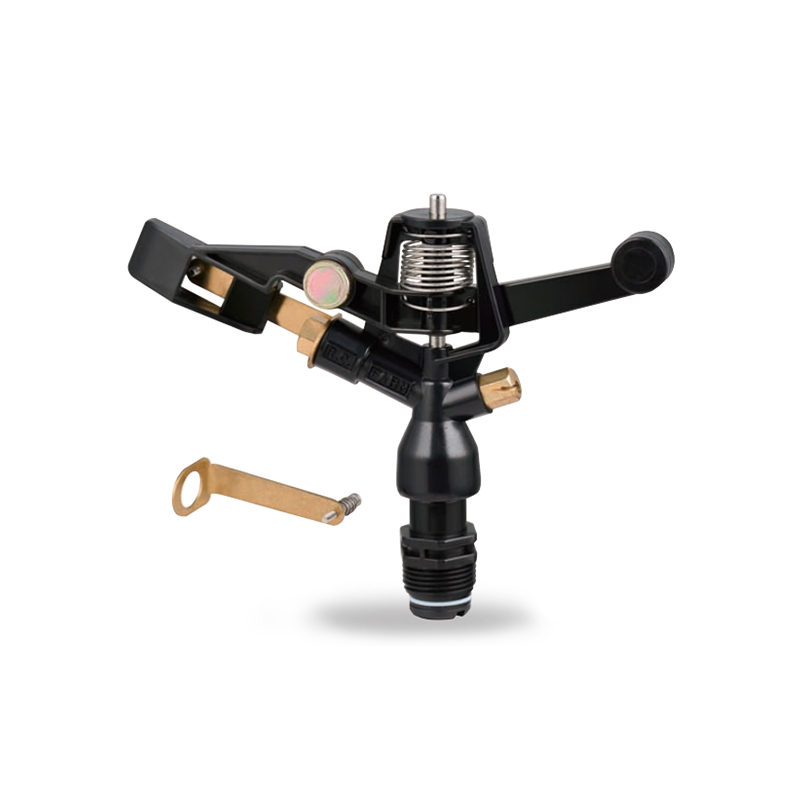
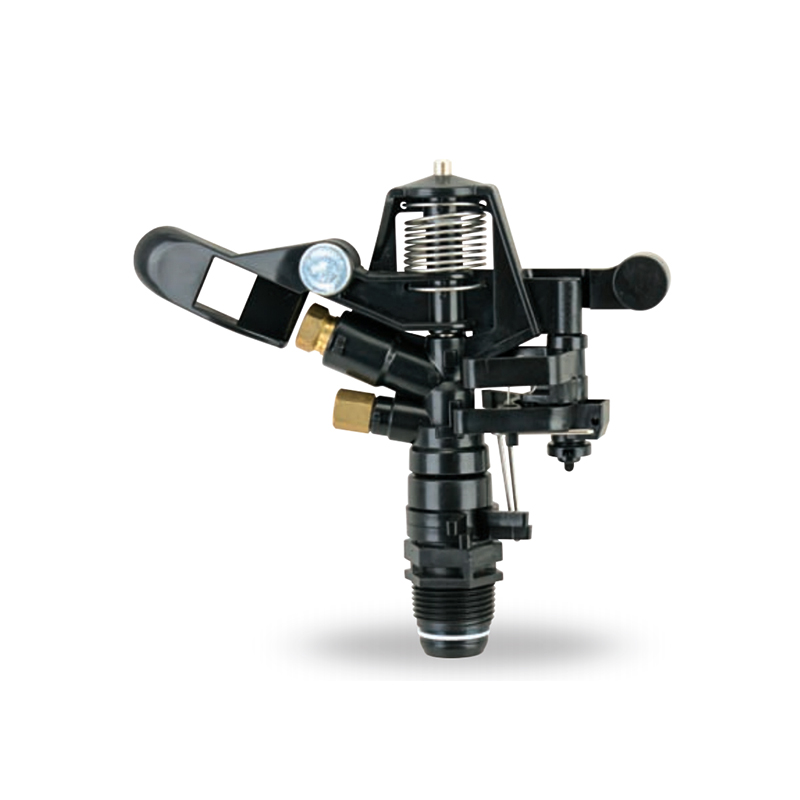
Attach your Impact Sprinkler, nozzle, or spray gun to the free end of the hose before turning the water on. Connecting under pressure is harder and risks damaging rubber washers. An impact sprinkler — also called a rotary sprinkler or impulse sprinkler — uses water pressure to drive a weighted arm that rotates the head in a clicking motion, covering a large radius. Most impact sprinkler heads work best at water pressures between 30 and 50 PSI. If your municipal water runs higher (many urban supplies exceed 60 PSI), consider a pressure regulator at the faucet.
When positioning an impact sprinkler, place it at the center of the area you want to water. A standard residential impact sprinkler head covers a radius of 20 to 40 feet depending on pressure and the nozzle opening. Set the adjustable arc stops on the head to limit rotation to only the area you need — this avoids watering driveways, paths, or structures unnecessarily.
Watering Best Practices While Using a Hose Reel
Keep the hose as straight as possible between the reel and wherever you are working. Sharp bends restrict flow — a 90-degree kink in a ⅝-inch hose can reduce flow rate by 50% or more. If you need to water around a corner of the house, use two lengths of hose connected with a brass quick-connect coupler rather than bending one hose at a severe angle. Never drive a vehicle over hose that is still connected and pressurized; even heavy-duty hoses suffer internal damage from this.
Rewinding the Hose After Use
Turn off the water at the faucet first, then open your nozzle or sprinkler to release the residual pressure in the hose. This step makes rewinding much easier — a pressurized hose is stiffer and harder to guide onto the drum. Walk backward toward the reel while holding light forward tension on the hose and cranking simultaneously. If the reel is wall-mounted and you are working alone, it takes practice to find a rhythm — some users tie a short bungee cord to the end of the hose as a visual indicator of how much is left to wind.
For retractable reels, walk the hose back toward the housing before releasing the lock. If you let the spring mechanism snap the hose in from a fully extended position, the fast recoil can cause the hose to pile up or twist inside the housing. A controlled, hand-assisted retraction keeps the drum organized.
Using a Hose Reel with an Impact Sprinkler System
The combination of a hose reel and an impact sprinkler is one of the most effective manual irrigation setups for medium to large residential yards. Here is how to get the most from this pairing.
Why Impact Sprinklers Work Well with Hose Reels
An impact sprinkler distributes water in a wide, adjustable arc with a characteristic ticking sound caused by the spring-loaded deflector arm repeatedly hitting the water stream. Unlike oscillating sprinklers that use a bar moving back and forth, impact sprinklers have few moving parts and are far less prone to mechanical failure. They handle sediment in the water line better than fine-nozzle sprinklers, making them suitable for well water or water that has not been fully filtered.
Because impact sprinkler heads are mounted on a spike or tripod, they are fully portable — you can relocate them every 30 to 45 minutes to water different sections of the yard by simply moving the hose off the reel, repositioning the spike, and rewinding what you do not need. This is exactly the workflow a cart-style hose reel enables most efficiently.
Zoning Your Yard with a Single Hose and Impact Sprinkler
Divide your yard into zones based on the effective radius of your sprinkler. If your impact sprinkler covers a 30-foot radius, each zone is a circle roughly 60 feet in diameter. Map out these circles on a rough sketch of your yard and number them. Water each zone for a set time — typically 20 to 30 minutes per zone to deliver approximately 1 inch of water — then move to the next. A hose reel makes zone transitions fast because you are not wrestling with a tangled hose lying across the lawn.
Matching Hose Diameter to Impact Sprinkler Flow Requirements
Most impact sprinklers require a minimum flow of 1.5 to 3 gallons per minute (GPM) to operate correctly. A standard ½-inch hose at 40 PSI delivers roughly 9 GPM through the hose itself, but friction loss over long runs reduces this. For runs over 75 feet, use a ⅝-inch hose. For runs over 150 feet, a ¾-inch hose is recommended to maintain adequate flow. Check that your hose reel is compatible with the hose diameter you choose — most residential reels are built for ⅝-inch hose.
Tripod vs. Spike Impact Sprinklers
Spike-mount impact sprinklers push directly into the ground and are compact to store alongside a hose reel. Tripod-mount versions stand higher — typically 18 to 36 inches — which allows the water arc to clear low shrubs or tall grass. Tripod models are heavier to move but can cover a larger effective radius because the stream launches at a better angle. Either works with a standard garden hose reel setup; choose based on how much vegetation the stream needs to clear.
Other Sprinkler and Nozzle Types Compatible with Hose Reels
While this article focuses heavily on the impact sprinkler, hose reels pair with a wide range of attachments. Understanding the differences helps you choose the right tool for each task.
- Oscillating sprinklers — A bar with multiple nozzles that sweeps back and forth. Good for rectangular lawns. They require clean water and clog more easily than impact sprinkler heads.
- Rotating sprinklers — Gear-driven heads that spin continuously in a full or partial circle. Quieter than impact sprinklers and better suited for very small zones.
- Soaker hose attachments — Some hose reels can hold a soaker hose for drip-style irrigation along garden rows. Useful for vegetable gardens where overhead watering promotes disease.
- Pistol-grip nozzles — Hand-held spray nozzles with adjustable patterns. Best for direct watering of pots, containers, and beds that need targeted water rather than broadcast coverage.
- Wand extensions — Long-handled wands that extend reach under shrubs or over tall raised beds. Easy to use with a hose reel because you only pull as much hose as needed.
- Adjustable fan nozzles — Flat fan spray patterns for washing vehicles, patios, or pathways. Pull the hose entirely off the reel when washing a car to avoid over-stressing the guide arm.
| Attachment Type | Best Application | Min. Pressure (PSI) | Coverage Area |
|---|---|---|---|
| Impact Sprinkler | Large turf, fields | 30 PSI | 20–40 ft radius |
| Oscillating Sprinkler | Rectangular lawns | 25 PSI | Up to 3,900 sq ft |
| Rotating Sprinkler | Small circular zones | 20 PSI | 10–25 ft radius |
| Soaker Hose | Garden rows, beds | 10 PSI | Linear only |
| Pistol Nozzle | Pots, direct watering | 20 PSI | Targeted only |
Troubleshooting Common Hose Reel Problems
Even with good habits, problems arise. Here are the most frequent issues users face and how to fix them without replacing the entire reel.
Hose Kinks When Unwinding
The cause is almost always poor winding on previous uses. Hose that was wound under uneven tension or piled randomly creates crossover points that compress and crease on the next unwind. The fix is to completely unwind the hose, lay it out straight in the sun for 30 minutes to soften and recover its shape, then rewind carefully with even tension. If a section has developed a permanent kink, cut it out and rejoin with a brass repair coupling — kinked sections restrict flow and are the first to split under pressure.
Crank Becomes Very Hard to Turn
This usually means one of three things: the drum is overfilled, the hose has jammed inside the housing, or the axle bearings need lubrication. Check capacity first. If the drum is within spec, open the housing cover if possible and look for a hose loop that has slipped sideways and is being pinched. Clear the obstruction by hand. For bearing lubrication, spray a silicone-based lubricant into the axle points — avoid petroleum-based oils, which degrade rubber hose material if they make contact.
Water Leaking at the Reel Connection
Leaks at the inlet or outlet fittings are almost always a worn or missing rubber washer. Turn off the water, unscrew the coupling, and inspect the washer inside the female end. Replace it with a new washer — these cost less than $1 at any hardware store and fix the vast majority of connection leaks. If the plastic fitting itself is cracked, replace the fitting or the leader hose rather than trying to seal a cracked plastic thread with tape alone.
Retractable Reel Won't Retract
The spring mechanism may be broken, jammed, or has lost tension. First, check that the hose is not caught on an obstacle outside — a corner of the house, a stake in the ground, a garden tool. If the path is clear and the spring still does not retract, open the reel housing if your model allows access and look for a broken or displaced spring coil. Replacement spring kits are available for many popular brands. If the spring is intact, the reel drum may be overfull and the spring lacks the torque to overcome the weight — remove some hose length to resolve this.
Hose Unwinds by Itself
On manual reels, this happens when the ratchet lock is worn or broken. The ratchet is the mechanism that allows the drum to turn only in one direction during winding and holds the hose in place. You can temporarily solve this with a locking hose clamp at the guide arm exit point, but the long-term fix is replacing the ratchet assembly — most manufacturers sell replacement parts, and the repair typically takes under 30 minutes with a screwdriver.
Seasonal Maintenance and Winter Storage
Proper maintenance dramatically extends the life of both the reel and the hose. A quality reel with proper care should last 10 to 20 years. Neglected reels rarely survive five seasons.
Monthly Maintenance Tasks
- Inspect hose for cracks, bulges, or abrasions along the entire length while unwinding.
- Check all couplings and washers for signs of weeping or calcium deposits from hard water.
- Lubricate the crank axle and guide roller with silicone spray if they feel stiff or squeaky.
- Verify that mounting bolts on wall-mounted reels are still tight — vibration from water hammer can slowly loosen hardware.
- Clean the impact sprinkler nozzle opening with a toothpick or fine wire if water output seems reduced or the rotation has slowed.
Winterizing a Hose Reel in Cold Climates
Water left inside a hose or reel drum in freezing temperatures expands as it freezes, cracking fittings, bursting hose walls, and warping plastic housing components. When nighttime temperatures consistently approach 35°F (2°C), begin winterizing.
- Turn off the outdoor faucet at the shutoff valve inside the house.
- Open the nozzle or impact sprinkler to drain all pressure from the line.
- Disconnect the leader hose from the outdoor faucet and allow it to drain fully.
- Rewind the main hose onto the drum, leaving the free end slightly open to allow residual water to drain as the hose compresses.
- If your reel is wall-mounted in an exposed location, cover it with a waterproof reel cover or move the drum (many wall-mount models allow the drum to be removed) into a garage or shed.
- Store impact sprinkler heads and nozzles indoors — freezing shatters the zinc or plastic bodies on less expensive models.
UV Protection for the Hose
UV radiation from sunlight is the primary cause of hose brittleness and cracking over time. Vinyl hoses left fully exposed to direct sun year-round rarely last more than three to four seasons. Rubber hoses are more UV-resistant but still degrade. Keeping the hose stored on the reel — particularly under a covered porch, inside a hose reel cabinet, or protected by a UV-resistant reel cover — can extend hose life by years. If your reel is in full sun, consider painting the housing with a light-colored exterior paint to reduce heat absorption, which further accelerates rubber and vinyl degradation.
Choosing the Right Hose for Your Reel
The hose itself matters as much as the reel. A cheap hose on an excellent reel still kinks, splits, and frustrates. Here is what to consider when selecting or replacing the hose on your reel.
Hose Material
Rubber hoses are the most durable, most flexible in cold temperatures, and most resistant to kinking, but they are the heaviest — a 100-foot rubber hose can weigh 20 pounds or more, which stresses reel bearings more than lighter hoses. Reinforced vinyl hoses are lighter and cheaper but less flexible in cold weather and less kink-resistant. Hybrid hoses combine a rubber inner layer with a lighter outer jacket for a balance of performance and weight. For use with an impact sprinkler requiring consistent flow, rubber or hybrid hoses are the better long-term choice.
Hose Diameter and Flow Rate
The three common diameters are ½ inch, ⅝ inch, and ¾ inch. The ⅝-inch diameter is the residential standard and what most hose reels are designed around. It delivers enough flow for an impact sprinkler while remaining light enough to handle comfortably. Use ¾-inch hose only if you have very long runs (over 150 feet) or are supplying multiple sprinklers simultaneously — and confirm your reel housing can physically accommodate the thicker hose diameter before buying.
Burst Pressure Rating
A hose's burst pressure rating tells you the maximum internal pressure it can withstand before failing. Standard residential hoses are rated at 150 to 200 PSI burst pressure, while heavy-duty commercial hoses reach 500 PSI or higher. Your household water pressure is almost certainly in the 40 to 80 PSI range, so any standard hose is technically safe. However, higher-rated hoses resist bulging under pressure better and tend to last longer because the inner tube is thicker-walled. Look for at least 350 PSI burst rating if you plan to use the hose daily.
Coupling Quality
The couplings at each end of the hose — the fittings that connect to the faucet, reel, and sprinkler head — fail far more often than the hose body itself. Look for machined brass couplings rather than stamped aluminum or plastic. Machined brass fittings have consistent thread pitch, resist corrosion, and do not deform when tightened. Plastic and stamped aluminum couplings crack under repeated use, especially when connecting to an impact sprinkler head on a spike that wiggles as the arm rotates.
Advanced Tips for Getting More from Your Hose Reel Setup
Once you have the basics locked in, these additional techniques add efficiency and convenience to your hose reel use.
Install a Quick-Connect System
Quick-connect couplers allow you to switch between a nozzle, an impact sprinkler head, a soaker hose, and other attachments in seconds without turning off the water. Install the female receiver permanently on the end of your hose reel's hose and put male connectors on every attachment you own. High-quality brass quick-connect sets cost around $15 to $25 and pay for themselves in time savings and reduced wear on the hose-end threads within a single season.
Add a Hose Timer at the Faucet
A battery-operated hose timer screws between your outdoor faucet and the reel's leader hose. Set it to water for 25 minutes, and it shuts off automatically. This eliminates the most common residential irrigation mistake — forgetting the water is running — which wastes water, oversaturates the lawn, and occasionally leads to hose connections popping off under sustained pressure. Timer units from reputable brands cost $20 to $60 and are well worth the investment when pairing with an impact sprinkler for unattended watering.
Use a Hose Guide Stake Near Corners and Beds
Hose guide stakes are small metal or plastic pins you push into the ground at strategic points to redirect the hose around corners, flower beds, or obstacles as you pull it across the yard. They prevent the hose from dragging through plants or cutting across lawn corners and getting stuck on obstacles. Four to six guide stakes positioned around a typical residential yard reduce the friction on the hose reel guide arm significantly and prevent the hose from trampling ground cover.
Color-Code Hose Lengths
If you regularly use your reel to supply an impact sprinkler in multiple positions and need to know exactly how much hose you have pulled out, mark the hose at 25-foot intervals with colored electrical tape or a paint pen. This lets you set the sprinkler at precise distances from the reel without measuring, making zone-to-zone transitions faster and more consistent.
Manage Water Pressure for Longer Hose Runs
Friction loss in a hose is significant over long distances. For every 100 feet of ⅝-inch hose, you lose approximately 7 to 10 PSI at a typical residential flow rate of 5 to 8 GPM. If your impact sprinkler needs 30 PSI at the head and you have 150 feet of hose between the faucet and the sprinkler, you need at least 40 to 45 PSI at the faucet to compensate. Check your home's inlet pressure with an inexpensive pressure gauge that screws onto the faucet — these cost $10 and give you a precise reading that helps troubleshoot both reel and sprinkler performance issues.
Safety Considerations When Using a Hose Reel
Most hose reel safety issues are minor but worth addressing to avoid accidents, property damage, and wasted water.
- Never leave a pressurized hose unattended with a nozzle locked open. Nozzle locks fail, and a hose whipping freely under pressure can cause injury or property damage.
- Avoid dragging the hose over sharp objects like gravel edging, metal stakes, or broken concrete — abrasion damage is cumulative and leads to sudden bursts.
- Keep hose clear of heat sources such as barbecue grills, fire pits, and HVAC exhaust vents. Hose in contact with a heat source over 140°F will deform, blister, or melt.
- Position the impact sprinkler spike firmly enough that it does not tip under the rotational force of the spinning head — a tipped sprinkler waters only one spot and wastes water while starving the rest of the zone.
- Do not use a hose reel for anything other than water — fertilizer injectors and chemical sprayers require specialized hoses and reels rated for chemical exposure. Standard garden hoses are not designed for herbicide or pesticide dispensing under pressure.
- Watch for trip hazards when hose is extended across paths, driveways, or areas with foot traffic. A taut hose at ankle height is a genuine tripping risk, especially for children and older adults.
Frequently Asked Questions About Hose Reel Use
Can you use a hose reel with the hose fully wound on the drum?
Technically yes, but it is not recommended for extended use. A hose wound on a drum acts as a resistance coil — water has to travel around every loop, and flow rate decreases noticeably compared to a fully extended hose. For running an impact sprinkler for 30 minutes, pull out all the hose you need rather than running it off a tight drum.
How long should a garden hose last on a reel?
With proper winding technique, UV protection, and winterization, a quality rubber hose should last 8 to 15 years on a well-maintained reel. Vinyl hoses typically last 3 to 5 years under the same conditions. Hoses stored on reels consistently outlast hoses left lying on the ground by a significant margin because they avoid the UV exposure, physical abrasion, and moisture contact that ground storage creates.
Can I connect two hoses together on a single reel?
You can connect hose lengths with a coupling, but the joined hose should still not exceed the drum's rated capacity. Joint connections are a common leak point, especially when the coupled section wraps around the drum repeatedly. If you need more length, it is generally better to buy a longer single hose than to join two shorter ones.
Why does my impact sprinkler rotate slowly or stop?
Slow or stopped rotation usually indicates insufficient water pressure or flow reaching the head. Check for kinks in the hose between the reel and sprinkler first. If the hose is clear, the nozzle opening on the impact sprinkler head may be partially blocked by sediment — remove the nozzle screw and clear the orifice with a toothpick. Also check that the spring tension on the deflector arm is properly set — too much tension slows or stops rotation, while too little causes erratic movement.
Is it better to store the hose with water in it or drain it completely?
Always drain the hose before storing it on the reel, particularly in regions with any frost risk. Water sitting inside a hose on the drum promotes algae and bacterial growth, adds unnecessary weight to the drum bearings, and freezes and expands in cold weather. Open the nozzle end and hold the hose end slightly higher than the reel for a moment to encourage drainage, then wind onto the drum.
Prev:How to Use a Soaker Hose: Setup, Timing & Pro TipsNext:How Do You Do the Sprinkler? A Complete Step-by-Step Guide
Related products
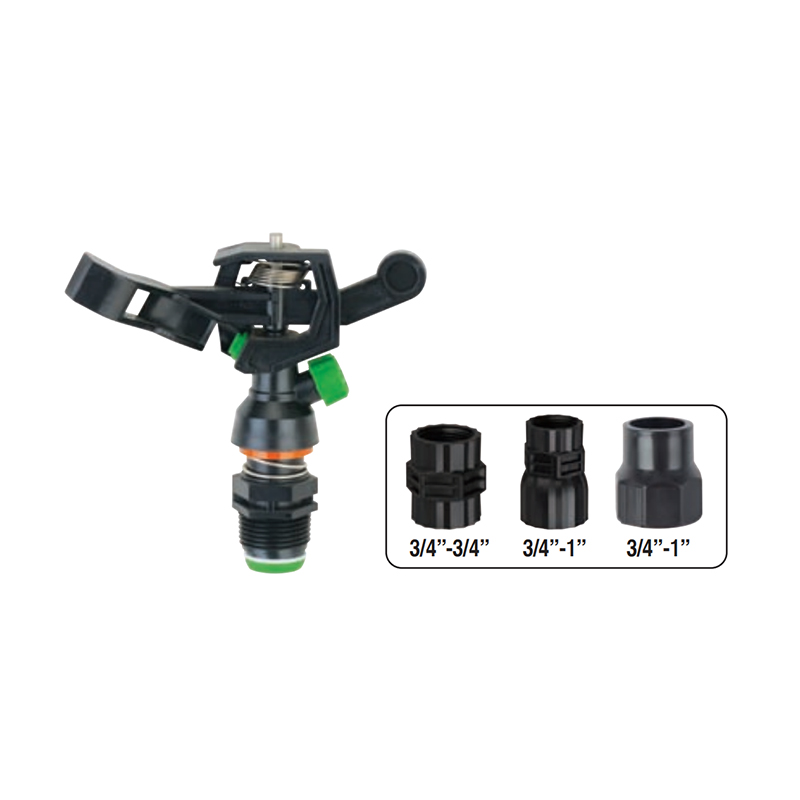
-
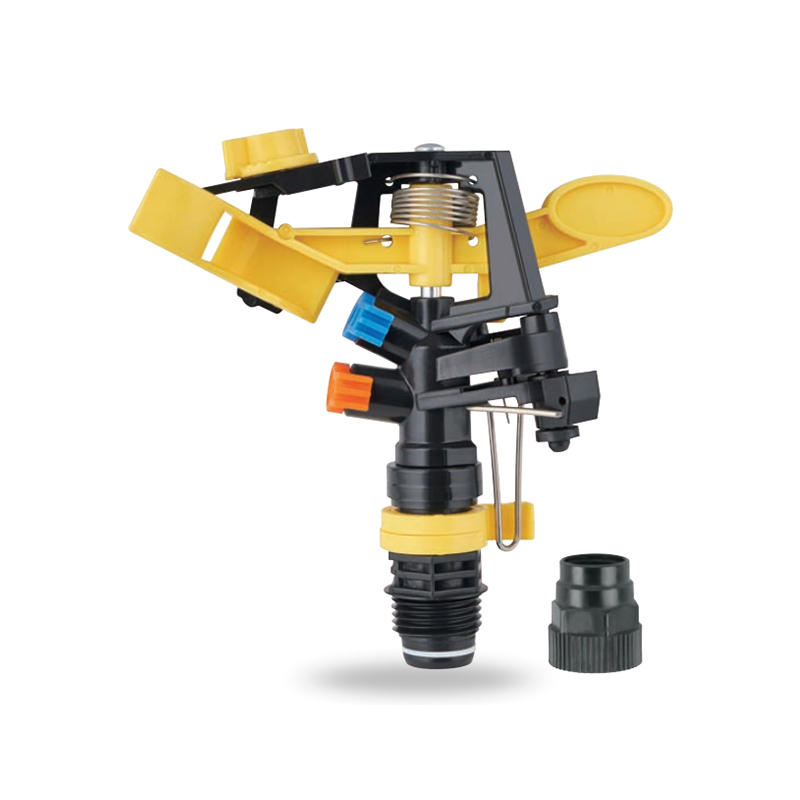
Impact sprinkler for agricultural irrigation is a common and efficient agricultural irrigation tool designed for large areas of farmland. Its unique structure can evenly cover a large area by rotating...
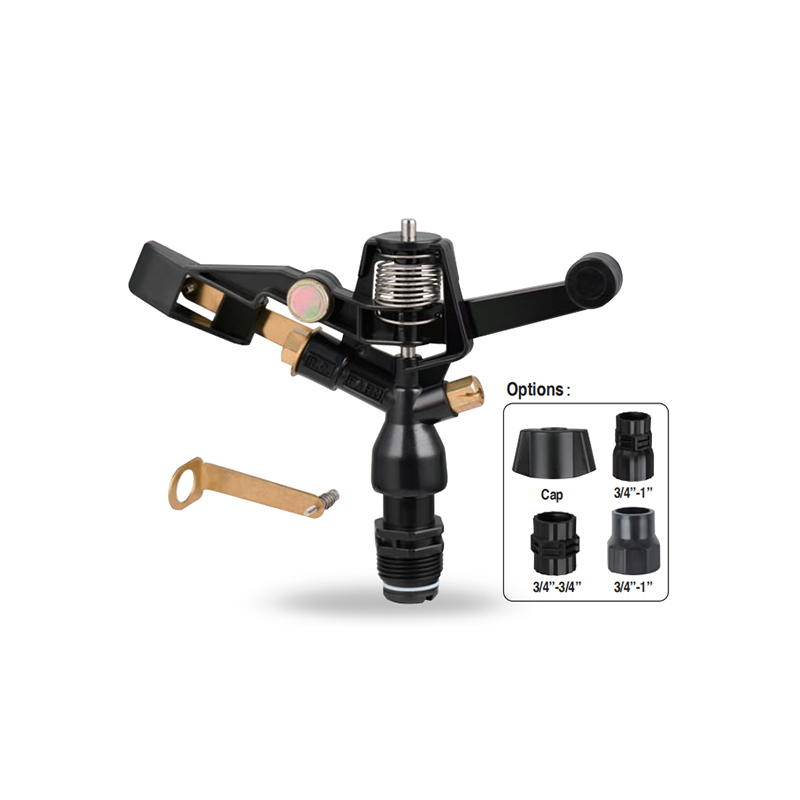
See Details -
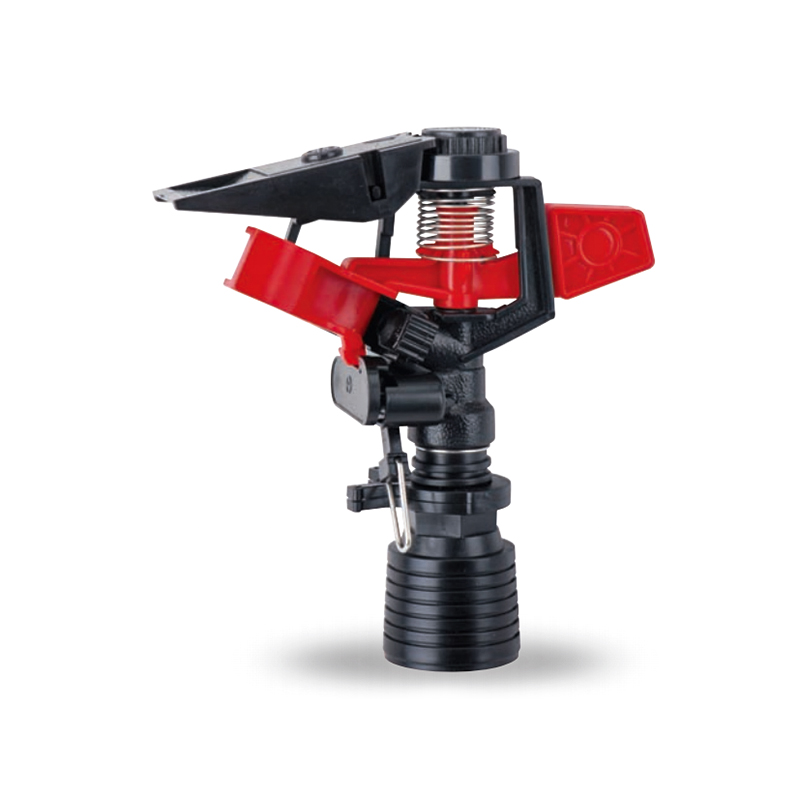
This 360 degree adjustable rocker arm nozzle impact sprinkler is an essential part of an irrigation system designed to meet a wide range of horticultural and agricultural needs. Its flexible adjustmen...
See Details -
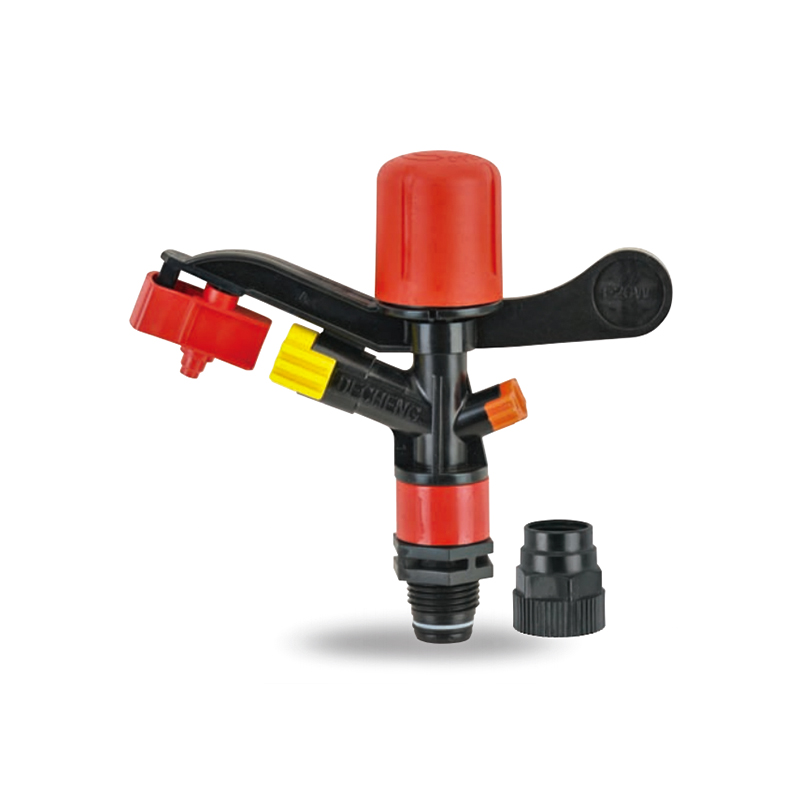
The Plastic Full-Circle Impact Sprinkler Sprayer is a highly efficient full-circle irrigation device designed to provide even moisture coverage. Its lightweight plastic material makes this sprinkler e...
See Details -
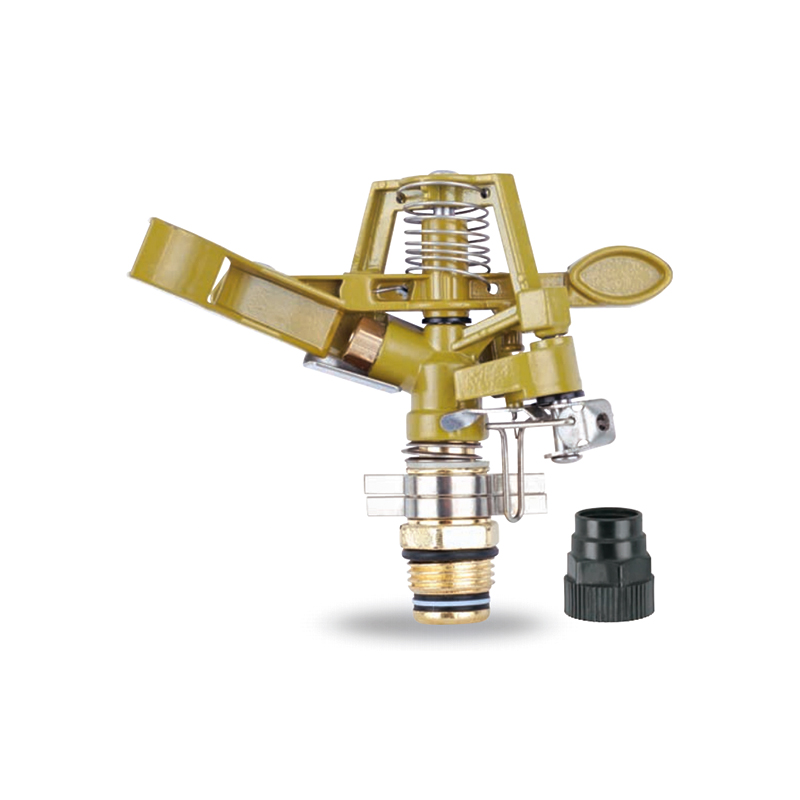
The Irrigation System Adjustable Head Mobile Rotary Zinc Sprinkler is an efficient rotary sprinkler designed for flexible irrigation needs. Its adjustable head allows the user to easily adjust the dir...
See Details -
This 3/4” Zinc Alloy Swivel Arm Irrigation Watering System Impact Sprinkler is ideal for agricultural irrigation systems due to its superior durability and corrosion resistance. Its rugged constructio...
See Details -
The Double nozzle garden farm impact full-circle sprinkler is well-designed to efficiently and evenly spray water, thus enhancing the quality of crop growth. Whether it's in the home garden or on a la...
See Details -
Double nozzle agricultural water plastic impact sprinkler for irrigation sprinkler combines practicality and durability with a dual nozzle system that provides extensive water coverage for a wide rang...
See Details -
The POM agricultural irrigation sprinkler water impact sprinkler is known for its excellent abrasion resistance and durability, ensuring consistent performance over time. It is designed to increase wa...
See Details -
The POM Agricultural Irrigation Sprinkler with Metal Nozzles is a device designed for efficient irrigation, combining premium polyacetal (POM) material with durable metal nozzles to ensure superior sp...
See Details -
Watering irrigation system 3/4 inch nozzle field Impact Sprinkler is perfect for field irrigation and easily meets the water needs of large crops. Its powerful spray ensures that every nook and cranny...
See Details -
The POM Agricultural Irrigation Sprinkler with Brass Nozzles is an efficient and durable irrigation device designed to meet a wide range of agricultural needs. The sprinkler is made of polyacetal (POM...
See Details -
The Double Nozzle Garden Farm Impact Part-Circle Sprinkler is a highly efficient garden irrigation device designed for large planting areas. Its double nozzle design produces a strong, even stream of ...
See Details

PRODUCTS & SERVICES

CONTACT US
 No.518, Ruihao Road, Lizhou Street, Yuyao City, Zhejiang Province, China
 +86-13105554615 / +86-18005843886
 decheng@dcssq.com fredzhu@dcssq.com
 LISA
LISA
 Fred Zhu
Copyright © Ningbo Dewo Irrigation Equipment Co., Ltd. All Rights Reserved. China Agricultural Plastic Sprinkler Manufacturers Wholesale Irrigation Plastic Sprinkler Factory
