 Search for...
 English
 Español
 中文简体
中文简体Why do impact sprinklers stick?
Content
- 1 What Actually Happens Inside an Impact Sprinkler When It Sticks
- 2 The Most Common Reasons Impact Sprinklers Get Stuck
- 3 How to Diagnose Why Your Impact Sprinkler Is Sticking
- 4 Step-by-Step Fixes for a Stuck Impact Sprinkler
- 5 Impact Sprinkler Sticking Problems at a Glance
- 6 When to Repair Versus Replace an Impact Sprinkler Head
- 7 Preventing Impact Sprinklers from Sticking in the Future
- 8 Impact Sprinklers vs. Other Sprinkler Types: Sticking Compared
- 9 Arc Adjustment and Its Relationship to Sticking
- 10 The Role of Riser Height and Installation Angle
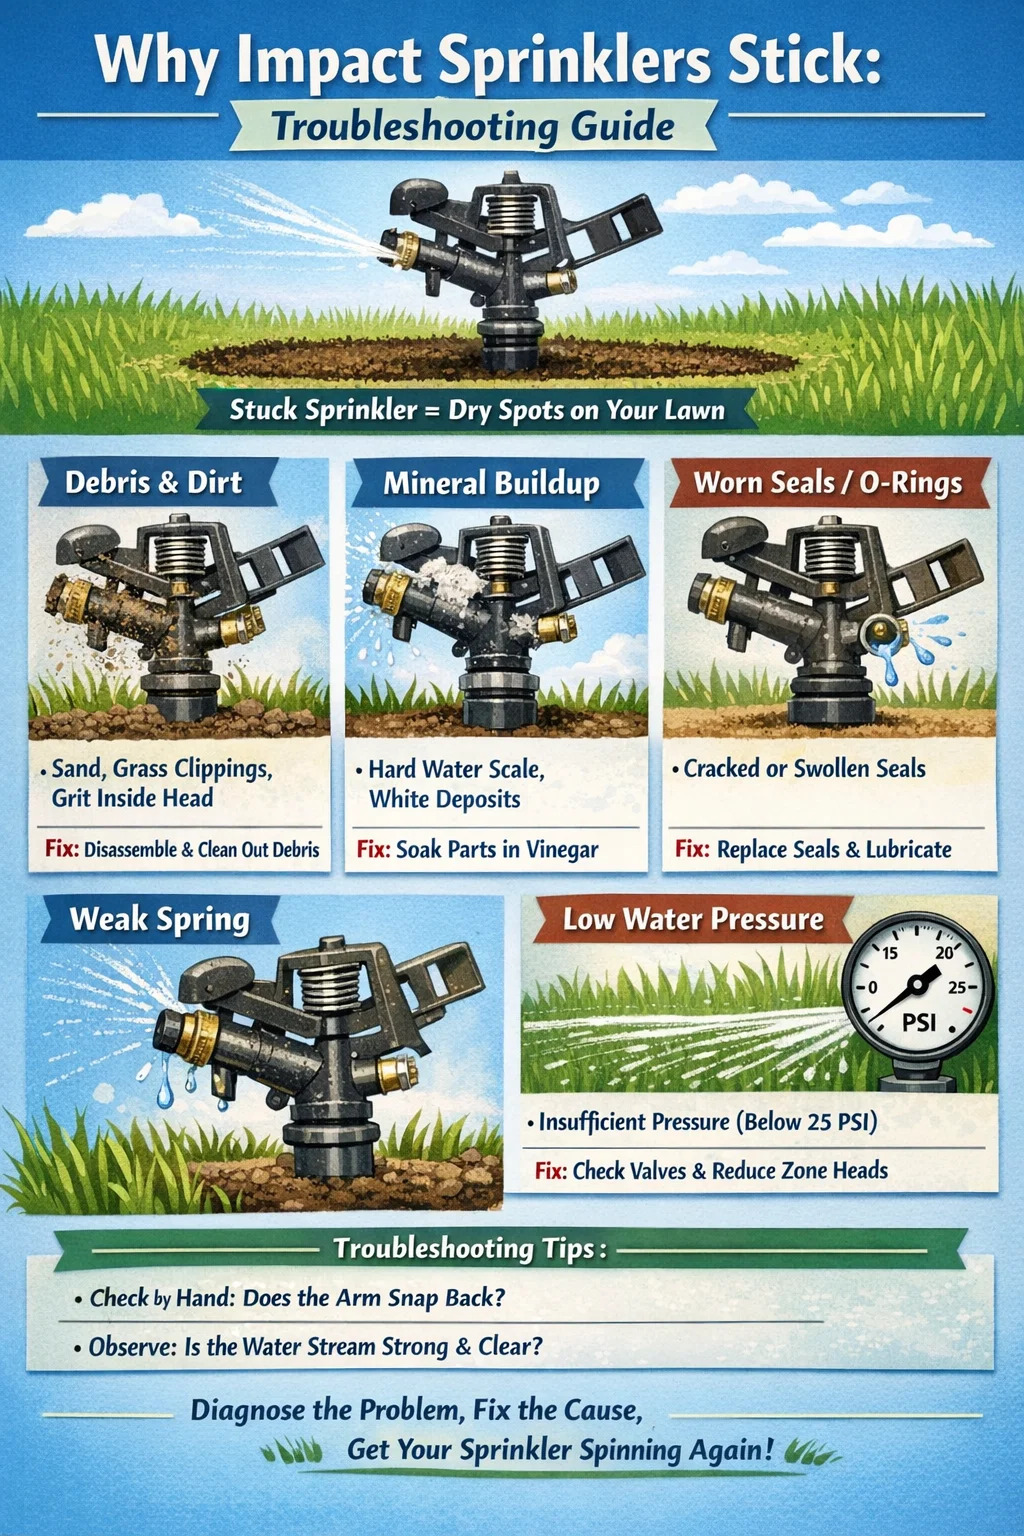
Impact sprinklers stick primarily because of debris buildup, worn or swollen seals, mineral deposits from hard water, and mechanical wear on the pivot arm spring or bearing. When the rotating head stops spinning or gets locked in one position, water distribution becomes uneven, leaving dry patches across your lawn or field. The good news is that most sticking problems are fixable without replacing the entire unit — once you know exactly what's causing the jam.
What Actually Happens Inside an Impact Sprinkler When It Sticks
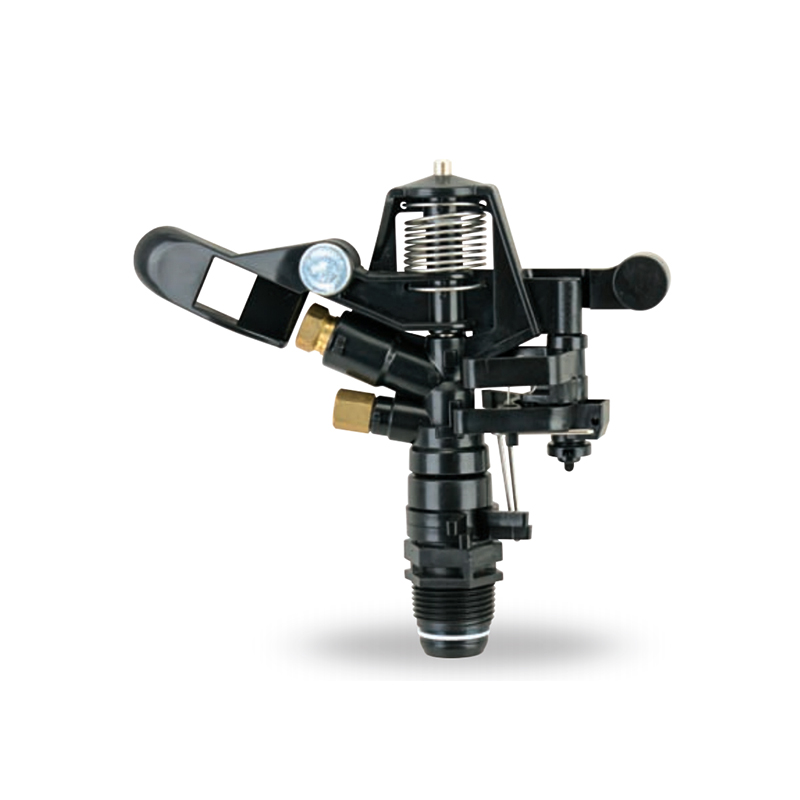
An impact sprinkler — sometimes called a impulse sprinkler — works by using the force of water hitting a weighted deflector arm to rotate the sprinkler head in a back-and-forth or full-circle arc. That arm strikes the body of the head, pushing it a few degrees with each impact, hence the name. When anything interrupts this mechanical rhythm, the head stops moving.
The motion depends on a precise sequence: water pressure pushes through the nozzle, hits the arm's deflector cup, the arm swings out of the stream and a spring pulls it back for another strike. If the spring loses tension, if the pivot joint seizes, if grit jams the bearing, or if the head's base is clogged — the cycle breaks. Understanding which part failed tells you exactly how to fix it.
The Most Common Reasons Impact Sprinklers Get Stuck
Debris and Dirt Inside the Head
Sand, small gravel, grass clippings, and soil particles are the number one cause of stuck impact sprinklers in residential and agricultural settings. Even a small piece of grit — sometimes less than 1mm — lodged in the bearing collar or nozzle creates enough friction to stop rotation entirely. Sprinkler heads installed at ground level are especially vulnerable because every watering cycle pulls water from the supply line, and any particulate in that water ends up deposited inside the head over time.
Systems without inline filters or screens at the riser are the worst affected. Studies from irrigation maintenance companies consistently show that over 60% of impact sprinkler service calls involve clogged or dirty heads as the primary or contributing cause.
Mineral Deposits and Hard Water Scale
In regions with hard water — water containing high concentrations of calcium and magnesium — impact sprinklers develop a chalky white buildup inside the nozzle and along the pivot arm assembly. Over several months, this scale narrows the nozzle opening, reducing pressure and flow, and can cement moving parts together. Water hardness above 150 mg/L (parts per million) causes noticeable scaling within a single irrigation season if sprinklers are not periodically cleaned.
The problem is worse in arid climates where water sources draw from limestone aquifers — areas like the American Southwest, Mediterranean regions, and parts of Australia. Sprinkler heads on these systems often need descaling every 3 to 6 months to maintain reliable rotation.
Worn or Deformed Seals and O-Rings
The seals and O-rings inside an impact sprinkler create a watertight fit between the rotating head and the stationary base. When these rubber components age, dry out, or get exposed to UV light and chemicals in treated water, they can crack, swell, or warp. A swollen O-ring creates so much friction against the rotating sleeve that even full water pressure cannot overcome it. A cracked seal, on the other hand, allows water to escape laterally, reducing the pressure that drives the deflector arm cycle.
Most rubber seals in budget-grade impact sprinklers have a functional lifespan of 3 to 5 years under normal outdoor conditions. Higher-quality brass impact sprinklers use more durable seal materials and can last considerably longer, but the seals still eventually fail.
Weak or Broken Pivot Arm Spring
The spring attached to the deflector arm is what snaps it back into the water stream after each impact. If this spring weakens due to metal fatigue or corrosion, the arm doesn't return quickly enough — it either stays deflected or barely taps the head, delivering no meaningful rotational force. The sprinkler may appear to be running (water is flowing) but the head simply won't turn.
This is particularly common in older sprinklers that have been exposed to fertilizer-rich water, which accelerates corrosion on uncoated metal springs. Cheap zinc alloy springs are most vulnerable; stainless steel springs last significantly longer.
Low Water Pressure
Impact sprinklers require a minimum operating pressure to function correctly. Most residential and commercial models need between 25 and 50 PSI at the head to generate enough force to drive the deflector arm rhythm. If the supply pressure drops below the minimum — because too many zones run simultaneously, because the supply line has a partial blockage, or because of municipal pressure fluctuations — the sprinkler head will slow down or stop rotating entirely.
A head that rotates fine early in the morning but sticks later in the day is often a pressure issue rather than a mechanical one. Peak household demand periods reduce available pressure in the supply line noticeably, sometimes by 10 to 20 PSI.
Grass and Vegetation Growing Into the Head
On sprinklers mounted close to ground level, grass and weeds can physically grow around and into the rotating collar. As vegetation thickens through the season, it wraps around the head and creates enough mechanical resistance to stop rotation. This happens gradually, so the sprinkler may rotate more slowly over several weeks before stopping entirely. Lawn care teams often overlook the sprinkler zone while mowing, leaving a ring of tall grass directly around each head.
Corrosion and Rust on Metal Components
In high-humidity environments or when sprinklers are left in standing water, iron and steel parts rust. Rust expands as it forms, which means corroded components that once moved freely against each other now bind tightly. The pivot bearing is the most common victim. Even zinc-alloy parts are not immune — galvanic corrosion occurs when dissimilar metals are in contact in the presence of water, accelerating deterioration at connection points.
How to Diagnose Why Your Impact Sprinkler Is Sticking
Before pulling the sprinkler apart, run through a quick diagnostic sequence. It saves time and helps you order the right replacement parts before disassembly.
- Turn on the system and watch whether the head moves at all or starts rotating then stops.
- While the water runs, try manually pushing the deflector arm with your finger. If it springs back sharply, the spring is fine. If it moves sluggishly or barely returns, the spring is suspect.
- Look at the nozzle stream. A full, clean arc indicates good pressure and no clogging. A weak, sputtering, or deflected stream suggests a partial blockage or low pressure.
- Try rotating the head manually (with the water off). If it turns freely, pressure or the deflector arm are the likely culprits. If it's stiff or grinding, suspect debris, mineral scale, or a seized bearing.
- Check the area immediately around the head for vegetation encroachment.
Recording your findings before disassembly makes the repair process faster and more efficient.
Step-by-Step Fixes for a Stuck Impact Sprinkler
Cleaning Out Debris and Sediment
Turn off the water supply. Unscrew the sprinkler head from the riser — most thread off counterclockwise. Disassemble the head according to the manufacturer's design (most brass impact sprinklers unclip at the collar). Rinse all components in clean water. Use a small brush — an old toothbrush works well — to scrub the nozzle, bearing collar, and any grooves where sediment collects. Hold the nozzle up to a light source to confirm it's fully clear. Reassemble and test.
For systems prone to debris, install a Y-strainer filter with a 200-mesh screen at the zone inlet. This captures particles before they reach the heads and dramatically reduces cleaning frequency.
Removing Mineral Deposits
Soak disassembled parts in white vinegar for 30 to 60 minutes. The acetic acid dissolves calcium carbonate scale without damaging most metal or plastic components. For heavy buildup, use a commercial descaler solution formulated for irrigation equipment. After soaking, use a toothpick or thin wire to clear the nozzle orifice. Rinse thoroughly before reassembly — residual acid can degrade rubber seals over time.
If your water hardness consistently exceeds 200 mg/L, consider installing a whole-system water softener or at minimum a magnetic water conditioner on the irrigation supply line to reduce ongoing scale formation.
Replacing Worn Seals and O-Rings
Take the old O-ring with you to a hardware store or irrigation supplier to match the size precisely — even a fraction of a millimeter difference causes leaks or binding. O-ring replacement kits for common impact sprinkler models cost between $2 and $8 and include all seals in the head. Lubricate new O-rings with a small amount of silicone-based lubricant (never petroleum-based products like WD-40, which degrade rubber) before installation. This extends their service life and eases assembly.
Fixing the Deflector Arm and Spring
If the spring is bent, slightly stretched, or corroded, replacement is the right call. Springs are inexpensive — usually under $3 for generic replacements — and most impact sprinkler brands sell them as individual parts. When fitting a new spring, ensure the tension is set correctly for your operating pressure. A spring that's too tight prevents the arm from deflecting far enough; too loose and the arm doesn't snap back with sufficient force. Most manufacturers specify spring tension settings in their product documentation.
Also check that the deflector cup on the arm is not cracked or deformed. A damaged cup doesn't capture the water stream efficiently, reducing the force transferred to the arm on each cycle.
Lubricating the Pivot Bearing
After cleaning, apply a thin layer of silicone grease to the pivot bearing and any rotating collar surfaces. Do not over-lubricate — excess grease attracts more dirt and worsens the problem over the next few weeks. A light, even coating is sufficient. Silicone lubricant is water-resistant and compatible with plastic and rubber, making it the correct choice for irrigation equipment. Avoid WD-40 (a water displacing spray, not a true lubricant) and never use oil-based products that can degrade seals.
Addressing Low Pressure Issues
If pressure is the root cause, start by measuring it with a simple gauge threaded onto a hose bib — these cost around $10 to $15 at hardware stores. If pressure at the supply is adequate but drops significantly at the sprinkler, look for a partially closed valve, a kinked supply line, or a clogged filter screen at the zone valve. Reduce the number of heads operating simultaneously in any given zone. As a general rule, no more than 3 to 5 impact sprinkler heads should operate on a single zone, depending on the nozzle size and available supply pressure.
Impact Sprinkler Sticking Problems at a Glance
| Cause | Symptoms | Fix | Estimated Cost |
|---|---|---|---|
| Debris / sediment | Grinding, no rotation, weak stream | Disassemble and flush clean | $0 (DIY) |
| Mineral scale | White deposits, reduced arc, stiff head | Vinegar soak, commercial descaler | $1–$5 |
| Worn O-rings / seals | Leaking base, stiff rotation | Replace seals, silicone lubricant | $2–$8 |
| Weak / broken spring | Arm doesn't snap back, no rotation | Replace deflector arm spring | $2–$6 |
| Low water pressure | Slow rotation, stops intermittently | Reduce zone heads, check valves | $0–$20 |
| Vegetation growth | Head rotates freely off, stuck on lawn | Clear grass around head, trim regularly | $0 |
| Corrosion / rust | Visible rust, frozen pivot | Replace corroded parts or full head | $5–$30 |
When to Repair Versus Replace an Impact Sprinkler Head
Repair makes sense when the head is relatively new (under 5 years for plastic, under 10 for brass), the housing is undamaged, and the problem is isolated to one or two components. Replacement is smarter when the body is cracked, multiple parts have failed simultaneously, or the head is a discontinued model with no available spare parts.
Plastic impact sprinkler heads typically retail for $3 to $15 each, while quality brass impact sprinklers range from $15 to $60. If the cost of replacement parts approaches 50% or more of a new unit's price, replacement is usually the economical choice — especially since a freshly rebuilt head on an old corroded body often develops the next failure within one season.
Brass impact sprinklers are worth the higher initial cost in heavy-use commercial or agricultural applications. They outlast plastic units by a wide margin — often 15 to 20 years with basic maintenance — and their components are more consistently available as replacement parts.
Preventing Impact Sprinklers from Sticking in the Future
Prevention is far easier than repeated repairs. A small amount of routine maintenance eliminates most of the causes of stuck impact sprinklers before they develop.
- Install inlet filters: A mesh screen filter at each zone valve inlet stops debris before it reaches any sprinkler head. Clean or replace the filter element at the start of each irrigation season.
- Flush the system at startup: Before each season, open the zone valves manually and let water run without sprinkler heads attached for a few minutes to clear any accumulated sediment in the pipes.
- Clean heads annually: Disassemble, rinse, and inspect all impact sprinkler heads every 12 months — or every 6 months in hard water areas.
- Maintain clearance around heads: Keep grass trimmed within at least a 15cm radius of each sprinkler head. Raise the mounting height slightly if vegetation growth is a recurring problem.
- Check system pressure seasonally: Water pressure varies with seasonal demand changes. Verify that operating pressure at zone heads stays within the manufacturer's recommended range.
- Winterize correctly: In cold climates, drain or blow out sprinkler systems before the first freeze. Ice expanding inside a sprinkler head cracks the housing and deforms seals, guaranteeing problems the following spring.
- Apply silicone lubricant annually: A light coat of silicone grease on the pivot bearing and rotating collar keeps these surfaces moving freely and inhibits corrosion in the process.
Irrigation systems that receive this basic annual care routinely operate for 10 to 20 years without major component failures. Those that are ignored commonly require repairs or full replacement within 3 to 5 seasons.
Impact Sprinklers vs. Other Sprinkler Types: Sticking Compared
Compared to gear-driven rotary sprinklers — which use an internal turbine and gear train to rotate the head — impact sprinklers have simpler mechanics and are generally easier to repair when they stick. The deflector arm mechanism is external and visible, making inspection straightforward. Gear-driven heads are more vulnerable to grit because the internal gears have tighter tolerances, and they are harder to clean without specialized tools.
Pop-up spray heads don't rotate at all and so don't "stick" in the rotational sense, but their pop-up mechanism can seize if the retract spring fails or if grit accumulates in the sleeve — a different but related maintenance problem.
For large-area coverage like sports fields, golf courses, and agricultural fields, impact sprinklers remain one of the most durable and cost-effective options precisely because of this mechanical simplicity. When they do stick, the fix is usually quick, cheap, and requires no special tools beyond a flathead screwdriver and a pair of pliers.
Arc Adjustment and Its Relationship to Sticking
Many impact sprinklers allow arc adjustment — limiting the rotational sweep to cover a specific sector rather than a full 360 degrees. This is done using a trip collar or adjustment collar on the head. When this collar is incorrectly positioned or partially seized, the head can appear to "stick" because it keeps returning to the same position and reversing rather than completing its intended arc.
Check the trip collar adjustment screws and stops if your impact sprinkler seems to oscillate back and forth in a narrow band when you intended full-circle or wide-arc coverage. Mineral deposits frequently lock these small adjustment components — a vinegar soak and careful manipulation with a small flathead screwdriver typically frees them without replacement.
Always double-check the arc setting after cleaning or rebuilding an impact sprinkler head. It's common for the trip collar to shift slightly during disassembly, causing unexpected coverage gaps when the system is next run.
The Role of Riser Height and Installation Angle
A sprinkler head that's not installed vertically can develop sticking problems that a perfectly level head would never experience. When the riser is tilted, the deflector arm doesn't swing in a clean horizontal arc — it travels uphill or downhill on part of its rotation, changing the spring tension dynamics and the force exerted on the head. Over time, this uneven force distribution wears one side of the pivot bearing faster than the other, leading to premature failure.
Install impact sprinklers so the riser is plumb to within 2 degrees of vertical. Use a small level during installation. In areas with heavy clay soil that shifts seasonally, check and correct riser angles each spring before starting the irrigation season.
Riser height also matters. Impact sprinkler heads mounted too low relative to surrounding vegetation frequently get tangled in grass. The standard recommendation for lawn applications is to position the head so the top of the sprinkler body sits 10 to 15cm above the surrounding turf surface — high enough to clear typical grass height during the growing season.
Prev:How long to run an impact sprinkler for 1 inch of water?Next:How much water is 20 minutes of impact sprinkler?
Related products
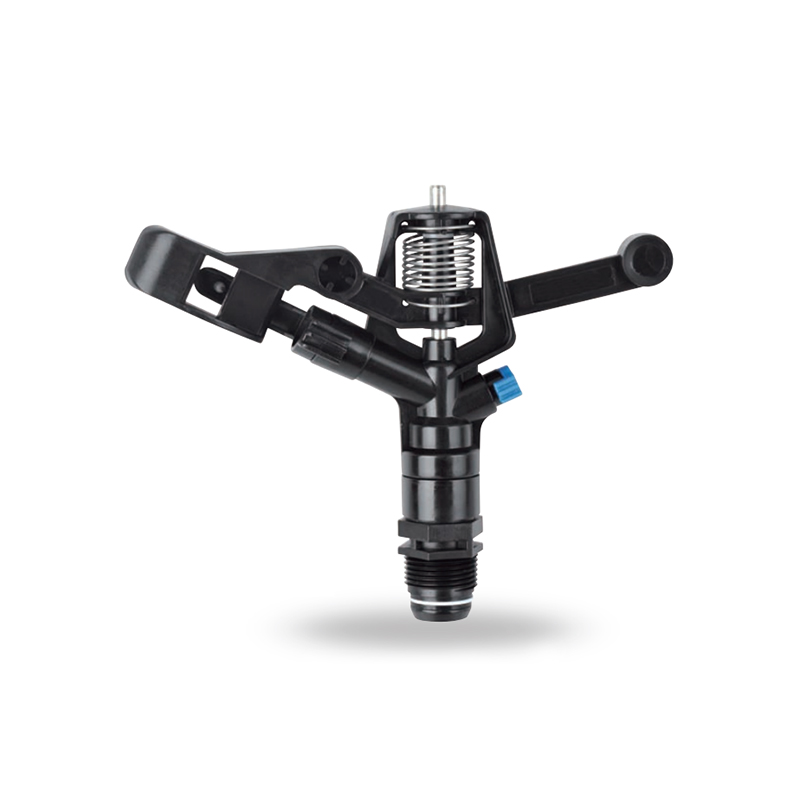
-
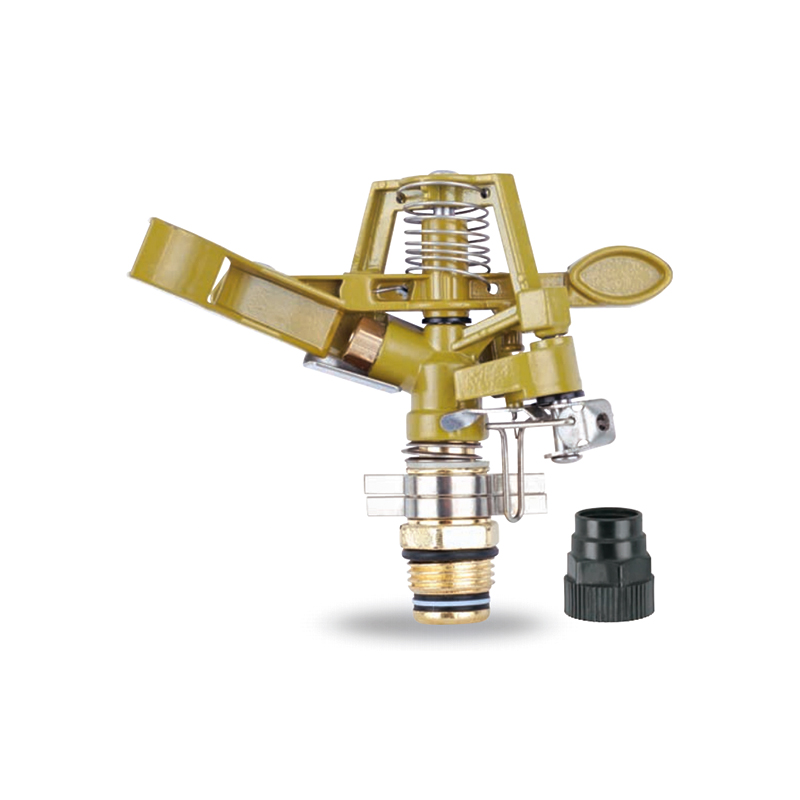
Impact sprinkler for agricultural irrigation is a common and efficient agricultural irrigation tool designed for large areas of farmland. Its unique structure can evenly cover a large area by rotating...
See Details -
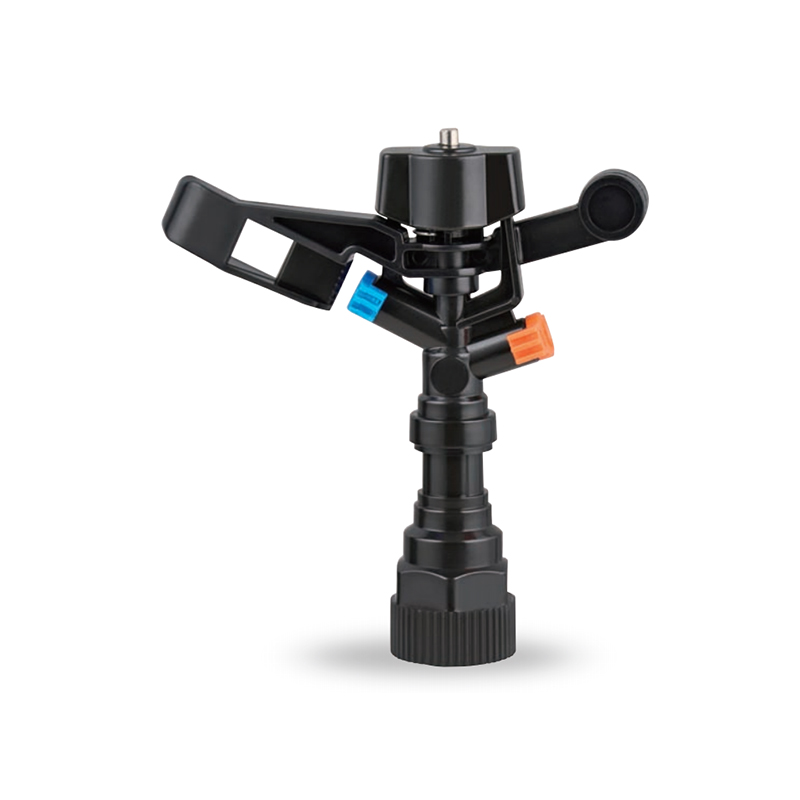
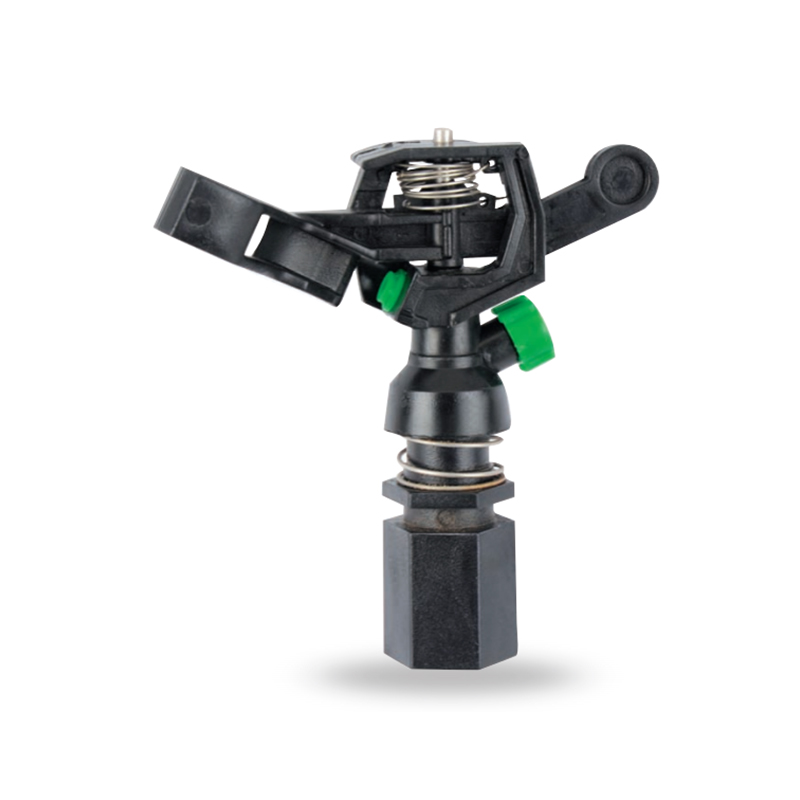
This 360 degree adjustable rocker arm nozzle impact sprinkler is an essential part of an irrigation system designed to meet a wide range of horticultural and agricultural needs. Its flexible adjustmen...
See Details -
The Plastic Full-Circle Impact Sprinkler Sprayer is a highly efficient full-circle irrigation device designed to provide even moisture coverage. Its lightweight plastic material makes this sprinkler e...
See Details -
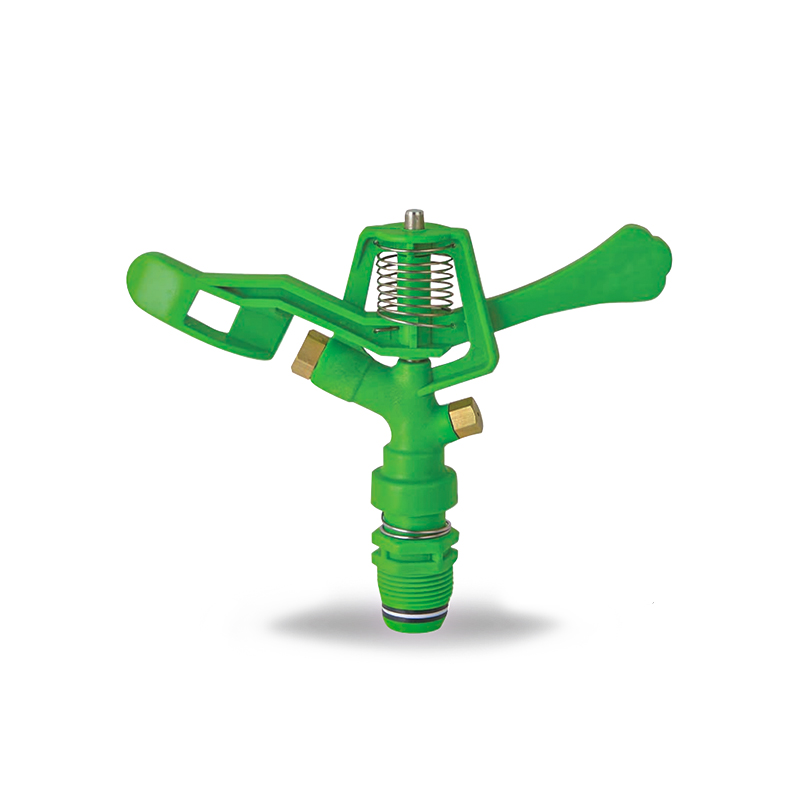
The Irrigation System Adjustable Head Mobile Rotary Zinc Sprinkler is an efficient rotary sprinkler designed for flexible irrigation needs. Its adjustable head allows the user to easily adjust the dir...
See Details -
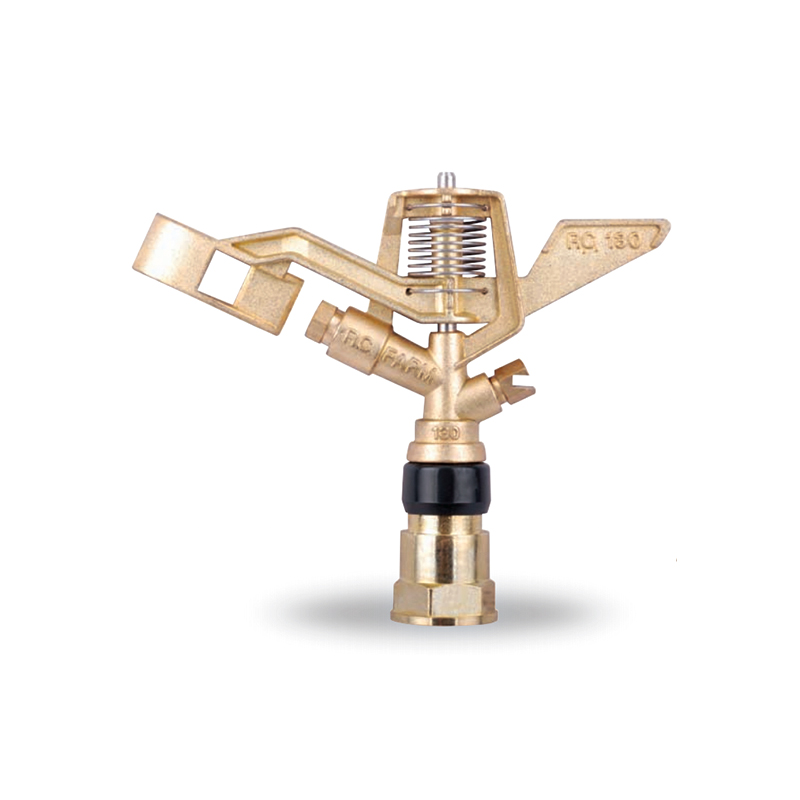
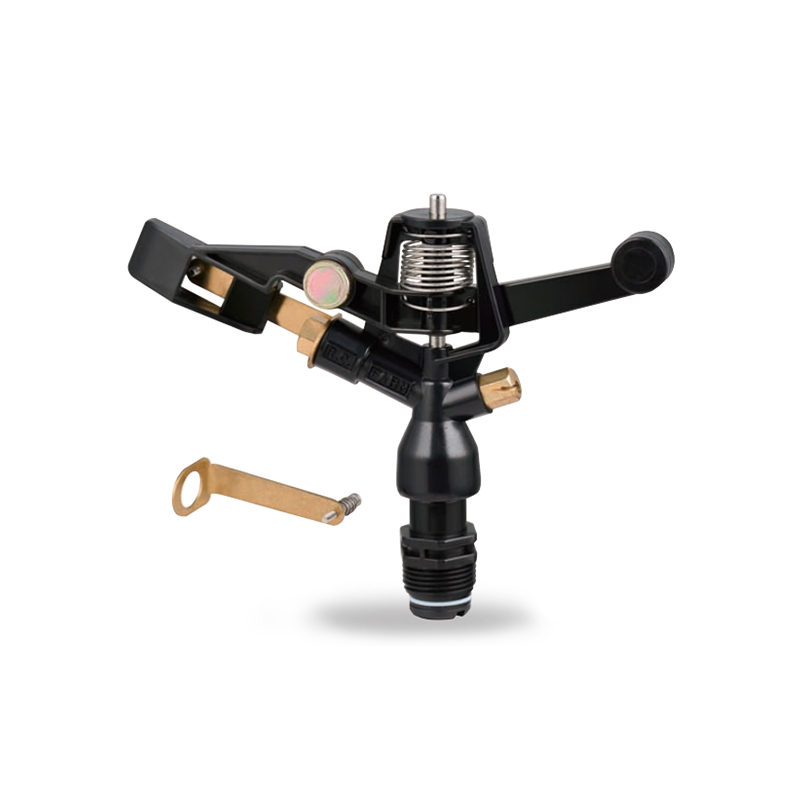
This 3/4” Zinc Alloy Swivel Arm Irrigation Watering System Impact Sprinkler is ideal for agricultural irrigation systems due to its superior durability and corrosion resistance. Its rugged constructio...
See Details -
The Double nozzle garden farm impact full-circle sprinkler is well-designed to efficiently and evenly spray water, thus enhancing the quality of crop growth. Whether it's in the home garden or on a la...
See Details -
Double nozzle agricultural water plastic impact sprinkler for irrigation sprinkler combines practicality and durability with a dual nozzle system that provides extensive water coverage for a wide rang...
See Details -
The POM agricultural irrigation sprinkler water impact sprinkler is known for its excellent abrasion resistance and durability, ensuring consistent performance over time. It is designed to increase wa...
See Details -
The POM Agricultural Irrigation Sprinkler with Metal Nozzles is a device designed for efficient irrigation, combining premium polyacetal (POM) material with durable metal nozzles to ensure superior sp...
See Details -
Watering irrigation system 3/4 inch nozzle field Impact Sprinkler is perfect for field irrigation and easily meets the water needs of large crops. Its powerful spray ensures that every nook and cranny...
See Details -
The POM Agricultural Irrigation Sprinkler with Brass Nozzles is an efficient and durable irrigation device designed to meet a wide range of agricultural needs. The sprinkler is made of polyacetal (POM...
See Details -
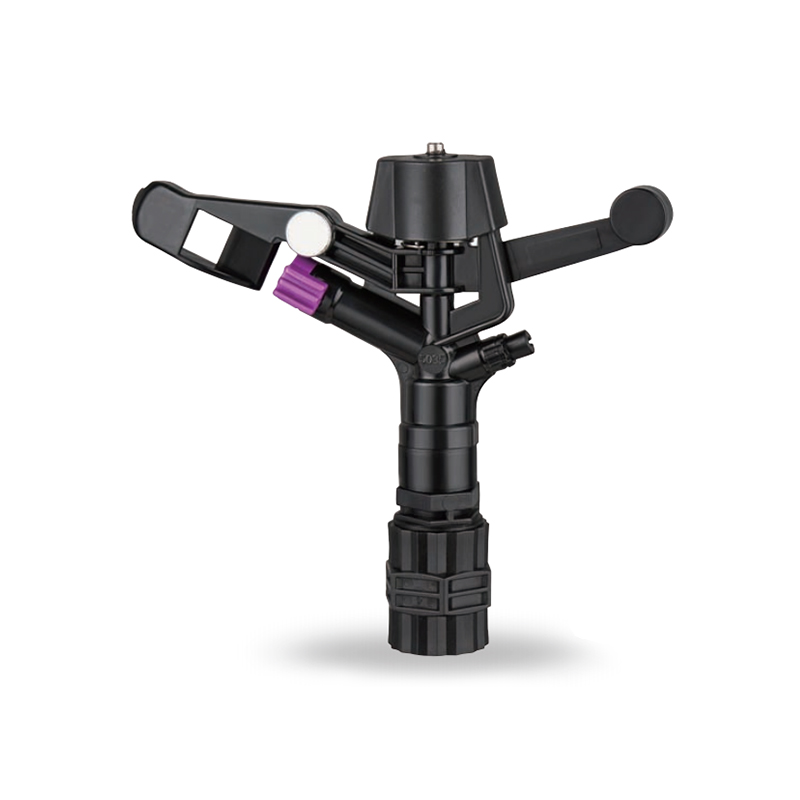
The Double Nozzle Garden Farm Impact Part-Circle Sprinkler is a highly efficient garden irrigation device designed for large planting areas. Its double nozzle design produces a strong, even stream of ...
See Details

PRODUCTS & SERVICES

CONTACT US
 No.518, Ruihao Road, Lizhou Street, Yuyao City, Zhejiang Province, China
 +86-13105554615 / +86-18005843886
 decheng@dcssq.com fredzhu@dcssq.com
 LISA
LISA
 Fred Zhu
Copyright © Ningbo Dewo Irrigation Equipment Co., Ltd. All Rights Reserved. China Agricultural Plastic Sprinkler Manufacturers Wholesale Irrigation Plastic Sprinkler Factory
