 Search for...
 English
 Español
 中文简体
中文简体How to Clean an Impact Sprinkler: Step-by-Step Guide
Content
- 1 The Short Answer: How to Clean an Impact Sprinkler
- 2 Why Impact Sprinklers Get Dirty and Stop Working Properly
- 3 Tools and Materials You Need Before You Start
- 4 Step-by-Step: How to Clean an Impact Sprinkler Head
- 4.1 Step 1: Shut Off the Water Supply
- 4.2 Step 2: Remove the Sprinkler from the Stake or Riser
- 4.3 Step 3: Disassemble the Sprinkler Head
- 4.4 Step 4: Inspect the Filter Screen First
- 4.5 Step 5: Soak All Components in Vinegar
- 4.6 Step 6: Scrub and Clear Each Component
- 4.7 Step 7: Rinse Thoroughly
- 4.8 Step 8: Lubricate Moving Parts
- 4.9 Step 9: Reassemble and Test
- 5 Cleaning the Impact Sprinkler Filter Screen: A Closer Look
- 6 How Often Should You Clean an Impact Sprinkler?
- 7 Troubleshooting Common Impact Sprinkler Problems After Cleaning
- 8 Cleaning Impact Sprinklers vs. Other Sprinkler Types
- 9 Preventive Maintenance to Reduce How Often You Need to Clean
- 10 When to Replace Rather Than Clean an Impact Sprinkler
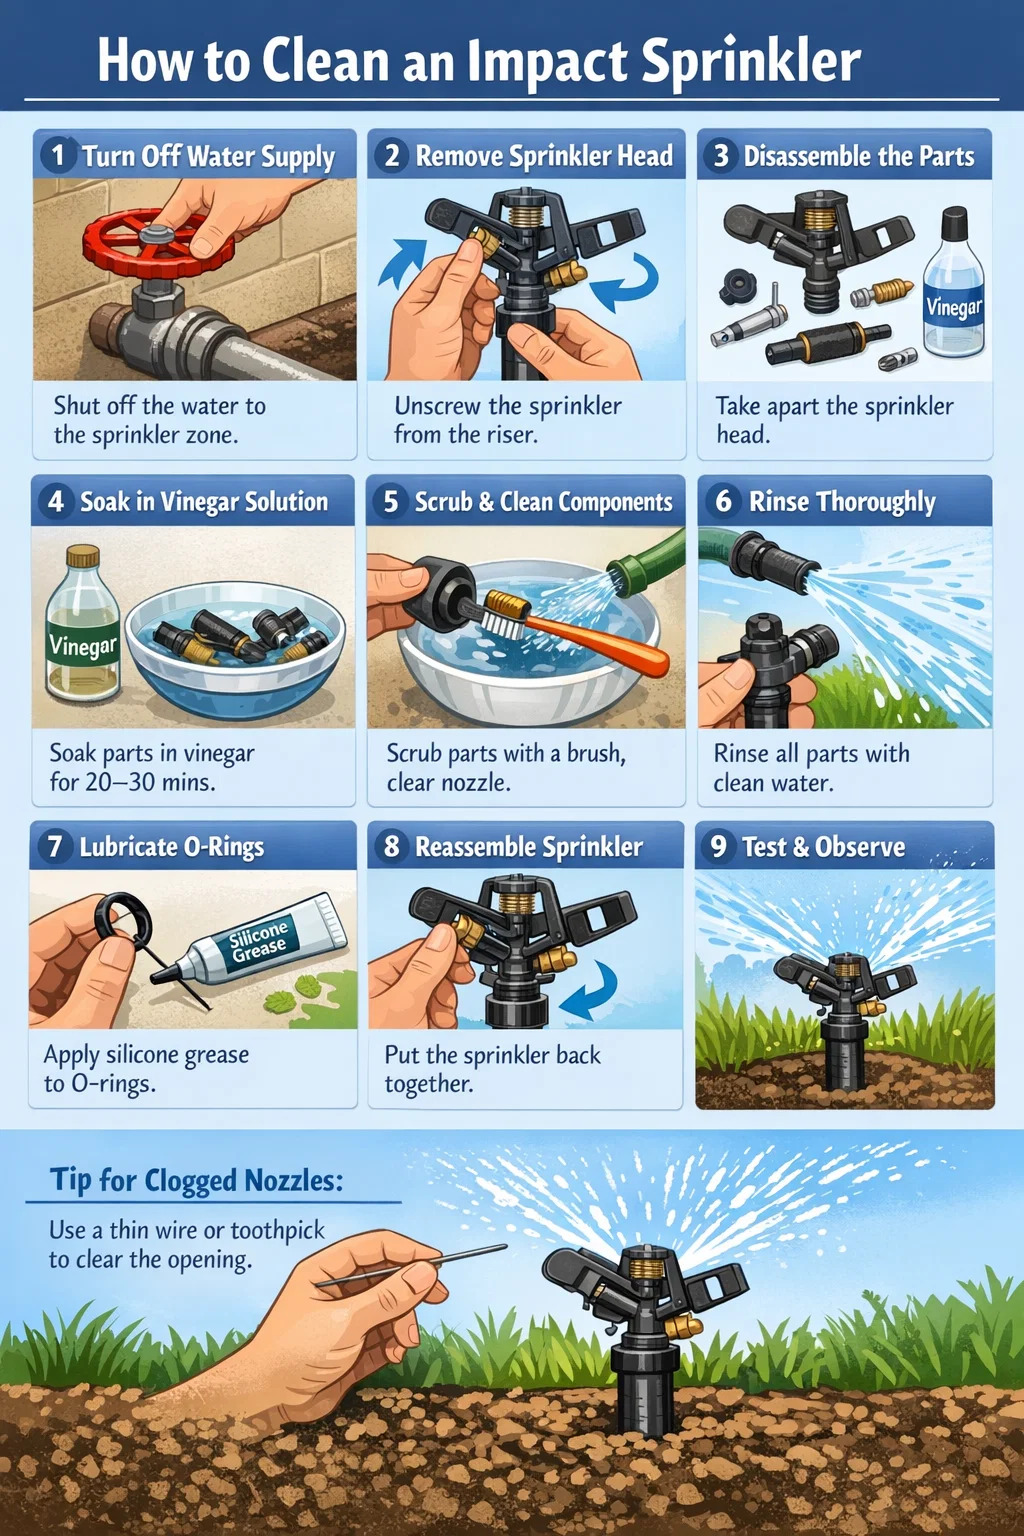
The Short Answer: How to Clean an Impact Sprinkler
To clean an impact sprinkler, turn off the water supply, disassemble the sprinkler head, soak the components in a white vinegar solution for 20–30 minutes to dissolve mineral deposits, scrub with a soft brush, rinse thoroughly, and reassemble. For clogged nozzles, use a thin wire or toothpick to clear the opening. This process restores full rotation and even water distribution in most cases.
Impact sprinklers — also called impact rotor sprinklers or impulse sprinklers — are among the most durable irrigation tools available. They work by using the force of water to drive a weighted arm that strikes the deflector, spinning the head in a slow arc. Because they have moving parts exposed to soil, water, and fertilizer residue, they accumulate debris faster than many people expect. A sprinkler that hasn't been cleaned in one full season may be operating at 40–60% of its designed flow rate, wasting water and leaving dry patches in your lawn.
Why Impact Sprinklers Get Dirty and Stop Working Properly
Understanding why an impact sprinkler gets dirty helps you prevent problems before they start. There are several distinct causes, each requiring a slightly different approach.
Mineral Scale from Hard Water
If your household water supply has a hardness level above 120 mg/L (7 grains per gallon), calcium and magnesium carbonate will slowly coat every internal surface of your sprinkler. Over time, this white or yellowish crust narrows the nozzle opening, restricts the filter screen, and can even freeze the impact arm in place. Cities like Phoenix, Las Vegas, and Denver regularly measure water hardness between 200–400 mg/L, meaning residents in those areas may need to clean their sprinklers every 4–6 weeks during active irrigation seasons.
Soil and Debris Infiltration
When a sprinkler is shut off, the sudden drop in pressure can create a brief vacuum that draws fine soil particles backward through the nozzle into the internal chamber. This is especially common with older sprinkler systems that lack check valves. Even small amounts of clay or silt can block the filter screen within a few irrigation cycles.
Algae and Organic Growth
In warm, humid climates, standing water inside sprinkler bodies between watering sessions encourages algae growth. This creates a slimy green or black film that partially blocks flow paths. Algae buildup is common in sprinklers connected to pond or reclaimed water sources but can also appear in municipal water supplies during summer.
Fertilizer and Chemical Residue
If you use a fertilizer injector or fertigation system connected to your irrigation line, soluble fertilizer salts can crystallize inside sprinkler components when water evaporates. These deposits are chemically similar to mineral scale but may require a stronger cleaning solution to dissolve completely.
Tools and Materials You Need Before You Start
Gather everything before turning off the water. Stopping mid-process to find a missing tool is the most common reason people rush a cleaning job and reassemble incorrectly.
- Adjustable pliers or a sprinkler wrench
- White distilled vinegar (at least 500 mL per sprinkler)
- A shallow bowl or bucket for soaking
- An old toothbrush or small nylon-bristle brush
- Thin wire, a needle, or a nozzle-cleaning tool
- A garden hose with clean water for rinsing
- Replacement O-rings (optional but recommended if sprinkler is over 3 years old)
- Waterproof silicone grease or petroleum jelly
- A clean dry cloth or paper towels
For heavy mineral scale that vinegar alone cannot remove, you can substitute a commercial descaler such as CLR (Calcium, Lime & Rust remover) diluted according to the manufacturer's instructions. Avoid using bleach directly on rubber seals, as it accelerates deterioration.
Step-by-Step: How to Clean an Impact Sprinkler Head
Follow these steps in order. Skipping steps — particularly the soak — produces incomplete results and forces you to repeat the job sooner.
Step 1: Shut Off the Water Supply
Close the zone valve or main irrigation shutoff. If your system uses an irrigation timer, disable it or switch to manual mode so a scheduled cycle doesn't activate while you're working. Relieve pressure by briefly opening a nearby hose bib or running the zone for 2–3 seconds after closing the valve.
Step 2: Remove the Sprinkler from the Stake or Riser
Most impact sprinklers thread onto a riser pipe or stake with a standard ¾-inch or ½-inch NPT connection. Hold the riser steady and turn the sprinkler body counterclockwise. If it hasn't been removed in years, mineral buildup on the threads may make it stiff. Apply gentle pressure with an adjustable wrench — avoid jerking motions that could crack PVC risers.
Step 3: Disassemble the Sprinkler Head
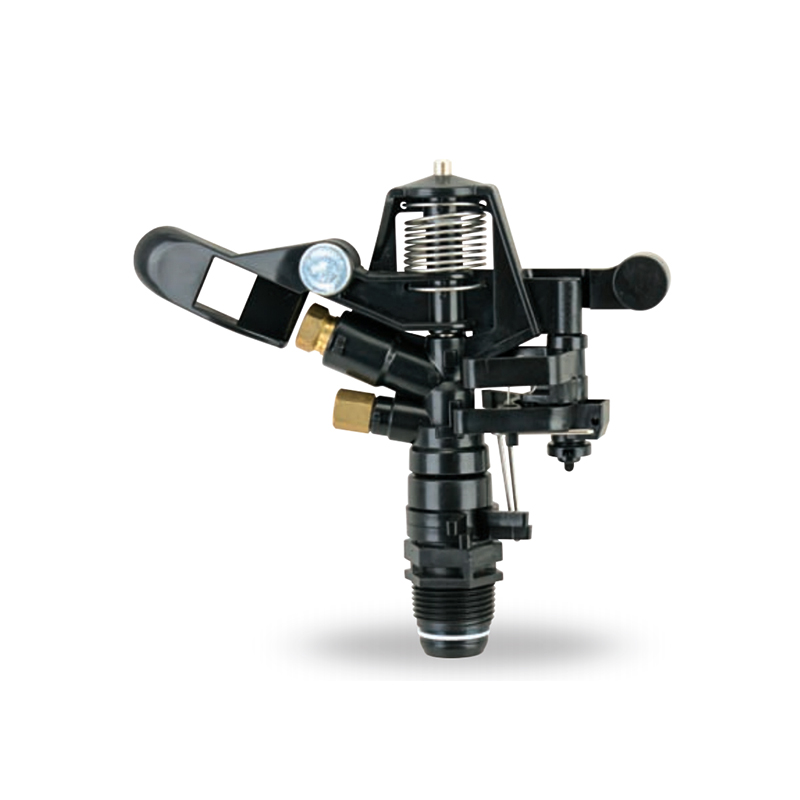
Different impact sprinkler models disassemble differently, but most share the same general components:
- Nozzle – the small brass or plastic insert at the front of the deflector arm
- Deflector arm – the weighted arm that swings back and forth
- Spring – controls the return speed of the arm
- Body or bearing cup – the main housing that rotates on the spike
- Filter screen – a small mesh screen inside the water inlet, often 100–150 mesh
- O-rings and seals – prevent leaks at connection points
Lay all parts on a clean cloth in the order you removed them. Taking a photo with your phone before disassembly saves significant frustration during reassembly.
Step 4: Inspect the Filter Screen First
The filter screen sits at the base of the sprinkler where water enters. Use needle-nose pliers or a small flathead screwdriver to carefully pull it out. Hold it up to the light — if you can't see light through more than 20–30% of the mesh, it is severely clogged and needs to be the primary focus of your cleaning. In many cases, a blocked filter screen alone is responsible for 70–80% of impact sprinkler performance problems.
Step 5: Soak All Components in Vinegar
Place the nozzle, filter screen, and any metal or hard plastic parts in a bowl of undiluted white distilled vinegar. The acetic acid in vinegar (typically 5% concentration) reacts with calcium carbonate and magnesium deposits, converting them into water-soluble calcium acetate that rinses away easily. Soak for a minimum of 20 minutes for light scale, and up to 2 hours for heavy buildup. Do not soak rubber O-rings in vinegar for extended periods — remove them after 10–15 minutes to prevent swelling.
Step 6: Scrub and Clear Each Component
After soaking, use your toothbrush to scrub all surfaces. Pay close attention to:
- The inside of the nozzle opening — use a thin wire or toothpick to poke through and dislodge any remaining scale or debris
- Both sides of the filter screen — scrub gently under running water to avoid tearing the mesh
- The bearing surface inside the sprinkler body where the rotating head sits
- The groove where the O-ring seats — any debris here causes post-cleaning leaks
For the nozzle specifically, hold it up to a light source after clearing it. You should see a clean, round, unobstructed opening. If the hole appears oval or has rough edges, the nozzle may have sustained wear damage and should be replaced rather than reused.
Step 7: Rinse Thoroughly
Rinse every component under clean running water for at least 30 seconds each. Any vinegar or descaler residue left inside the sprinkler will continue to react with minerals in the irrigation water, potentially producing a white precipitate that re-clogs the nozzle within a few cycles. Shake each part and check that no loosened debris remains trapped inside the body.
Step 8: Lubricate Moving Parts
Apply a small amount of waterproof silicone grease to the O-rings and the bearing surface. This does two things: it protects rubber seals from drying and cracking, and it ensures the sprinkler body rotates smoothly on the stake. Do not use petroleum-based lubricants like WD-40 on rubber O-rings — they cause the rubber to swell and degrade within weeks, leading to leaks that are difficult to trace.
Step 9: Reassemble and Test
Reassemble the sprinkler in reverse order of disassembly. Thread it back onto the riser by hand first to avoid cross-threading, then snug it with a wrench — fingertight plus about a quarter turn is sufficient for most plastic bodies. Turn the water back on and observe the sprinkler for a full rotation cycle. Check for:
- Smooth, consistent rotation without sticking or stuttering
- A clear, solid stream rather than a broken or misting spray
- No leaks at the base or connection threads
- Coverage reaching the expected distance for your nozzle size
Cleaning the Impact Sprinkler Filter Screen: A Closer Look
The filter screen deserves special attention because it is the most frequently neglected component and the most common cause of reduced sprinkler performance. Most impact sprinklers use a stainless steel mesh screen rated between 100 and 200 mesh (the higher the number, the finer the filtration). A 150-mesh screen has openings of approximately 100 microns — small enough to catch most soil particles but also prone to clogging from mineral scale.
When cleaning the filter screen, avoid using a stiff wire brush directly on the mesh — this stretches or tears individual strands, creating gaps that allow debris to pass through. Instead, use a soft-bristle toothbrush and work parallel to the mesh strands rather than perpendicular. If the screen is visibly torn, kinked, or permanently deformed, replace it. Replacement screens are inexpensive — typically $1–3 each — and stocking a few spares saves a trip to the hardware store mid-season.
Some irrigation professionals recommend flushing the supply line before reinstalling a cleaned sprinkler. This is done by temporarily removing the sprinkler, turning on the zone for 10–15 seconds to expel any debris sitting in the riser pipe, then reinstalling the cleaned head. This step prevents the cleaned sprinkler from immediately re-clogging due to debris already present in the line.
How Often Should You Clean an Impact Sprinkler?
Cleaning frequency depends on your water source, water hardness, and how heavily the system is used. The table below provides general guidance based on common irrigation scenarios:
| Water Source | Water Hardness | Recommended Cleaning Frequency |
|---|---|---|
| Municipal / soft | Below 60 mg/L | Once per season |
| Municipal / moderate hardness | 60–120 mg/L | Every 2–3 months |
| Municipal / hard water | 120–250 mg/L | Every 4–6 weeks |
| Well water | Varies widely | Monthly during active irrigation |
| Reclaimed / pond water | High organic load | Every 2–4 weeks |
Beyond schedule-based cleaning, pay attention to performance signals. If you notice that a sprinkler's throw radius has shortened, that it no longer completes a full rotation, or that the stream looks broken or misting rather than solid, clean it immediately regardless of when it was last serviced.
Troubleshooting Common Impact Sprinkler Problems After Cleaning
Sometimes a sprinkler still doesn't perform correctly even after a thorough cleaning. Here's how to diagnose what's actually wrong:
Sprinkler Won't Rotate After Cleaning
If the head refuses to turn, the bearing surface is likely damaged or debris is still trapped between the body and the stake. Disassemble again, inspect the bearing cup for cracks or flat spots, and check that no grit is lodged in the bearing channel. If the body feels rough when you manually spin it, the bearing has likely worn beyond recovery and the unit needs replacement. A quality brass impact sprinkler like those from Rain Bird or Nelson costs between $8 and $25, making replacement often more economical than extensive repair.
Sprinkler Rotates in Only One Direction
Impact sprinklers rely on the weighted arm swinging back to drive rotation. If the arm doesn't return properly, check the spring tension. The spring should have enough force to push the arm back firmly against the deflector. Springs weaken over time — if the arm falls back slowly or doesn't contact the deflector with a clear click, replace the spring. Springs are available individually for most major brands for $1–4.
Water Leaks from the Base After Reassembly
This almost always means the O-ring is misseated, damaged, or missing. Remove the sprinkler, check that the O-ring is properly seated in its groove and shows no visible cracks or deformation. If the O-ring looks flattened or has a permanent set (meaning it no longer springs back to round), replace it. Use a caliper to measure the inner diameter and cross-section thickness before ordering a replacement — these measurements are standard and any plumbing supplier should stock them.
Short Throw Distance Despite Clean Nozzle
If the nozzle is clean but coverage distance is still short, check system pressure. Impact sprinklers for residential use are typically designed to operate at 30–50 PSI. Below 25 PSI, throw distance drops significantly and the stream may break into mist before reaching its intended radius. Use an inexpensive pressure gauge at the hose connection to verify. Low pressure indicates a supply problem — check for other zones running simultaneously, a partially closed valve, or pressure loss in the main supply line.
Arm Strikes Correctly but Coverage Pattern Is Uneven
Uneven coverage after cleaning usually means the deflector tab is bent or worn. The deflector is the small angled fin that breaks the water stream and creates the characteristic fan-shaped spray pattern. If this tab is deformed, the spray becomes lopsided. Some deflectors are adjustable with a screwdriver; others are fixed and must be replaced along with the arm assembly.
Cleaning Impact Sprinklers vs. Other Sprinkler Types
Impact sprinklers differ from pop-up spray heads, gear-driven rotors, and oscillating sprinklers in both construction and cleaning requirements. Understanding these differences helps you apply the right technique.
| Sprinkler Type | Primary Clog Points | Disassembly Required? | Cleaning Difficulty |
|---|---|---|---|
| Impact / impulse sprinkler | Nozzle, filter screen, bearing | Yes | Moderate |
| Pop-up spray head | Nozzle, wiper seal | Partial | Easy |
| Gear-driven rotor | Nozzle, internal gear mechanism | Yes (often professional) | Difficult |
| Oscillating sprinkler | Tube holes, pivot joints | Minimal | Easy |
| Drip emitter | Emitter outlet | No (replace emitter) | Very easy |
Impact sprinklers sit in the middle of the complexity range. They require full disassembly for proper cleaning, but their simple mechanical design means every component is accessible and most can be cleaned without special tools. Gear-driven rotors, by comparison, have sealed gear mechanisms that typically require professional servicing or replacement when they malfunction.
Preventive Maintenance to Reduce How Often You Need to Clean
Reactive cleaning is necessary, but preventive steps reduce how often your impact sprinklers need deep cleaning and extend their service life significantly.
Install an Inline Filter on the Supply Line
A Y-strainer or disc filter installed upstream of your sprinkler zone catches debris before it reaches individual sprinkler heads. A 100–150 mesh inline filter rated for your system's flow rate costs between $15 and $40 and can dramatically reduce clogging frequency. These filters have their own cleanout valve, making periodic maintenance straightforward without shutting down the zone.
Flush the System at the Start of Each Season
Before reattaching sprinklers after winter storage, open the zone valves and flush each riser pipe for 15–20 seconds. This clears debris, sediment, and scale fragments that accumulated over the off-season. Many system problems at the start of spring irrigation are caused by debris that was already present in the supply lines, not by the sprinklers themselves.
Use a Water Softener or Descaler for Hard Water Areas
If your water hardness consistently exceeds 150 mg/L, consider installing a whole-house water softener or a template-assisted crystallization (TAC) conditioner on the irrigation supply. TAC systems don't remove minerals but alter their crystalline structure so they don't adhere to surfaces — this can reduce scale buildup in sprinklers by 70–90% compared to untreated hard water.
Store Sprinklers Properly During Winter
In climates where temperatures drop below freezing, remove impact sprinklers from their stakes, clean and dry them fully, and store them indoors. Water trapped inside a sprinkler body expands when it freezes, cracking the body or deforming the bearing cup. Damage from freeze-thaw cycles is the most common cause of premature impact sprinkler failure — and it is entirely preventable.
Check and Re-Lubricate O-Rings Annually
Even if a sprinkler is working correctly, inspect and lubricate the O-rings once a year. Dry O-rings harden and lose their sealing ability — a problem that often isn't noticed until a small leak has been wasting water for weeks. A tube of silicone grease costs under $5 and lasts multiple seasons.
When to Replace Rather Than Clean an Impact Sprinkler
Not every impact sprinkler is worth cleaning. There are clear signs that replacement is the better use of your time and money:
- Cracked or broken body: Cracks cannot be reliably sealed and the sprinkler will leak under pressure.
- Worn nozzle with an oversized opening: A nozzle that has eroded beyond its original diameter wastes water and cannot be resized by cleaning.
- Badly damaged bearing surface: Deep scratches or flat spots in the bearing cup cannot be corrected by cleaning and will cause ongoing rotation problems.
- Scale buildup so severe it cannot be dissolved: If components remain fused together after a 2-hour vinegar soak and gentle mechanical action, the scale has penetrated too deeply into the material.
- Sprinkler is more than 10–15 years old: Plastic components become brittle with UV exposure and age. An older sprinkler may crack during reassembly even if it appears intact.
Given that a quality replacement brass impact sprinkler — such as the Rain Bird 25PJDAC or the Nelson S200 — costs between $10 and $30, replacement is often more cost-effective than spending 45–60 minutes attempting to restore a sprinkler that is structurally compromised. That said, impact sprinklers are among the most repairable irrigation components available, and many survive 15–20 years with proper annual maintenance.
Prev:How Long to Run Oscillating Sprinkler for a Healthy Lawn?Next:Can You Adjust an Impact Sprinkler? Complete Guide
Related products
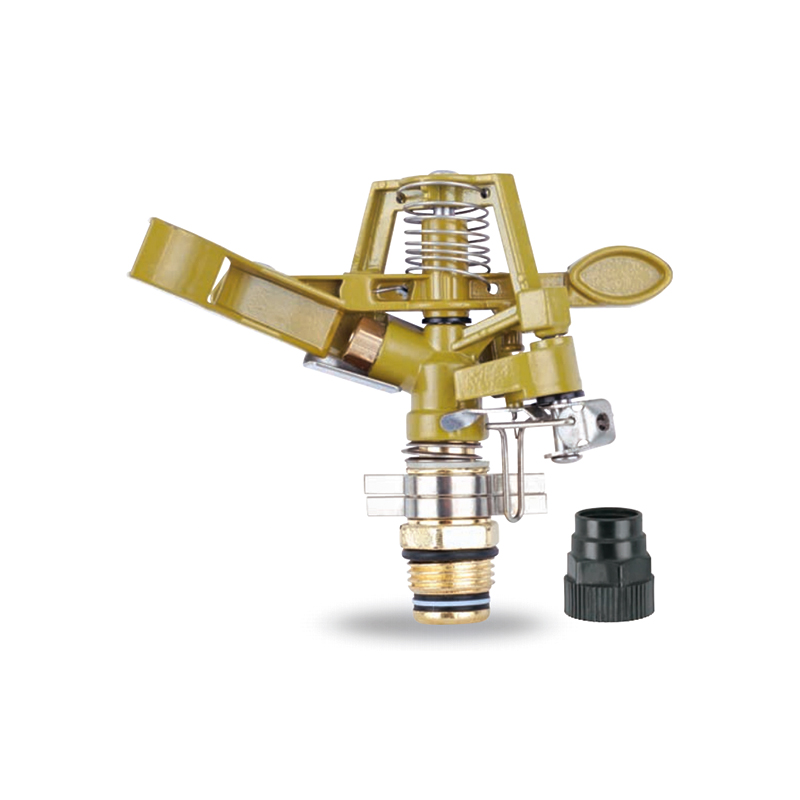
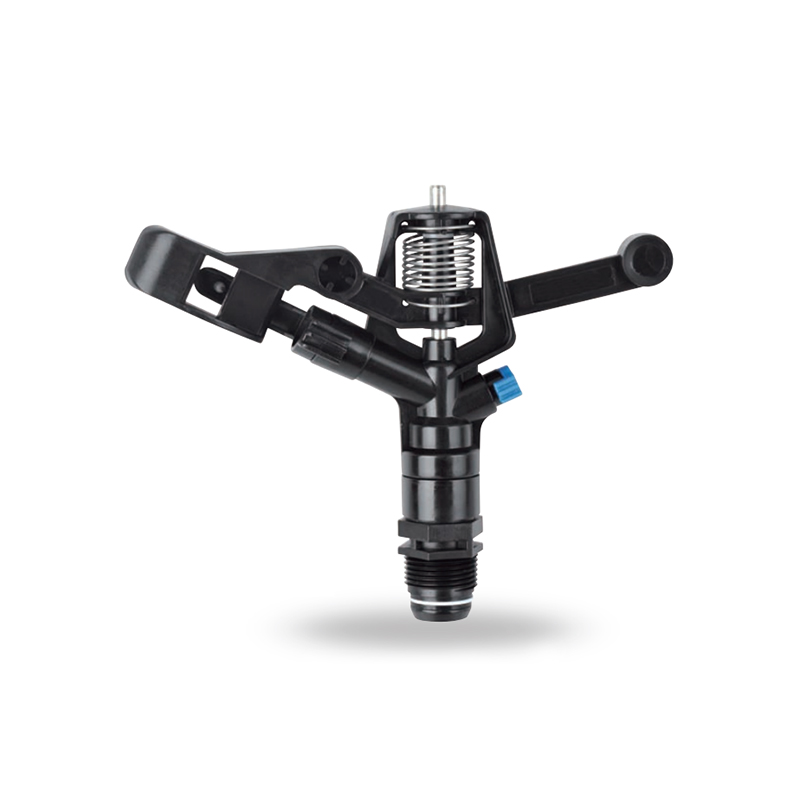
-
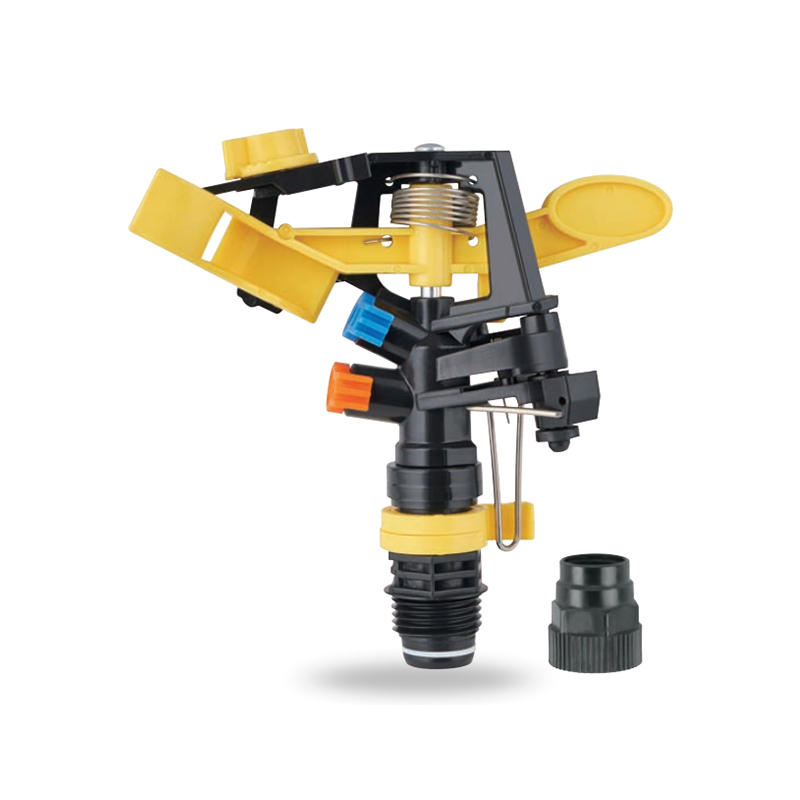
Impact sprinkler for agricultural irrigation is a common and efficient agricultural irrigation tool designed for large areas of farmland. Its unique structure can evenly cover a large area by rotating...
See Details -
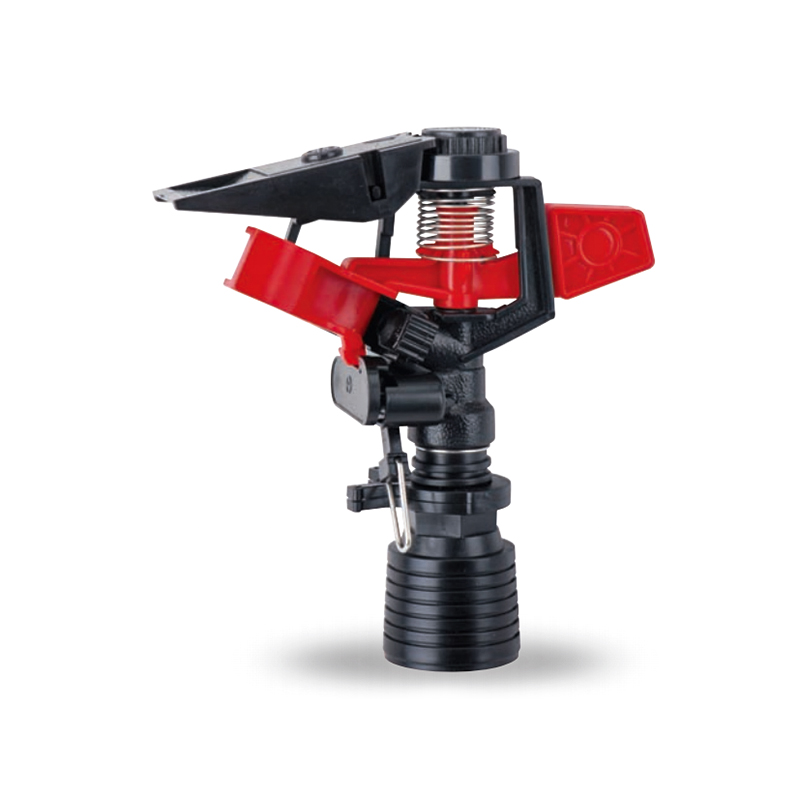
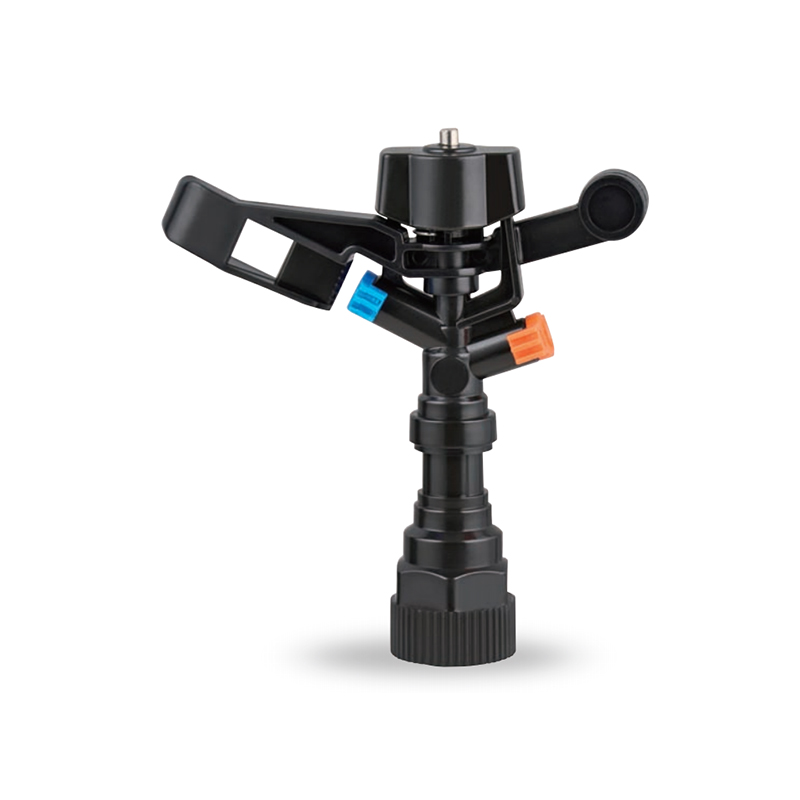
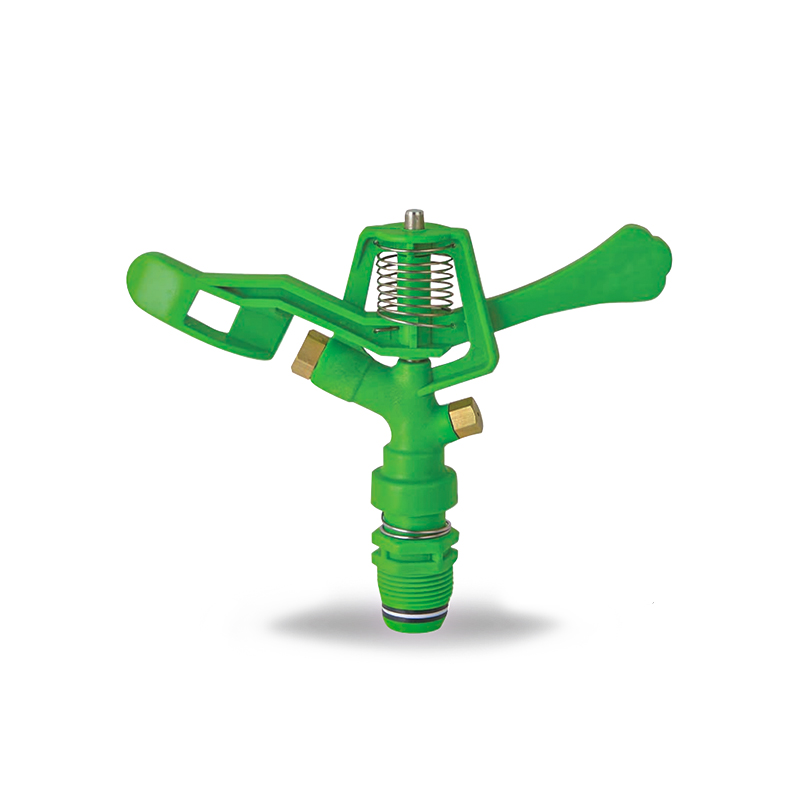
This 360 degree adjustable rocker arm nozzle impact sprinkler is an essential part of an irrigation system designed to meet a wide range of horticultural and agricultural needs. Its flexible adjustmen...
See Details -
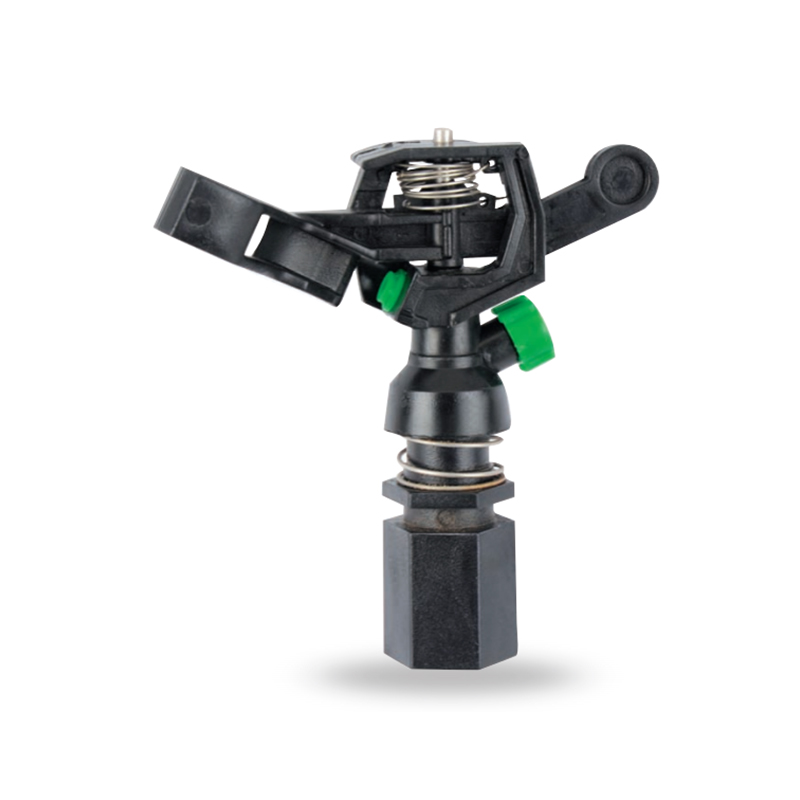
The Plastic Full-Circle Impact Sprinkler Sprayer is a highly efficient full-circle irrigation device designed to provide even moisture coverage. Its lightweight plastic material makes this sprinkler e...
See Details -
The Irrigation System Adjustable Head Mobile Rotary Zinc Sprinkler is an efficient rotary sprinkler designed for flexible irrigation needs. Its adjustable head allows the user to easily adjust the dir...
See Details -
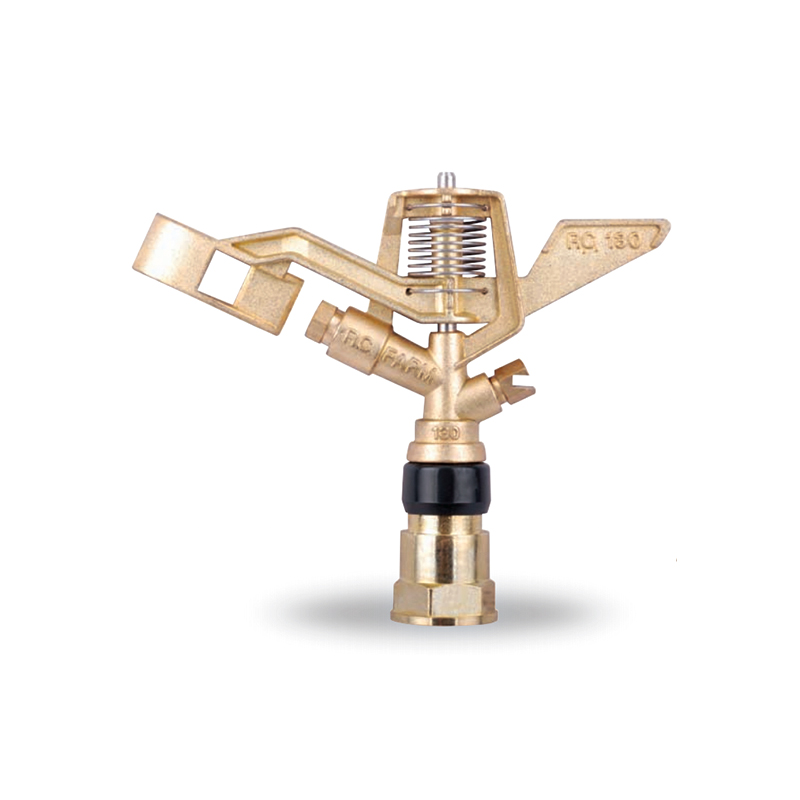
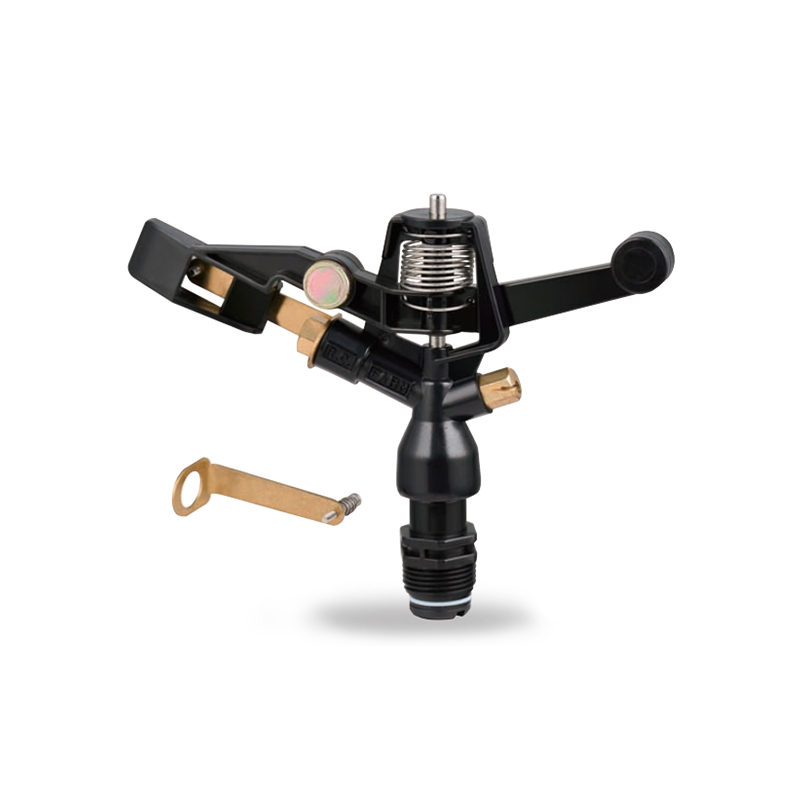
This 3/4” Zinc Alloy Swivel Arm Irrigation Watering System Impact Sprinkler is ideal for agricultural irrigation systems due to its superior durability and corrosion resistance. Its rugged constructio...
See Details -
The Double nozzle garden farm impact full-circle sprinkler is well-designed to efficiently and evenly spray water, thus enhancing the quality of crop growth. Whether it's in the home garden or on a la...
See Details -
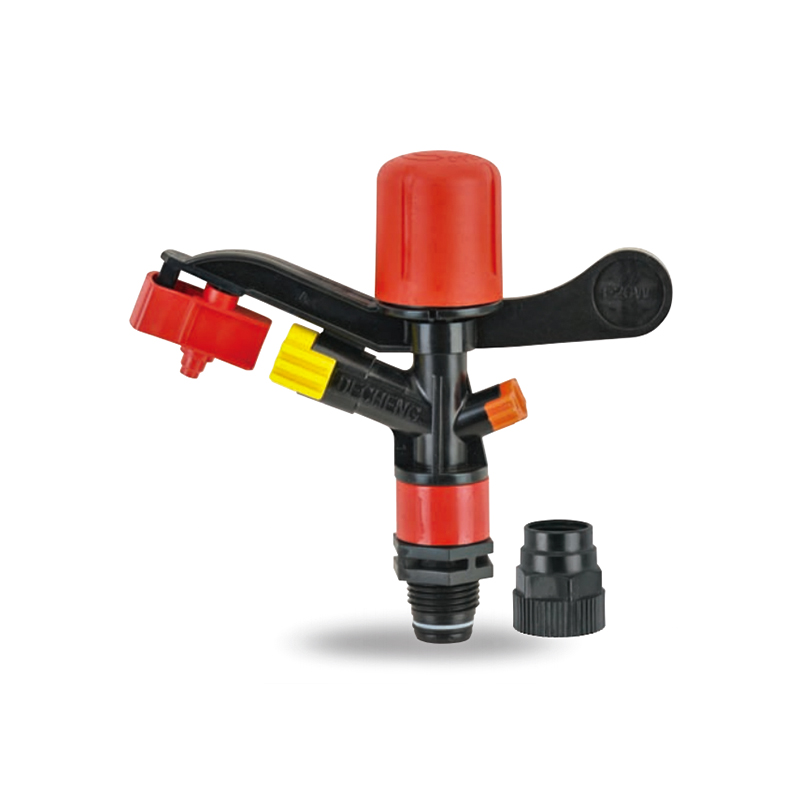
Double nozzle agricultural water plastic impact sprinkler for irrigation sprinkler combines practicality and durability with a dual nozzle system that provides extensive water coverage for a wide rang...
See Details -
The POM agricultural irrigation sprinkler water impact sprinkler is known for its excellent abrasion resistance and durability, ensuring consistent performance over time. It is designed to increase wa...
See Details -
The POM Agricultural Irrigation Sprinkler with Metal Nozzles is a device designed for efficient irrigation, combining premium polyacetal (POM) material with durable metal nozzles to ensure superior sp...
See Details -
Watering irrigation system 3/4 inch nozzle field Impact Sprinkler is perfect for field irrigation and easily meets the water needs of large crops. Its powerful spray ensures that every nook and cranny...
See Details -
The POM Agricultural Irrigation Sprinkler with Brass Nozzles is an efficient and durable irrigation device designed to meet a wide range of agricultural needs. The sprinkler is made of polyacetal (POM...
See Details -
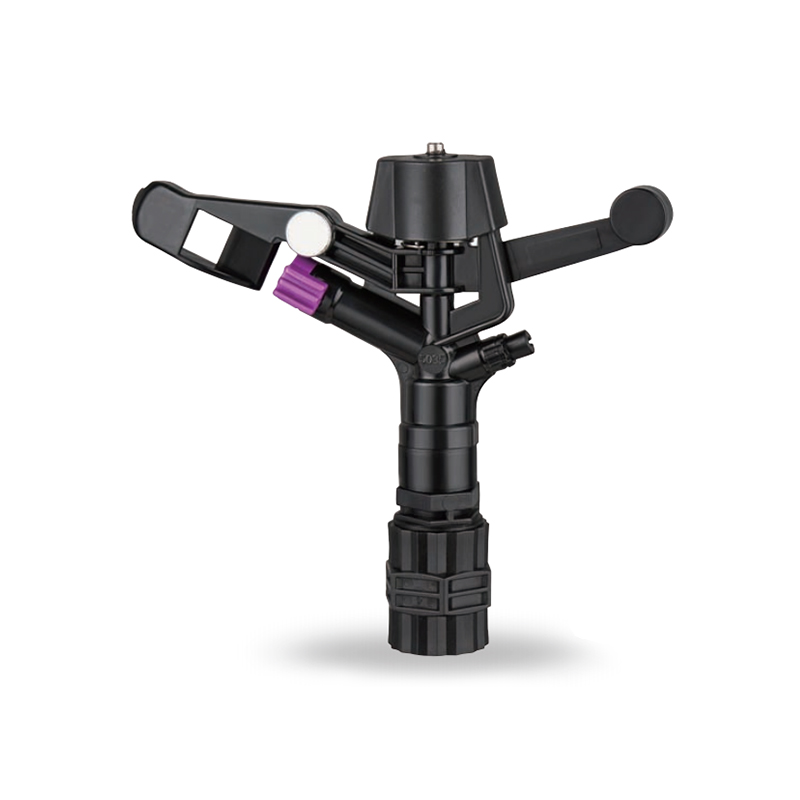
The Double Nozzle Garden Farm Impact Part-Circle Sprinkler is a highly efficient garden irrigation device designed for large planting areas. Its double nozzle design produces a strong, even stream of ...
See Details

PRODUCTS & SERVICES

CONTACT US
 No.518, Ruihao Road, Lizhou Street, Yuyao City, Zhejiang Province, China
 +86-13105554615 / +86-18005843886
 decheng@dcssq.com fredzhu@dcssq.com
 LISA
LISA
 Fred Zhu
Copyright © Ningbo Dewo Irrigation Equipment Co., Ltd. All Rights Reserved. China Agricultural Plastic Sprinkler Manufacturers Wholesale Irrigation Plastic Sprinkler Factory
