

 Search for...
 English
 Español
 中文简体
中文简体How to Create an Irrigation System: Planning, Sizing & Setup Guide
Content
- 1 Start With a Site Assessment, Not a Sprinkler Catalog
- 2 Measure Water Pressure and Flow Before Designing Zones
- 3 Choosing Between Drip Lines and Irrigation Plastic Sprinkler Heads
- 4 Step-by-Step: Building the System
- 5 Pipe Sizing Reference
- 6 Mistakes That Shorten a System's Lifespan
- 7 Seasonal Maintenance Checklist
- 8 What a Typical System Costs
- 9 Understanding Your Water Source Before You Design Anything
- 10 Sprinkler Head Types Explained in Depth
- 11 Smart Controllers and Weather-Based Scheduling
- 12 Adjusting Schedules by Climate and Season
- 13 Winterization in Freeze-Prone Climates
- 14 Troubleshooting Common Problems
- 15 Water Conservation Techniques Worth Building In
- 16 DIY Installation vs. Hiring It Out
- 17 Frequently Asked Questions
- 17.1 How deep should irrigation pipe be buried?
- 17.2 How many sprinkler heads can one zone support?
- 17.3 Is PVC or polyethylene pipe better for irrigation?
- 17.4 How often should an irrigation system run each week?
- 17.5 Can drip irrigation and sprinkler heads run on the same system?
- 17.6 What is head-to-head coverage and why does it matter?
- 17.7 Do I need a pressure regulator if my water pressure seems fine?
- 17.8 What is the best time of day to run irrigation?
- 17.9 How long does an irrigation system typically last?
- 17.10 Why does one section of my new system have low pressure while the rest works fine?
- 17.11 Should I water my lawn every day?
The fastest way to create an irrigation system is to map your yard's zones by sun and soil type, calculate your water source's flow rate and pressure, choose drip lines for beds and an irrigation plastic sprinkler layout for open lawn, then connect everything through a backflow preventer, pressure regulator, and a controller that runs each zone on its own schedule. A properly sized residential system typically covers 1,500 to 2,500 square feet per zone and uses PVC or polyethylene lateral pipe rated for at least 150 PSI. The sections below walk through every stage of planning, sizing, and installing a system that actually holds up season after season.
Start With a Site Assessment, Not a Sprinkler Catalog
Most irrigation failures trace back to a system designed before the site was actually measured. Before buying a single irrigation plastic sprinkler head or foot of pipe, walk the property and record three things: sun exposure per zone, soil infiltration rate, and existing water pressure at the source.
To check infiltration, dig a hole roughly 12 inches deep and 6 inches wide, fill it with water, let it drain completely, then fill it again and time how long the second fill takes to drain. Sandy soil typically drains at more than 2 inches per hour, loam drains at around 1 inch per hour, and clay-heavy soil can drop below 0.25 inches per hour, which directly affects how long each zone should run without runoff.
| Soil Type | Infiltration Rate | Recommended Cycle |
|---|---|---|
| Sandy | Above 2 in/hr | Short, frequent cycles |
| Loam | About 1 in/hr | Moderate, twice weekly |
| Clay | Below 0.25 in/hr | Multiple short cycles to prevent runoff |
Measure Water Pressure and Flow Before Designing Zones
Every irrigation system is built around two numbers: static water pressure (measured in PSI) and flow rate (measured in gallons per minute, or GPM). Attach a pressure gauge to an outdoor spigot with all other fixtures off to get static pressure. Then, using a 5-gallon bucket and a stopwatch, time how long it takes the spigot running at full open to fill the bucket, and divide 5 by that time in minutes to get GPM.
Most residential irrigation plastic sprinkler heads need between 25 and 45 PSI and 2 to 4 GPM per head to spray correctly. If measured pressure falls outside this range, a pressure-regulating valve or booster pump should be added before the system is designed further, not after installation.
Quick Flow Math for Zone Planning
- Total available GPM ÷ GPM per sprinkler head = maximum heads per zone
- If your source delivers 10 GPM and each head uses 2.5 GPM, a single zone should carry no more than 4 heads
- Drip zones behave differently: most drip emitters use 0.5 to 1 GPH (gallons per hour, not minute), allowing far more emitters per zone
Choosing Between Drip Lines and Irrigation Plastic Sprinkler Heads
Very few yards are served well by a single irrigation method. Open turf areas are almost always better served by rotor or spray-style irrigation plastic sprinkler heads, which throw water across a wide arc efficiently, while planting beds, vegetable rows, and containers respond better to drip irrigation, which applies water directly at the root zone and loses far less to evaporation and wind drift.
| Method | Best For | Typical Water Efficiency |
|---|---|---|
| Spray sprinkler heads | Small lawns, tight corners | 50 to 70 percent |
| Rotor sprinkler heads | Medium to large open lawns | 65 to 80 percent |
| Drip emitters and tubing | Beds, shrubs, vegetables, containers | 85 to 90 percent |
A hybrid layout, using drip irrigation for roughly 30 to 40 percent of a typical residential landscape and sprinkler coverage for the rest, is the arrangement most professional designers default to because it matches the delivery method to the plant type instead of forcing one solution across the whole yard.
Step-by-Step: Building the System
1
Sketch the Layout to Scale
Draw the property to scale on graph paper, marking the water source, structures, planting beds, turf areas, slopes, and any existing hardscape. This drawing becomes the reference for zoning and pipe routing later.
2
Group Zones by Water Need
Separate turf from beds, sun from shade, and slopes from flat ground. Each group becomes its own zone with its own valve, since mixing plant types with different water needs on one valve is one of the most common design mistakes.
3
Install the Backflow Preventer and Main Valve
Connect to the water source through a backflow preventer to keep irrigation water from siphoning back into the potable supply, followed by a shutoff valve and, where pressure runs high, a pressure regulator rated for the system's maximum flow.
4
Trench and Lay the Mainline
Dig trenches 8 to 12 inches deep for mainline pipe and 6 to 8 inches for lateral lines, keeping them below the frost line in colder climates. Rigid PVC is the standard mainline material because it resists constant pressure without swelling, while flexible polyethylene tubing is typically used for lateral drip runs.
5
Install Zone Valves and Wiring
Group valves in a single valve box near the main line for easier servicing, then run low-voltage wire from each valve back to the controller location, labeling every wire clearly at both ends before backfilling.
6
Place Sprinkler Heads and Drip Emitters
Space irrigation plastic sprinkler heads for head-to-head coverage, meaning each head's spray reaches the base of its neighbor, which evens out coverage far better than spacing heads at their maximum throw distance. Drip emitters should be placed directly at the root zone of each plant rather than at the outer edge of the canopy.
7
Flush, Test, and Program the Controller
Before attaching heads, run water through open pipe ends to flush out dirt and debris. Then cap heads on, run each zone individually to check for even coverage and leaks, and finally program the controller with run times matched to the soil infiltration data gathered earlier.
Pipe Sizing Reference
Undersized pipe is one of the most common causes of weak, uneven spray from irrigation plastic sprinkler heads. Pipe diameter should be matched to the flow rate it needs to carry, not just to what fits the trench.
| Pipe Diameter | Recommended Max Flow | Common Use |
|---|---|---|
| 0.5 inch | Up to 7 GPM | Short drip and lateral runs |
| 0.75 inch | Up to 12 GPM | Standard lateral lines |
| 1 inch | Up to 18 GPM | Mainline for mid-size systems |
| 1.5 inch | Up to 33 GPM | Mainline for larger properties |
Mistakes That Shorten a System's Lifespan
- Mixing spray heads and rotors on the same zone, which forces one type to overwater while the other stays dry, since the two apply water at very different rates.
- Skipping the pressure regulator, which causes misting at the nozzle, wasted water, and premature wear on seals and gaskets inside every irrigation plastic sprinkler head on the line.
- Burying pipe above the local frost line, which leads to cracked fittings the first freeze of the season.
- Running all zones for the same amount of time regardless of soil type or plant water need, which drowns clay beds while starving sandy turf.
- Skipping the annual system flush, which allows sediment to clog nozzles and drip emitters over one to two seasons.
Seasonal Maintenance Checklist
| Season | Task |
|---|---|
| Spring | Slowly repressurize the system, check every head for even spray, clean or replace clogged nozzles |
| Summer | Adjust run times for heat, check for low-head drainage, trim grass away from head housings |
| Fall | Reduce watering frequency as growth slows, inspect valve boxes for debris |
| Winter | Blow out lines with compressed air in freeze-prone climates, shut off and drain the backflow preventer |
What a Typical System Costs
Costs vary widely with yard size, soil conditions, and whether the work is self-installed or contracted, but component-level budgeting makes planning far more predictable than a single lump estimate.
Controller
$60 to $300
Zone Valve
$8 to $20 each
Sprinkler Head
$3 to $15 each
Pipe (per 100 ft)
$20 to $60
For a mid-size residential yard, a self-installed system usually lands between $1,500 and $3,500 in materials, while professional installation of the same footprint commonly runs $3,000 to $8,000 once labor and design work are included.
Understanding Your Water Source Before You Design Anything
The water source dictates almost every downstream decision in a system, so it deserves attention before pipe layout or zoning is finalized. Most residential systems draw from one of three sources, and each behaves differently under sustained irrigation demand.
Municipal Water Connections
City water supplies are generally stable in pressure but can fluctuate during peak household demand hours, typically early morning and early evening. Because irrigation systems compete with indoor plumbing on the same meter, running zones during off-peak hours, usually between 4 a.m. and 8 a.m., avoids pressure drops caused by neighbors showering or washing dishes at the same time.
Private Wells
Wells introduce a second variable beyond pressure: recovery rate, meaning how quickly the well replenishes after being drawn down. A well that recovers slowly needs zones sized conservatively, often running fewer irrigation plastic sprinkler heads per zone than a municipal-fed system of the same size, so the pump never runs the well dry mid-cycle. A flow test at the pump, not just at the spigot, gives a more accurate number for zone planning.
Rainwater and Greywater Supplement Systems
Some properties supplement potable water with harvested rainwater stored in tanks or cisterns, typically feeding drip zones through a small booster pump since gravity-fed pressure alone is rarely sufficient for sprinkler heads. These supplemental sources work best paired with drip irrigation rather than spray heads, since drip tolerates lower and less consistent pressure far better.
Sprinkler Head Types Explained in Depth
Not all irrigation plastic sprinkler heads behave the same way, and choosing the wrong type for a given area is one of the most common reasons a system looks uneven within the first season. Each type has a distinct precipitation rate, meaning how quickly it applies water to the ground, and mixing precipitation rates on one zone is what causes soggy patches next to dry ones.
Fixed Spray Heads
Fixed spray heads cover a set pattern, typically a quarter, half, or full circle, at a fairly high precipitation rate of around 1.5 to 2 inches per hour. They suit small, geometric lawn areas but tend to waste water on odd-shaped or narrow strips because their spray pattern cannot be fine-tuned.
Rotor Heads
Rotor heads throw a single stream of water in a slow rotating arc, applying water more slowly, usually 0.5 to 1 inch per hour, over a much larger radius than fixed sprays. This makes them the standard choice for open lawns over roughly 1,000 square feet, since fewer heads are needed to cover the same footprint.
Multi-Stream Rotary Nozzles
These retrofit onto standard spray bodies but emit several rotating streams instead of a single fan pattern, dropping precipitation rate down near 0.4 to 0.7 inches per hour. They are popular for retrofitting older systems because they cut water use significantly without changing existing pipe or valve infrastructure.
Drip Emitters and Micro-Sprayers
Point-source drip emitters deliver a fixed number of gallons per hour directly to one plant, while micro-sprayers cover a small radius with a fine mist, useful for densely planted beds where individual emitters would be impractical. Both operate at far lower flow and pressure than any spray or rotor head.
Smart Controllers and Weather-Based Scheduling
Traditional timers run a fixed schedule regardless of actual conditions, which means they either overwater after a rainy week or underwater during a heat spike. Smart controllers solve this by adjusting run times automatically based on real data rather than a preset calendar.
| Controller Type | How It Adjusts | Typical Water Savings |
|---|---|---|
| Standard timer | Fixed schedule, manual changes only | None built in |
| Rain sensor add-on | Skips cycles after measurable rainfall | Roughly 10 to 15 percent |
| Evapotranspiration (ET) controller | Calculates plant water loss from local weather data | Roughly 15 to 30 percent |
| Soil moisture sensor system | Waters only when in-ground sensors detect dry soil | Roughly 20 to 35 percent |
For most residential setups, an ET-based smart controller paired with a basic rain sensor covers the majority of potential savings without the added cost of a full soil-sensor network, which tends to make more financial sense on larger commercial-scale sites.
Adjusting Schedules by Climate and Season
A run schedule that works in spring is almost never correct by midsummer, and copying a generic watering chart from a different climate zone is a common reason new systems either underperform or waste water. Adjustments should track both temperature and regional rainfall patterns.
| Climate Type | General Watering Pattern |
|---|---|
| Arid / desert | Frequent short cycles to counter fast evaporation, drip strongly favored over spray |
| Humid subtropical | Fewer cycles overall, rain sensor use strongly recommended |
| Mediterranean | Heavy summer reliance on irrigation, minimal winter watering needed |
| Cold continental | Short irrigation season, mandatory winterization before freeze |
Winterization in Freeze-Prone Climates
Water left inside pipe, valves, or an irrigation plastic sprinkler head over winter expands as it freezes, and that expansion is what cracks fittings and splits pipe joints. Winterization removes that risk before the first hard freeze.
- Shut off the main water supply to the irrigation system at the backflow preventer
- Open drain valves at the low points of the system, if installed, to let gravity clear standing water
- Use compressed air, typically at 40 to 60 PSI for PVC systems, to blow remaining water out through each zone one at a time
- Insulate the backflow preventer and any above-ground piping with foam sleeves or wrap
- Set the controller to rain mode or power it down entirely for the season
Never exceed 80 PSI when blowing out lines with compressed air, since pressure that high can damage seals inside valves and sprinkler heads even though the pipe itself may tolerate it.
Troubleshooting Common Problems
| Symptom | Likely Cause | Fix |
|---|---|---|
| Weak, misty spray | Pressure too high, or nozzle worn | Install or adjust pressure regulator, replace nozzle |
| One head noticeably weaker than others | Clogged nozzle or filter screen | Remove and rinse nozzle and filter |
| Soggy patch around one head | Low-head drainage or a cracked seal | Install a check valve head or replace the seal |
| Zone will not shut off | Debris stuck in the valve diaphragm | Open the valve, clean the diaphragm and seat |
| Brown patches despite regular watering | Uneven coverage from wide head spacing | Add heads or move to head-to-head spacing |
Water Conservation Techniques Worth Building In
Efficiency is easier to design in from the start than to retrofit later. A handful of additions, most of them inexpensive relative to total system cost, meaningfully cut long-term water use.
Cycle and Soak Programming
Rather than running a zone for one long stretch, splitting the same total run time into two or three shorter cycles with a rest period between them lets water soak in rather than run off, particularly important on clay soil or sloped ground.
Check Valves at Low Points
On sloped yards, water left in the pipe after a cycle drains out through the lowest sprinkler head, creating a puddle every time the system shuts off. A built-in check valve inside the head prevents this low-head drainage entirely.
Mulching Around Drip Zones
A 2 to 3 inch layer of mulch over drip tubing reduces surface evaporation significantly and helps maintain more even soil moisture between cycles, letting the system run less often overall.
DIY Installation vs. Hiring It Out
Both approaches are common, and the right choice usually comes down to yard complexity and available time rather than skill alone.
| Factor | DIY | Professional Install |
|---|---|---|
| Upfront cost | Materials only | Materials plus labor and design |
| Time investment | Several weekends for a mid-size yard | Typically completed in 1 to 3 days |
| Best suited for | Smaller, simpler lots with flat terrain | Complex layouts, slopes, mixed zoning needs |
| Design accuracy | Depends on careful manual calculation | Typically supported by design software and site experience |
Frequently Asked Questions
How deep should irrigation pipe be buried?
Mainline pipe is typically buried 8 to 12 inches deep, and lateral lines 6 to 8 inches, though depth should always increase in regions with deeper frost lines to prevent winter cracking.
How many sprinkler heads can one zone support?
It depends entirely on available GPM. Divide your source's total flow rate by the GPM rating printed on each irrigation plastic sprinkler head to find the maximum number that zone can run without a pressure drop.
Is PVC or polyethylene pipe better for irrigation?
Rigid PVC holds pressure well and is the standard for mainlines, while flexible polyethylene tubing bends around obstacles more easily and is commonly used for lateral and drip runs, especially in rocky soil.
How often should an irrigation system run each week?
Most established lawns need the equivalent of about 1 to 1.5 inches of water per week, split across 2 to 3 sessions rather than one long soak, adjusted up or down based on soil type and rainfall.
Can drip irrigation and sprinkler heads run on the same system?
Yes, as long as each method has its own dedicated valve and zone. Drip and spray should never share a zone because they apply water at very different rates and pressures.
What is head-to-head coverage and why does it matter?
Head-to-head coverage means each sprinkler head's spray reaches the base of the next head over, rather than stopping halfway. This overlap is what evens out coverage across a zone; spacing heads at their maximum throw distance instead almost always leaves dry gaps between them.
Do I need a pressure regulator if my water pressure seems fine?
If measured static pressure sits comfortably within the 25 to 45 PSI range most heads are rated for, a regulator is optional. Above that range, misting, fogging, and premature wear on nozzles and seals become common enough that a regulator typically pays for itself within a season or two.
What is the best time of day to run irrigation?
Early morning, generally between 4 a.m. and 8 a.m., is considered ideal because wind is typically calmer, evaporation is lower than midday, and foliage has time to dry before evening, which reduces conditions favorable to fungal growth on turf.
How long does an irrigation system typically last?
With regular seasonal maintenance and proper winterization where needed, PVC mainlines and valves commonly last 15 to 20 years, while individual sprinkler heads and drip emitters, being more exposed to UV and mechanical wear, are usually replaced every 5 to 10 years.
Why does one section of my new system have low pressure while the rest works fine?
This is usually a sign that a single zone has been sized past what the pipe or water source can support, meaning too many heads were placed on one valve. Splitting the zone into two smaller zones on separate valves resolves the pressure drop without changing head count overall.
Should I water my lawn every day?
Daily light watering trains roots to stay shallow near the surface, making turf less drought-tolerant over time. Deeper, less frequent watering, typically 2 to 3 sessions per week delivering around 1 to 1.5 inches total, encourages roots to grow downward and generally produces healthier, more resilient grass.
Prev:How to Set Up an Irrigation System: Step-by-Step DIY Installation GuideNext:How Many GPH Is a Garden Hose? Flow Rate Guide & Chart
Related products
-
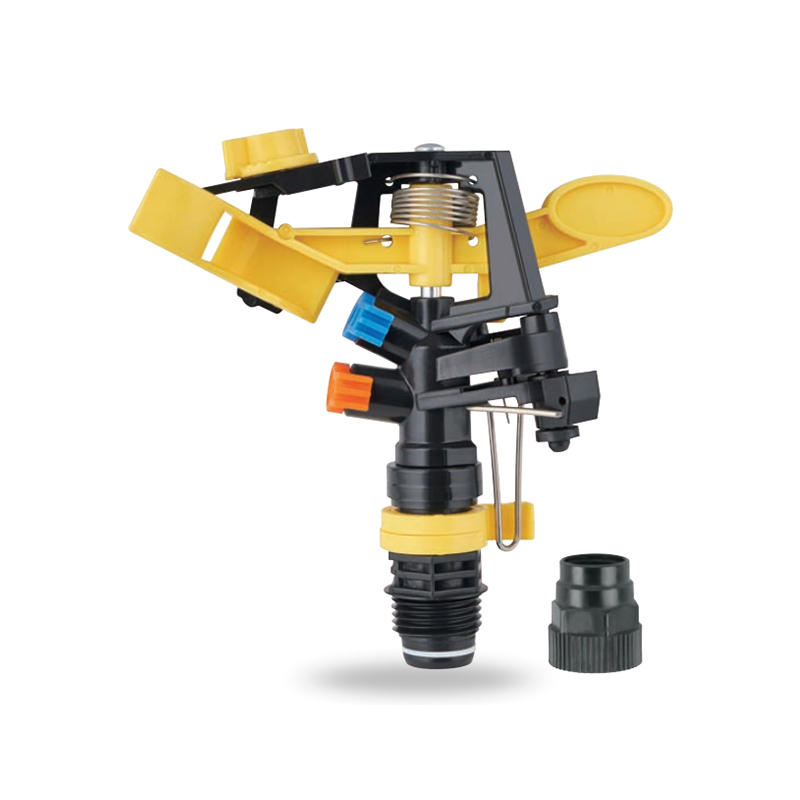
Impact sprinkler for agricultural irrigation is a common and efficient agricultural irrigation tool designed for large areas of farmland. Its unique structure can evenly cover a large area by rotating...
See Details -
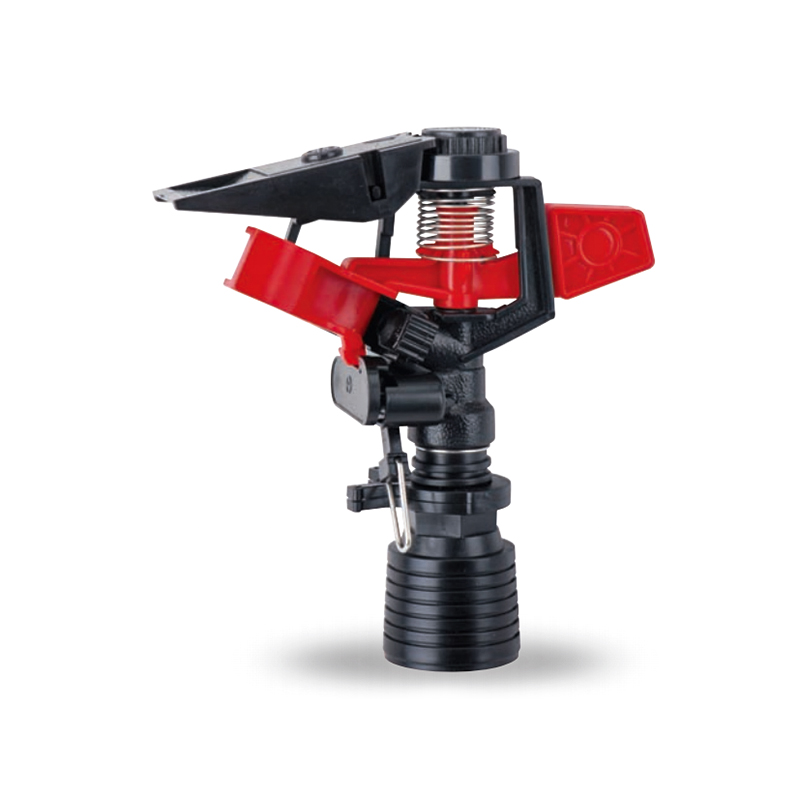
This 360 degree adjustable rocker arm nozzle impact sprinkler is an essential part of an irrigation system designed to meet a wide range of horticultural and agricultural needs. Its flexible adjustmen...
See Details -
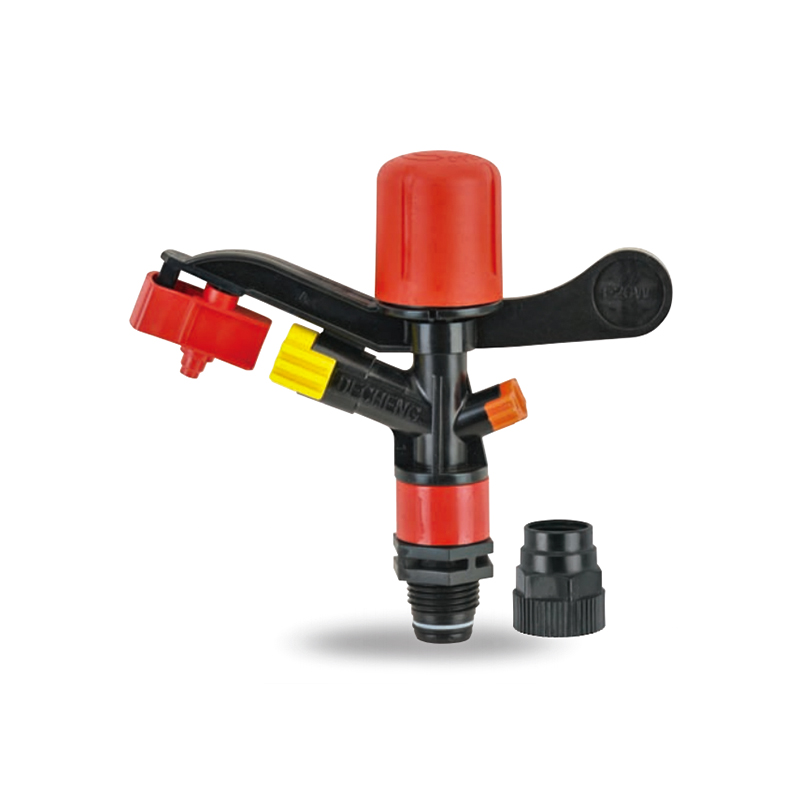
The Plastic Full-Circle Impact Sprinkler Sprayer is a highly efficient full-circle irrigation device designed to provide even moisture coverage. Its lightweight plastic material makes this sprinkler e...
See Details -
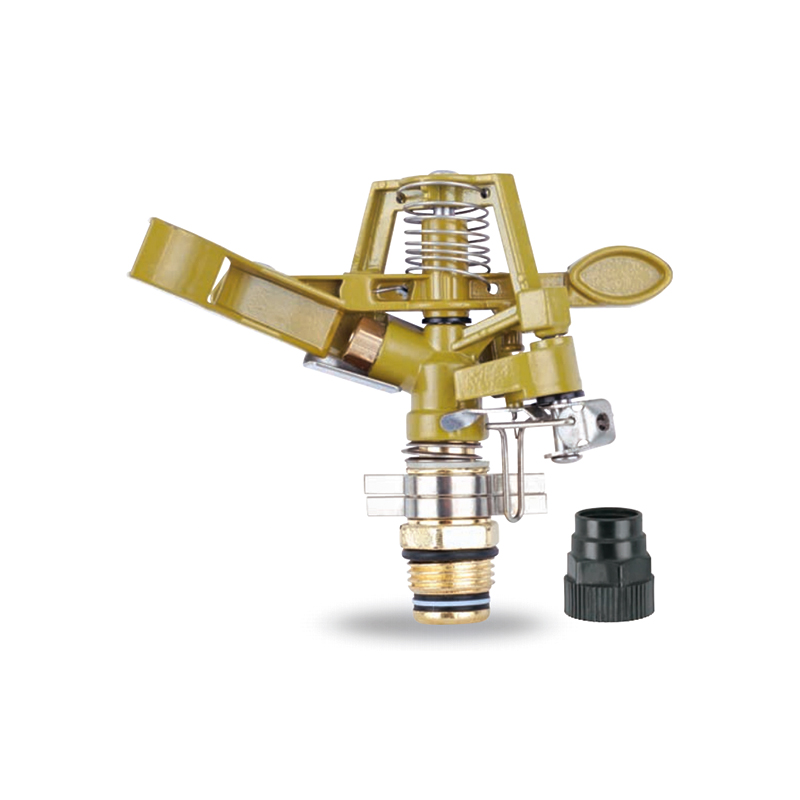
The Irrigation System Adjustable Head Mobile Rotary Zinc Sprinkler is an efficient rotary sprinkler designed for flexible irrigation needs. Its adjustable head allows the user to easily adjust the dir...
See Details -
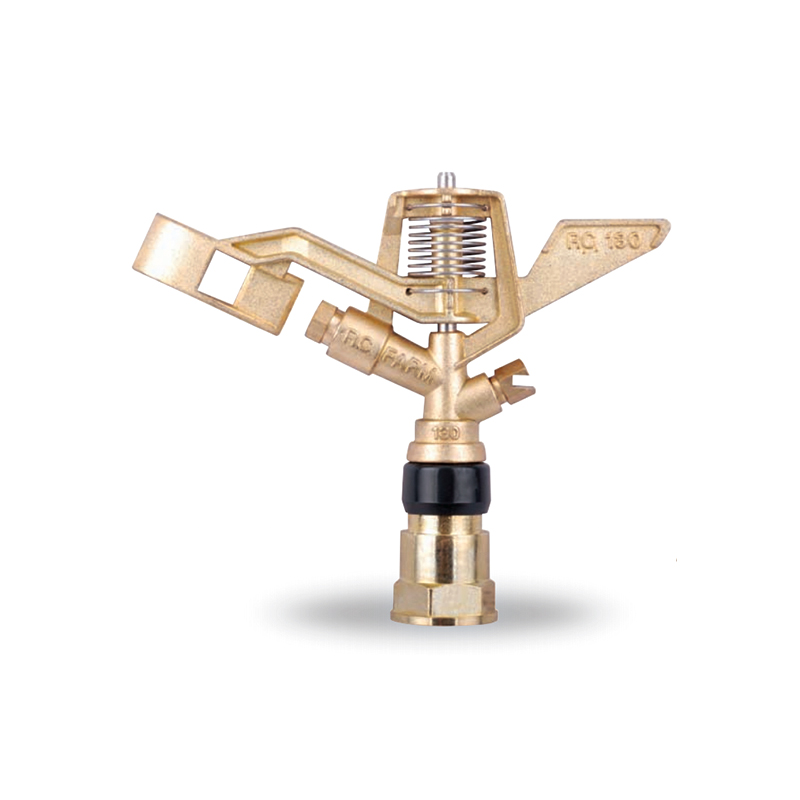
This 3/4” Zinc Alloy Swivel Arm Irrigation Watering System Impact Sprinkler is ideal for agricultural irrigation systems due to its superior durability and corrosion resistance. Its rugged constructio...
See Details -
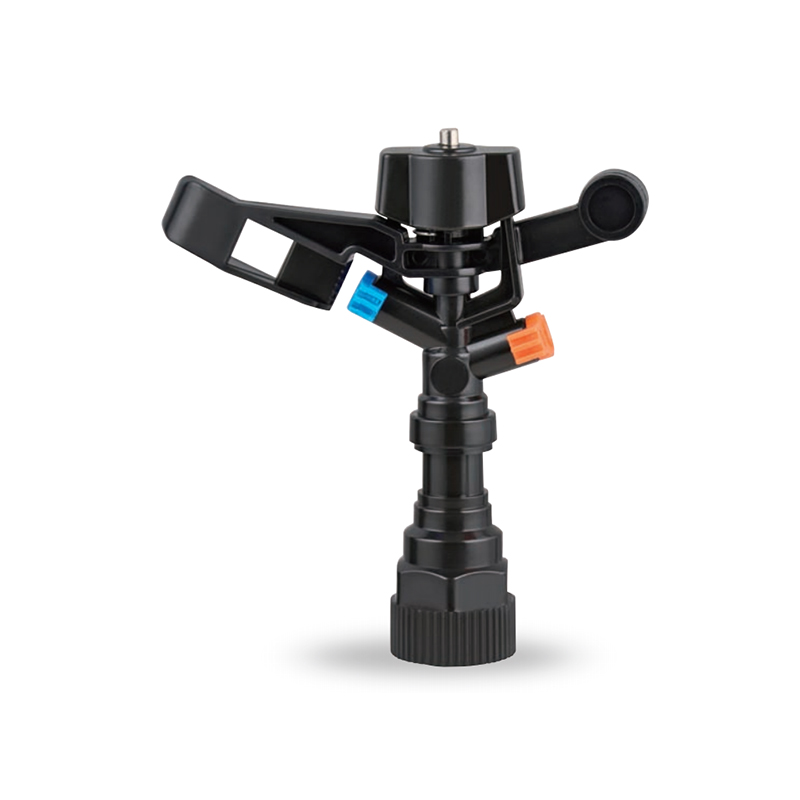
The Double nozzle garden farm impact full-circle sprinkler is well-designed to efficiently and evenly spray water, thus enhancing the quality of crop growth. Whether it's in the home garden or on a la...
See Details -
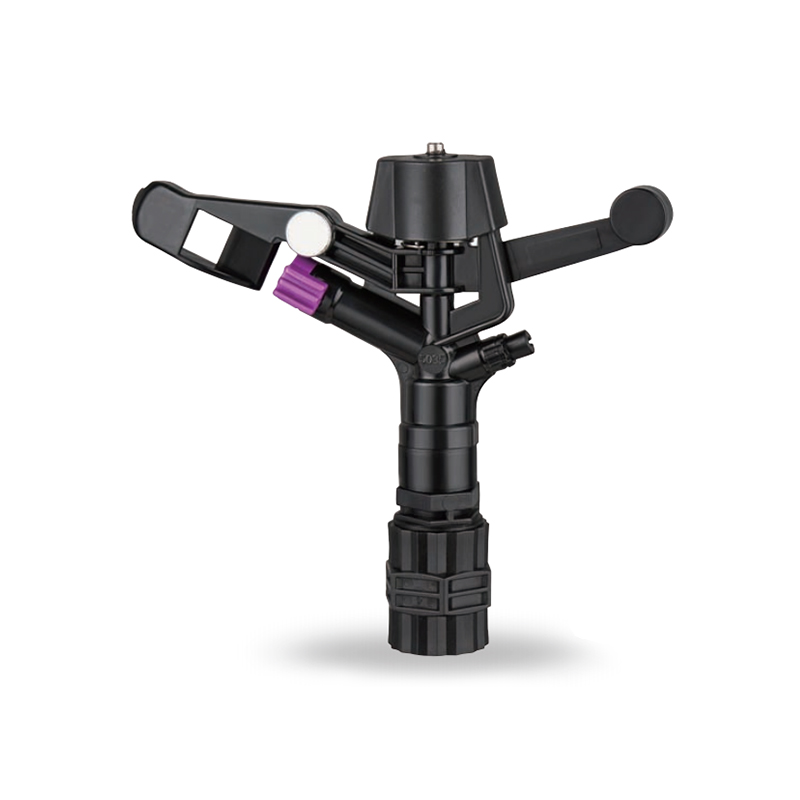
Double nozzle agricultural water plastic impact sprinkler for irrigation sprinkler combines practicality and durability with a dual nozzle system that provides extensive water coverage for a wide rang...
See Details -
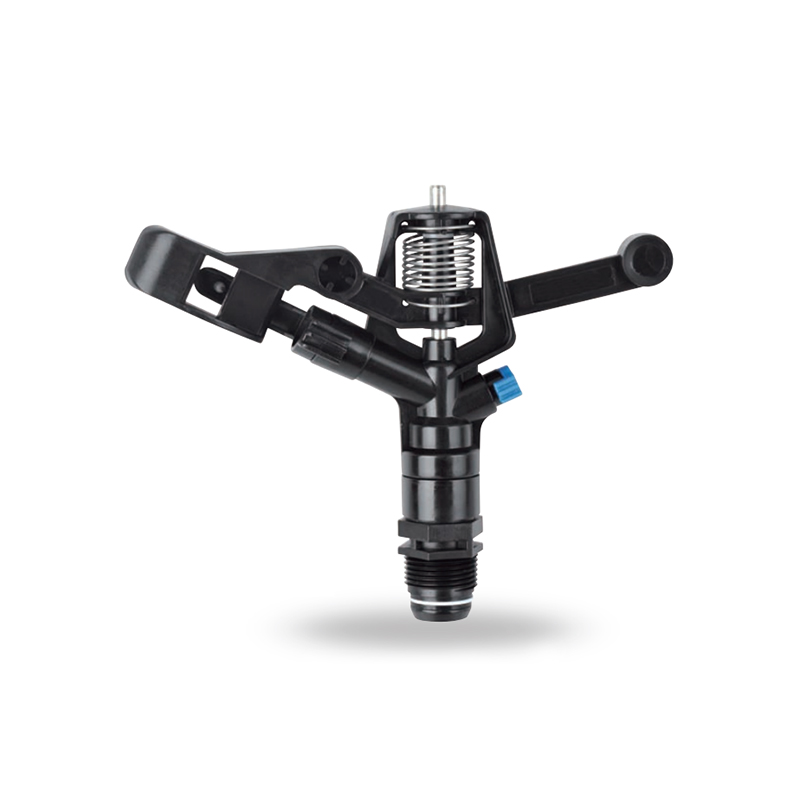
The POM agricultural irrigation sprinkler water impact sprinkler is known for its excellent abrasion resistance and durability, ensuring consistent performance over time. It is designed to increase wa...
See Details -
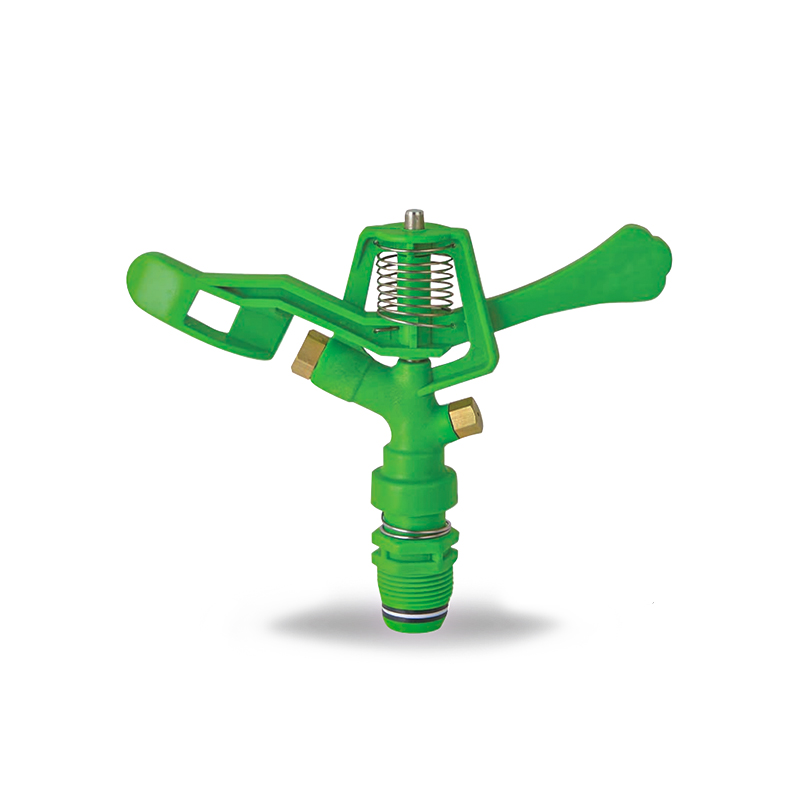
The POM Agricultural Irrigation Sprinkler with Metal Nozzles is a device designed for efficient irrigation, combining premium polyacetal (POM) material with durable metal nozzles to ensure superior sp...
See Details -
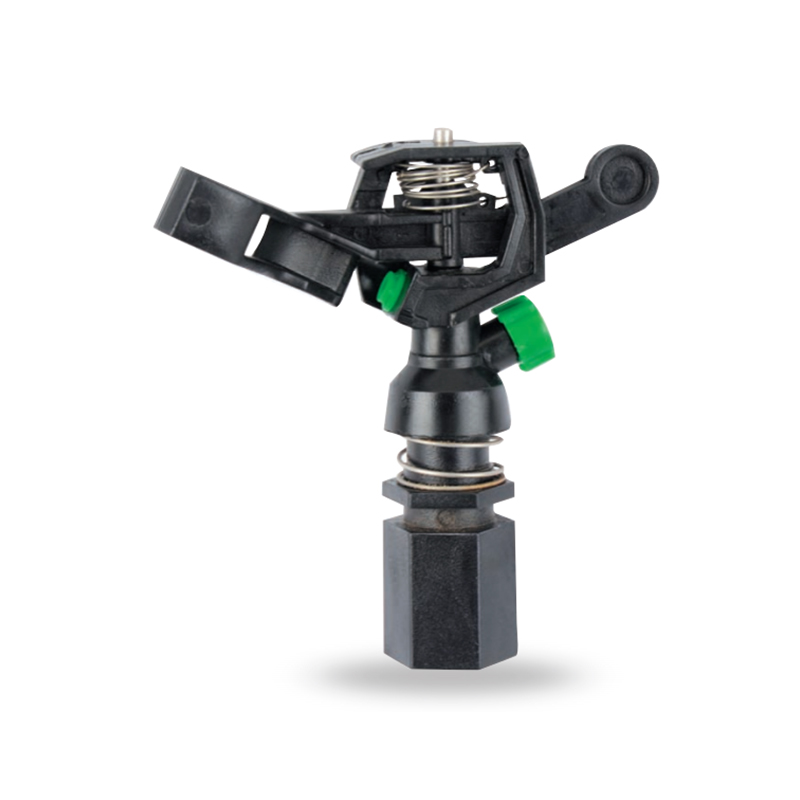
Watering irrigation system 3/4 inch nozzle field Impact Sprinkler is perfect for field irrigation and easily meets the water needs of large crops. Its powerful spray ensures that every nook and cranny...
See Details -
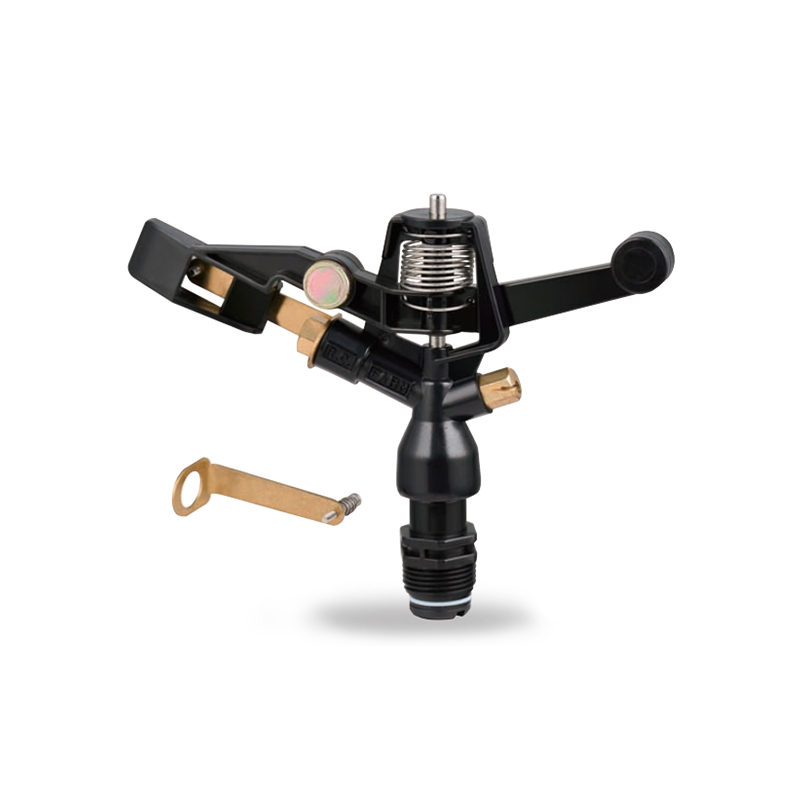
The POM Agricultural Irrigation Sprinkler with Brass Nozzles is an efficient and durable irrigation device designed to meet a wide range of agricultural needs. The sprinkler is made of polyacetal (POM...
See Details -
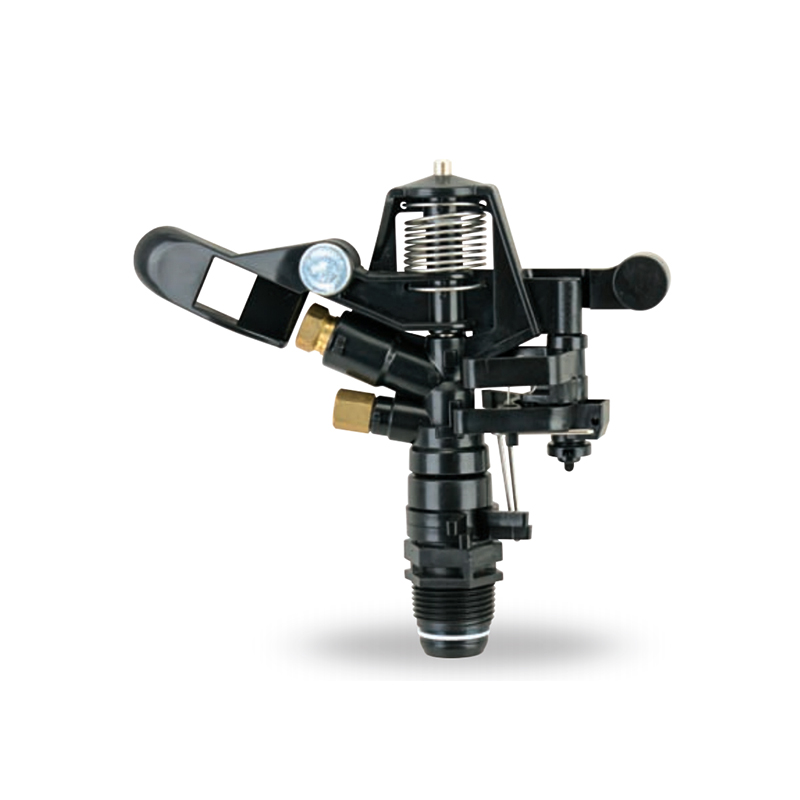
The Double Nozzle Garden Farm Impact Part-Circle Sprinkler is a highly efficient garden irrigation device designed for large planting areas. Its double nozzle design produces a strong, even stream of ...
See Details


PRODUCTS & SERVICES

CONTACT US
 No.518, Ruihao Road, Lizhou Street, Yuyao City, Zhejiang Province, China
 +86-13105554615 / +86-18005843886
 decheng@dcssq.com fredzhu@dcssq.com
 LISA
LISA
 Fred Zhu
Copyright © Ningbo Dewo Irrigation Equipment Co., Ltd. All Rights Reserved. China Agricultural Plastic Sprinkler Manufacturers Wholesale Irrigation Plastic Sprinkler Factory
