

 Search for...
 English
 Español
 中文简体
中文简体How to Set Up an Irrigation System: Step-by-Step DIY Installation Guide
Content
- 1 Start With the Right System, Not the Wrong Trenches
- 2 Measure Water Flow and Pressure Before Any Design Work
- 3 Map the Zone Before You Dig
- 4 Select Components That Match Your Water and Plants
- 5 Lay Out the Main Line and Lateral Lines
- 6 Install Emitters, Sprinklers, and Valves
- 7 Flush, Test, and Fine-Tune the Finished System
- 8 Common Installation Mistakes and How to Prevent Them
- 9 Maintenance That Keeps the System Working
- 10 Frequently Asked Questions
Start With the Right System, Not the Wrong Trenches
The fastest way to set up an irrigation system is to choose a drip or sprinkler layout that matches your plants, confirm you have at least 5–15 gallons per minute at 30–60 PSI, lay a main supply line with a filter and shut-off valve, install the emitters or sprinklers, then flush every line before first use. Get those five decisions right, and the rest is just assembly.
Drip systems deliver small, targeted amounts to individual roots; sprinkler systems throw water over a wider area; micro-spray and mist systems sit in between for delicate foliage. The right choice depends on crop type, soil, and how much labor you want to spend. If you want a full walk-through of the sprinkler route, our step-by-step sprinkler installation guide covers the same sequence in more detail.
| System Type | Best For | Typical Pressure | Flow per Zone |
|---|---|---|---|
| Drip | Vegetable rows, containers, landscape beds | 20–30 PSI | 0.5–4 GPM per line |
| Impact sprinkler | Lawns, orchards, large field crops | 30–50 PSI | 4–12 GPM per head |
| Micro-spray | Garden beds, nursery areas, mist propagation | 25–40 PSI | 1–3 GPM per line |
Measure Water Flow and Pressure Before Any Design Work
Most irrigation failures come from guessing instead of measuring. A pump or municipal supply may look adequate until you run three sprinklers at once and watch the pressure drop from 50 PSI to 20 PSI. That is why the first half hour of any installation should be spent with a stopwatch and a pressure gauge.
- Attach a pressure gauge to the sill cock or hose bib and read the static pressure with all other taps closed. Write down the number in PSI.
- Open the tap fully and fill a 5-gallon bucket, timing how many seconds it takes to fill. If it takes 60 seconds, you have about 5 GPM; 30 seconds means about 10 GPM.
- Subtract 10–15 PSI for losses through backflow preventers, filters, and shut-off valves. The resulting number is your usable system pressure.
For drippers, 20–30 PSI is normally enough. Impact sprinklers work best in the 30–50 PSI range. If your usable pressure is above 60 PSI, install a pressure regulator before the main line; if it is below 25 PSI, use a smaller number of emitters per zone or add a booster pump. These ranges come from standard irrigation practice used across residential and agricultural projects.
Map the Zone Before You Dig
A hand-drawn map prevents the two problems that are hardest to fix after installation: putting thirsty plants on the same valve as drought-tolerant shrubs, and running a straight main line through an area you will later want to dig. Use graph paper or a satellite image, then mark every plant group, buried cable line, pathway, and slope change.
Group plants by water need, not by convenience. A sunny lawn can easily need 1.2–1.5 inches of water per week, while a shaded perennial bed might need half that. Keeping them on separate zones means you can run the lawn zone for 20 minutes and the bed zone for 8 minutes without drowning the roots. For help matching plants to emitters, see our breakdown of which plants suit different sprinkler types.
- Draw the location of the water source and the valve manifold in the center of the map so lateral lines run outward in a star pattern.
- Keep each sprinkler zone to a single soil type. Sandy soil absorbs fast but holds little water; clay absorbs slowly and holds more. Mixing them on one zone causes runoff or dry spots.
- Note the static pressure you measured. For every 100 feet of 16 mm lateral line, you can typically carry 1–3 GPM depending on how many emitters are attached. Longer lines demand larger diameter tubing or a separate valve.
Select Components That Match Your Water and Plants
Once the map is finished, the hardware list almost writes itself. You need a main supply line from the tap to the valve manifold, lateral lines from each valve to the plants, a filter to stop sand and debris from clogging emitters, valves to control each zone, and the emitters or sprinklers themselves. Choose parts from the same manufacturer whenever possible so threads and pressure ratings match.
Containers, raised beds, and vegetable rows benefit from a dripper that delivers a set amount regardless of small pressure changes. An adjustable-flow dripper with stake lets you dial in the output from 0 to 10 gallons per hour, which is useful when the same line feeds tomatoes at one end and herbs at the other. The stake keeps the outlet above soil so root uptake stays predictable.
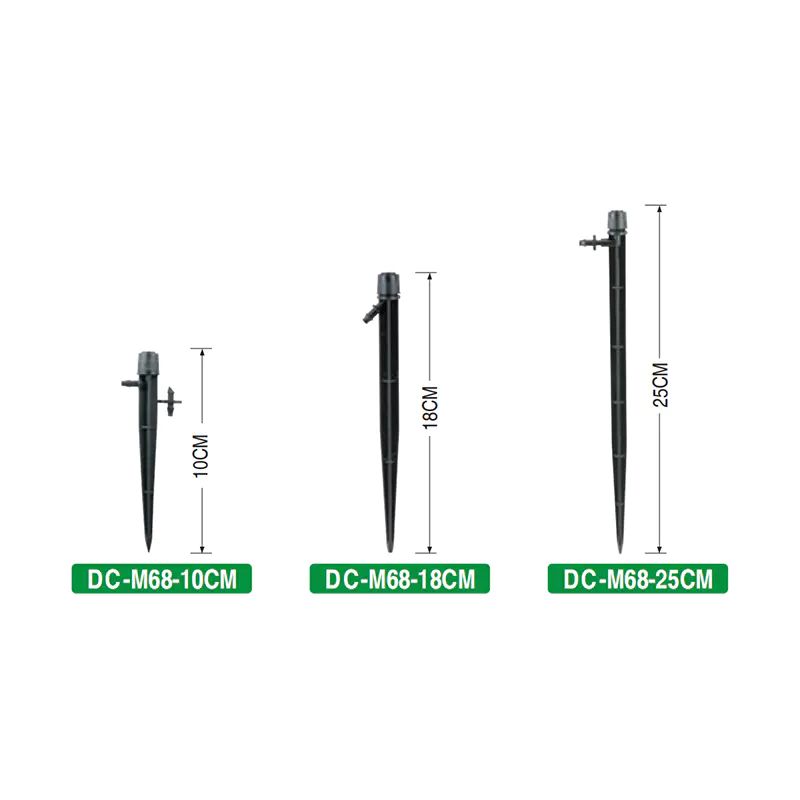 Custom DC-M68 360°Adjustable Flow Suppliers, Company - Ningbo Dewo Irrigation EqNingbo Dewo Irrigation Equipment Co., Ltd is China custom DC-M68 360°Adjustable Flow suppliers and ODM/OEM company,The Full Circle Diffus...View Product →
For lawns or orchards, a machined impact sprinkler gives consistent coverage across a wide radius. Many of our customers choose impact heads because they handle sediment-laden water better than fixed spray nozzles, and the rotating stream is less affected by wind. You can also reduce water waste by running an impact sprinkler at a lower arc angle on breezy days; if you want to understand the water-saving side, read about impact sprinkler’s role in water-saving irrigation.
Lay Out the Main Line and Lateral Lines
Now the physical work starts. Before digging, call your utility locating service if you are burying lines deeper than 10 cm. The standard burial depth is 10–15 cm for drip tubing and 20–30 cm for main and lateral lines that feed sprinklers. In cold climates, go deeper to stay below frost, but that depth usually protects the polyethylene pipe from accidental punctures.
- Lay the main line from the tap to the valve manifold. Use a shut-off valve at the start so you can isolate the whole system for maintenance.
- Cut tubing with a sharp PVC cutter, not a saw, to avoid rough edges that catch debris. Remove all burrs before pushing fittings in.
- Run each lateral line along the shortest path from the valve to the row of plants. Avoid 90° bends if you can use two 45° elbows; sharp turns increase pressure loss.
- Leave the ends of the lateral lines unplugged until after flushing. This is the cheapest insurance against clogged emitters.
Use a hole punch for drip lines instead of cutting the line, then insert a barbed connector that snaps into place. The punch size should match the barb diameter; a 6 mm punch for 6 mm barbs. For bigger main lines, use slip fittings or threaded fittings with PTFE tape on the threads to prevent slow weeping at the connections.
Install Emitters, Sprinklers, and Valves
With the tubing in place, connect the control valves and install the water delivery devices. Put the manifold in a valve box or a sheltered spot where you can turn the water off quickly. Each valve should sit downstream of a filter and, if your static pressure is above 60 PSI, a pressure regulator.
- Connect the manifold to the main line, then mount each valve so it is level and accessible. Label the zone number on the valve lid.
- For drip zones, punch holes in the lateral line and push in the barbed connections. For a vegetable bed, place the emitter within 5–8 cm of the plant stem.
- For lawn or orchard areas, fasten the sprinkler to a stake or a riser. A 30 cm ground-stake sprinkler
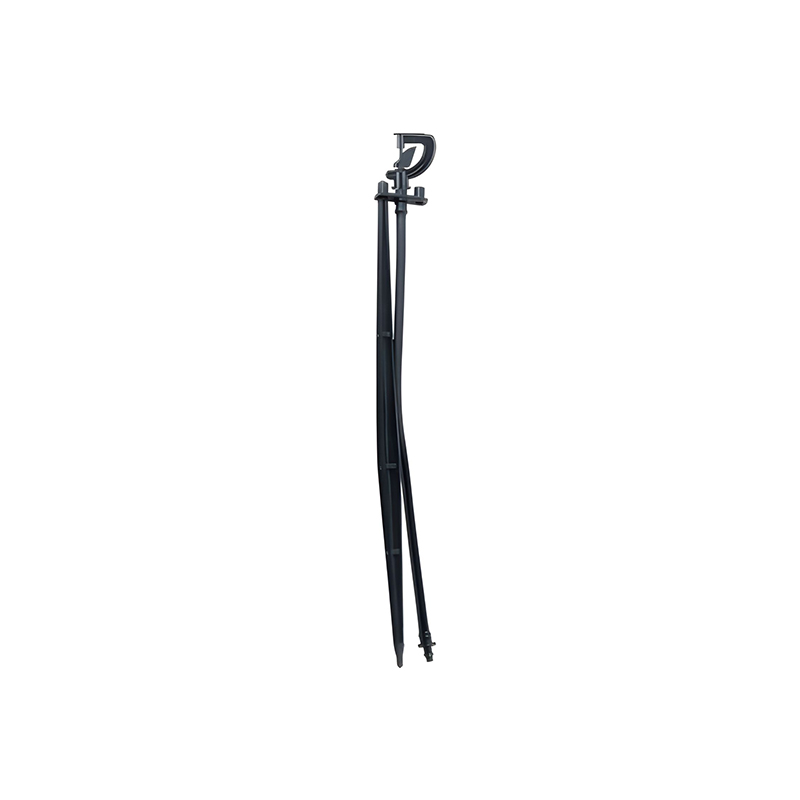 Custom 30cm Ground Stake Sprinkler Suppliers, Company - Ningbo Dewo Irrigation ENingbo Dewo Irrigation Equipment Co., Ltd is China custom 30cm Ground Stake Sprinkler suppliers and ODM/OEM company,The 30cm ground stake...View Product → is a good height for low-growing crops and dense flower beds because it keeps the spray above the foliage without creating a tall obstruction.
 - For large open turf, mount a zinc-alloy swivel-arm impact sprinkler
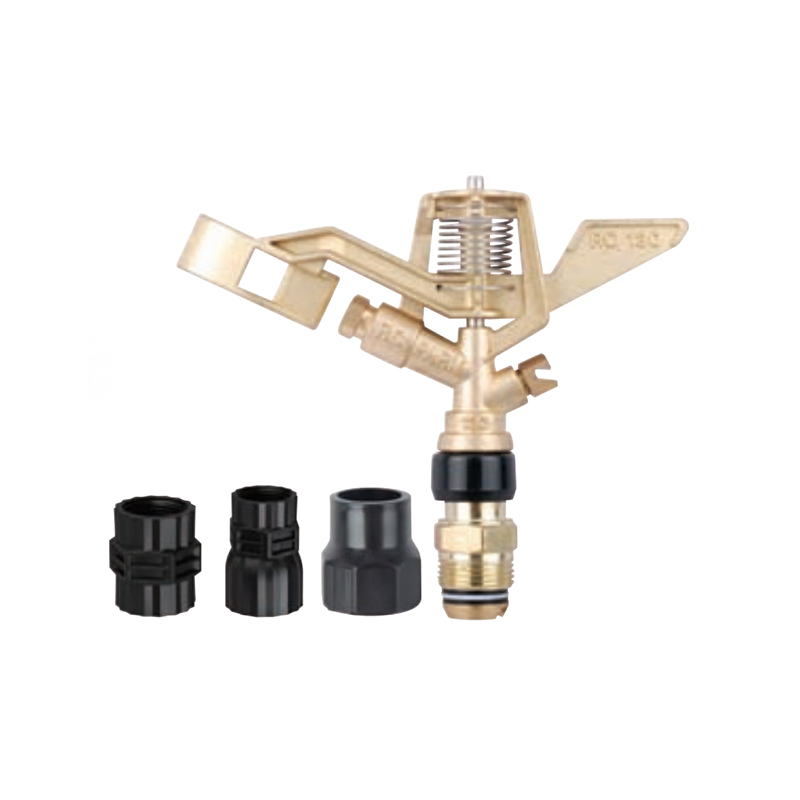 Custom DC-S23(RC-130) 3/4Ningbo Dewo Irrigation Equipment Co., Ltd is China custom DC-S23(RC-130) 3/4View Product → on a riser so the entire head is above the grass. Set the arc pattern so the spray lands on the lawn, not on the sidewalk.
Do not bury the manifold completely. Leaving the valve box lid at grade makes seasonal draining and repair far easier. If you install a solenoid valve for automatic control, wire it to the controller after testing the system manually so you can verify each zone without going back and forth to the tap.
Flush, Test, and Fine-Tune the Finished System
Skipping the flush step is the most common cause of puzzling dry spots after the first week. Polyethylene pipe collects dust, dirt, and small pieces of Teflon tape during installation; if you pressurize the system with those particles in the lines, they settle in the emitters and plug the flow path.
- Open the end caps on every lateral line and let water run for 2–3 minutes or until it runs clear. Only then install the end cap or close the flush valve.
- Turn on each zone one at a time and watch for misting, which indicates too much pressure, or weak streams that stop mid-arc, which indicates too little flow. Adjust the regulator or split the zone into two valves.
- Check every connection for dampness within 10 minutes of pressurizing. A tiny weep at a barbed fitting can waste several gallons per day without ever pooling visibly.
- Set the controller start times to early morning, usually 4 to 6 a.m., so the water soaks in before evaporation rises.
For adjustable drippers, turn the flow dial to about 50% initially. After two weeks, inspect the wetting pattern and adjust up or down based on plant growth. For impact sprinklers, adjust the toggle to set the arc; a full-circle pattern is useful for corners, but a partial arc uses water more efficiently in narrow strips.
Common Installation Mistakes and How to Prevent Them
Even experienced installers make these errors on the first project. They are easy to avoid once you know why they happen.
- Putting the filter downstream of the valve. The filter must be before the valve so debris from the main line is trapped before it can damage the valve seat or plug the emitters.
- Using too many emitters on one line. A 5 GPM supply can handle only about 20 standard 3-GPH drippers per zone. If you need 40, split the zone or use pressure-compensating drippers with lower flow.
- Burying drip line before flushing. Soil gets packed against the tubing and the water pressure can make it hard to see the flush water exit. Always flush while the line is still exposed.
- Not accounting for elevation change. On a slope, gravity adds or subtracts about 0.4 PSI per foot of elevation. A pressure-compensating dripper keeps flow constant whether the plant is at the top or the bottom of the hill.
- Pointing sprinklers into the wind. Set the arc slightly into the wind so the spray carries over the target rather than drifting away. Even a 5 mph breeze can shift the water pattern by a few feet.
Maintenance That Keeps the System Working
A well-installed system still needs a seasonal checkup. The sequence below takes about 20 minutes and prevents 90% of the small failures that lead to expensive repairs.
- Open the filter cap and rinse the screen. In sandy soil, do this every two weeks during peak growing season.
- Run each zone for five minutes and look for geysers at connections, wet grass outside the intended area, or dry spots inside the spray radius.
- Clean emitter orifices with a thin wire or a needle. Do not widen the orifice; changing the diameter changes the flow rate permanently.
- Before winter, drain the main line by opening the drain valve and removing the end caps. For drip systems, coil the tubing or blow it out with compressed air if the climate goes below freezing.
Frequently Asked Questions
What is the easiest irrigation system to set myself?
Drip irrigation is the easiest for most homeowners because it uses low pressure and small tubing that you can cut with scissors. You connect a hose bib to a filter, run a 16 mm main line, poke holes, and insert drippers. No trencher is required if you lay tubing on the surface and cover it with mulch.
How deep should irrigation pipes be buried?
Drip lines can sit 10–15 cm deep when buried, but many gardeners prefer to keep them on top and cover with mulch so they can inspect and move them easily. Main and lateral lines that feed sprinklers should be 20–30 cm deep to avoid accidental damage from aerators or hand tools.
Can I mix drip and sprinkler zones on the same irrigation system?
Yes, as long as each type is on its own zone with its own valve. Drip needs 20–30 PSI while impact sprinklers prefer 30–50 PSI. If you put them on the same zone, the sprinklers drop the pressure and the drippers receive too much or too little water. Using a separate valve per system type solves the problem.
How many emitters can I put on one drip line?
Take the available flow in GPM, subtract the pressure loss, and divide by the emitter flow. A 5 GPM supply with 3 GPH drippers gives you roughly 100 drippers if the tubing is large enough. In practice, keep runs under 150 feet and use no more than 80 emitters per valve to avoid pressure loss at the end of the line.
Do I need a pressure regulator?
If your static pressure is above 60 PSI, install a regulator before the manifold. More important, use a dedicated 25 or 30 PSI regulator for drip zones, because a standard garden hose pressure of 50 PSI will push the small emitters past their rated flow and cause misting, blowouts, and uneven irrigation.
Prev:How Many Drippers Per Line? Flow Rates, Pressure Limits, and Real CalculationsNext:How to Create an Irrigation System: Planning, Sizing & Setup Guide
Related products
-
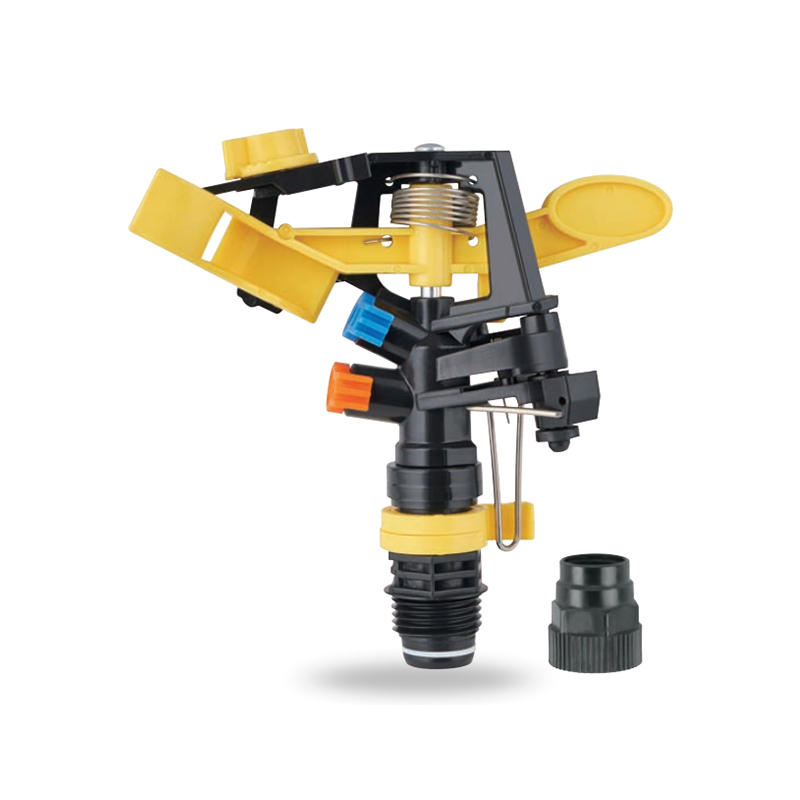
Impact sprinkler for agricultural irrigation is a common and efficient agricultural irrigation tool designed for large areas of farmland. Its unique structure can evenly cover a large area by rotating...
See Details -
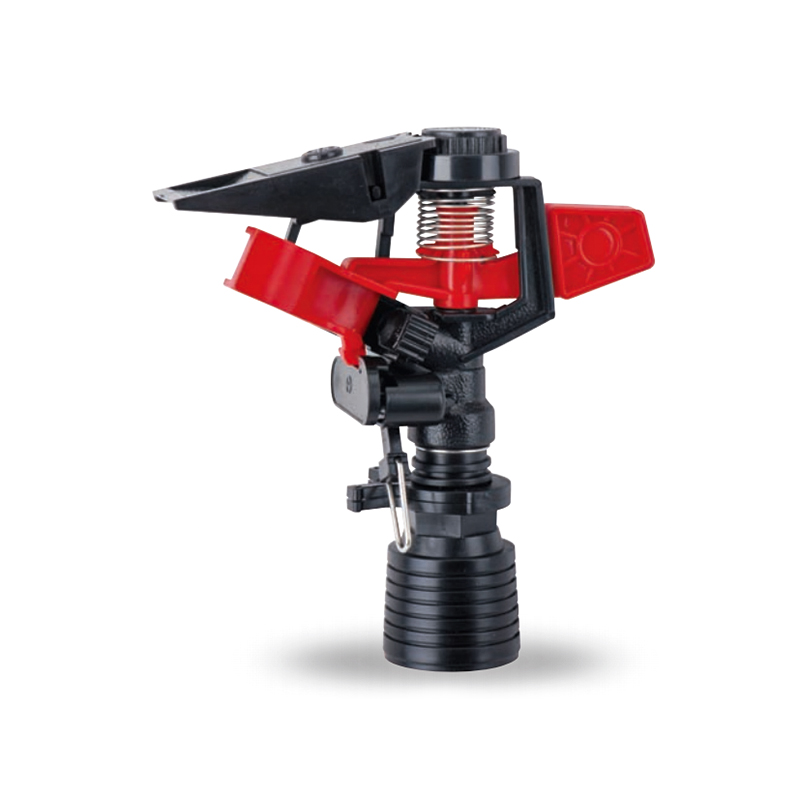
This 360 degree adjustable rocker arm nozzle impact sprinkler is an essential part of an irrigation system designed to meet a wide range of horticultural and agricultural needs. Its flexible adjustmen...
See Details -
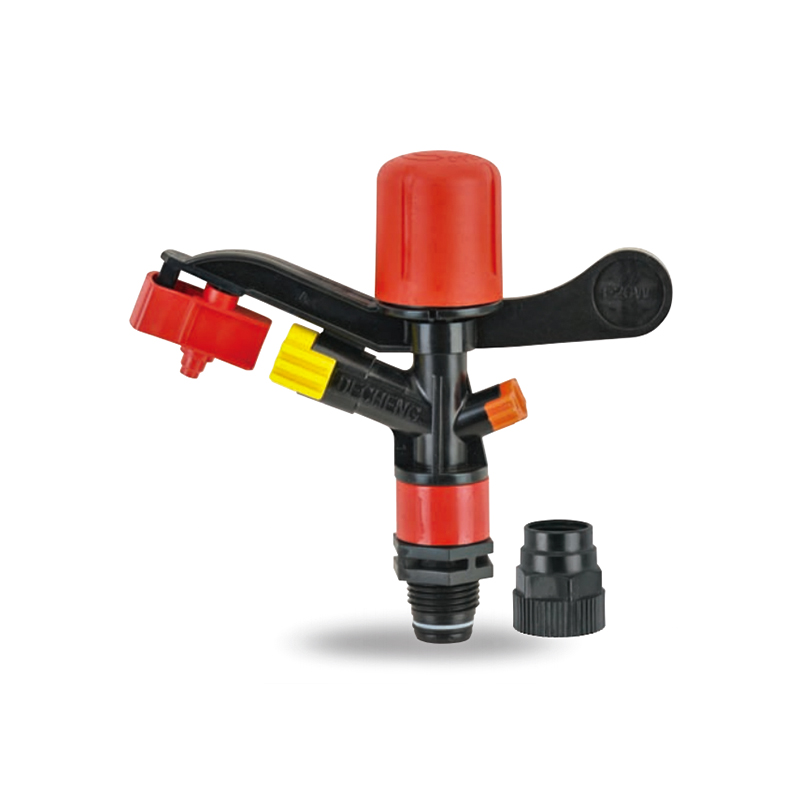
The Plastic Full-Circle Impact Sprinkler Sprayer is a highly efficient full-circle irrigation device designed to provide even moisture coverage. Its lightweight plastic material makes this sprinkler e...
See Details -
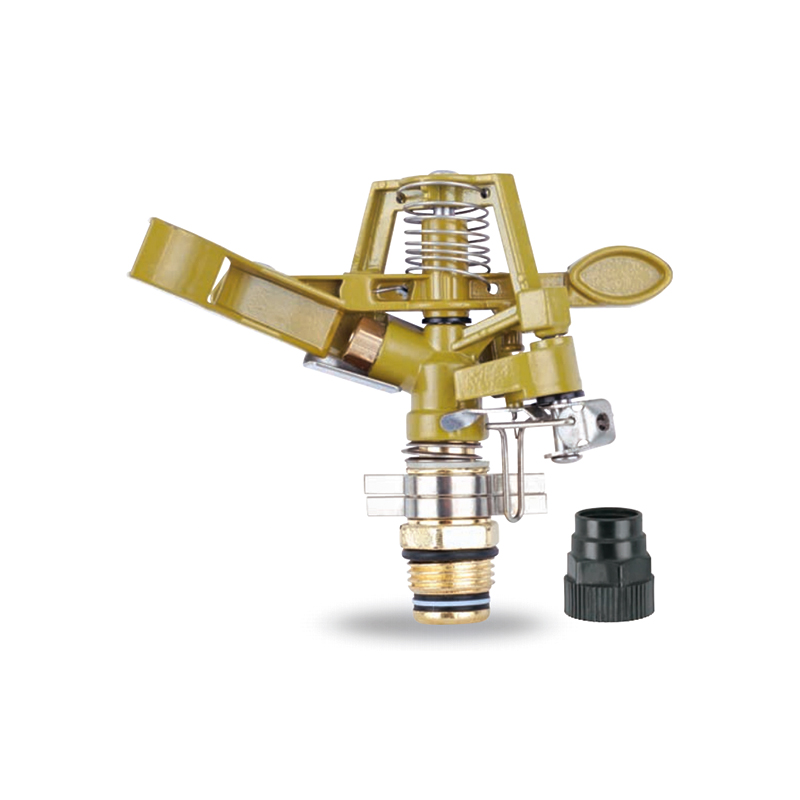
The Irrigation System Adjustable Head Mobile Rotary Zinc Sprinkler is an efficient rotary sprinkler designed for flexible irrigation needs. Its adjustable head allows the user to easily adjust the dir...
See Details -
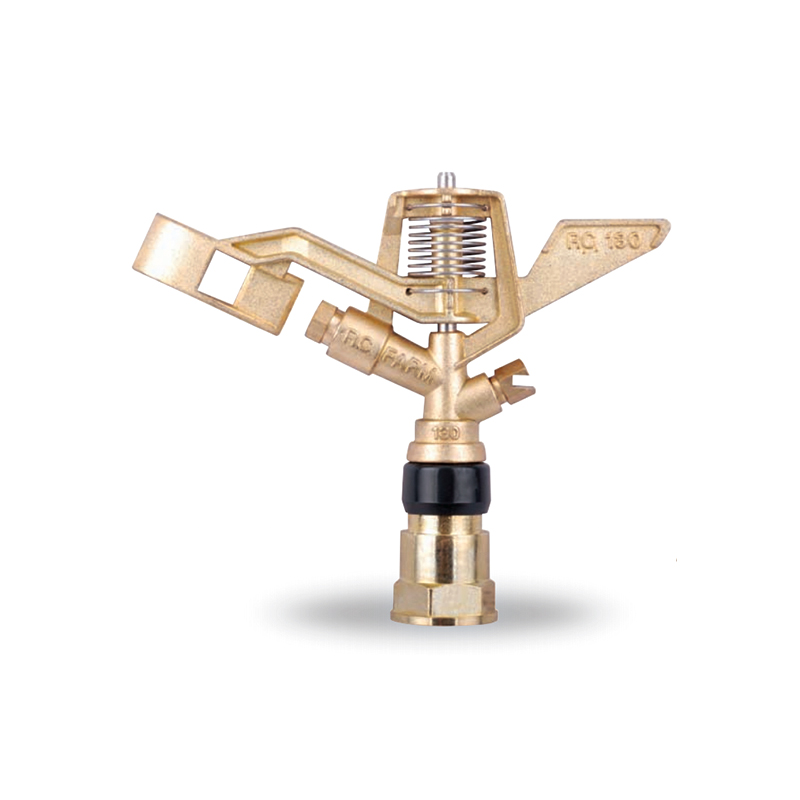
This 3/4” Zinc Alloy Swivel Arm Irrigation Watering System Impact Sprinkler is ideal for agricultural irrigation systems due to its superior durability and corrosion resistance. Its rugged constructio...
See Details -
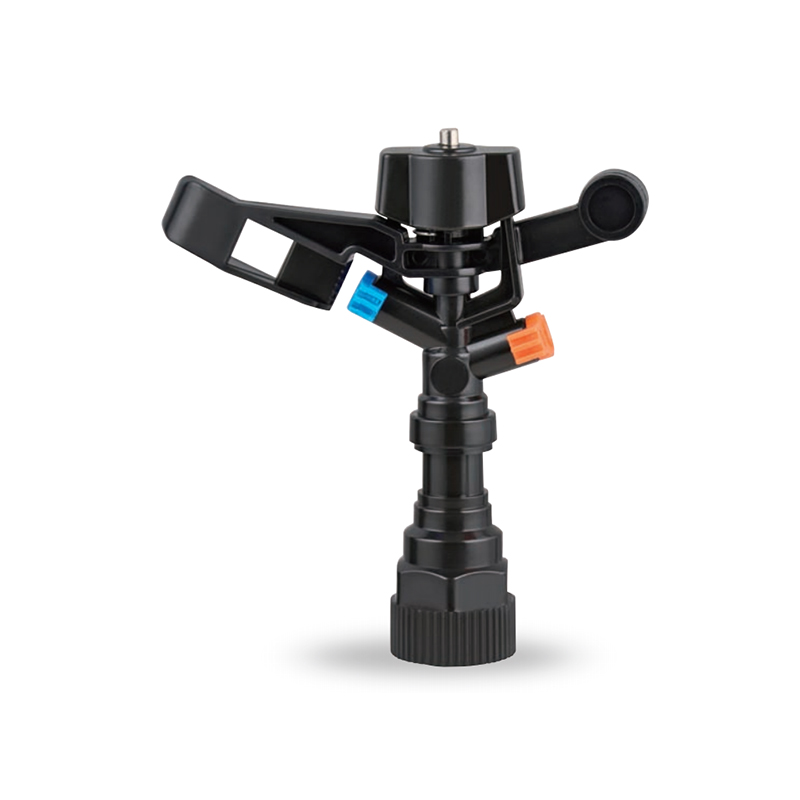
The Double nozzle garden farm impact full-circle sprinkler is well-designed to efficiently and evenly spray water, thus enhancing the quality of crop growth. Whether it's in the home garden or on a la...
See Details -
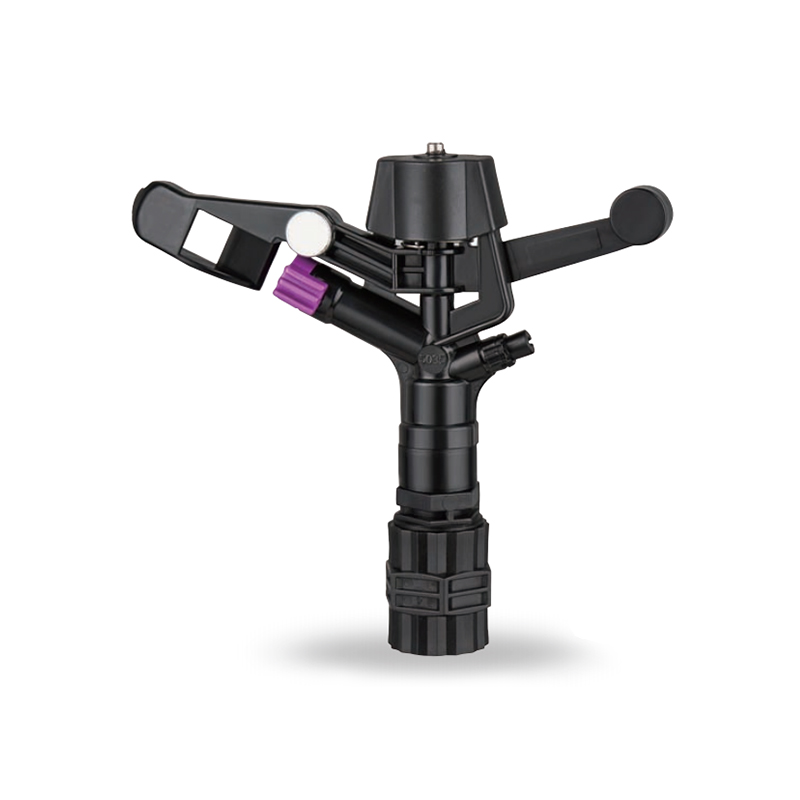
Double nozzle agricultural water plastic impact sprinkler for irrigation sprinkler combines practicality and durability with a dual nozzle system that provides extensive water coverage for a wide rang...
See Details -
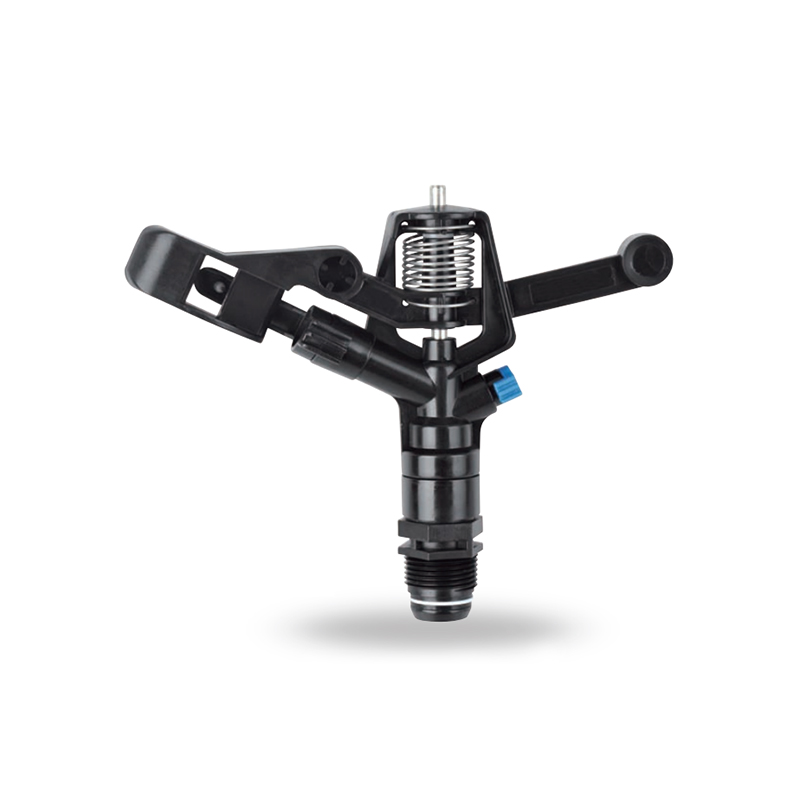
The POM agricultural irrigation sprinkler water impact sprinkler is known for its excellent abrasion resistance and durability, ensuring consistent performance over time. It is designed to increase wa...
See Details -
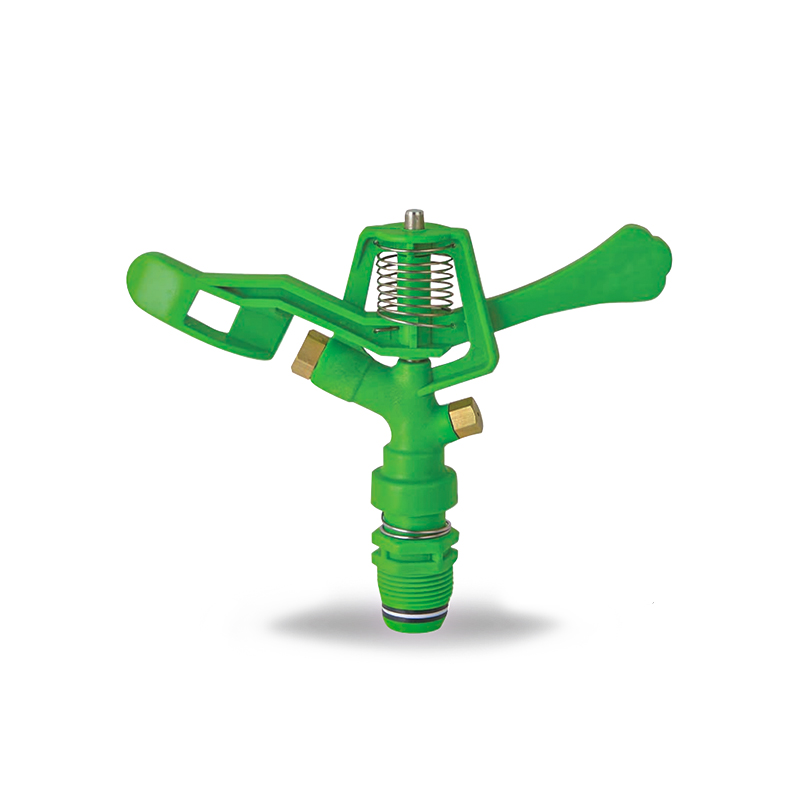
The POM Agricultural Irrigation Sprinkler with Metal Nozzles is a device designed for efficient irrigation, combining premium polyacetal (POM) material with durable metal nozzles to ensure superior sp...
See Details -
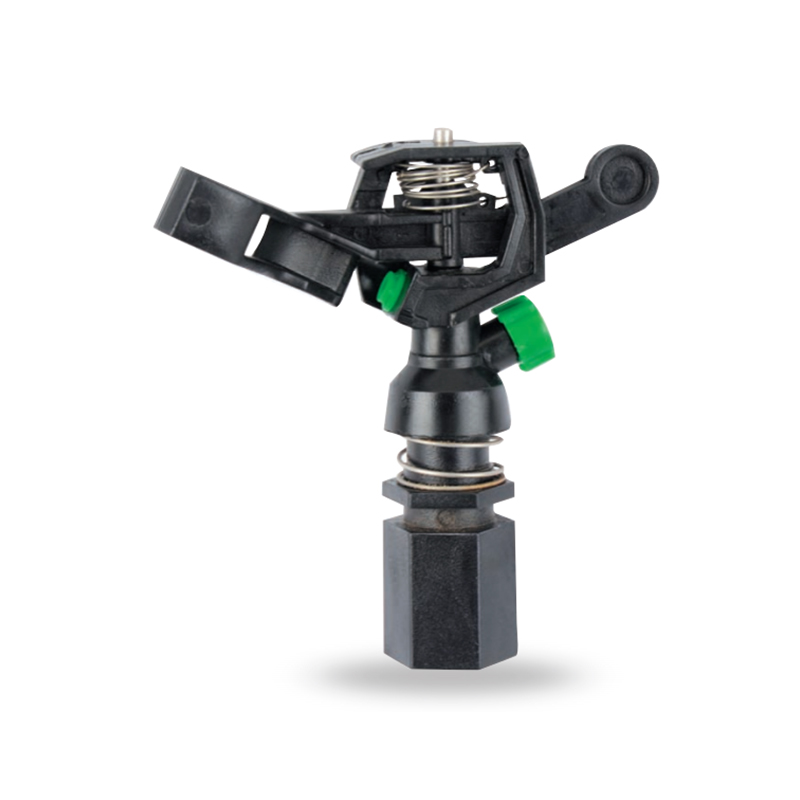
Watering irrigation system 3/4 inch nozzle field Impact Sprinkler is perfect for field irrigation and easily meets the water needs of large crops. Its powerful spray ensures that every nook and cranny...
See Details -
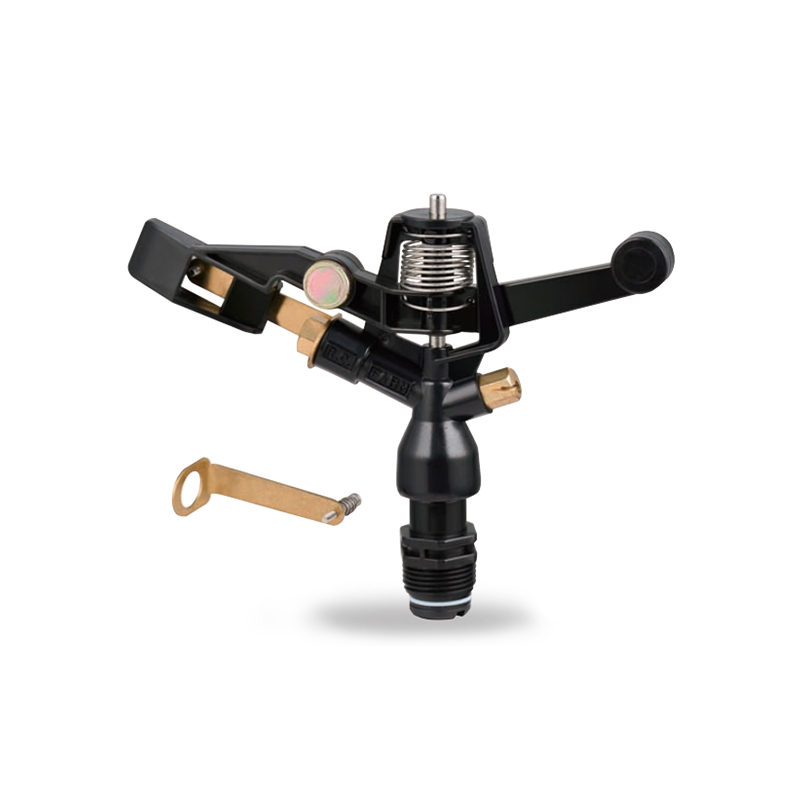
The POM Agricultural Irrigation Sprinkler with Brass Nozzles is an efficient and durable irrigation device designed to meet a wide range of agricultural needs. The sprinkler is made of polyacetal (POM...
See Details -
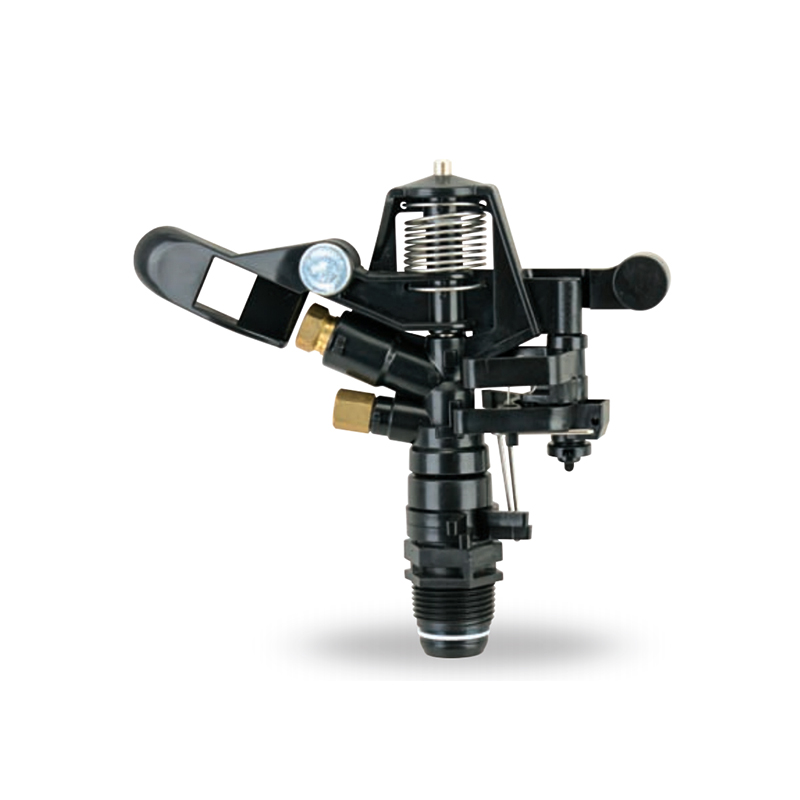
The Double Nozzle Garden Farm Impact Part-Circle Sprinkler is a highly efficient garden irrigation device designed for large planting areas. Its double nozzle design produces a strong, even stream of ...
See Details

PRODUCTS & SERVICES

CONTACT US
 No.518, Ruihao Road, Lizhou Street, Yuyao City, Zhejiang Province, China
 +86-13105554615 / +86-18005843886
 decheng@dcssq.com fredzhu@dcssq.com
 LISA
LISA
 Fred Zhu
Copyright © Ningbo Dewo Irrigation Equipment Co., Ltd. All Rights Reserved. China Agricultural Plastic Sprinkler Manufacturers Wholesale Irrigation Plastic Sprinkler Factory
