

 Search for...
 English
 Español
 中文简体
中文简体How to Install a Drip Irrigation System: Step-by-Step DIY Guide for Gardeners
Content
- 1 The Short Answer: Drip Irrigation Is Installed in Six Basic Steps
- 2 What a Drip Irrigation System Does and What You Need
- 3 Plan the Layout and Calculate Water Demand Before You Buy
- 4 Connect the Water Source in the Correct Order
- 5 Lay the Mainline Tubing and Secure It
- 6 Install Emitters and Drippers at the Root Zone
- 7 Flush the System, Check Pressure, and Cover the Tubing
- 8 Common Installation Mistakes to Avoid
- 9 Maintenance Checklist for a Drip Irrigation System
- 10 Frequently Asked Questions
The Short Answer: Drip Irrigation Is Installed in Six Basic Steps
If you have a row of vegetables, a mixed flower bed, or a dooryard orchard, the quickest way to cut water waste is to install a drip irrigation system that delivers water to the root zone at a slow, controlled rate. The mechanical installation can be completed in a weekend on most properties, and it does not require heavy machinery or deep trenches.
- Connect the water source to a backflow preventer, filter, pressure regulator, and valve or timer.
- Lay out the mainline tubing along your planting rows.
- Cut and connect branch lines with fittings.
- Install emitters or drip lines at the base of each plant.
- Flush the lines with the end caps open to remove debris.
- Close the line ends, test for leaks, and adjust the flow and timer.
A U.S. EPA WaterSense report notes that drip irrigation can reduce water use by 20 to 50 percent compared with sprinkler systems (Source: EPA WaterSense). That saving comes from less runoff, less evaporation, and more precise placement.
What a Drip Irrigation System Does and What You Need
A drip system works by using low pressure to push water through small tubes and release it drop by drop. Because the water moves slowly, it soaks into the soil before it can run off, and foliage stays dry, which helps prevent fungal problems.
You can use a drip system for container plants, garden beds, hedge rows, or young trees. The main parts are the same for almost every small installation.
| Component | Function | Selection tip |
|---|---|---|
| Backflow preventer | Keeps irrigation water from flowing back into the household supply. | Choose a hose thread model compatible with your outdoor faucet. |
| Filter | Removes sand and particles that clog emitters. | Use a 120-mesh screen filter for most garden water. |
| Pressure regulator | Lowers household pressure to a safe level for drip components. | Pick a regulator rated between 20 and 30 psi for small systems. |
| Valve or timer | Controls watering schedules or manual zone flow. | A timer makes watering automatic; a valve is enough for one bed. |
| Mainline tubing | Carries water from the source to the planting area. | Use 16 mm tubing for runs under 100 meters. |
| Emitters or drip line | Release water at the base of each plant. | Inspect flow rate and pressure compensation recommendations. |
| Stakes and fittings | Secure tubing and connect sections without leaks. | Buy a few more fittings than the layout map requires. |
If you are working with closely spaced plants, a drip line with built-in emitters may be simpler than placing individual drippers. For separate pots or shrubs, individual emitters are easier to arrange.
Plan the Layout and Calculate Water Demand Before You Buy
Start with a rough map. Walk around the area, mark each plant, and note its approximate spacing. Then decide whether to run one straight line of tubing or a grid for a large bed.
The most useful calculation is total flow. Multiply the number of emitters by the flow of each emitter. For example, 40 plants with 2 L/h emitters need 80 L/h. A standard garden faucet usually delivers 10 to 15 L/min, so this size system is well within capacity. If you are using drip line, multiply the length by the emitter spacing to get the number of emitters.
| Plant group | Emitter flow | Emitter spacing |
|---|---|---|
| Vegetables in rows | 1 to 2 L/h | 30 cm apart |
| Shrubs and perennials | 2 to 4 L/h | 40 to 50 cm apart |
| Small trees | 4 to 8 L/h | 60 to 100 cm apart |
For plant-specific guidance, choose emitters based on plant water needs.
Connect the Water Source in the Correct Order
Attach the components in this order: backflow preventer, filter, pressure regulator, then the valve or timer. This sequence protects the system, prevents backflow, and keeps the pressure low enough for drip emitters.
- Wrap Teflon tape around the faucet threads and screw on the backflow preventer.
- Attach the filter and pressure regulator.
- Attach a manual mini-valve or timer.
- Connect the mainline to the valve outlet.
If you only need a simple zone control, a compact mini irrigation valve is a practical choice because it installs directly in the line and lets you isolate one bed without shutting down the whole system.
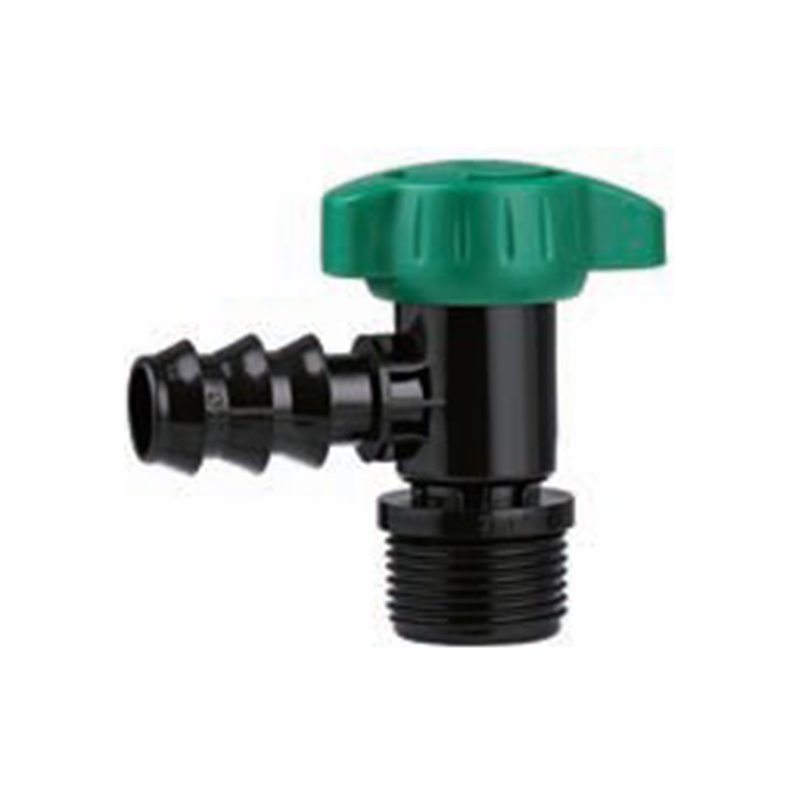 Wholesale Agricultural Mini Valve Manufacturers, OEM/ODM FactoryNingbo Dewo Irrigation Equipment Co., Ltd. is China agricultural mini valve manufacturers and wholesale agricultural mini valve factory, ...View Product →
You can also achieve precise water-flow control using a mini valve when you want to supply several zones from the same source.
Lay the Mainline Tubing and Secure It
Lay the mainline along one side of the planting area or through the center. Leave a little extra tubing at corners and at the end so you can make adjustments later. Use plastic stakes every one to two meters to keep the line in place.
- Cut tubing squarely with scissors or a small pipe cutter.
- Push barbed connectors fully into the tubing ends; the tubing should slightly stretch around the barb.
- Use tees where you need branches, not extra joints, because fewer connections mean fewer leak points.
- Avoid sharp right-angle bends that can kink the tubing.
If you are combining drip zones with other sprinkler zones, the steps to install an irrigation sprinkler follow a similar layout logic: start from the water source, run the line, then connect each outlet.
Install Emitters and Drippers at the Root Zone
Using a hole punch, make a clean hole in the mainline at the location of each plant. Insert the barbed fitting firmly. If you need to get water to a plant that is not right next to the line, use a small length of 4 mm micro tubing from the mainline to the emitter.
For individual plants with different water needs, install an adjustable dripper with stake. You can turn the top to increase or reduce the flow for each plant, which is useful in a bed with tomatoes, herbs, and flowers together.
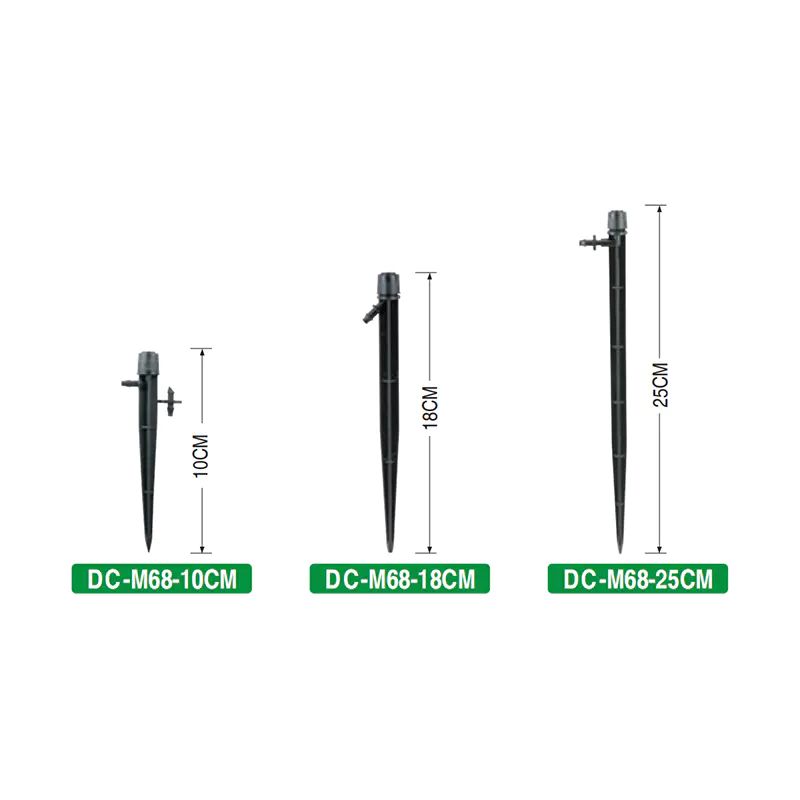 Custom DC-M68 360°Adjustable Flow Suppliers, Company - Ningbo Dewo Irrigation EqNingbo Dewo Irrigation Equipment Co., Ltd is China custom DC-M68 360°Adjustable Flow suppliers and ODM/OEM company,The Full Circle Diffus...View Product →
For sloped ground or long runs above 50 meters, use a pressure-compensating dripper with stake. It keeps the drip rate almost the same at the beginning and end of a line, even when elevation changes.
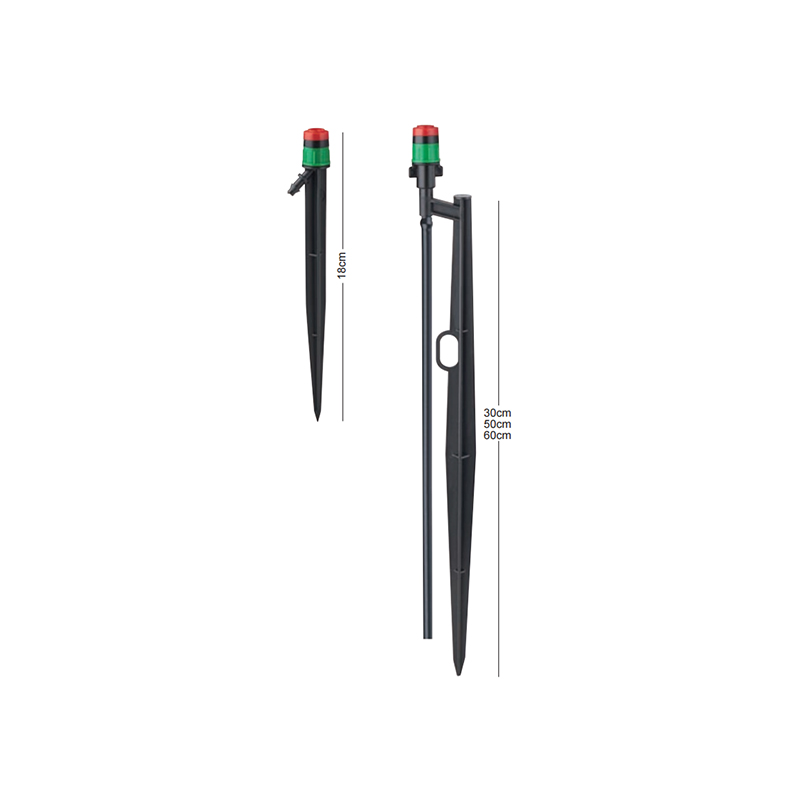 Custom DC-M89 360°PC Dripper Suppliers, Company - Ningbo Dewo Irrigation EquipmeNingbo Dewo Irrigation Equipment Co., Ltd is China custom DC-M89 360°PC Dripper suppliers and ODM/OEM company,The 360° Pressure Compensat...View Product →
| Condition | Better choice | Why |
|---|---|---|
| Flat bed with mixed plants | Adjustable dripper | You can match flow to each plant. |
| Slope or hill | Pressure-compensating dripper | Flow stays even across the line. |
| Long line above 50 m | Pressure-compensating dripper | Reduces uneven distribution. |
| Simple single-type crop | Drip line with fixed emitters | Fewer fittings and faster installation. |
Flush the System, Check Pressure, and Cover the Tubing
Before you close the ends, turn on the water and let each line run until the water coming out is clear. This first flush removes dirt and manufacturing debris that would otherwise clog small emitters.
- Turn on the water slowly and check the connections for visible leaks.
- Let the line run with the end cap open for two to three minutes.
- Close the end cap and watch the pressure gauge or timer pressure reading.
- If any emitter is not dripping, remove it, flush the line, and reinsert it.
- Cover the tubing with 5 to 10 cm of mulch to protect it from sunlight and keep the soil cool.
Common Installation Mistakes to Avoid
Most problems in a new drip system come from a few avoidable errors. The table below summarizes what to watch for.
| Mistake | Consequence | Fix |
|---|---|---|
| No filter | Sand and rust particles plug the emitters. | Install a 120-mesh filter at the water source. |
| No pressure regulator | Emitters blow out or deliver uneven flow. | Keep pressure between 20 and 30 psi. |
| Too many emitters on one line | Flow drops dramatically toward the end. | Split the area into zones and calculate total flow. |
| Emitters placed too far from the stem | Water misses the root zone and evaporates. | Put emitters 15 to 30 cm from the plant base. |
| Skipping the flush | Small particles enter the emitters during the first run. | Always flush with open ends before capping. |
Maintenance Checklist for a Drip Irrigation System
A simple monthly routine keeps the system working for years.
- Inspect each emitter for slow or missing flow.
- Clean or replace the filter when you see debris inside the cartridge.
- Flush the entire system at the beginning and end of the season.
- Check stake fittings, connectors, and end caps for loosening.
- Drain the lines before frost if you live in a cold-winter area.
Frequently Asked Questions
How many emitters can I put on one drip line?
It depends on the total flow and the available water supply. A good safety margin is to use no more than 70 to 80 percent of the line capacity. For example, a line rated at 200 L/h can carry roughly 100 emitters at 2 L/h, but the line length and elevation also affect performance.
Can I bury the drip line underground?
Standard drip tubing is designed for surface use. Buried lines are harder to repair and roots may enter the small openings. If you need buried drip, choose a product sold specifically for subsurface drip irrigation.
Do I really need a pressure regulator?
Yes, for most household supplies. Typical municipal water pressure is 40 to 60 psi, while most drip emitters operate at 20 to 30 psi. Without a regulator, the emitters will over-deliver and may become damaged.
How long should I run drip irrigation each day?
In many gardens, 20 to 45 minutes per session is enough in moderate conditions. Check the soil 30 minutes after watering: the soil should be moist but not muddy at a depth of 10 to 15 cm.
Is a filter necessary if I use city water?
Yes, because city supply pipes still contain rust, scale, and fine particles. A filter is cheaper than replacing clogged emitters.
Prev:How to Choose Sprinkler Heads: A Practical Guide for Farms, Gardens & LandscapesNext:How Many Drippers Per Line? Flow Rates, Pressure Limits, and Real Calculations
Related products
-
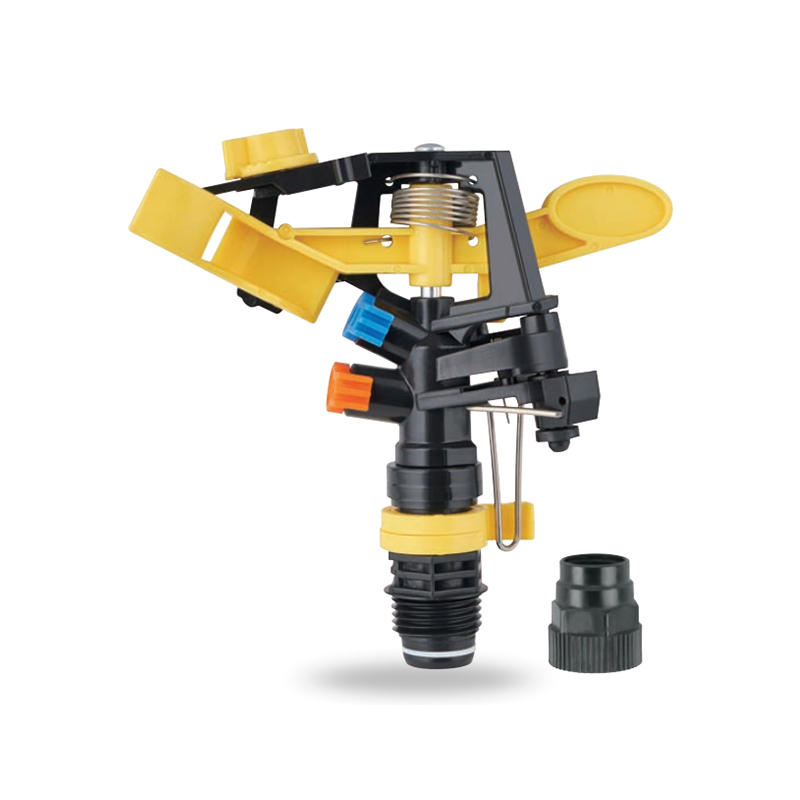
Impact sprinkler for agricultural irrigation is a common and efficient agricultural irrigation tool designed for large areas of farmland. Its unique structure can evenly cover a large area by rotating...
See Details -
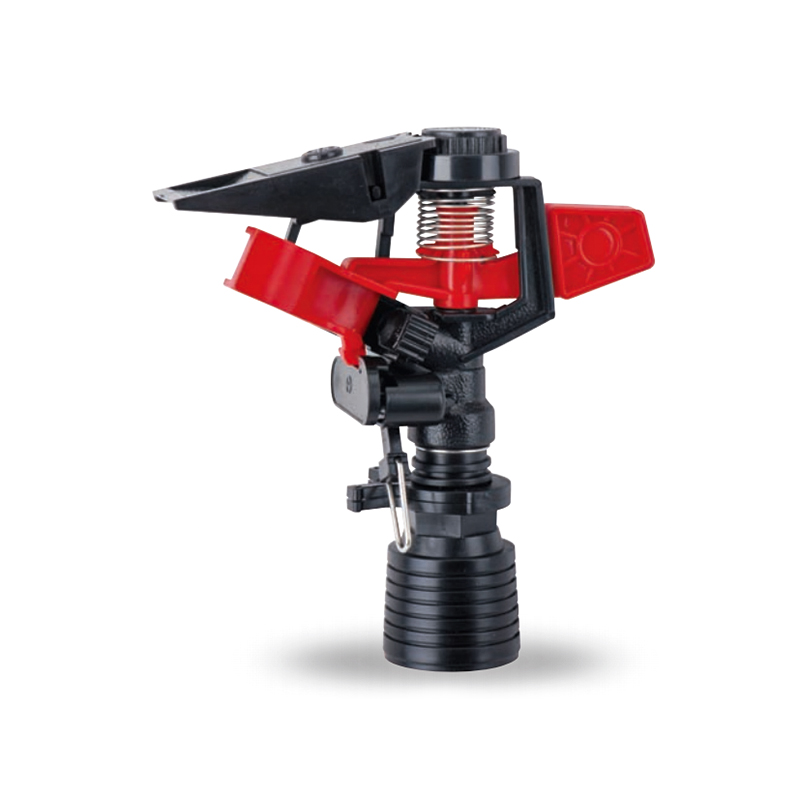
This 360 degree adjustable rocker arm nozzle impact sprinkler is an essential part of an irrigation system designed to meet a wide range of horticultural and agricultural needs. Its flexible adjustmen...
See Details -
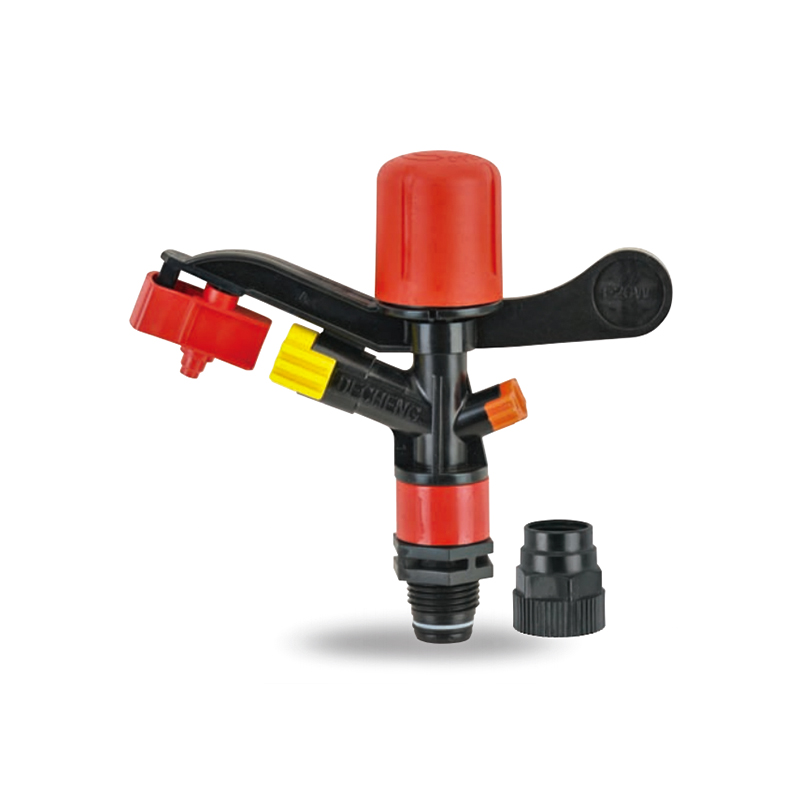
The Plastic Full-Circle Impact Sprinkler Sprayer is a highly efficient full-circle irrigation device designed to provide even moisture coverage. Its lightweight plastic material makes this sprinkler e...
See Details -
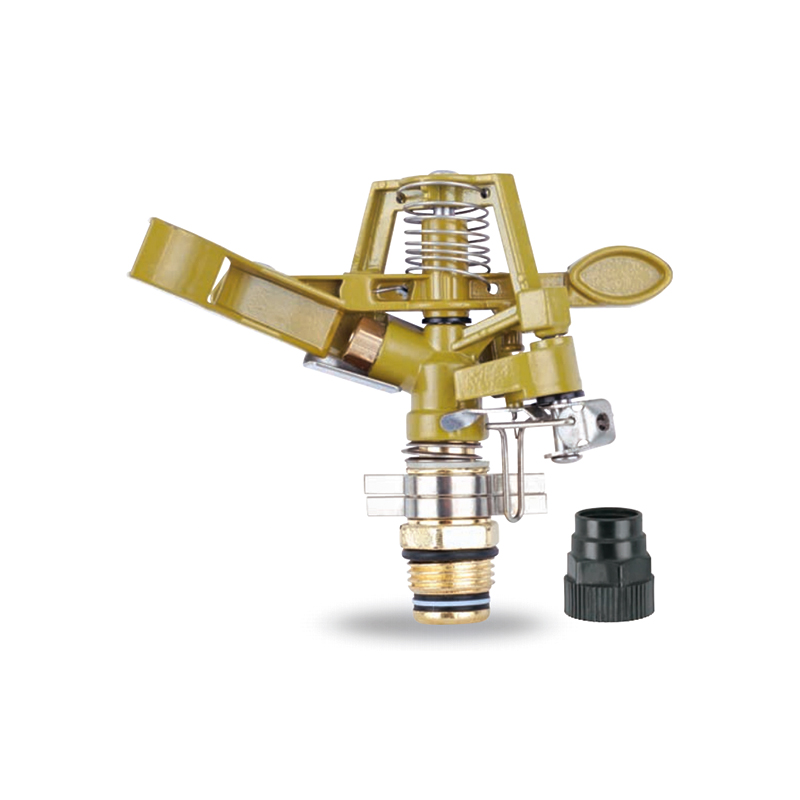
The Irrigation System Adjustable Head Mobile Rotary Zinc Sprinkler is an efficient rotary sprinkler designed for flexible irrigation needs. Its adjustable head allows the user to easily adjust the dir...
See Details -
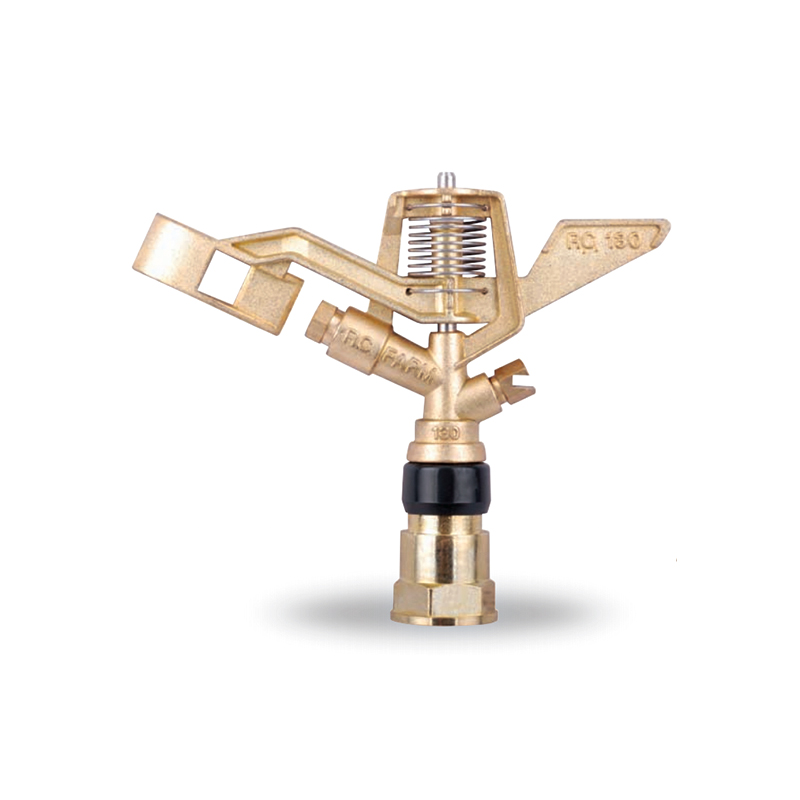
This 3/4” Zinc Alloy Swivel Arm Irrigation Watering System Impact Sprinkler is ideal for agricultural irrigation systems due to its superior durability and corrosion resistance. Its rugged constructio...
See Details -
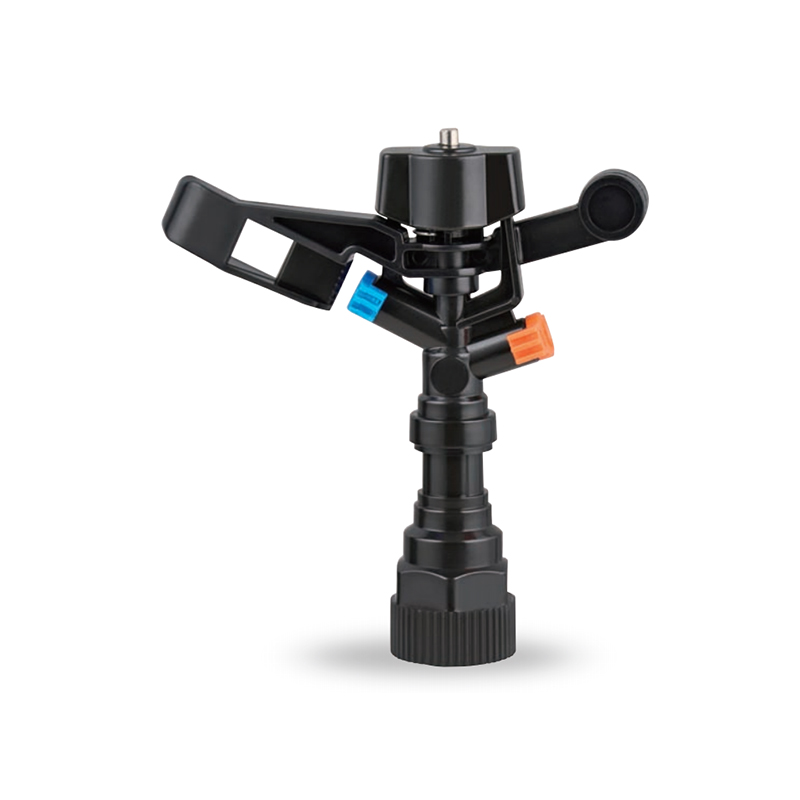
The Double nozzle garden farm impact full-circle sprinkler is well-designed to efficiently and evenly spray water, thus enhancing the quality of crop growth. Whether it's in the home garden or on a la...
See Details -
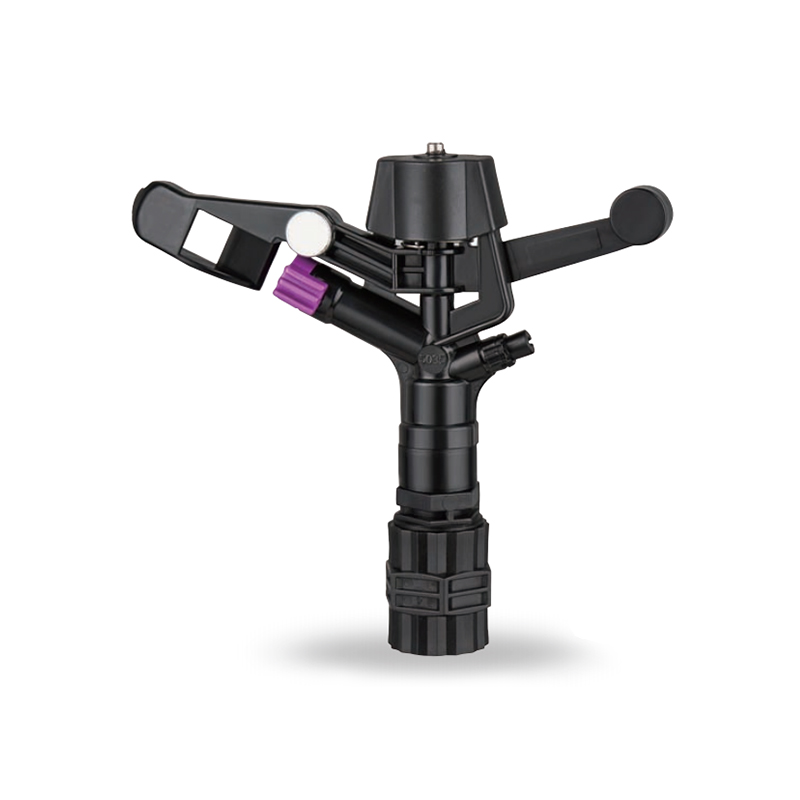
Double nozzle agricultural water plastic impact sprinkler for irrigation sprinkler combines practicality and durability with a dual nozzle system that provides extensive water coverage for a wide rang...
See Details -
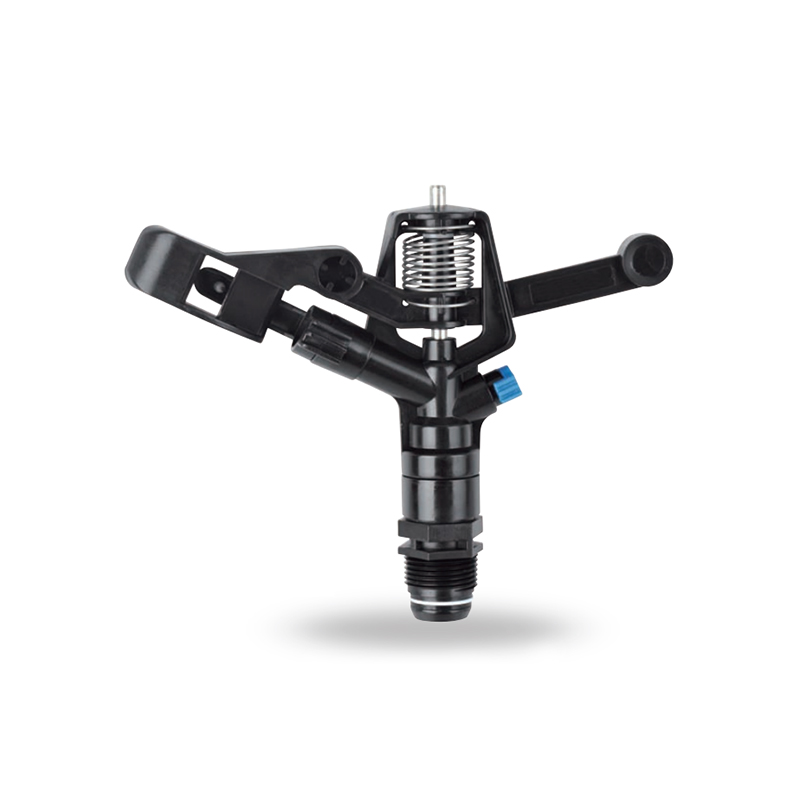
The POM agricultural irrigation sprinkler water impact sprinkler is known for its excellent abrasion resistance and durability, ensuring consistent performance over time. It is designed to increase wa...
See Details -
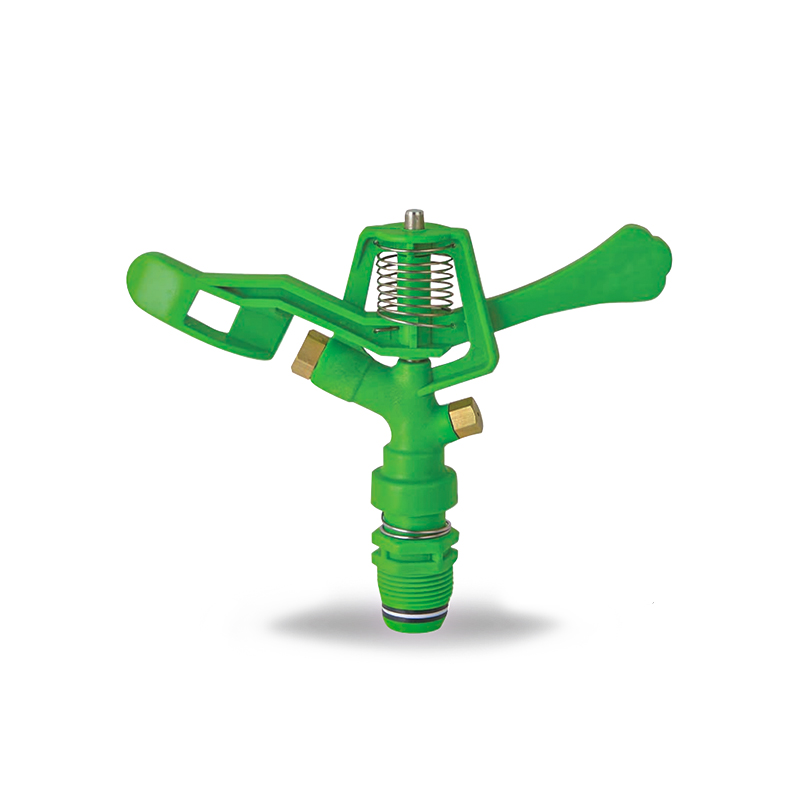
The POM Agricultural Irrigation Sprinkler with Metal Nozzles is a device designed for efficient irrigation, combining premium polyacetal (POM) material with durable metal nozzles to ensure superior sp...
See Details -
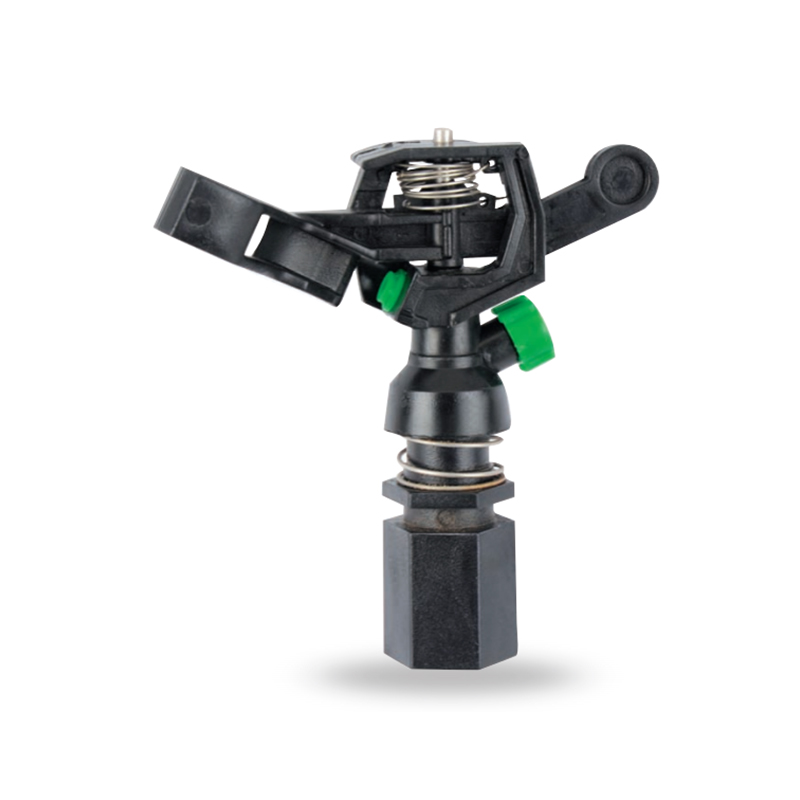
Watering irrigation system 3/4 inch nozzle field Impact Sprinkler is perfect for field irrigation and easily meets the water needs of large crops. Its powerful spray ensures that every nook and cranny...
See Details -
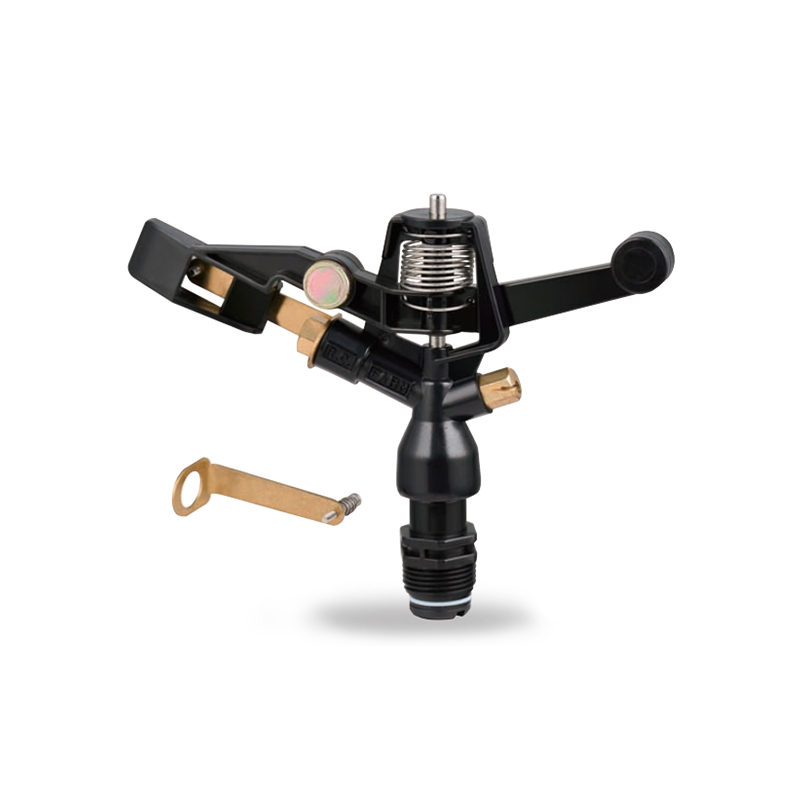
The POM Agricultural Irrigation Sprinkler with Brass Nozzles is an efficient and durable irrigation device designed to meet a wide range of agricultural needs. The sprinkler is made of polyacetal (POM...
See Details -
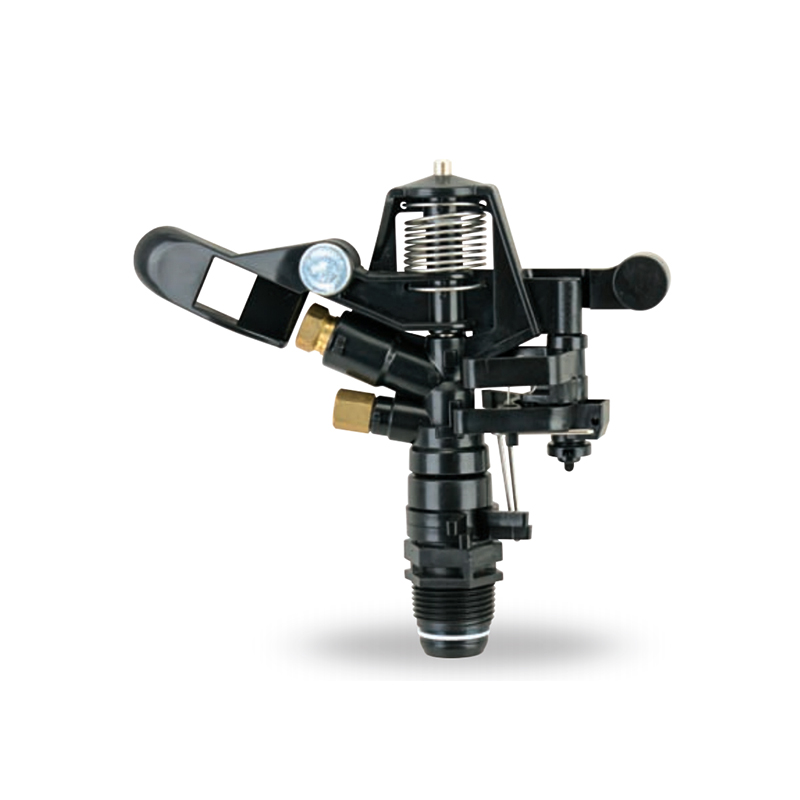
The Double Nozzle Garden Farm Impact Part-Circle Sprinkler is a highly efficient garden irrigation device designed for large planting areas. Its double nozzle design produces a strong, even stream of ...
See Details

PRODUCTS & SERVICES

CONTACT US
 No.518, Ruihao Road, Lizhou Street, Yuyao City, Zhejiang Province, China
 +86-13105554615 / +86-18005843886
 decheng@dcssq.com fredzhu@dcssq.com
 LISA
LISA
 Fred Zhu
Copyright © Ningbo Dewo Irrigation Equipment Co., Ltd. All Rights Reserved. China Agricultural Plastic Sprinkler Manufacturers Wholesale Irrigation Plastic Sprinkler Factory
