

 Search for...
 English
 Español
 中文简体
中文简体How to Set an Oscillating Sprinkler: Complete Setup Guide
Content
- 1 Quick Answer: How To Set An Oscillating Sprinkler
- 2 What An Oscillating Sprinkler Actually Does
- 3 Choosing The Right Coverage For Your Yard Size
- 4 Step-By-Step Setup Instructions
- 5 Water Pressure And Flow Requirements
- 6 Recommended Watering Duration And Schedule
- 7 Troubleshooting Common Problems
- 8 Common Setup Mistakes To Avoid
- 9 Keeping The Sprinkler Working Properly
- 10 What To Look For When Buying A New Unit
- 11 Water Conservation Tips While Using A Sprinkler
- 12 Frequently Asked Questions
- 12.1 How do I know if my oscillating sprinkler coverage is set correctly?
- 12.2 What is the difference between an oscillating sprinkler and a Butterfly Sprinkler?
- 12.3 Can an oscillating sprinkler be used on a slope?
- 12.4 Why is one side of the spray weaker than the other?
- 12.5 How far can an oscillating sprinkler throw water?
- 12.6 Is it better to water for a short time daily or longer sessions a few times a week?
- 12.7 Does a Butterfly Sprinkler work well for full lawns as well as flower beds?
- 12.8 How often should nozzles be cleaned?
- 12.9 Can an oscillating sprinkler be left running overnight?
Quick Answer: How To Set An Oscillating Sprinkler
To set an oscillating sprinkler correctly, place it on level ground at the center or edge of the lawn area, connect it to a garden hose, then adjust the range dial or slide tabs to match the width and length of the space you want covered. Turn on the water gradually, watch the arc pattern for a few seconds, then fine-tune the flow control knob until the spray reaches the far corners without spilling onto pavement or flower beds. Most residential oscillating sprinklers cover between 1,500 and 4,500 square feet, so matching the pattern to your actual yard size is the single most important step before you walk away and let it run.
Below, every adjustment knob, dial, and slider is explained in detail, including how the related Butterfly Sprinkler style differs in shape and coverage from a standard oscillating bar sprinkler, along with pressure requirements, seasonal timing, troubleshooting, buying considerations, and long-term care so the unit keeps performing evenly year after year.
This guide is written for anyone setting up a sprinkler for the first time as well as for people who already own one but keep noticing dry patches, overspray onto the driveway, or a weak stream on one side of the bar. Every adjustment described here can be made in under five minutes with no tools beyond the sprinkler itself and a garden hose.
What An Oscillating Sprinkler Actually Does
An oscillating sprinkler uses a curved bar with a row of small nozzles that sweeps back and forth in a fan motion, pushing water in a rectangular pattern rather than a circle. This rectangular spread is what makes it different from impact sprinklers or rotor heads, and it is why the shape suits square or rectangular lawns, garden beds, and narrow side yards better than round-pattern sprinklers.
Inside the housing, water pressure drives a small gear or turbine mechanism connected to the bar. As water flows through, the gear rotates a cam that pushes the bar left, then right, in a continuous cycle. This is why oscillating sprinklers make a distinctive rhythmic clicking sound while running, unlike the smoother hum of a rotor sprinkler. The speed of the sweep is tied directly to water pressure, so a stronger flow produces a faster back-and-forth motion, while a gentle trickle slows the sweep down considerably.
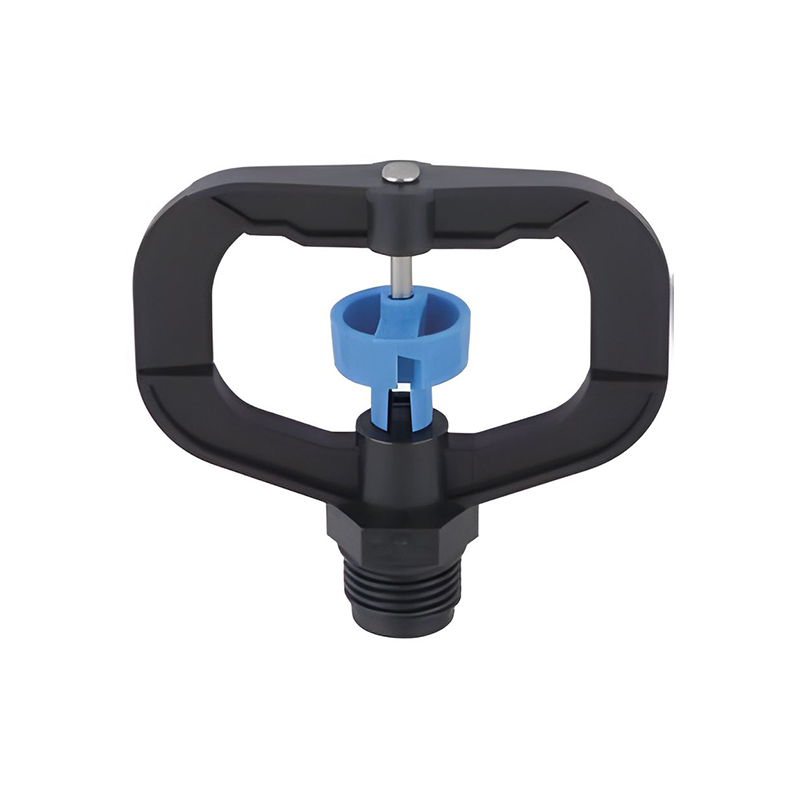
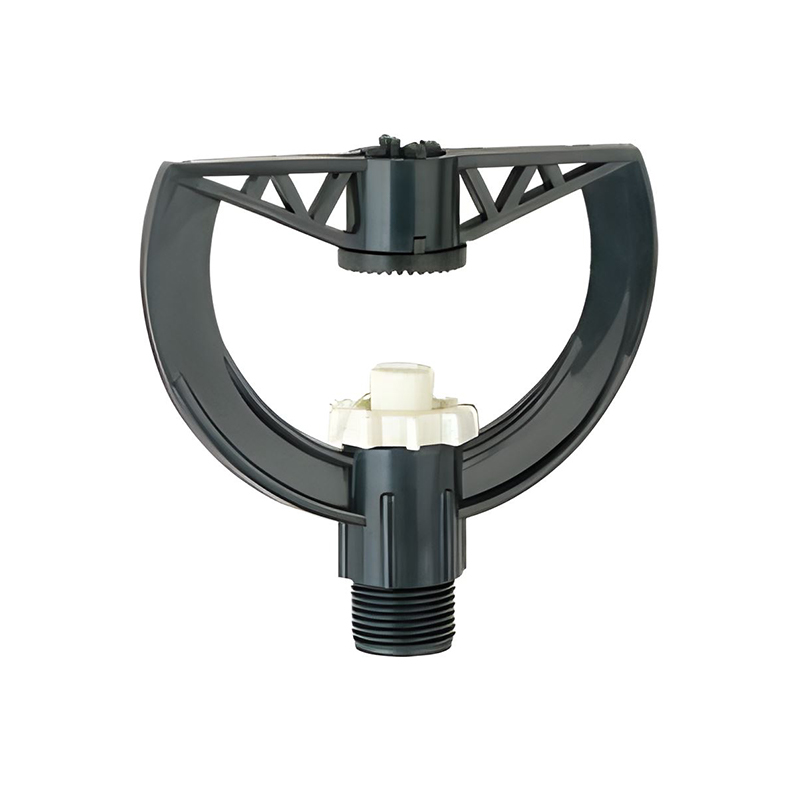
A close relative sold under the name Butterfly Sprinkler uses two curved wings that open and rotate instead of a single straight bar. The wings resemble butterfly shapes when spread open, which is where the name comes from. Functionally it still relies on the same oscillating or rotating principle, but the dual-wing design often gives a softer, wider mist that some gardeners prefer for seedlings, delicate flower beds, or newly laid sod that cannot tolerate a hard, direct stream. Because the wings rotate rather than slide side to side on a fixed bar, a Butterfly Sprinkler tends to produce a slightly more circular or oval coverage area compared to the strict rectangle of a standard oscillating model.
| Sprinkler Type | Pattern Shape | Typical Coverage | Best For |
|---|---|---|---|
| Oscillating Bar | Rectangle | 1,500-4,500 sq ft | Square or rectangular lawns |
| Butterfly Sprinkler | Wide fan / oval | 800-2,000 sq ft | Flower beds, seedlings, small plots |
| Impact Sprinkler | Full or partial circle | Up to 5,800 sq ft | Large open lawns |
| Stationary Spike | Fixed pattern | 200-600 sq ft | Narrow strips, borders |
| Traveling Sprinkler | Long path along hose track | Up to 13,500 sq ft | Very large open fields |
Choosing The Right Coverage For Your Yard Size
Before adjusting any dial, it helps to know roughly how large your lawn or garden bed is. Pacing off the length and width, or checking a property survey, gives a rough square footage figure that can then be matched against the sprinkler's rated coverage printed on the box or base plate.
| Lawn Size (approx.) | Suggested Placement | Range Setting |
|---|---|---|
| Under 1,000 sq ft | Center of the plot | Small / narrow |
| 1,000-2,500 sq ft | Center, slightly off one edge | Medium |
| 2,500-4,500 sq ft | One end of the yard, aimed inward | Full / wide |
| Over 4,500 sq ft | Two overlapping placements, moved between cycles | Full, repositioned midway |
For yards larger than a single sprinkler's rated coverage, the most even results come from running two shorter sessions in overlapping zones rather than trying to stretch one sprinkler across the entire space at maximum range, since pressure and distance both drop off toward the outer edge of the pattern.
Step-By-Step Setup Instructions
Step 1: Choose A Level, Central Spot
Place the sprinkler on flat ground roughly in the middle of the area you want watered, or along one edge if the space is long and narrow. An uneven or sloped placement can tilt the bar and throw water unevenly toward one side. If the only available spot is slightly sloped, prop the base with a small paver or firm mat to level the bar before starting.
Step 2: Connect The Hose Securely
Screw the hose onto the inlet threads until snug, and check the rubber washer inside the connector is present and not cracked. A loose or damaged washer is the most common cause of leaking at the base, which quietly wastes water pressure that should be reaching the far end of the spray bar. Replacement washers cost only a small amount and are sold at most hardware stores in multi-packs.
Step 3: Set The Width Using The Range Dial Or Tabs
Most models have either a dial marked with small, medium, and large icons, or two sliding tabs on top of the bar. Slide both tabs outward for a wider rectangle, or inward for a narrow strip. Measure your lawn width first with a tape measure or by pacing it out, since guessing usually leads to either dry patches or wasted overspray onto sidewalks. Some higher-end models also include a center-shutoff tab that blocks flow to the middle nozzles, which is useful when watering two separate strips on either side of a path or driveway.
Step 4: Adjust The Distance With The Flow Control Knob
Turn on the tap partway and watch how far the water throws. Increasing water flow at the knob extends the throw distance; reducing it shortens the range. Full water pressure does not always mean full coverage - excess pressure can atomize the stream into fine mist that drifts in the wind before it reaches the ground. On breezy days, reducing pressure slightly and shortening the range often keeps more water on target than running at full blast.
Step 5: Test And Fine-Tune
Let the sprinkler run one full sweep cycle, then check corners and edges. Adjust the tabs or dial in small increments rather than large jumps, since a quarter-turn often changes coverage more than expected. Walking the perimeter of the wet area with a marker flag or stick at each corner makes it easy to see exactly where adjustments are still needed.
Step 6: Anchor The Sprinkler If Needed
On soft or newly seeded soil, the sprinkler base can shift or sink slightly once water pressure builds. Placing a flat paving stone or brick under the base keeps it stable through the full watering cycle, which matters most for taller oscillating models with a longer bar that catches more resistance from the sweeping motion.
Water Pressure And Flow Requirements
Oscillating sprinklers are generally designed to work within a household water pressure range of around 25 to 65 pounds per square inch (PSI), with most municipal supplies delivering somewhere between 40 and 60 PSI at the tap. Pressure below roughly 20 PSI often results in a weak, short throw that fails to reach the rated coverage area printed on the packaging.
Flow rate matters just as much as pressure. Most oscillating sprinklers are built to operate efficiently between 3 and 6 gallons per minute (GPM). A garden hose with a small internal diameter, such as a 1/2 inch hose stretched across a long distance, can reduce flow rate significantly compared to a shorter 5/8 inch hose, even when the tap itself delivers strong pressure.
| Pressure (PSI) | Typical Throw Distance | Spray Quality |
|---|---|---|
| Below 20 | Under 15 ft | Weak, drooping arc |
| 25-40 | 20-35 ft | Steady, even stream |
| 40-60 | 35-50 ft | Strong, full coverage |
| Above 65 | Variable, often misting | Fine mist, wind drift risk |
Recommended Watering Duration And Schedule
Lawns generally need about one to one and a half inches of water per week, whether from rainfall or irrigation combined. An oscillating sprinkler running at medium pressure typically delivers around half an inch per hour, so a session of thirty to ninety minutes two to three times weekly is a reasonable starting point for most turf grass.
- Early morning, between 6 AM and 9 AM, reduces evaporation loss compared to midday watering.
- Sandy soil drains faster and may need shorter, more frequent sessions.
- Clay soil holds water longer and benefits from slower, longer sessions to avoid runoff.
- A simple tuna can placed on the lawn helps measure how long it takes to collect half an inch of water.
- Cool season grasses such as fescue and bluegrass generally need more frequent watering in summer heat than warm season grasses like bermuda or zoysia.
- Newly seeded areas need light, frequent watering, often two to three short sessions daily until germination is complete.
Seasonal Adjustments
Spring typically requires less frequent watering as natural rainfall contributes moisture, while peak summer heat often calls for the full weekly total split across two or three sessions to avoid runoff. In autumn, watering frequency can usually be reduced again as temperatures fall and evaporation slows, and most regions can stop supplemental watering once night temperatures consistently drop below freezing.
Troubleshooting Common Problems
| Symptom | Likely Cause | Fix |
|---|---|---|
| Weak spray on one side | Clogged nozzle or uneven ground | Clean nozzle, level the base |
| Bar does not sweep | Debris in the gear mechanism | Flush internal chamber, check gear teeth |
| Water pools near the base | Sprinkler left running too long in one spot | Shorten session, reposition periodically |
| Fine mist instead of stream | Pressure too high, worn nozzle | Lower flow at the tap, inspect nozzle wear |
| Leaking at hose connection | Worn or missing rubber washer | Replace washer, tighten fitting |
Common Setup Mistakes To Avoid
- Setting the range too wide, which sends water onto driveways, fences, or roads instead of soil.
- Placing the sprinkler on an uneven surface, causing the bar to tilt and water one side more than the other.
- Running at maximum pressure without checking the nozzle spray, which can cause misting instead of a solid throw.
- Leaving the sprinkler in one spot for hours, which can lead to pooling, fungal growth, or nutrient runoff.
- Forgetting to clean clogged nozzles, which distorts the fan pattern and creates dry streaks across the lawn.
- Watering at midday under strong sun, which increases evaporation loss and reduces how much moisture actually reaches the roots.
- Ignoring wind direction, which can push a fine mist pattern well off target during breezy conditions.
- Using a kinked or undersized hose, which restricts flow and shortens the effective throw distance.
Keeping The Sprinkler Working Properly
Mineral buildup from hard water is the leading cause of uneven spray over time. Soaking the nozzle bar in a mix of water and white vinegar for around twenty minutes, then gently clearing each hole with a thin pin, restores most clogged units to full performance. Inspecting nozzles once a month during the watering season catches blockages before they cause visible dry patches in the lawn.
Before winter storage, disconnect the hose, drain any remaining water from the internal chamber, and store the unit indoors or in a shed. Water left inside plastic or metal components can expand when frozen and crack the housing, which is one of the most common reasons a sprinkler fails to work the following spring.
Cleaning Schedule At A Glance
A light rinse after each use removes loose grit before it settles into the nozzle holes. A deeper vinegar soak every four to six weeks during heavy use handles mineral scale that a rinse alone cannot remove. At the end of the season, a full inspection of the gear mechanism, hose threads, and washer condition helps decide whether the unit is ready for storage or needs a replacement part before next year.
Water Conservation Tips While Using A Sprinkler
Watering deeply but less frequently encourages grass roots to grow downward in search of moisture, which builds a more drought-resistant lawn than frequent shallow watering. Checking the local weather forecast before running a scheduled session avoids watering right before or during rainfall, which wastes water without any additional benefit to the lawn.
A simple mechanical timer attached between the tap and the hose automatically shuts off water after a set number of minutes, which prevents accidentally leaving the sprinkler running for hours and reduces both water waste and the risk of oversaturated soil.
Frequently Asked Questions
How do I know if my oscillating sprinkler coverage is set correctly?
Run the sprinkler for one full cycle and check whether water reaches the far corners of the lawn without spraying past the edges onto hard surfaces. If dry patches remain at the corners, widen the range slightly; if water lands on pavement, narrow it.
What is the difference between an oscillating sprinkler and a Butterfly Sprinkler?
An oscillating sprinkler uses a single sweeping bar that produces a rectangular pattern, while a Butterfly Sprinkler uses two wing-shaped arms that open and rotate, producing a softer, wider fan that many gardeners use for flower beds and young plants rather than full lawns.
Can an oscillating sprinkler be used on a slope?
It can, but water tends to run downhill faster than it soaks in, so shorter, more frequent watering sessions on a slope reduce runoff compared to one long session.
Why is one side of the spray weaker than the other?
This is usually caused by uneven ground tilting the bar, a partially clogged nozzle on one side, or low water pressure from a kinked hose. Checking the hose for kinks and cleaning the nozzles typically resolves the imbalance.
How far can an oscillating sprinkler throw water?
Most consumer models throw water between 20 and 50 feet in length depending on water pressure and the specific range setting selected on the dial or sliding tabs.
Is it better to water for a short time daily or longer sessions a few times a week?
Longer, less frequent sessions encourage grass roots to grow deeper in search of moisture, which generally produces healthier turf than frequent shallow watering that keeps roots near the surface.
Does a Butterfly Sprinkler work well for full lawns as well as flower beds?
It can, especially for smaller or oddly shaped lawns, though its coverage area is typically smaller than a standard oscillating bar, so larger open lawns are usually better served by the rectangular pattern of a bar-style unit.
How often should nozzles be cleaned?
A monthly check during the active watering season, with a deeper vinegar soak every four to six weeks in areas with hard water, keeps the spray pattern even and prevents gradual clogging.
Can an oscillating sprinkler be left running overnight?
It is generally not recommended, since prolonged nighttime moisture on grass blades can encourage fungal growth; a timer set for early morning is a safer and more efficient approach.
Prev:How Many GPH Is a Garden Hose? Flow Rate Guide & ChartNext:How to Put a Hose on a Hose Reel Cart: Full Guide
Related products
-
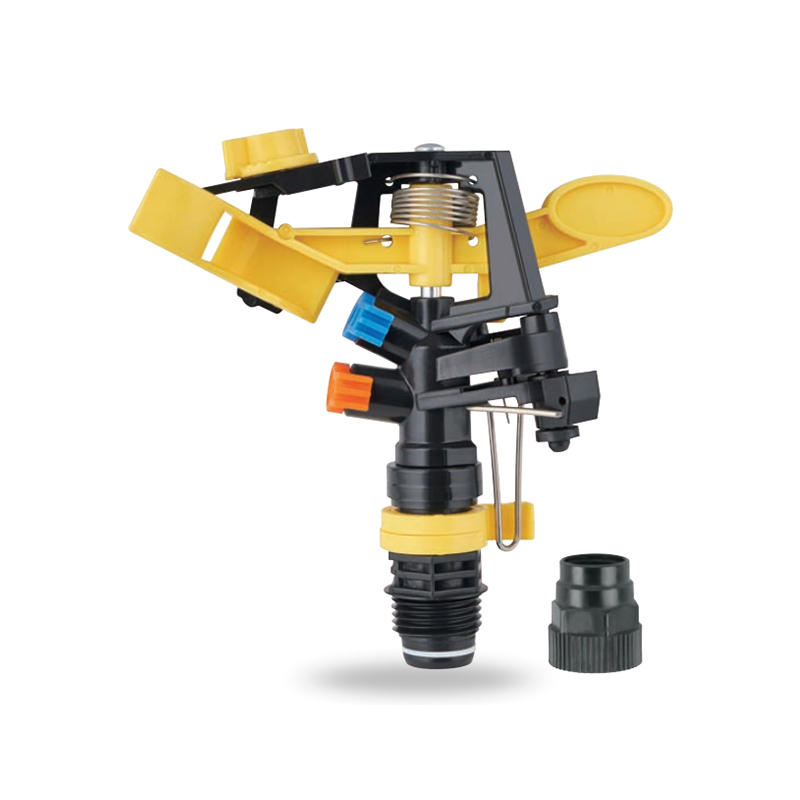
Impact sprinkler for agricultural irrigation is a common and efficient agricultural irrigation tool designed for large areas of farmland. Its unique structure can evenly cover a large area by rotating...
See Details -
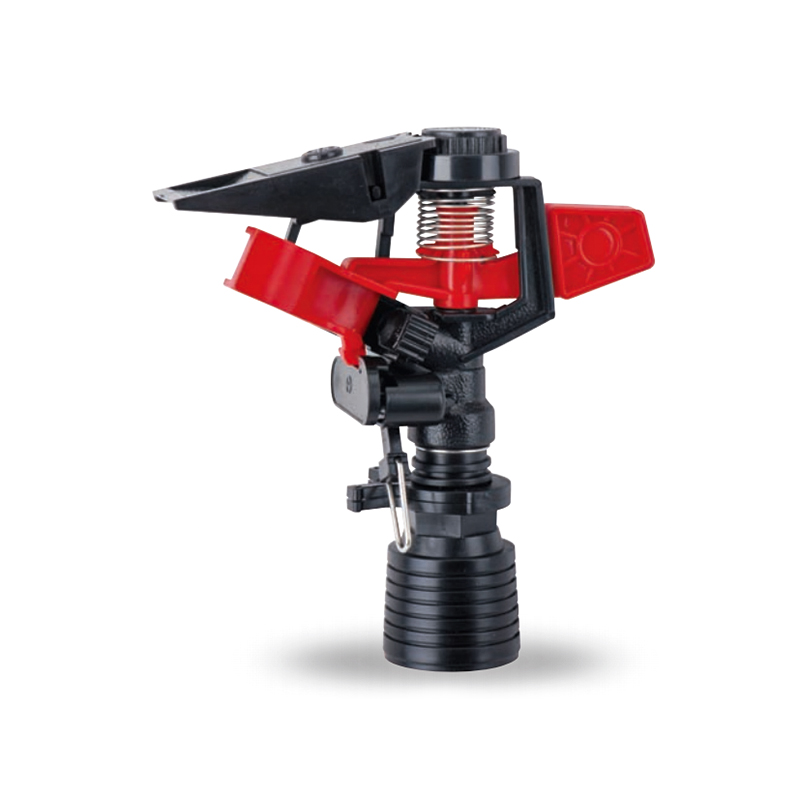
This 360 degree adjustable rocker arm nozzle impact sprinkler is an essential part of an irrigation system designed to meet a wide range of horticultural and agricultural needs. Its flexible adjustmen...
See Details -
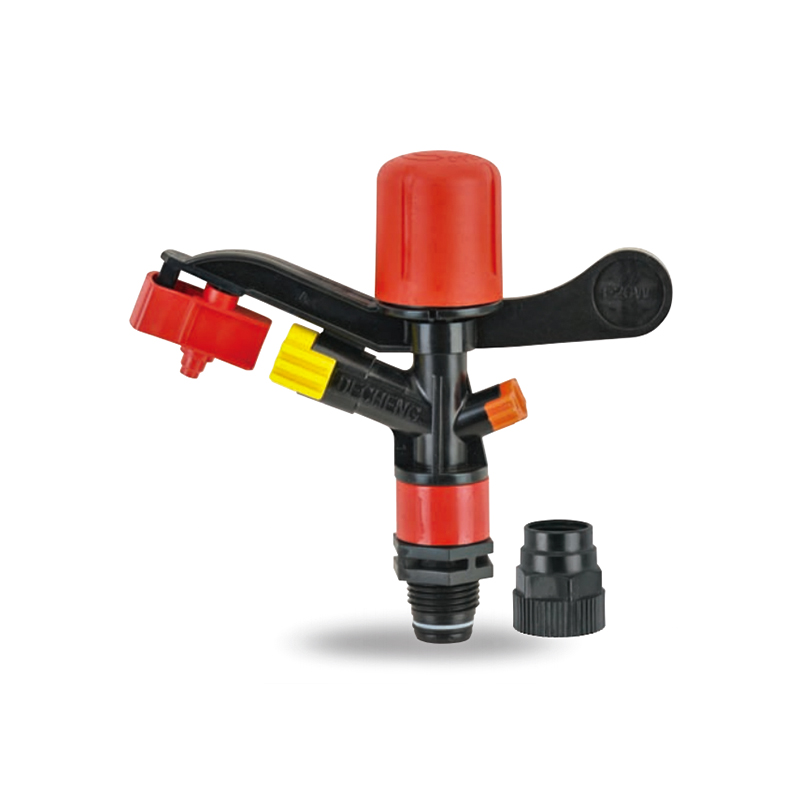
The Plastic Full-Circle Impact Sprinkler Sprayer is a highly efficient full-circle irrigation device designed to provide even moisture coverage. Its lightweight plastic material makes this sprinkler e...
See Details -
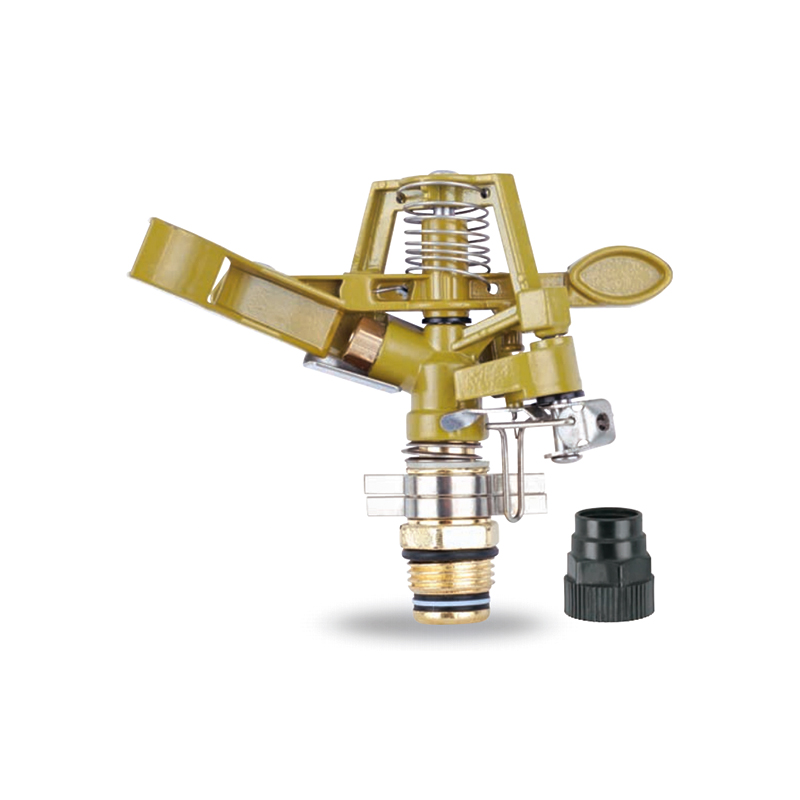
The Irrigation System Adjustable Head Mobile Rotary Zinc Sprinkler is an efficient rotary sprinkler designed for flexible irrigation needs. Its adjustable head allows the user to easily adjust the dir...
See Details -
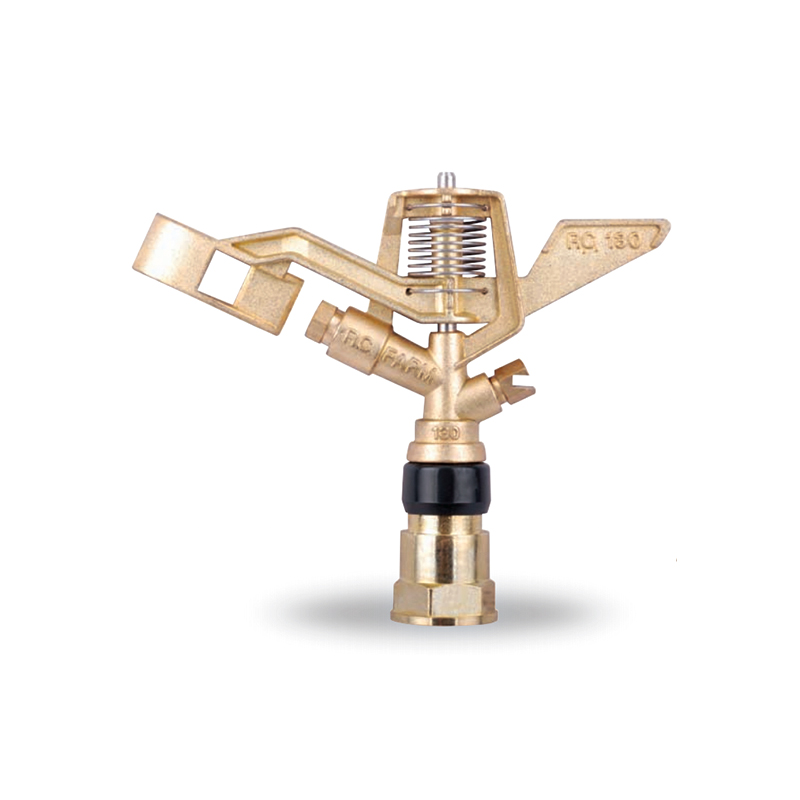
This 3/4” Zinc Alloy Swivel Arm Irrigation Watering System Impact Sprinkler is ideal for agricultural irrigation systems due to its superior durability and corrosion resistance. Its rugged constructio...
See Details -
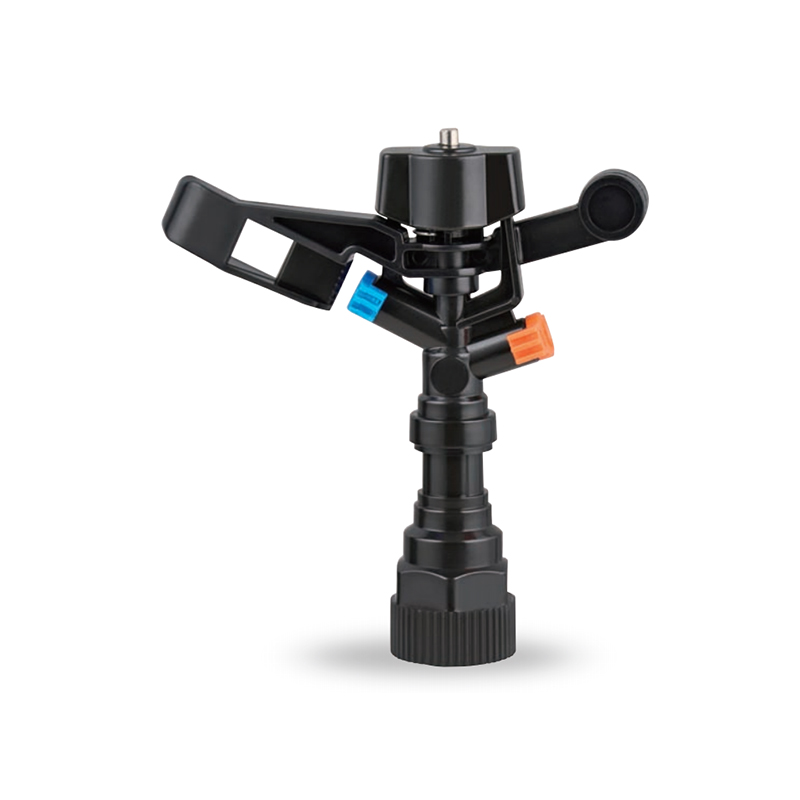
The Double nozzle garden farm impact full-circle sprinkler is well-designed to efficiently and evenly spray water, thus enhancing the quality of crop growth. Whether it's in the home garden or on a la...
See Details -
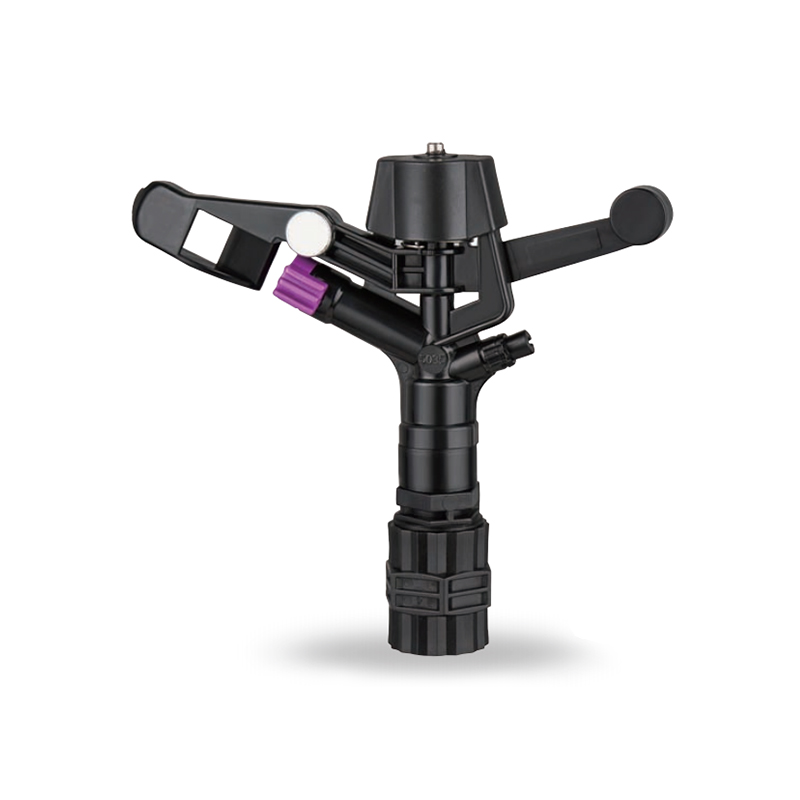
Double nozzle agricultural water plastic impact sprinkler for irrigation sprinkler combines practicality and durability with a dual nozzle system that provides extensive water coverage for a wide rang...
See Details -
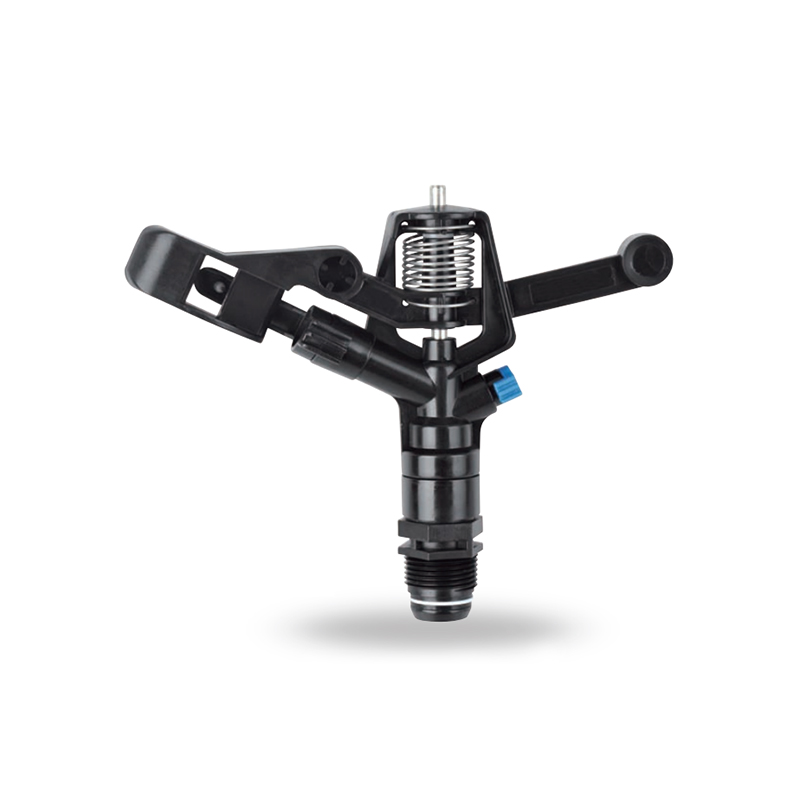
The POM agricultural irrigation sprinkler water impact sprinkler is known for its excellent abrasion resistance and durability, ensuring consistent performance over time. It is designed to increase wa...
See Details -
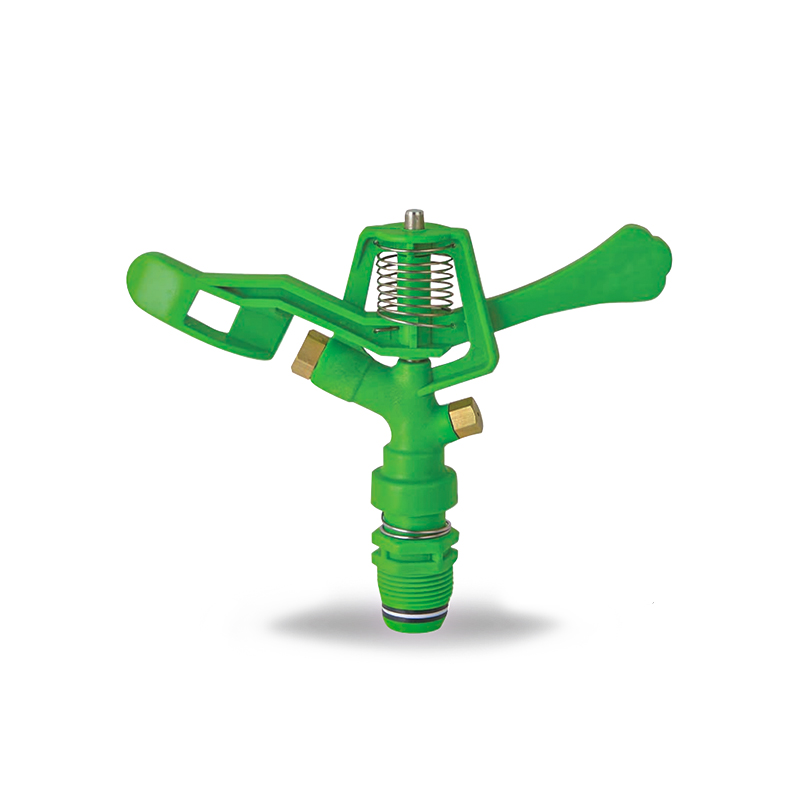
The POM Agricultural Irrigation Sprinkler with Metal Nozzles is a device designed for efficient irrigation, combining premium polyacetal (POM) material with durable metal nozzles to ensure superior sp...
See Details -
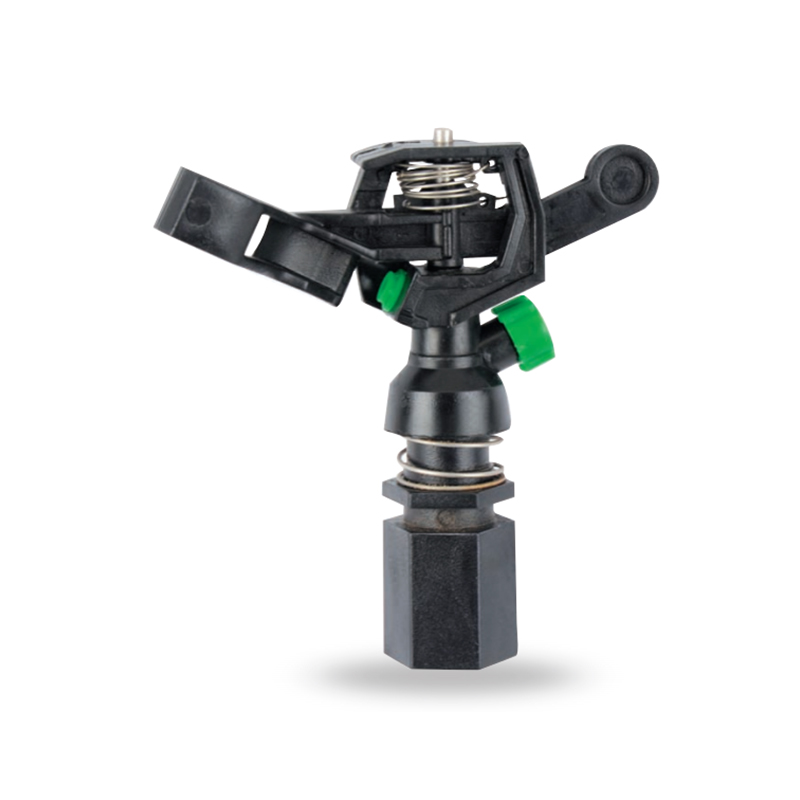
Watering irrigation system 3/4 inch nozzle field Impact Sprinkler is perfect for field irrigation and easily meets the water needs of large crops. Its powerful spray ensures that every nook and cranny...
See Details -
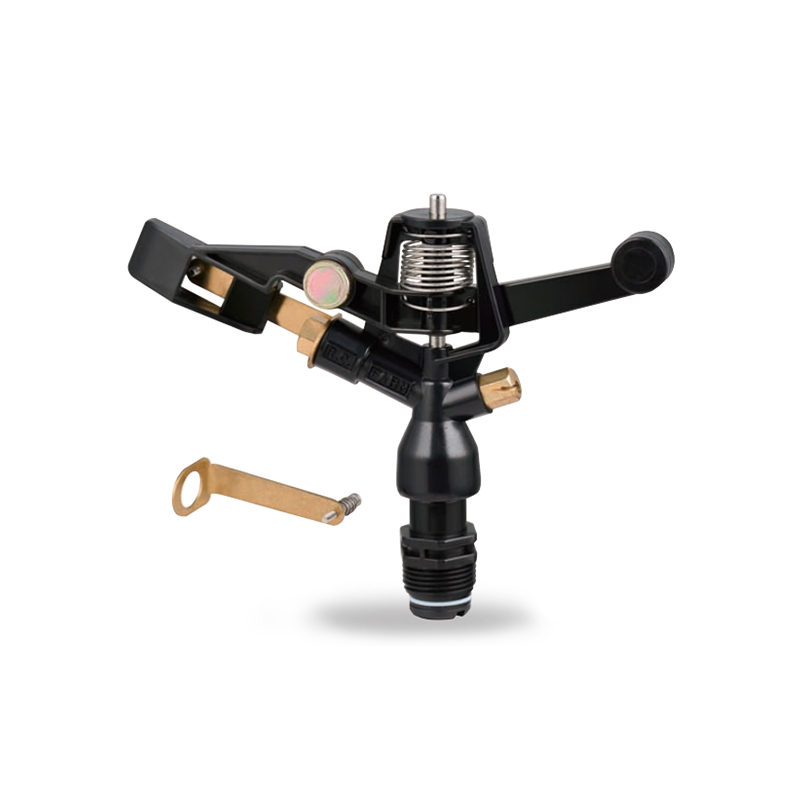
The POM Agricultural Irrigation Sprinkler with Brass Nozzles is an efficient and durable irrigation device designed to meet a wide range of agricultural needs. The sprinkler is made of polyacetal (POM...
See Details -
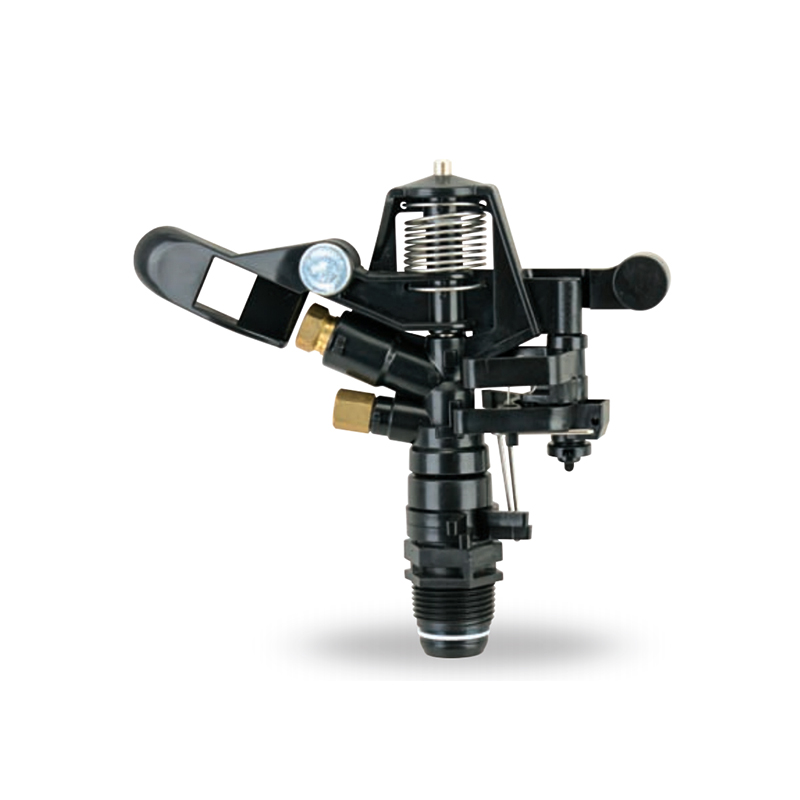
The Double Nozzle Garden Farm Impact Part-Circle Sprinkler is a highly efficient garden irrigation device designed for large planting areas. Its double nozzle design produces a strong, even stream of ...
See Details


PRODUCTS & SERVICES

CONTACT US
 No.518, Ruihao Road, Lizhou Street, Yuyao City, Zhejiang Province, China
 +86-13105554615 / +86-18005843886
 decheng@dcssq.com fredzhu@dcssq.com
 LISA
LISA
 Fred Zhu
Copyright © Ningbo Dewo Irrigation Equipment Co., Ltd. All Rights Reserved. China Agricultural Plastic Sprinkler Manufacturers Wholesale Irrigation Plastic Sprinkler Factory
