

 Search for...
 English
 Español
 中文简体
中文简体How to Set Up Drip Irrigation for Your Garden: A Step-by-Step Guide for Beginners
Content
- 1 Why Drip Irrigation Is the Smartest Choice for Your Garden
- 2 Step 1: Plan Your Garden Layout
- 3 Step 2: Choose the Right Drip Irrigation Components
- 4 Step 3: Connect the System to Your Water Source
- 5 Step 4: Lay the Mainline and Drip Lines
- 6 Step 5: Install Emitters and Adjust Flow
- 7 Step 6: Test and Automate the System
- 8 Common Mistakes to Avoid
- 9 Maintenance Tips for Long-Term Reliability
- 10 Frequently Asked Questions
- 10.1 How many emitters can I run on one drip line?
- 10.2 How long should I run my drip irrigation system?
- 10.3 Can I use drip irrigation under mulch?
- 10.4 Do I need a backflow preventer?
- 10.5 What is the difference between adjustable and pressure-compensating emitters?
- 10.6 Can I leave the drip system on for a few weeks while traveling?
Setting up a drip irrigation system for your garden is a straightforward project. You do not need a professional installer or a big budget. With a clear plan, a few standard components, and about an hour of hands-on work, you can deliver water directly to each plant's root zone, cut down on wasted water, and keep your garden healthy. The whole process comes down to six main actions: plan the layout, choose the right parts, connect to the faucet, lay the mainline, install emitters, and automate the timing. In this guide, I will walk you through each of those actions with the exact measurements, tolerances, and warnings that matter, so you can avoid the usual trial-and-error failures.
Why Drip Irrigation Is the Smartest Choice for Your Garden
Drip irrigation is not just a watering method; it is a way to give each plant the exact amount of water it needs without soaking the surrounding soil. According to a guide published by the Utah State University Extension, the main goal of drip irrigation is to wet at least half of the plant's root zone and let the soil dry out between watering sessions. That simple rule saves water, prevents root rot, and keeps weeds from sprouting because the soil surface stays dry.
A well-designed drip system can reduce outdoor water use significantly. The U.S. Environmental Protection Agency estimates that drip irrigation can save about 30 percent of the water used by a typical garden sprinkler system. In practical terms, that means a 1000 square foot garden that uses roughly 4,000 gallons of water per month with a sprinkler could go down to about 2,800 gallons with drip. Over the course of a summer, that is a meaningful drop in both your water bill and your environmental footprint.
There is also a growth benefit. When water is applied slowly and exactly at the root zone, the plant can absorb it before it evaporates. The result is often faster establishment of new plants, healthier root development, and fewer disease problems from wet leaves. In this article, I will show you how to set up a drip irrigation system that matches your garden and your water supply.
Step 1: Plan Your Garden Layout
Before you buy any parts, walk your garden with a pen and paper. Measure the beds, note where the water spigot is, and sketch every plant that needs watering. Do not guess. A simple drawing will save you from buying the wrong tubing length or placing an emitter ten feet from a plant that needs it.
You also need to know your water pressure. A typical outdoor faucet in the United States delivers between 40 and 60 PSI. Most drip systems are designed to run between 15 and 30 PSI. Before you assemble anything, measure the flow rate from your hose bib with a 5-gallon bucket and a stopwatch. If you get 5 gallons in 30 seconds, that is 10 gallons per minute, which is about 600 gallons per hour. This number tells you how many emitters you can run at the same time.
Plants have different water needs, and that is the real reason you need to plan first. Heavier drinkers such as tomatoes, cucumbers, and squash need more water, while rosemary, lavender, and other Mediterranean herbs prefer drier soil. The table below gives you a practical starting point.
| Plant type | Recommended emitter flow | Emitter spacing |
|---|---|---|
| Leafy greens | 1/2 gallon per hour (GPH) | 12 inches |
| Root crops | 1 GPH | 12-18 inches |
| Fruiting vegetables | 1-2 GPH | 18 inches |
| Small shrubs | 2 GPH | 24 inches |
If you are unsure which plants in your garden suit which irrigation method, take a look at this guide on plants that are suitable for different irrigation sprinklers. It explains how water needs differ across tomatoes, berries, and ornamental beds.
Step 2: Choose the Right Drip Irrigation Components
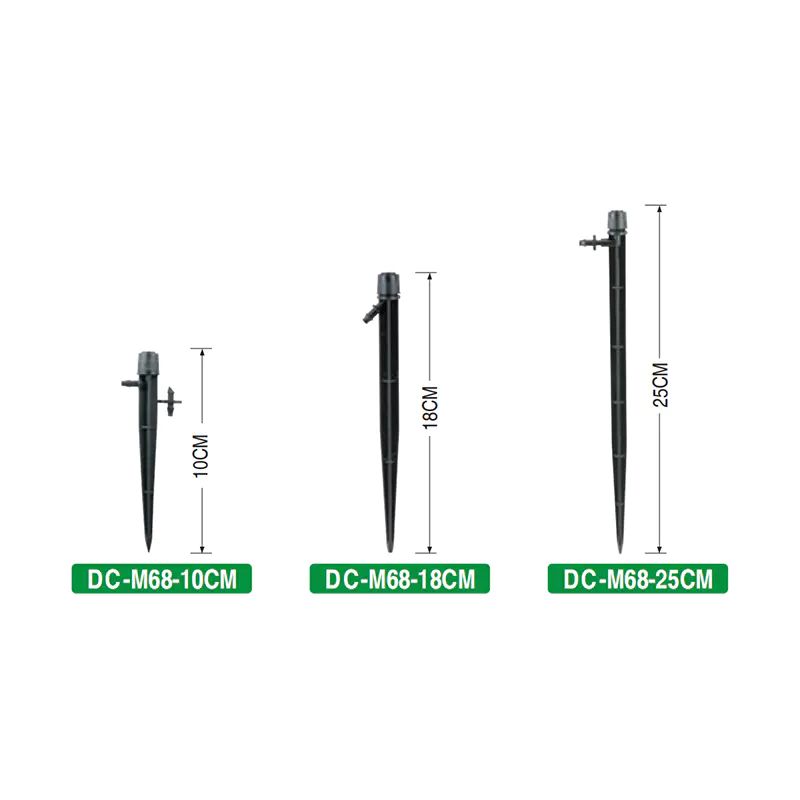 360-Degree Adjustable Flow Full Circle Diffusion Plug TipThis adjustable flow diffusion tip provides full coverage, making it a versatile option for tailoring water delivery to different plant needs and improving irrigation efficiency.View Product →
Your component list needs to cover four jobs: filtering, pressure reduction, water delivery, and emission. A complete basic kit should include a filter, a pressure regulator, a mainline (usually 1/2-inch polyethylene tubing), drip lines (1/4-inch for small runs or pre-inserted emitters), a set of emitters, connectors, and a timer.
The emitter is the star of the show. There are two main types you will choose between. Adjustable emitters let you open or close the flow by turning the cap, which makes them perfect for mixed beds where some plants need more water than others. A good example is the DCM68-360 with a 360-degree adjustable flow, which you can set anywhere from 0 to 8 gallons per hour. The other type is the pressure-compensating emitter, which keeps the flow constant even when the water pressure changes along the line. These are essential on slopes or long runs because they prevent the first plant from getting all the water and the last plant from getting nothing.
When you shop for components, pay close attention to the threads. Most home garden kits use a 3/4-inch connection at the faucet, and the filter and pressure regulator screw directly onto that. The mainline then runs with a simple push-fit or compression fitting. Do not mix materials from different brands if you can avoid it. Stick to one system so all connectors match.
- Filter: 150-mesh screen is standard for clean municipal water. If you use well water, upgrade to 200-mesh.
- Pressure regulator: Set it to 25 PSI for most home gardens. Some drip systems work at 20 PSI, but 25 is a safe universal starting point.
- Mainline tubing: 1/2-inch, 0.600-inch outer diameter (OD) poly tubing is durable and easy to work with.
- Drip lines: 1/4-inch is easier to route around beds, but 1/2-inch gives you more flow for long runs.
- Timer: A battery-operated digital timer is the easiest way to automate watering.
Step 3: Connect the System to Your Water Source
This is where most people go wrong. The first thing you want on the hose bib is a vacuum breaker or anti-siphon device. It prevents dirty water from being sucked back into your drinking water supply. You need to install this before any timer or filter because it sits closest to the faucet. After the anti-siphon device, you can add a Y-connector if you want to keep another hose outlet for hand watering.
Next, attach the timer. A battery-powered timer should be wired to the faucet with a simple wrench. Most models have two ports if you want to run two separate zones. After the timer, go to the filter and then the pressure regulator. Put the pressure regulator on the downstream side of the filter. Why? Because the filter can clog and build up backpressure, and the regulator works better on the clean side.
Finally, connect your 1/2-inch mainline to the regulator with a compression fitting. Tighten the fitting by hand, then give it an extra quarter-turn with a wrench. Do not overtighten; the compression ring can crack and leak. Use a good quality hose clamp if your kit uses a barbed fitting instead of a compression nut.
Step 4: Lay the Mainline and Drip Lines
Start at the water source and run the 1/2-inch mainline along the path you want to water. Keep the tubing as straight as possible, but do not lay it in a way that creates a sharp kink. A kink in the line reduces flow and can cause a leak at the elbow. Use a stake or a landscape pin every 4 to 5 feet to hold the line in place. If the line has to cross a walkway, you can dig a shallow trench and slide it through a piece of PVC pipe for protection.
When it is time to branch off, use a 1/4-inch drip line. You can punch a hole in the mainline with a hole punch tool, then push a barbed connector into the hole. Attach the 1/4-inch tubing to the connector. Do not forget to use a goof plug or an end cap to close the far end of the mainline. The best practice is to run the mainline to the end of the bed and cap it there, then branch off at each plant cluster.
A common question is whether you can bury the mainline. You can, but you should leave the emitters above ground. Bury the mainline 6 to 8 inches deep to protect it from sunlight and mower blades. The 1/4-inch drip lines can be buried too, but then you lose the ability to adjust emitter positions easily. If you prefer a hidden system, bury the line and place a small emitter stake at the surface later.
Step 5: Install Emitters and Adjust Flow
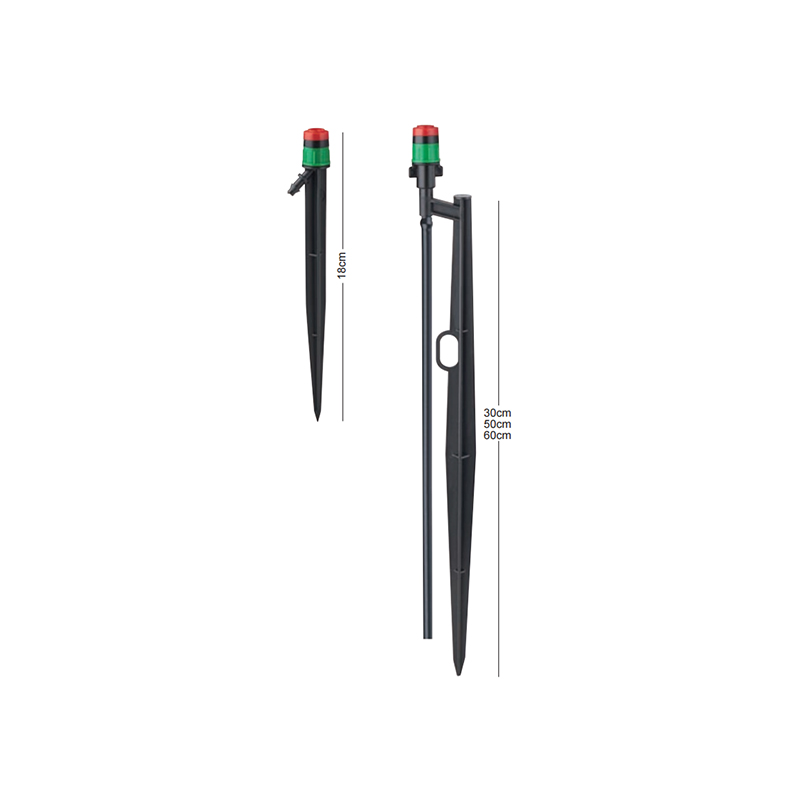 Pressure-Compensating 360-Degree Dripper for Consistent WateringA pressure-compensating dripper that ensures uniform flow despite pressure changes, ideal for precise root-zone watering with easy stake installation.View Product →
Now it is time to put the emitters where the plants are. For a pressure-compensating emitter like the DCM89-360, you can install it directly on the 1/4-inch line or on a stake that you push into the soil. The stake version is much easier to reposition as your plants grow, and it keeps the emitter at the surface where the water goes right into the root zone.
If you have raised beds or containers, an arrow dripper is the quiet hero. These thin plastic stakes deliver water at a very low flow and fit into cramped spaces where a larger emitter would be clumsy. For a 12-inch pot, a 1 gallon per hour arrow dripper is usually sufficient for a tomato or pepper plant. For larger 20-inch pots, use a 2 GPH emitter or two 1 GPH emitters on opposite sides of the pot.
Here is where you need to think about pressure. Even with a pressure regulator, a long run of 1/4-inch tubing will lose pressure due to friction. As a rule of thumb, do not run more than 30 feet of 1/4-inch drip line from the mainline. If your bed is longer than that, split the run into two and connect them to the mainline at different points. This ensures each emitter gets the flow it needs.
Adjustable and pressure-compensating emitters each serve a purpose. If your garden is on a slope or if you have very different plant types, consider using pressure-compensating emitters for uniform flow. If you need the flexibility to tune each plant, adjustable emitters let you tune the flow from 0 to 8 GPH. According to a USU Extension guide, the goal is to wet at least half of the root zone. For a tomato plant, that means the soil should be wet in a circle roughly 18 to 24 inches in diameter, depending on the soil texture. Sandy soils need a wider wetting pattern but a shorter watering time; clay soils need a narrower and longer soak.
Step 6: Test and Automate the System
Open the faucet slowly and let the system fill. Check every connection for leaks. A tiny drip at a compression joint will turn into a gushing fountain after a season of UV exposure and freezing. Tighten each joint, and if a fitting continues to leak, cut the tubing back to a clean new section and replace the fitting.
Test the emitters by looking at the soil around each plant. The water should not run off the surface. If it does, your flow is too high or your soil is compacted. Turn the adjustment cap on the emitter until the water soaks in slowly. After the test run, wait 30 minutes and dig down one inch. The soil should be moist but not soggy.
Once the system is leak-free, program your timer. Most garden soils need about 1 inch of water per week during the growing season. A drip emitter delivering 1 GPH for one hour will provide about 10 gallons of water. A practical schedule is 20 to 30 minutes per zone, three days per week. But before you set it, always check local conditions: shade, slope, and soil type all change the watering frequency. For a garden in full sun with sandy soil, you may need to water every other day; for clay soil, once a week is often enough.
Common Mistakes to Avoid
Even experienced gardeners make the same five mistakes on their first drip install.
- Skipping the filter. Without a 150-mesh filter, fine particles will clog your emitters within a month. A cheap filter is the cheapest form of insurance.
- Not installing a pressure regulator. When you connect 1/2-inch tubing to a typical 60 PSI household line, the fittings can blow off. The regulator must be present to bring the pressure down to 20-30 PSI.
- Using emitters that are too large. A 4 GPH emitter on a small lettuce bed leads to runoff and weed growth. Start with 1-2 GPH.
- Running the drip line too long. A single 1/4-inch line longer than 30 feet will have pressure drop at the end, so go with another branch.
- Overwatering. Drip is not a set-and-forget system. If you run the timer for 2 hours a day, you will drown the roots. Measure the soil moisture at least once in the first week.
Maintenance Tips for Long-Term Reliability
A drip system can last for years if you give it a little care each season. The main problem is clogging. If you notice that some plants are not getting water, check the emitters first. On municipal water, flush the system once a month by removing the end cap and running the water for 30 seconds. This pushes out any sediment that has settled in the line.
In spring, inspect all the tubing for damage caused by winter freezing. Polyethylene tubing can become brittle if it was left out in the sun all summer. Replace any section that looks cracked or has a white stress haze. In autumn, winterize the system by draining the water and blowing out the lines with a compressor. If you live in a warm climate, you can simply close the faucet and remove the timer.
Keep an eye on your plants. Healthy plants show no signs of water stress. Yellowing leaves are often a sign of overwatering, not underwatering. Use a soil moisture meter or simply stick your finger into the soil 1 inch deep. If it feels moist, wait until the next scheduled day.
Frequently Asked Questions
How many emitters can I run on one drip line?
It depends on your water flow and pressure. As a general rule, a 1/2-inch mainline can handle about 200 GPH, which is about 200 one-gallon emitters. In practice, stay under 100 emitters per zone to keep pressure consistent. For 1/4-inch lines, keep the total flow under 30 GPH to avoid pressure loss.
How long should I run my drip irrigation system?
For most gardens, 20 to 30 minutes, three days a week is a solid starting point. If you have deep clay soil, run it longer but less often. If you have sandy soil, run it shorter and more often. The exact duration must be tuned based on your local evaporation rate and the crop demand.
Can I use drip irrigation under mulch?
Yes. In fact, placing the drip lines under 2 to 3 inches of organic mulch is one of the best ways to reduce evaporation. Just make sure the emitters are not buried in soil. They should be on the soil surface or under the mulch where the water can still soak into the ground.
Do I need a backflow preventer?
Yes, an anti-siphon device is essential to prevent contaminated water from being drawn back into the potable water supply. It is a simple, inexpensive device that screws directly onto your faucet. It is good practice for any irrigation system that connects to a domestic water line.
What is the difference between adjustable and pressure-compensating emitters?
An adjustable emitter lets you set the flow rate manually, so you can give a thirsty plant more water and a drought-tolerant plant less. A pressure-compensating emitter automatically maintains the same flow regardless of pressure changes along the line. Use adjustable for mixed beds and pressure-compensating for long runs, slopes, or when all plants need the same amount.
Can I leave the drip system on for a few weeks while traveling?
If you have a reliable timer and a clean water supply, you can leave it on for 1 or 2 weeks. The risk is not the system; it is losing power to the timer. A good battery-operated timer will keep your schedule as long as the battery is fresh. It is still a good idea to ask a neighbor to visually check the system at least twice during the trip.
Prev:How Long Should Drip Irrigation Run? Complete Timing Guide, Charts & FAQNext:How to Choose Sprinkler Heads: A Practical Guide for Farms, Gardens & Landscapes
Related products
-
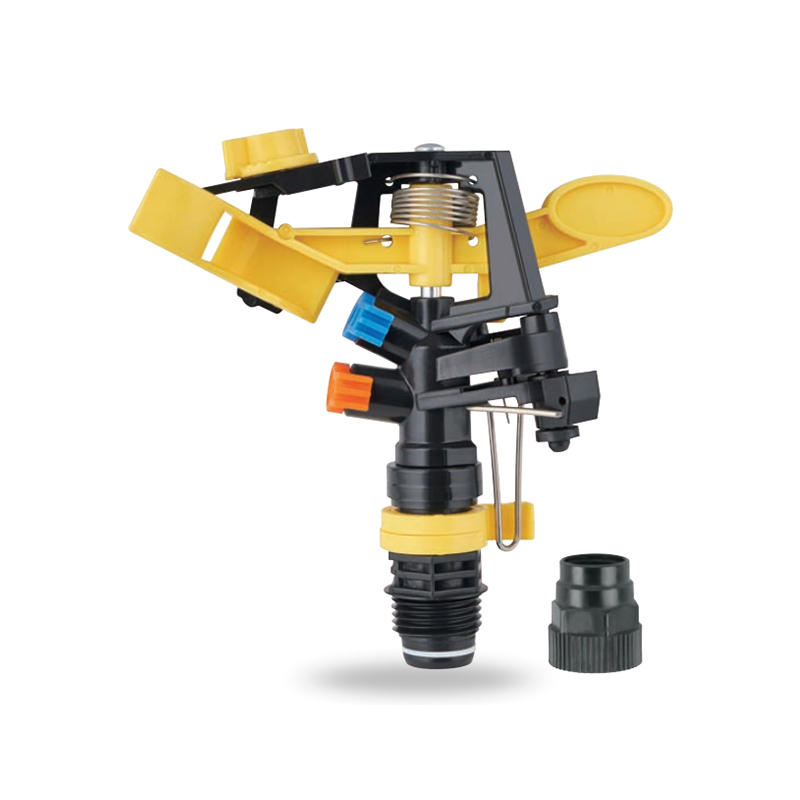
Impact sprinkler for agricultural irrigation is a common and efficient agricultural irrigation tool designed for large areas of farmland. Its unique structure can evenly cover a large area by rotating...
See Details -
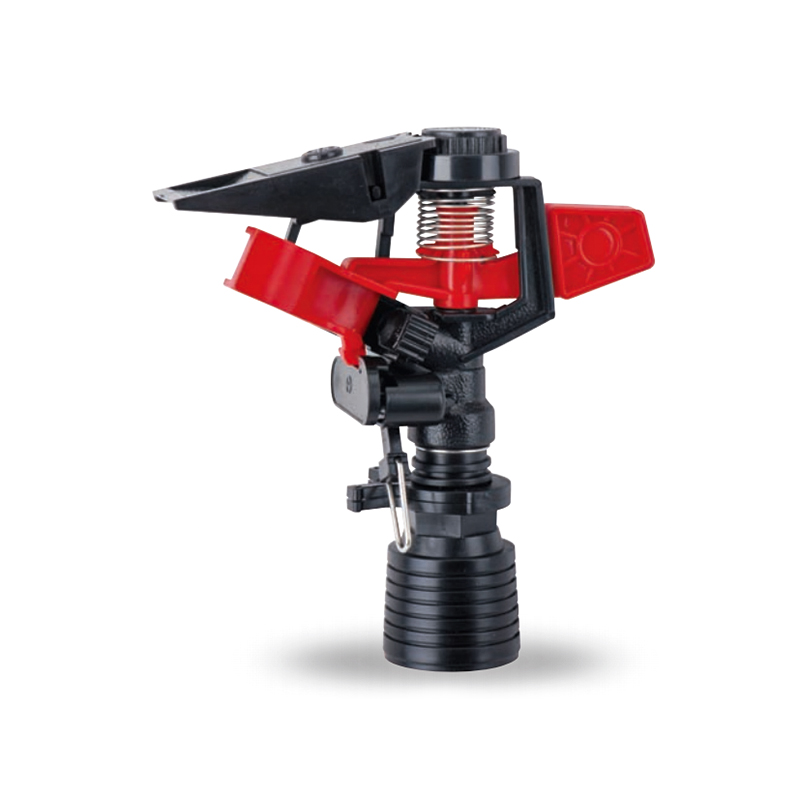
This 360 degree adjustable rocker arm nozzle impact sprinkler is an essential part of an irrigation system designed to meet a wide range of horticultural and agricultural needs. Its flexible adjustmen...
See Details -
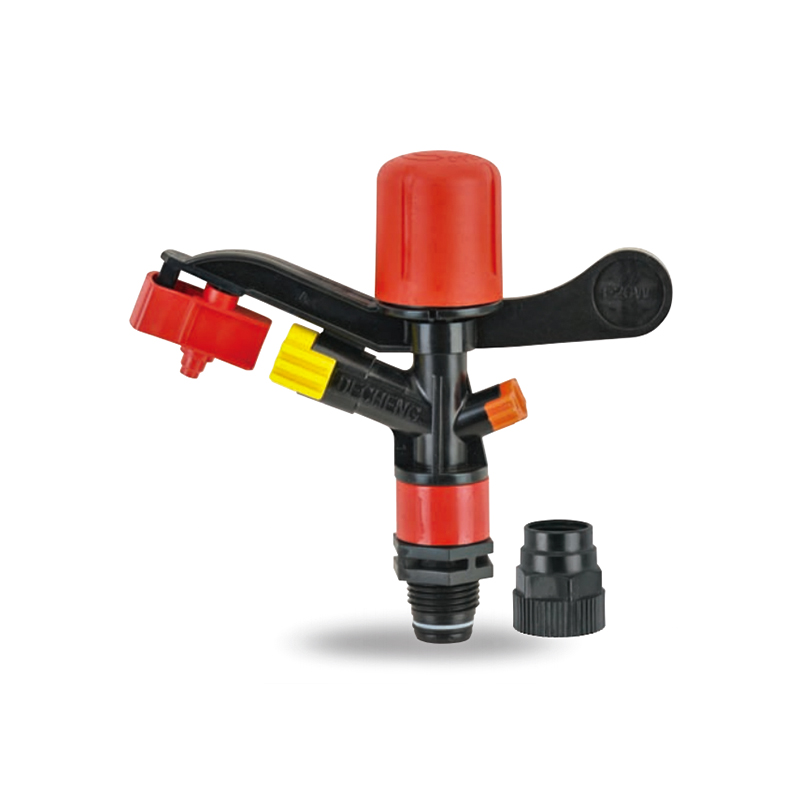
The Plastic Full-Circle Impact Sprinkler Sprayer is a highly efficient full-circle irrigation device designed to provide even moisture coverage. Its lightweight plastic material makes this sprinkler e...
See Details -
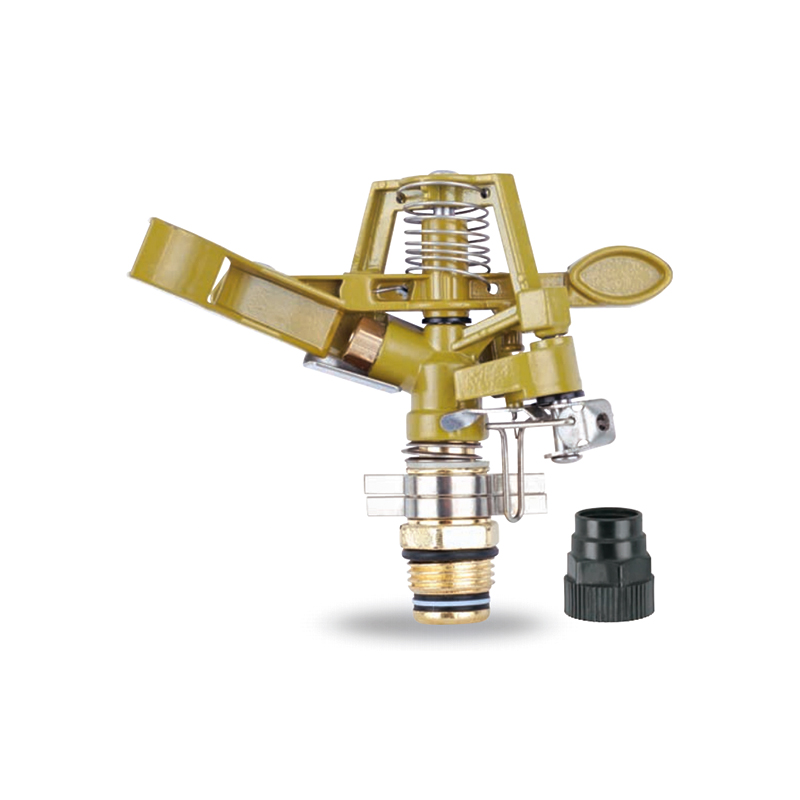
The Irrigation System Adjustable Head Mobile Rotary Zinc Sprinkler is an efficient rotary sprinkler designed for flexible irrigation needs. Its adjustable head allows the user to easily adjust the dir...
See Details -
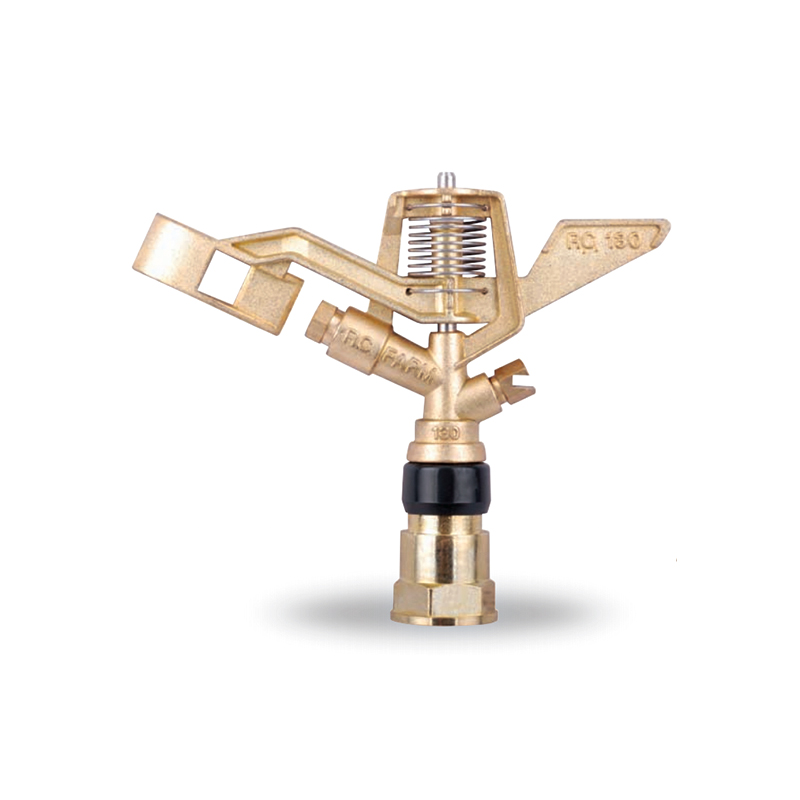
This 3/4” Zinc Alloy Swivel Arm Irrigation Watering System Impact Sprinkler is ideal for agricultural irrigation systems due to its superior durability and corrosion resistance. Its rugged constructio...
See Details -
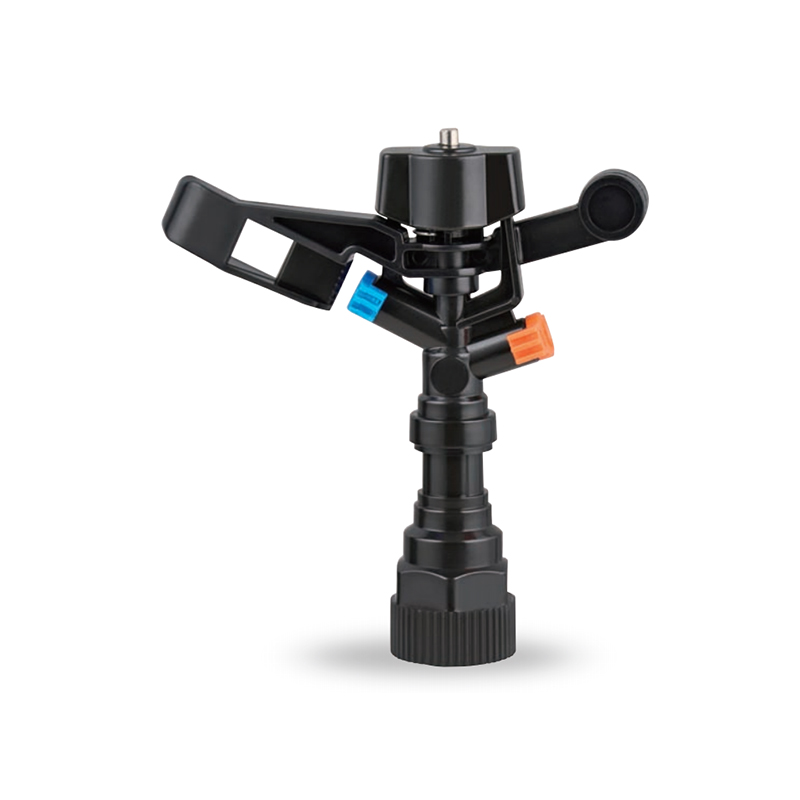
The Double nozzle garden farm impact full-circle sprinkler is well-designed to efficiently and evenly spray water, thus enhancing the quality of crop growth. Whether it's in the home garden or on a la...
See Details -
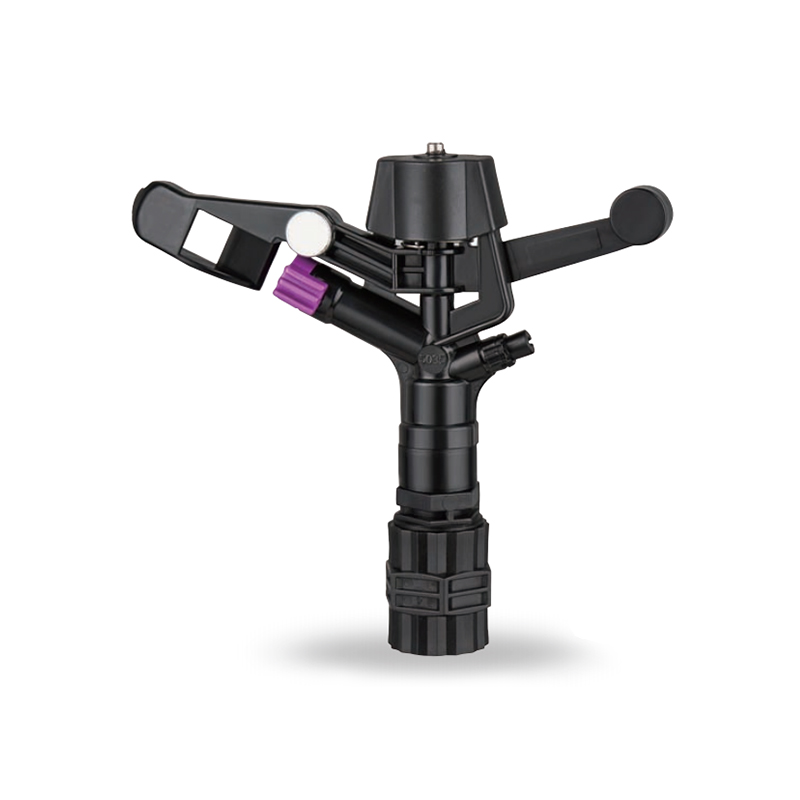
Double nozzle agricultural water plastic impact sprinkler for irrigation sprinkler combines practicality and durability with a dual nozzle system that provides extensive water coverage for a wide rang...
See Details -
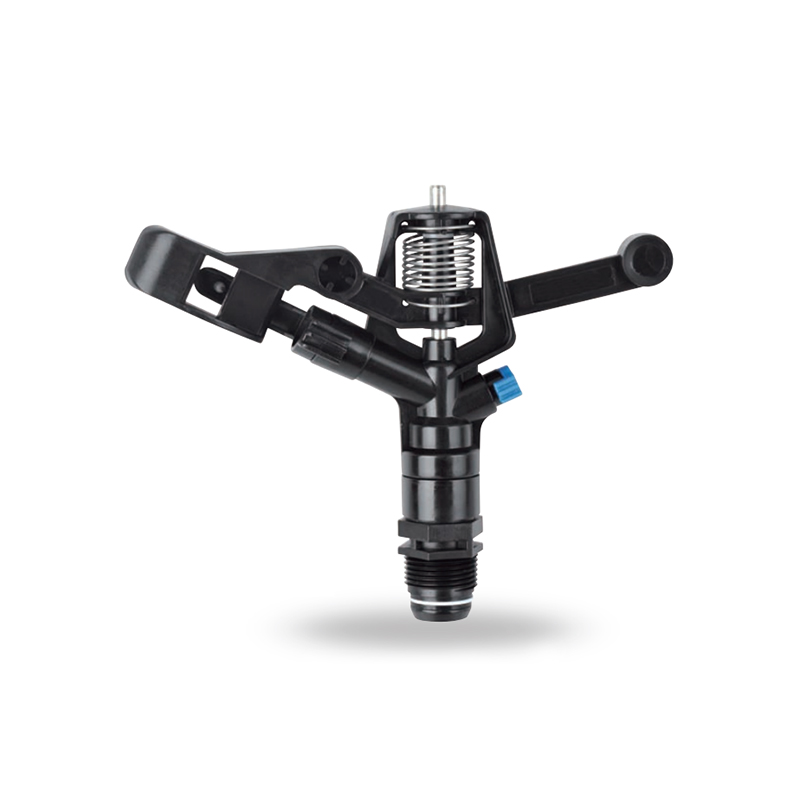
The POM agricultural irrigation sprinkler water impact sprinkler is known for its excellent abrasion resistance and durability, ensuring consistent performance over time. It is designed to increase wa...
See Details -
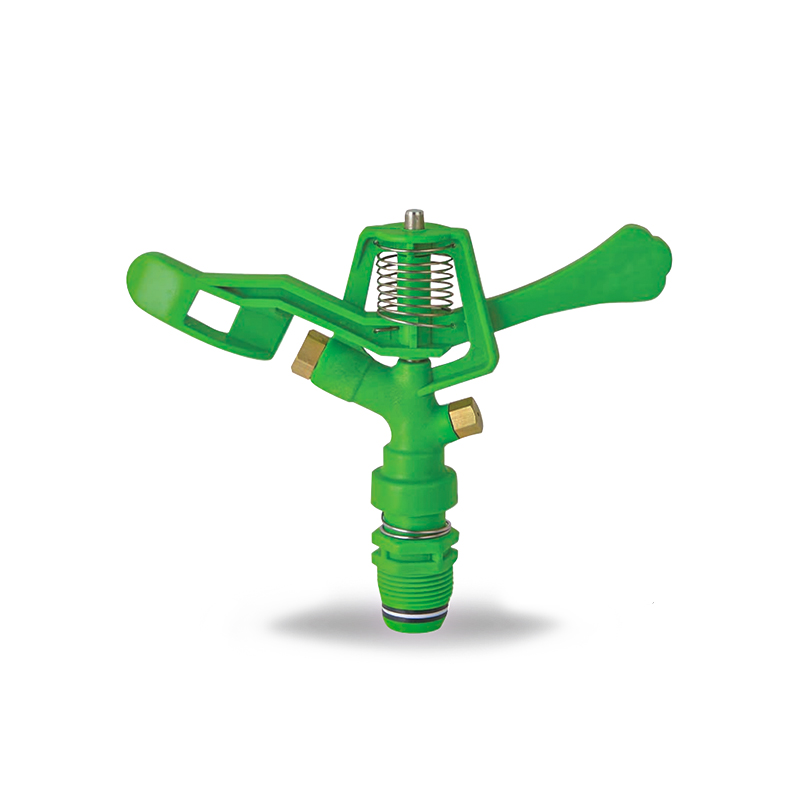
The POM Agricultural Irrigation Sprinkler with Metal Nozzles is a device designed for efficient irrigation, combining premium polyacetal (POM) material with durable metal nozzles to ensure superior sp...
See Details -
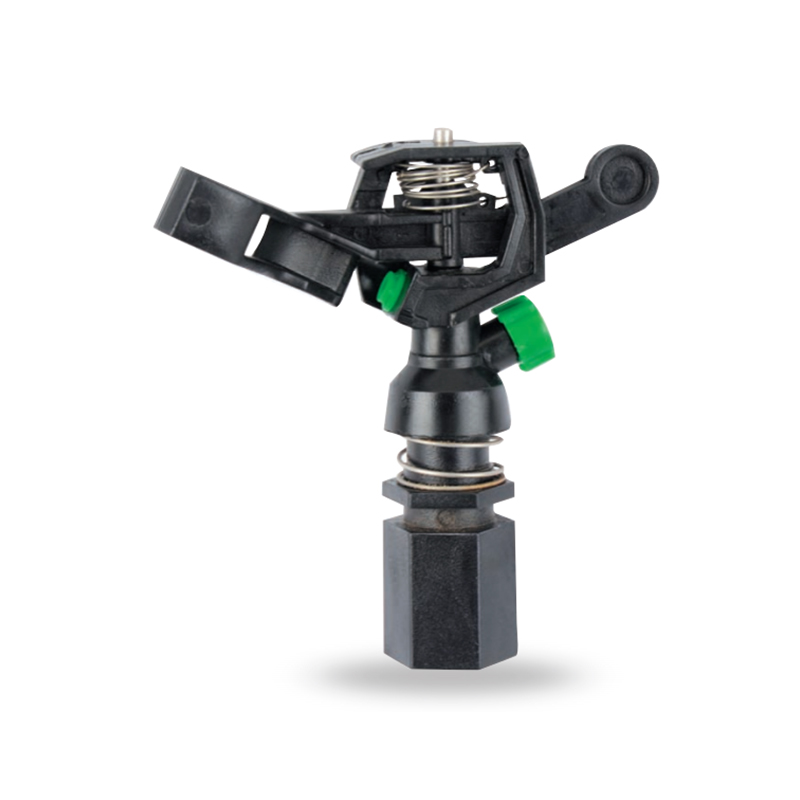
Watering irrigation system 3/4 inch nozzle field Impact Sprinkler is perfect for field irrigation and easily meets the water needs of large crops. Its powerful spray ensures that every nook and cranny...
See Details -
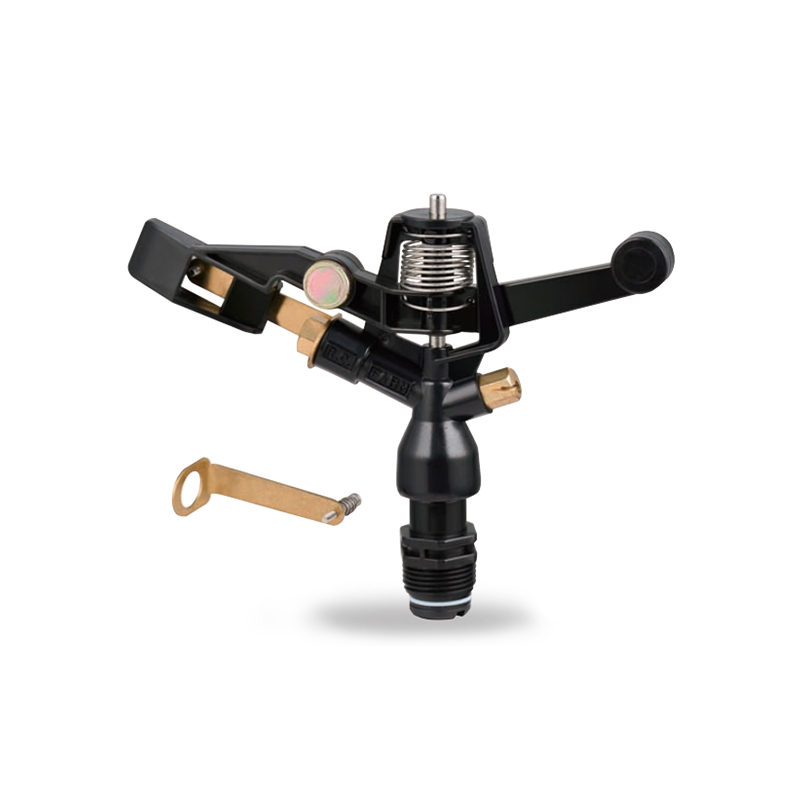
The POM Agricultural Irrigation Sprinkler with Brass Nozzles is an efficient and durable irrigation device designed to meet a wide range of agricultural needs. The sprinkler is made of polyacetal (POM...
See Details -
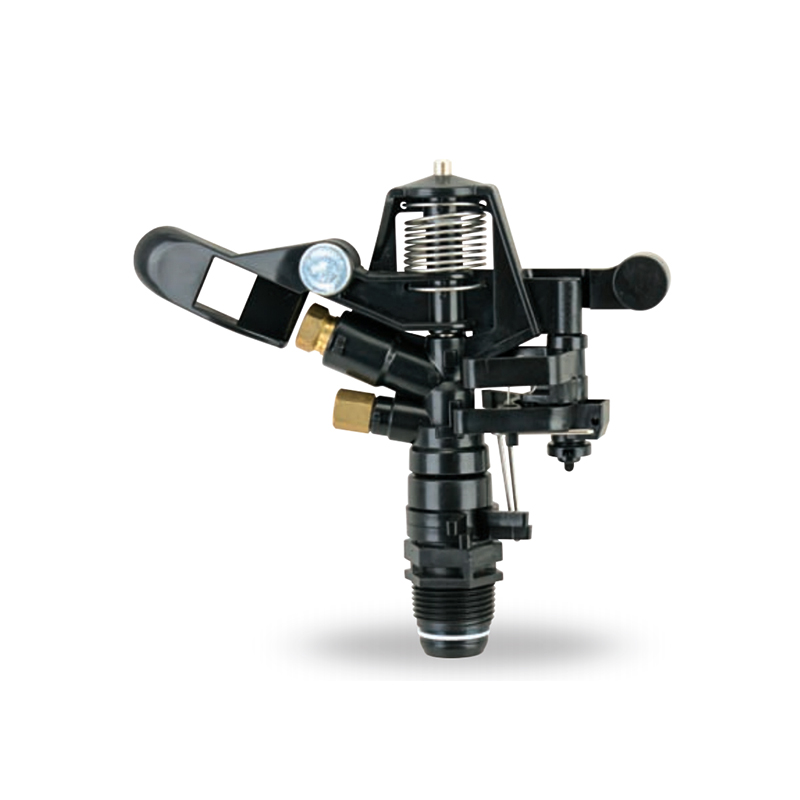
The Double Nozzle Garden Farm Impact Part-Circle Sprinkler is a highly efficient garden irrigation device designed for large planting areas. Its double nozzle design produces a strong, even stream of ...
See Details

PRODUCTS & SERVICES

CONTACT US
 No.518, Ruihao Road, Lizhou Street, Yuyao City, Zhejiang Province, China
 +86-13105554615 / +86-18005843886
 decheng@dcssq.com fredzhu@dcssq.com
 LISA
LISA
 Fred Zhu
Copyright © Ningbo Dewo Irrigation Equipment Co., Ltd. All Rights Reserved. China Agricultural Plastic Sprinkler Manufacturers Wholesale Irrigation Plastic Sprinkler Factory
