 Search for...
 English
 Español
 中文简体
中文简体How to Winterize Impact Sprinklers: Complete Guide
Content
- 1 Why Winterizing Impact Sprinklers Matters More Than You Think
- 2 Tools and Supplies You Need Before You Start
- 3 Step-by-Step: How to Winterize Impact Sprinklers Using the Blow-Out Method
- 3.1 Step 1: Turn Off the Main Water Supply to the Irrigation System
- 3.2 Step 2: Disable the Irrigation Controller
- 3.3 Step 3: Connect the Air Compressor to the Blow-Out Port
- 3.4 Step 4: Blow Out Each Zone Starting With the Farthest From the Valve
- 3.5 Step 5: Blow Out the Main Line and Backflow Preventer
- 3.6 Step 6: Insulate Above-Ground Components
- 4 Manual Drain Method for Impact Sprinkler Systems
- 5 Comparing Winterization Methods for Impact Sprinkler Systems
- 6 Specific Considerations for Different Types of Impact Sprinklers
- 7 When to Winterize: Timing and Temperature Thresholds
- 8 Common Mistakes When Winterizing Impact Sprinklers
- 9 Winterizing Impact Sprinklers on Agricultural and Large-Scale Systems
- 10 Post-Winterization Checklist and Spring Startup Preparation
- 11 Should You Hire a Professional or DIY?
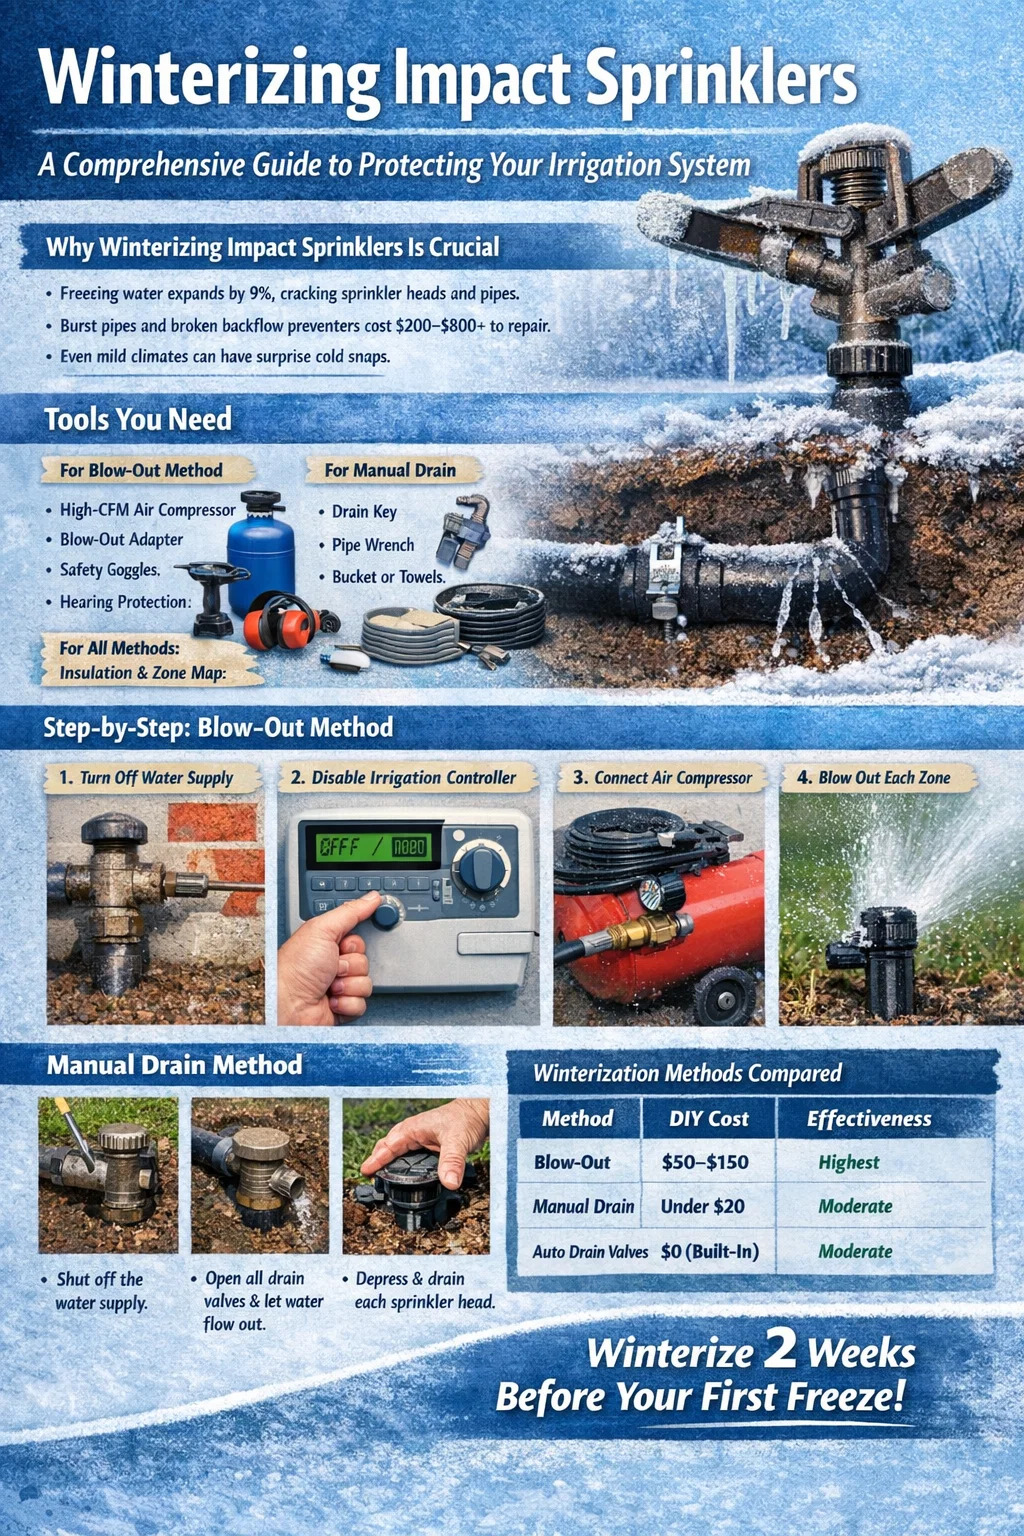
To winterize impact sprinklers, you need to shut off the water supply, drain all residual water from the lines and sprinkler heads, blow out remaining moisture using a compressed air method, and protect exposed components from freezing temperatures. Skipping this process in climates where temperatures drop below 32°F (0°C) can crack sprinkler bodies, burst lateral lines, and destroy backflow preventers — repairs that often cost $200 to $800 or more. This guide walks through every step in detail, including tools needed, common mistakes, and how different types of impact sprinklers require slightly different approaches.
Why Winterizing Impact Sprinklers Matters More Than You Think
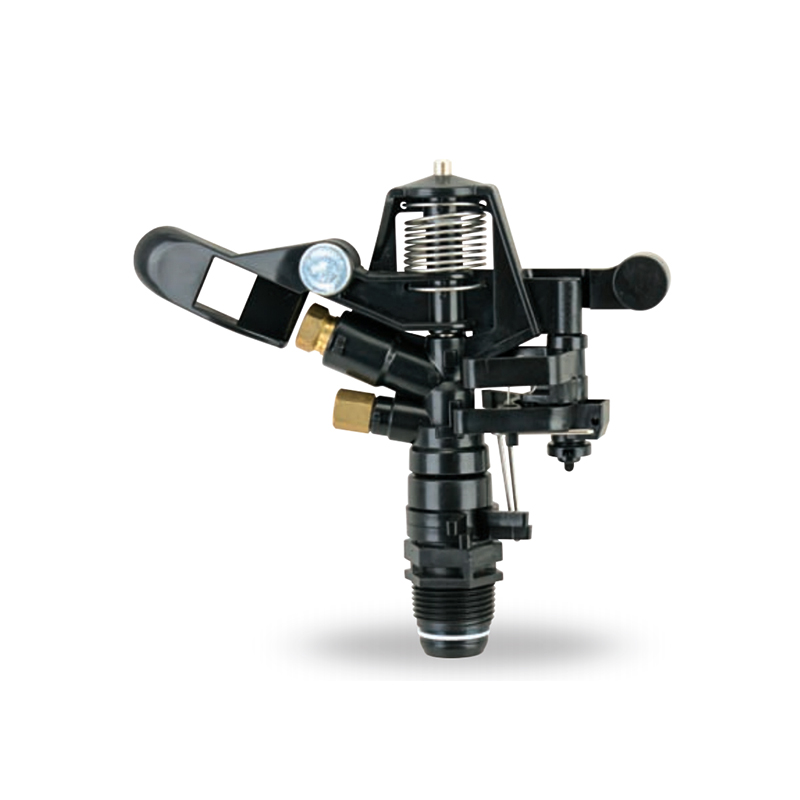
Impact sprinklers — sometimes called impact rotor sprinklers or impulse sprinklers — use a spring-loaded deflector arm that hammers against the water stream to rotate the head. This mechanical design has been a reliable choice for decades, used on everything from residential lawns to large agricultural fields. But that same mechanical complexity means there are more internal parts that hold standing water and are vulnerable to ice expansion.
Water expands roughly 9% in volume when it freezes. Inside a sealed brass or plastic sprinkler body, that expansion has nowhere to go. The housing cracks, the internal spring assembly warps, and threaded fittings can shear entirely. On a system with 20 impact heads, replacing every cracked head at an average of $15–$40 each adds up fast — before you even factor in the labor or pipe damage underground.
Beyond individual heads, the lateral pipes that feed your impact sprinklers typically sit only 6 to 12 inches underground in warmer regions. In areas with hard freezes, the frost line can reach 24 to 48 inches. Pipes shallower than the local frost line will freeze and potentially burst without proper winterization. The result is soggy ground, water waste, and expensive excavation.
Even in mild climates like the Pacific Northwest or coastal Southeast where hard freezes are rare, an unexpected cold snap can cause damage if your system still has water sitting in the lines. Winterizing is low-cost insurance regardless of your climate zone.
Tools and Supplies You Need Before You Start
Getting organized before you begin saves time and prevents incomplete jobs. Here is what you will need depending on the method you choose:
For the Compressed Air (Blow-Out) Method
- Gas-powered air compressor rated at 50 CFM (cubic feet per minute) or higher for larger systems — a small 20-gallon shop compressor is usually not sufficient
- Blow-out adapter fitting that connects to your system's blow-out port (usually a quick-connect or threaded fitting near the backflow preventer)
- Safety goggles — mandatory, not optional
- Hearing protection
- Work gloves
For Manual Draining
- Flat-head and Phillips screwdrivers
- Adjustable wrench or pipe wrench
- Key for manual drain valves (often a flat-blade key or square key depending on your valve brand)
- Bucket or towels to catch draining water
For All Methods
- Your irrigation system's zone map or controller schedule (so you know how many zones you have)
- Insulation foam or pipe wrap for exposed above-ground components
- Teflon tape for resealing any fittings you disconnect
- Irrigation system manual (especially useful for locating blow-out ports and drain valves)
Step-by-Step: How to Winterize Impact Sprinklers Using the Blow-Out Method
The compressed air blow-out method is the most thorough approach and the one most irrigation professionals use. It is highly effective for impact rotor systems because the sprinkler heads lift and allow air to escape, which means the blow-out clears both the pipes and the internal head chambers simultaneously.
Step 1: Turn Off the Main Water Supply to the Irrigation System
Locate the dedicated shutoff valve for your irrigation system. This is usually near your water meter, in the basement, or in a valve box buried in the yard. Turn it completely off. Do not rely on turning off the controller alone — the controller stops the zones from activating, but it does not isolate the supply line from the water main.
If your system uses a backflow preventer (required by code in most municipalities), locate its shutoff handles as well. These are the handles on either side of the backflow device — turn them perpendicular to the pipe to close them. The backflow preventer itself holds water and is a common casualty of skipped winterization.
Step 2: Disable the Irrigation Controller
Set your controller to its "rain" or "off" mode, or switch it to manual so you can activate individual zones during the blow-out. Most modern controllers have a specific winterization or manual activation mode. You will need to trigger each zone one at a time during the blow-out process, so keep the controller accessible. Do not completely power off the controller if it has a timer battery — you may want to preserve your schedule settings for spring.
Step 3: Connect the Air Compressor to the Blow-Out Port
Most irrigation systems installed after the mid-1990s have a dedicated blow-out port — typically a quick-coupler or threaded port located between the backflow preventer and the zone valves. Connect your compressor hose to this port using the appropriate adapter. Make sure the connection is firm and that the air compressor is off and depressurized before connecting.
Critical safety note: never stand over or near an impact sprinkler head during the blow-out process. Pressurized air can propel debris, dirt, and sprinkler components at high velocity. Keep all bystanders and pets away from the yard during this step.
Step 4: Blow Out Each Zone Starting With the Farthest From the Valve
Activate the zone farthest from the main supply valve first. Then turn on the compressor and set pressure to no more than 50 PSI for polyethylene (poly) pipe systems, or 80 PSI for PVC pipe systems. Exceeding these pressures risks damaging pipes, fittings, and the impact sprinkler heads themselves.
Watch for water mist to blow out of the activated impact sprinkler heads — this is the moisture being evacuated. Run each zone for two to three cycles of no more than two minutes each, allowing the compressor tank to refill between cycles. Running the compressor continuously risks overheating both the compressor and the sprinkler head internals.
After the first pass through all zones, go back through each zone a second time. The second pass catches residual moisture that the first pass dislodged but did not fully expel. On systems with many impact heads per zone, a third pass is sometimes warranted.
Step 5: Blow Out the Main Line and Backflow Preventer
Once all zones are clear, activate any manual drain valves on the main supply line to release trapped water. Some backflow preventers have small test cocks — open these to let air pass through and push out any remaining moisture. Leave the test cocks open slightly over winter to prevent any condensation from building up inside.
Step 6: Insulate Above-Ground Components
Even after blow-out, above-ground pipes, the backflow preventer, and any exposed valve boxes should be insulated. Use foam pipe insulation sleeves (available at hardware stores for under $10 for a 6-foot section) wrapped around exposed pipes. For backflow preventers, purpose-made insulating covers are sold at irrigation supply stores. Secure the cover so wind cannot blow it off during a cold snap.
Manual Drain Method for Impact Sprinkler Systems
If your system was designed with manual drain valves at low points in the pipe layout, you can winterize without a compressor. This method works well for systems on sloped terrain where gravity can pull water toward the drain valves, but it is less reliable for flat or complex layouts where water pockets form in unexpected places.
- Shut off the main irrigation water supply completely.
- Activate each zone on the controller to release pressure in the lines. The heads will pop up briefly and then drop as pressure bleeds off.
- Open all manual drain valves. These are typically located at the lowest elevation point of each zone's pipe run, or at the end caps of lateral lines. Use the drain key or flat-blade tool required for your valve brand.
- Allow 20 to 30 minutes for water to drain from all lines.
- On impact sprinkler heads, manually depress the riser to expel any water trapped inside the housing. Some brass impact heads hold a small reservoir of water inside the body even after line drainage — pressing down the riser and tilting the head releases this water.
- Close the drain valves and insulate above-ground components as described above.
The limitation of the manual drain method is that it cannot guarantee complete moisture evacuation from impact sprinkler heads that are installed at mid-elevation — water that does not reach a drain valve will remain frozen in the body. In climates where temperatures consistently drop below 20°F (-6°C), the blow-out method is far more reliable.
Comparing Winterization Methods for Impact Sprinkler Systems
Not every system or situation calls for the same approach. Use this comparison to decide which method fits your setup:
| Method | Best For | Equipment Needed | DIY Cost | Effectiveness |
|---|---|---|---|---|
| Blow-Out (Compressed Air) | All climates, all terrain types | High-CFM compressor, adapter | $50–$150 (compressor rental) | Highest |
| Manual Drain | Sloped terrain with drain valves installed | Drain key, wrench | Under $20 | Moderate |
| Automatic Drain Valves | Systems pre-equipped with auto-drain valves | None additional | $0 (built-in) | Moderate |
| Professional Service | Large systems, uncertain DIY | None (technician provides) | $75–$200 per visit | Highest |
Specific Considerations for Different Types of Impact Sprinklers
Not all impact sprinklers are the same, and some have features or design elements that affect how thoroughly they drain during winterization. Here is what to watch for with the most common types:
Brass Impact Sprinklers
Traditional brass impact heads like the Rain Bird 25PJDAC or Orbit brass impact models are durable but heavy, and their sealed bodies can trap water near the nozzle orifice even after blow-out. After the blow-out process, manually depress and rotate a few representative heads to check for trapped water. If water dribbles out when you tilt the head, run another blow-out cycle on that zone.
Brass heads are more resistant to cracking than plastic, but the internal spring assembly and the sled arm pivot point can still be damaged by ice buildup over repeated freeze cycles. If you have older brass heads that were never winterized and show stress cracks, replace them before spring startup rather than risk a blowout during the irrigation season.
Plastic Impact Sprinklers
Plastic impact heads are far more vulnerable to freeze cracking than brass. A single freeze event with standing water inside a plastic body can split the housing completely. If you have plastic impact sprinklers in a climate where temperatures drop below freezing regularly, the blow-out method is not optional — it is essential. Two full blow-out passes are the minimum recommendation for plastic impact head systems.
Adjustable-Arc vs. Full-Circle Impact Heads
Adjustable arc impact sprinklers have a trip pin or diffuser screw that limits the sweep range. These additional components create small cavities where water can collect. After blowing out adjustable-arc heads, manually move the arc stops through their full range of motion to dislodge any water sitting near the trip mechanism.
In-Ground Pop-Up Impact Sprinklers
Pop-up impact heads (those that retract into a housing when not in use) have a spring-loaded stem that holds water both in the housing and around the retraction spring. During the blow-out, the compressed air should cause the stem to fully extend and allow moisture to escape. If a stem sticks in the down position during blow-out, it may not clear properly. After the blow-out, inspect any heads that did not visibly pop up — manually extend the stem and run one more short air cycle on that zone.
Spike-Mount and Tripod-Mount Impact Sprinklers
Above-ground impact sprinklers mounted on spikes or tripods are connected to the system via a hose or rigid riser. These are easier to winterize because you can often detach the head entirely and store it indoors. Disconnect the head from the supply hose or riser, drain any water from the hose, and store the impact sprinkler body inside a shed or garage where temperatures stay above freezing. This is by far the safest approach for spike-mount and portable systems.
When to Winterize: Timing and Temperature Thresholds
The right time to winterize depends on your local climate and the specific freeze patterns in your area. Here are the key timing guidelines used by irrigation professionals:
- USDA Hardiness Zones 3–5 (Minnesota, Wisconsin, Montana, northern New England): Winterize by mid to late October, before the first hard frost. These regions can see soil temperatures at pipe depth reach freezing as early as late October.
- Zones 6–7 (mid-Atlantic, Missouri, Kansas, Pacific Northwest inland): Winterize by late October to mid-November. First hard freezes typically arrive in November, but cold snaps can occur earlier.
- Zones 8–9 (coastal Southeast, Texas, Pacific Coast): Winterize by late November to December. Hard freezes are rare but not impossible. A light freeze of 28°F (-2°C) held for more than four hours is sufficient to crack plastic impact heads.
- Zone 10+ (South Florida, Hawaii, Southern California coast): Winterization is generally not required, but insulating any above-ground components is still a good practice during any predicted cold front.
A practical rule of thumb: winterize your impact sprinkler system at least two weeks before your area's average first freeze date. You can find your local average first freeze date through the National Weather Service or your state's agricultural extension service. Waiting until the last possible day leaves no buffer for unexpected early cold snaps.
If you miss the window and a hard freeze arrives before you winterize, do not panic. Turn off the water supply immediately to prevent further flooding if pipes burst. Once the ground thaws enough to check your system, inspect each impact head and visible pipe section before reintroducing water pressure. Start at low pressure (30–40 PSI) on the first spring pressurization to identify leaks before they become floods.
Common Mistakes When Winterizing Impact Sprinklers
Even homeowners who attempt to winterize every year can make errors that leave their system vulnerable. These are the most frequent mistakes and how to avoid them:
Using Too Little Air Pressure or Too Small a Compressor
A small pancake compressor or shop compressor with only 2–5 CFM output cannot generate enough sustained airflow to move water out of longer pipe runs. You need volume (CFM), not just pressure (PSI). A compressor with 10–20 CFM can work on small residential systems with short pipe runs, but large properties with multiple impact rotor zones need 50 CFM or more. When in doubt, rent a commercial-grade compressor rather than rely on an undersized home unit.
Running the Compressor Too Long in a Single Burst
Continuous compressed air flow for more than two to three minutes generates heat inside the pipes and sprinkler heads. Plastic components can warp or deform if subjected to sustained high-temperature airflow. Always blow each zone in short two-minute bursts, then allow the compressor to refill and cool for several minutes before the next pass. The process takes longer this way, but it protects your equipment.
Forgetting Isolated Zones or Manual Override Circuits
Some irrigation systems have drip zones, soaker hose circuits, or secondary zones that are not wired to the main controller. These are easy to forget during winterization. Walk the full perimeter of your property and check for any additional valves or heads that are not represented in your controller's schedule. Even a single uninflated lateral line holding water can cause a burst pipe in January.
Skipping the Backflow Preventer
Backflow preventers are among the most expensive components in an irrigation system, often costing $75–$300 for the device alone plus labor to replace. They are also among the most commonly freeze-damaged components because they are mounted above ground in exposed locations. Always open the test cocks on your backflow preventer after the blow-out, and always insulate the device before winter. A foam cover specifically sized for backflow preventers costs under $15 at most irrigation supply stores.
Assuming One Pass Is Enough
Impact sprinkler heads have internal reservoirs and spring chambers that do not always clear on the first blow-out pass. Water that was pushed partway down a lateral line on the first pass may drain back toward a low-point fitting on the second pass. Always do a minimum of two full zone cycles when using the blow-out method. On systems with more than ten zones or with complex pipe routing, three passes are the professional standard.
Disconnecting the Controller Entirely
Many homeowners unplug the controller completely over winter to save electricity. While this is harmless for most modern digital controllers, it can erase your stored zone schedules on older models without battery backup. Either leave the controller plugged in (the power draw is minimal, typically under 5 watts) or write down your zone schedules before unplugging. Recreating a well-tuned schedule from memory in spring is more trouble than it is worth.
Winterizing Impact Sprinklers on Agricultural and Large-Scale Systems
Impact sprinklers have long been a staple of agricultural irrigation — traveling gun systems, solid set field irrigation, and orchard frost protection systems all commonly use impact-type rotors. Winterizing these large systems follows the same principles but at a scale that requires more planning and equipment.
For solid-set impact systems on fields or orchards, the standard approach is to drain the mainline by opening the lowest drain points and then blow out each lateral set. Agricultural compressors used for this purpose typically deliver 100 CFM or more, allowing multiple heads per zone to be cleared in a single pass.
Traveling gun systems that use large-bore impact sprinklers (1-inch to 2-inch nozzle bore) require complete disassembly for winter storage. Remove the gun from the traveler cart, drain all water from the gun body and swivel connections, and store the gun indoors. The supply hose should be drained and coiled loosely in storage — storing a hose full of water in a tight coil causes the water to freeze in concentrated pockets that can split the hose couplings.
For permanent impact sprinkler systems on orchards or vineyards used for frost protection, the winterization question is complicated by the fact that the system may need to be operational into late fall. Growers in California's Central Valley, for example, sometimes use impact sprinklers for frost protection events as late as March. In these cases, the system is kept pressurized but monitored daily, with winterization deferred until the frost risk period ends.
Post-Winterization Checklist and Spring Startup Preparation
A thorough winterization job also sets you up for a smooth spring startup. Before you consider the job done, go through this final checklist:
- All zone valves confirmed closed
- Main irrigation shutoff valve confirmed closed
- Backflow preventer test cocks left slightly open to prevent condensation buildup
- Backflow preventer insulated with a foam cover
- All exposed above-ground pipe wrapped with foam insulation
- Controller set to rain or off mode with schedule preserved
- Any portable or spike-mount impact heads removed and stored indoors
- Notes made of any heads or pipe sections that showed wear, leaks, or irregular operation during the season
That last point is worth expanding on. Winterization is the ideal time to note any impact sprinkler heads that were under-rotating, clogged, or leaking at the seal during the irrigation season. Replacement heads can be ordered during winter when demand is low and prices are stable. Replacing a worn impact head before spring costs $10–$40 and takes five minutes with a pipe wrench. Discovering the same failed head after it has watered your lawn sideways for three weeks in July costs more in wasted water and lawn repair than the head itself.
When you restart the system in spring, always pressurize slowly. Open the main supply valve only one quarter turn and let pressure build gradually over 10 to 15 minutes. Then walk each zone while it runs, checking for heads that do not pop up, heads spraying in the wrong direction, and any wet spots in the lawn that suggest a buried leak. Fix problems immediately — small leaks discovered in early spring are far cheaper to address than the same leaks after months of running undetected.
Should You Hire a Professional or DIY?
For most homeowners with a standard residential impact sprinkler system of 4 to 8 zones, DIY winterization using a rented compressor is practical and cost-effective. Compressor rentals at tool rental centers typically run $50 to $100 per day, and the job itself takes one to three hours. If you share the rental with a neighbor who also needs to winterize, the cost drops further.
That said, professional service makes sense in a few specific situations:
- Your system has more than 10 zones or covers more than half an acre — the compressor sizing requirements become more complex and the time investment is significant
- You are unsure where your blow-out port or main shutoff is located — a professional can locate these without risking damage
- Your system includes a mix of impact heads, rotors, and drip zones that require different air pressure settings
- You have had freeze damage in previous years that was not fully repaired — a professional can assess the system's condition before adding more stress
- You simply do not have the time or physical ability to handle a multi-hour outdoor project in cooling fall weather
Professional winterization services typically charge $75 to $200 for a residential system, depending on your region and the number of zones. In areas like Colorado, Minnesota, or the Chicago suburbs where irrigation winterization is a high-demand service in October, booking early in September can save both money and scheduling stress. Many irrigation companies offer discounted winterization as part of annual maintenance contracts that also include spring startup service.
Prev:Why Does My Impact Sprinkler Stop Rotating? Causes & FixesNext:How long to run an impact sprinkler for 1 inch of water?
Related products
-
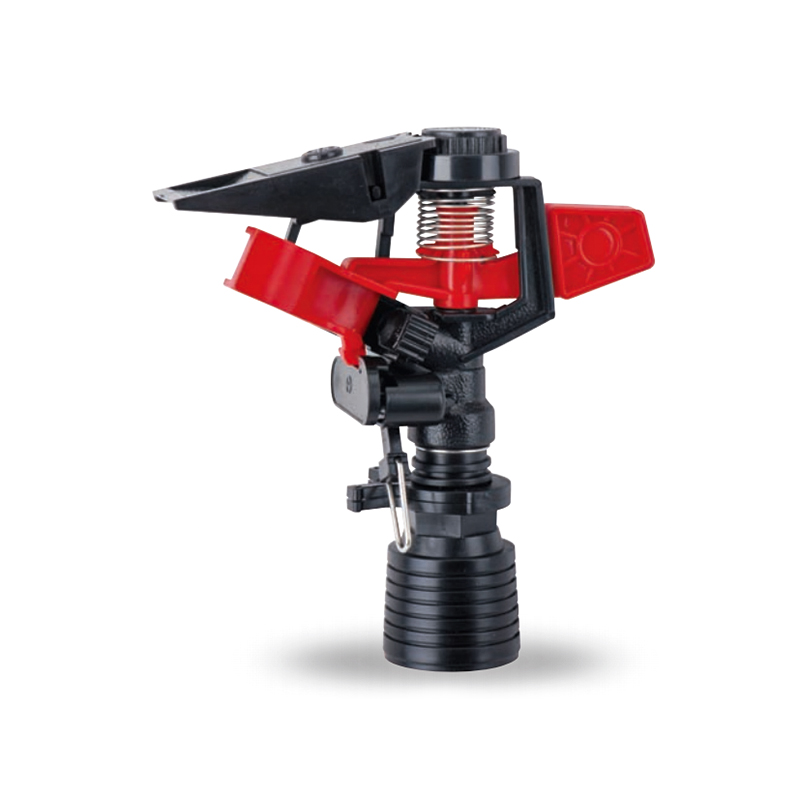
Impact sprinkler for agricultural irrigation is a common and efficient agricultural irrigation tool designed for large areas of farmland. Its unique structure can evenly cover a large area by rotating...
See Details -
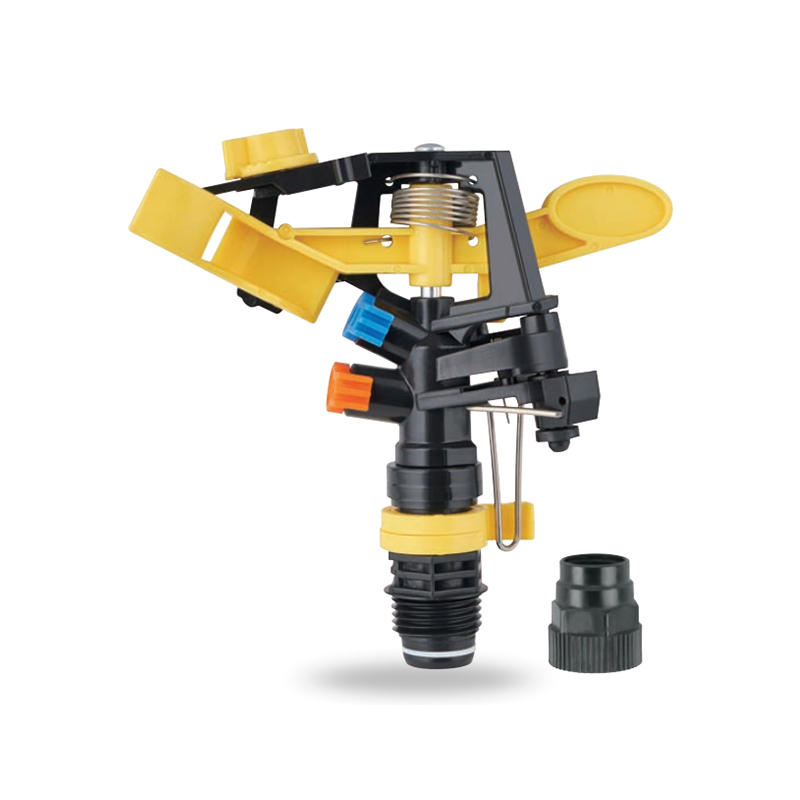
This 360 degree adjustable rocker arm nozzle impact sprinkler is an essential part of an irrigation system designed to meet a wide range of horticultural and agricultural needs. Its flexible adjustmen...
See Details -
The Plastic Full-Circle Impact Sprinkler Sprayer is a highly efficient full-circle irrigation device designed to provide even moisture coverage. Its lightweight plastic material makes this sprinkler e...
See Details -
The Irrigation System Adjustable Head Mobile Rotary Zinc Sprinkler is an efficient rotary sprinkler designed for flexible irrigation needs. Its adjustable head allows the user to easily adjust the dir...
See Details -
This 3/4” Zinc Alloy Swivel Arm Irrigation Watering System Impact Sprinkler is ideal for agricultural irrigation systems due to its superior durability and corrosion resistance. Its rugged constructio...
See Details -
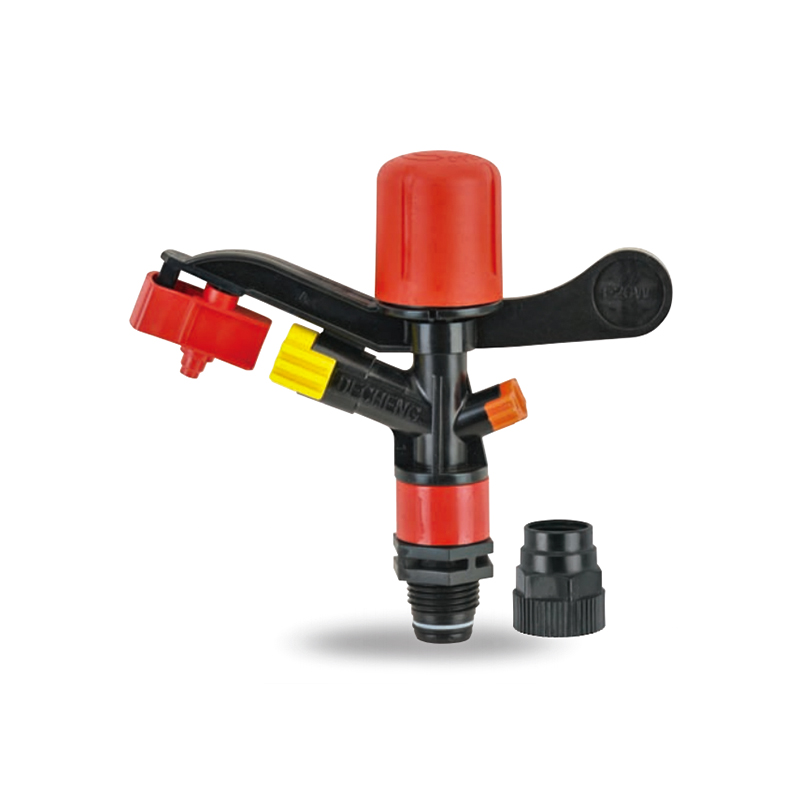
The Double nozzle garden farm impact full-circle sprinkler is well-designed to efficiently and evenly spray water, thus enhancing the quality of crop growth. Whether it's in the home garden or on a la...
See Details -
Double nozzle agricultural water plastic impact sprinkler for irrigation sprinkler combines practicality and durability with a dual nozzle system that provides extensive water coverage for a wide rang...
See Details -
The POM agricultural irrigation sprinkler water impact sprinkler is known for its excellent abrasion resistance and durability, ensuring consistent performance over time. It is designed to increase wa...
See Details -
The POM Agricultural Irrigation Sprinkler with Metal Nozzles is a device designed for efficient irrigation, combining premium polyacetal (POM) material with durable metal nozzles to ensure superior sp...
See Details -
Watering irrigation system 3/4 inch nozzle field Impact Sprinkler is perfect for field irrigation and easily meets the water needs of large crops. Its powerful spray ensures that every nook and cranny...
See Details -
The POM Agricultural Irrigation Sprinkler with Brass Nozzles is an efficient and durable irrigation device designed to meet a wide range of agricultural needs. The sprinkler is made of polyacetal (POM...
See Details -
The Double Nozzle Garden Farm Impact Part-Circle Sprinkler is a highly efficient garden irrigation device designed for large planting areas. Its double nozzle design produces a strong, even stream of ...
See Details


PRODUCTS & SERVICES

CONTACT US
 No.518, Ruihao Road, Lizhou Street, Yuyao City, Zhejiang Province, China
 +86-13105554615 / +86-18005843886
 decheng@dcssq.com fredzhu@dcssq.com
 LISA
LISA
 Fred Zhu
Copyright © Ningbo Dewo Irrigation Equipment Co., Ltd. All Rights Reserved. China Agricultural Plastic Sprinkler Manufacturers Wholesale Irrigation Plastic Sprinkler Factory
