 Search for...
 English
 Español
 中文简体
中文简体Why Does My Impact Sprinkler Stop Rotating? Causes & Fixes
Content
- 1 The Short Answer: Why Your Impact Sprinkler Stops Rotating
- 2 How an Impact Sprinkler Actually Works
- 3 Low Water Pressure: The Most Common Culprit
- 4 Clogged Nozzle or Debris in the Water Path
- 5 Worn, Weak, or Broken Deflector Arm Spring
- 6 Seized or Corroded Pivot Bearing
- 7 Trip Collar Misalignment or Damage
- 8 Debris Lodged in the Deflector Arm Mechanism
- 9 Excessive Water Pressure Causing the Head to Lock Up
- 10 Comparing Common Failure Modes at a Glance
- 11 Step-by-Step Diagnostic Process for Any Impact Sprinkler
- 12 Preventive Maintenance to Keep Impact Sprinklers Rotating Reliably
- 13 When to Replace Rather Than Repair
The Short Answer: Why Your Impact Sprinkler Stops Rotating
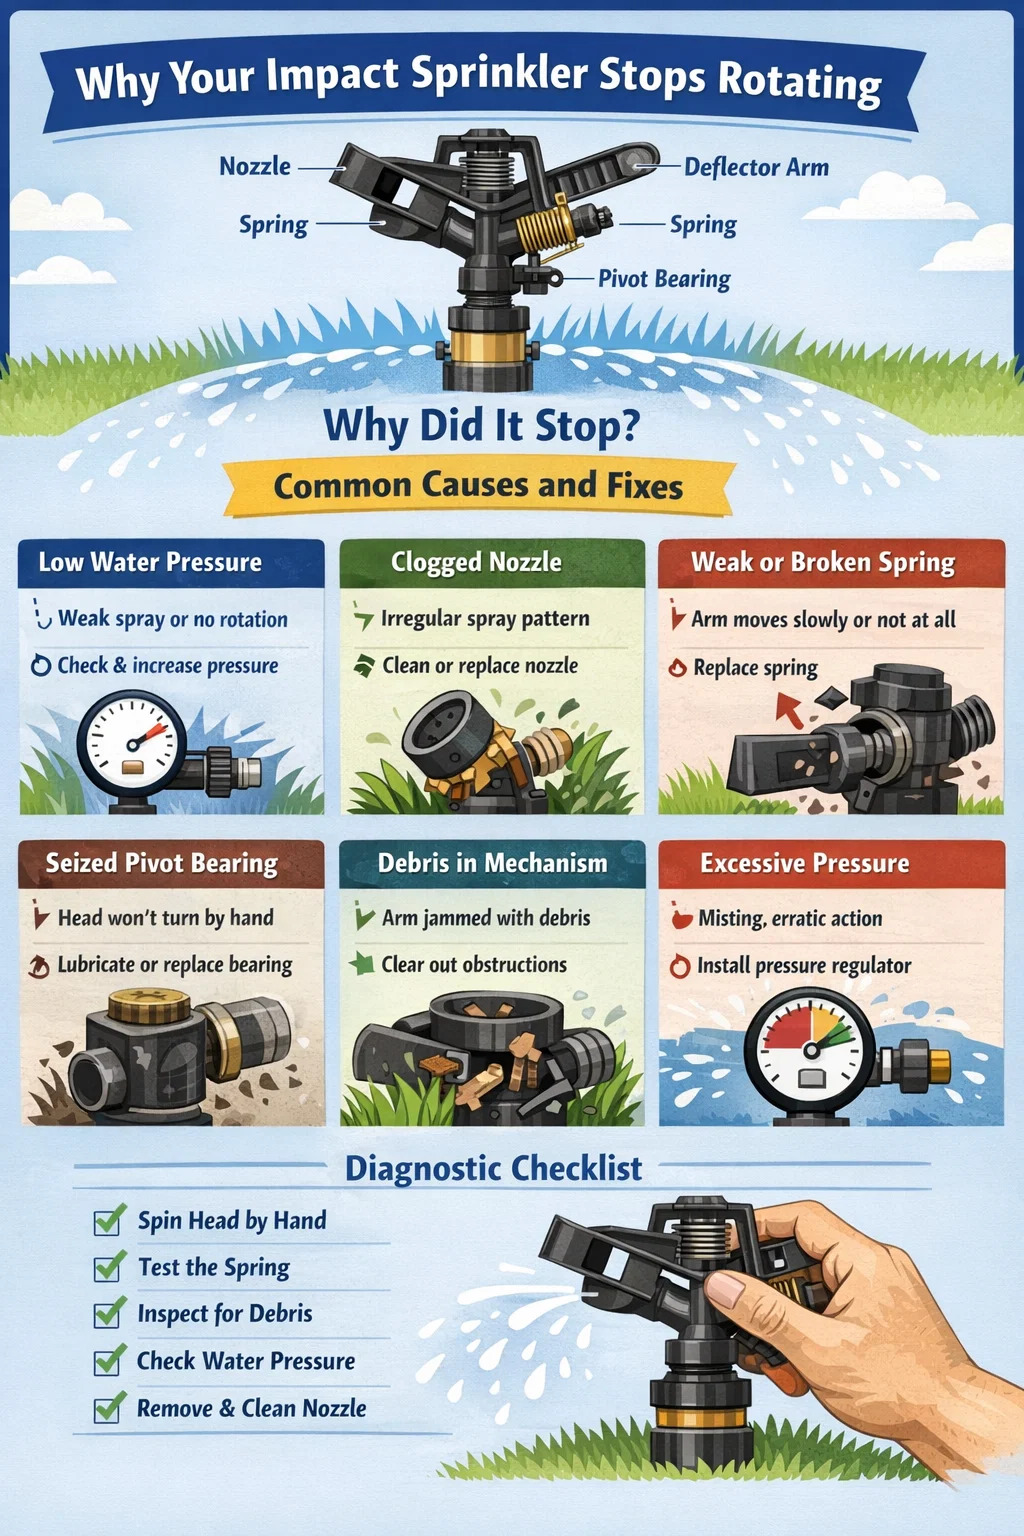
An impact sprinkler stops rotating primarily because of insufficient water pressure, a clogged nozzle, a damaged or worn deflector arm spring, debris lodged in the drive mechanism, or a seized pivot bearing. In most cases, the fix is straightforward and requires no special tools. Understanding exactly which component has failed will save you time, money, and the frustration of watching your lawn dry out while you troubleshoot blindly.
Impact sprinklers — sometimes called impulse sprinklers — operate on a beautifully simple mechanical principle. Water exits the nozzle at pressure, strikes a weighted deflector arm, pushes it aside, and a spring snaps it back. That repeated impact rotates the sprinkler head incrementally around its arc. When any one of those steps breaks down, the whole rotation stops. The sections below walk through every known failure mode in detail, along with the specific steps to diagnose and correct each one.
How an Impact Sprinkler Actually Works
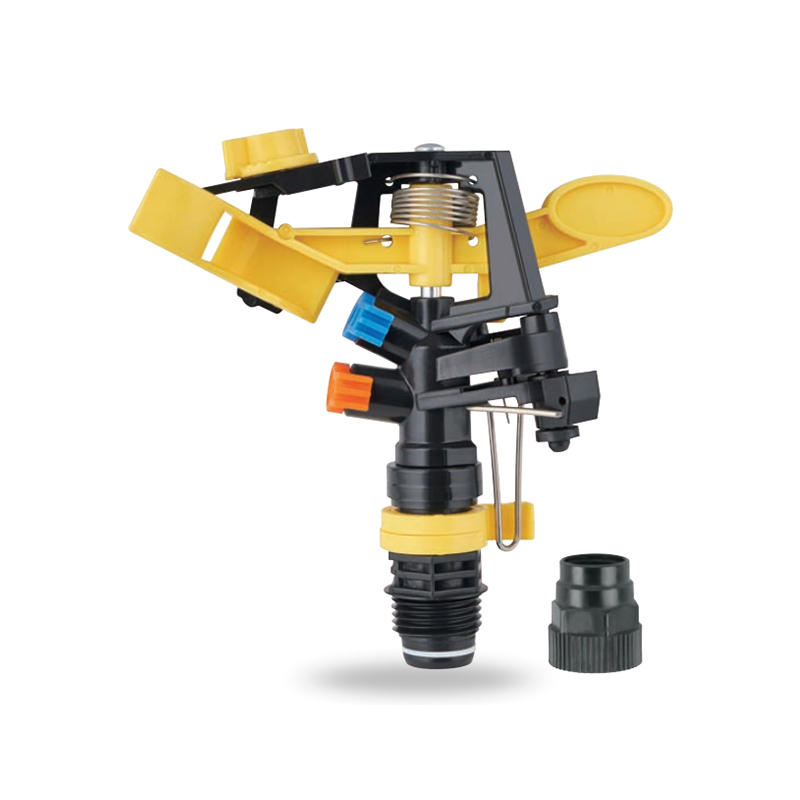
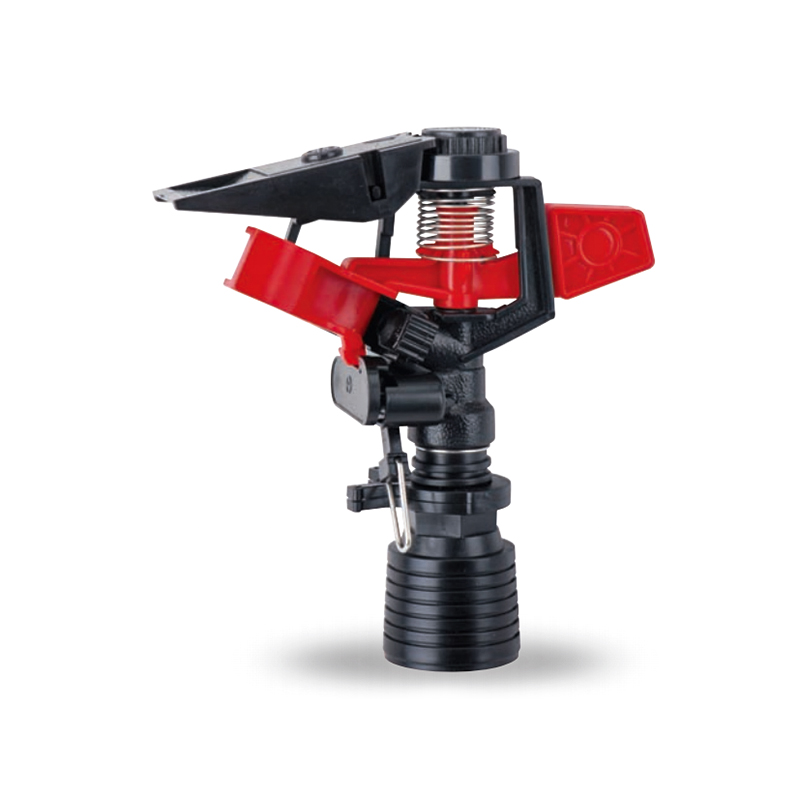
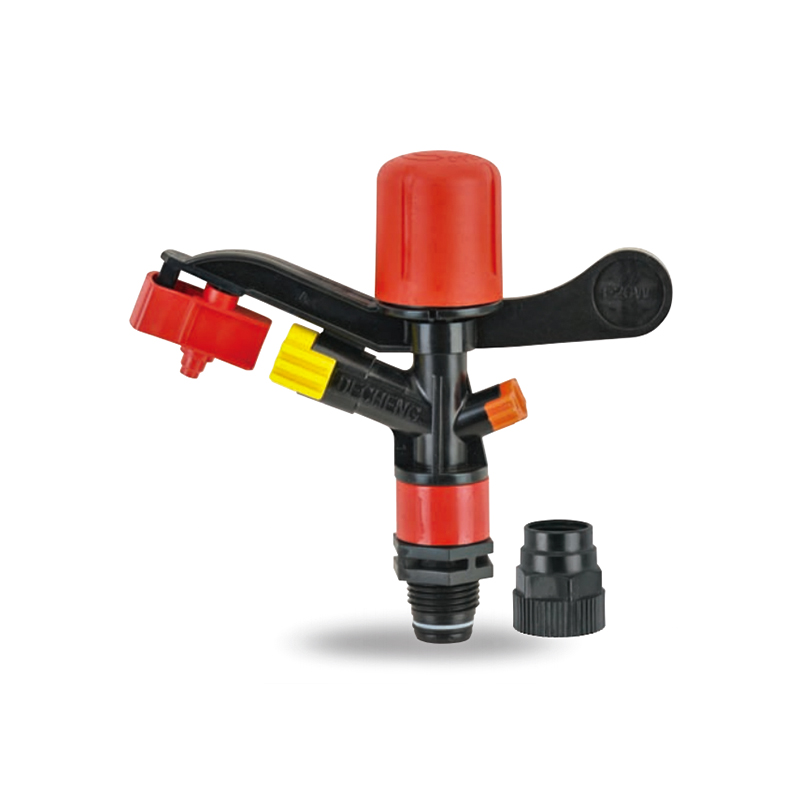
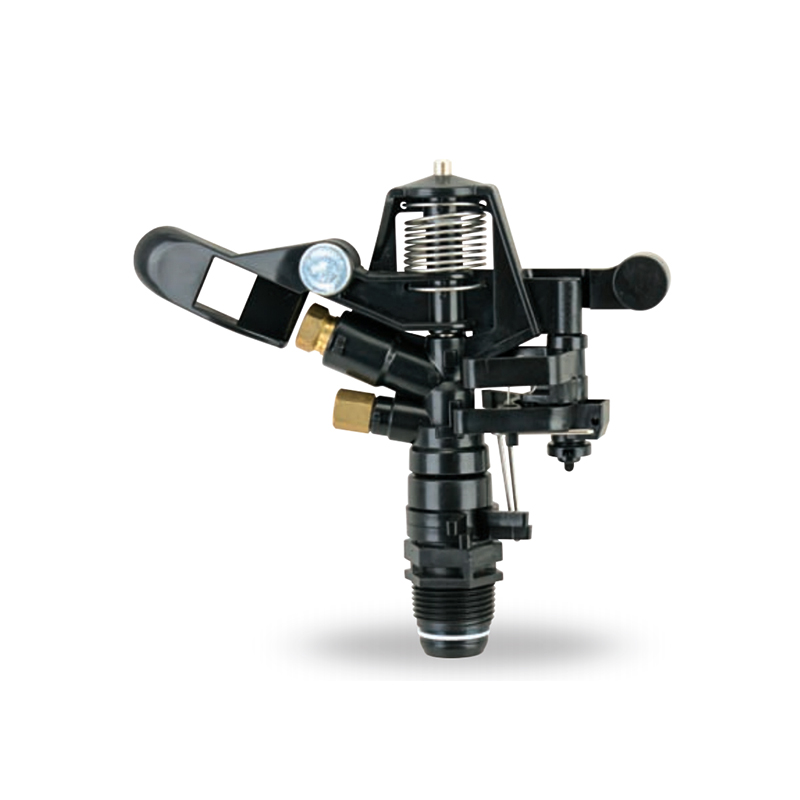
Before diagnosing problems, it helps to understand the mechanics at play. A typical impact sprinkler consists of the following key components:
- Nozzle: Controls the flow rate and spray pattern. Usually brass or plastic, ranging from 3/32 inch to 5/32 inch in diameter.
- Deflector arm (hammer arm): A hinged lever with a small deflector vane that intercepts the water stream. The arm is spring-loaded so it returns after each strike.
- Spring: Stores energy when the deflector arm is pushed aside and releases it to snap the arm back into the stream, producing the "impact" that drives rotation.
- Pivot bearing (bushing): The central rotating joint on which the head turns. Typically made of brass or polymer.
- Trip collars (arc stops): Adjustable tabs that limit and define the arc of rotation — typically set anywhere from 25° to 360°.
- Riser and base: The threaded inlet connects to your water supply, and the riser elevates the head above the turf.
Each rotation cycle involves the water jet hitting the deflector vane, pushing the arm outward against the spring, then the spring force returning the arm with enough momentum to nudge the head a fraction of a degree. Over hundreds of cycles per minute, this produces smooth rotation. If the spring is too weak, the arm too stiff, or the water pressure too low, the arm either fails to return fast enough or fails to deliver the impulse needed to move the head at all.
Low Water Pressure: The Most Common Culprit
The single most frequent reason an impact sprinkler stops rotating is inadequate water pressure. Most impact sprinklers are rated to operate between 30 and 50 PSI (pounds per square inch). When pressure drops below roughly 25 PSI, the water jet doesn't have enough force to push the deflector arm aside with sufficient energy. The arm may flutter weakly or not move at all, and the head stays frozen in one position.
Signs That Pressure Is the Problem
- The sprinkler sprays water but the head barely moves or rotates very slowly.
- Multiple sprinklers on the same zone all perform poorly at the same time.
- Performance improves noticeably when fewer sprinkler heads are running simultaneously.
- Neighbors or other household fixtures are using water at the same time.
How to Check and Fix Pressure Issues
Attach a simple pressure gauge — available for under $15 at any hardware store — to a hose bib near your sprinkler zone. Run the zone and read the dynamic (flowing) pressure. If it reads below 30 PSI, you have a pressure problem. Common causes and solutions include:
- Too many heads per zone: Reduce the number of active heads or split the zone into two separate zones.
- Partially closed supply valve: Locate your main irrigation shutoff and make sure it is fully open. A valve that is only 75% open can reduce pressure by 10–15 PSI.
- Undersized supply line: A ½-inch line feeding more than three or four impact sprinklers will typically starve them of pressure. Upgrading to ¾-inch pipe can recover 8–12 PSI in common residential setups.
- Municipal supply pressure drop: Some water utilities reduce main line pressure during peak demand hours. Scheduling your irrigation for early morning (before 6 AM) often avoids this.
- Pressure regulator failure: If your home has a pressure-reducing valve (PRV) and it has failed, you may have either very low or erratically fluctuating pressure. A plumber can replace a PRV for $150–$350 depending on location.
Clogged Nozzle or Debris in the Water Path
A partially or fully clogged nozzle restricts the water jet that drives the deflector arm. Even a small reduction in jet velocity can be enough to prevent rotation. Impact sprinkler nozzles have openings typically between 0.09 and 0.18 inches in diameter — small enough that a single grain of sand, a piece of pipe scale, or a fragment of root material can cause a blockage.
Identifying a Clogged Nozzle
Turn on the water and watch the spray pattern. A healthy impact sprinkler produces a clean, tight stream. A clogged nozzle produces a weak, diffuse spray, an irregular fan shape, or no stream at all — even when pressure at the line is adequate. You may also notice the deflector arm twitching without completing a full swing.
Cleaning the Nozzle Step by Step
- Turn off the water supply to the sprinkler.
- Unscrew the nozzle from the sprinkler head. Most impact sprinkler nozzles are threaded and remove with a quarter-turn counterclockwise, or they may be held by a small retaining pin.
- Hold the nozzle up to light to check for visible obstruction.
- Soak the nozzle in white vinegar for 15–30 minutes if mineral scale is present (common in areas with hard water above 200 mg/L hardness).
- Use a thin wire, toothpick, or the nozzle-cleaning tool included with many sprinkler kits to gently clear the orifice. Never use a drill bit — it will enlarge the opening and permanently alter the flow rate.
- Flush the nozzle by running water backward through it.
- Reinstall and test.
If clogging is a recurring problem, install a Y-strainer filter on the supply line upstream of your sprinklers. A 150-mesh screen filter costs $10–$25 and eliminates most debris before it reaches the nozzle.
Worn, Weak, or Broken Deflector Arm Spring
The spring on the deflector arm is the heart of the impact mechanism. Over time — particularly in sprinklers exposed to UV radiation, temperature extremes, or mineral-laden water — this spring loses tension, corrodes, or breaks entirely. A spring that has lost even 20–30% of its original tension may no longer return the arm with enough force to rotate the head, even when water pressure and nozzle condition are perfectly fine.
Diagnosing a Faulty Spring
With the water off, manually push the deflector arm to the side and release it. A good spring should snap the arm back firmly and audibly. If the arm drifts back slowly, returns only partway, or you can see visible corrosion or a break in the coil, the spring is the problem. On many impact sprinklers, the spring is a small torsion coil attached to the pivot point of the deflector arm.
Replacing the Spring
Replacement springs for common brands like Rain Bird, Nelson, and Orbit are available for $2–$8 and typically come in multipacks. To replace:
- Remove the deflector arm by pressing the retaining clip or sliding out the pivot pin, depending on your model.
- Note the orientation of the old spring before removing it — take a photo if helpful.
- Hook the new spring onto the arm and the body anchor point in the same configuration.
- Reattach the arm and test the snap action manually before turning on the water.
If you cannot source an exact replacement spring, it is usually more economical to replace the entire sprinkler head. A quality brass impact sprinkler head costs $8–$20 and will outlast multiple spring replacements if the body has already been in service for several years.
Seized or Corroded Pivot Bearing
The pivot bearing — the central bushing around which the entire head rotates — can become seized due to mineral scale buildup, corrosion, or physical damage. When the bearing seizes, even a perfectly functioning impact mechanism cannot rotate the head because there is too much friction at the central joint.
How to Test the Bearing
With the water off, try rotating the sprinkler head by hand. A properly functioning head should spin freely with minimal resistance — you should be able to rotate it with two fingers using almost no effort. If the head is stiff, requires force, or will not turn at all, the bearing is compromised.
Freeing a Stiff Bearing
- Light corrosion or scale: Apply a penetrating lubricant like WD-40 or a dedicated sprinkler lubricant to the pivot joint. Work the head back and forth manually for 2–3 minutes. Repeat if needed, then flush with water before resuming irrigation.
- Heavy scale (hard water areas): Disassemble the head, soak the pivot components in a 50/50 white vinegar solution for 1–2 hours, scrub with a small brush, rinse, and reassemble.
- Physical damage: If the bearing is cracked, grooved, or deformed, replacement is the only reliable fix. In most impact sprinklers, the pivot assembly is integral to the body, meaning the entire head needs replacing.
Avoid using heavy grease on impact sprinkler bearings — it attracts dirt and makes the problem worse over time. A thin application of silicone-based lubricant is preferable for long-term pivot maintenance.
Trip Collar Misalignment or Damage
Impact sprinklers use one or two adjustable trip collars (also called arc stops or reversing collars) to define the arc of rotation. These collars sit on the body of the sprinkler and are engaged by a small tab on the rotating head. When the head reaches a collar, the tab flips the deflector arm to the opposite side, reversing the direction of rotation. If a collar has slipped, broken, or been forced out of position, the head may stop at that point and never reverse — giving the appearance that rotation has ceased completely.
Checking and Adjusting Trip Collars
Turn on the water and watch the head as it rotates. If it stops at a specific point and the deflector arm appears stuck in one position, check the trip collar at that location. The collar should be firmly seated in its groove and angled correctly to engage the reversing tab smoothly.
- Slide the collar to a new position on the body and test whether the head now reverses properly.
- If the collar tab is cracked or broken off, replace the collar. Many manufacturers sell replacement collar sets for $3–$7.
- For full-circle (360°) rotation, the reversing collar should be removed entirely or positioned so it does not engage during normal operation.
Debris Lodged in the Deflector Arm Mechanism
Impact sprinklers mounted on above-ground risers are particularly vulnerable to debris getting lodged between the deflector arm and the sprinkler body. Grass clippings, small pebbles, insect bodies, seed pods, and other organic material can jam the arm in the open or closed position. This is especially common in areas where lawn mowing or wind dispersal regularly brings debris into contact with the sprinkler.
Clearing Debris
Turn off the water and inspect the deflector arm pivot point carefully. Use a thin tool — a toothpick or a straightened paper clip works well — to probe around the pivot and remove any material preventing free movement. After clearing visible debris, run water through the sprinkler briefly to flush out any remaining particles. Test the arm snap action again before leaving the sprinkler in service.
If debris intrusion is a persistent issue, consider installing the impact sprinkler on a weighted base with a protective shroud, or switching to a pop-up impact sprinkler style that keeps the head below ground when not in use.
Excessive Water Pressure Causing the Head to Lock Up
While low pressure is the most common pressure-related problem, excessively high pressure can also stop an impact sprinkler from rotating properly. When pressure exceeds approximately 60–70 PSI, the water jet hits the deflector arm with too much force — the arm is pushed so far back that it overshoots its return path, or the hydraulic force essentially pins the arm in the deflected position without allowing a clean snap-back. This manifests as a head that oscillates erratically or simply stays stationary despite a strong water flow.
Diagnosing Overpressure
Use a pressure gauge on the supply line feeding the zone. If dynamic pressure exceeds 55 PSI at the sprinkler connection point, overpressure is a likely contributor. Other signs include misting or fogging at the nozzle (fine droplets rather than a coherent stream), water hammer noise in the pipes when the zone activates, or frequent diaphragm failures in nearby solenoid valves.
Solutions for High Pressure
- Install a pressure regulator on the supply line before the irrigation zone. Zone-specific regulators that reduce pressure to a preset level (typically 30 or 45 PSI) are available for $15–$40.
- Use a partially closed ball valve on the zone supply to reduce flow and thereby reduce dynamic pressure. This is a coarse adjustment but can work in a pinch.
- Switch to a larger nozzle size on the impact sprinkler to allow more flow at the same pressure, which reduces jet velocity and arm impact force.
Comparing Common Failure Modes at a Glance
The table below summarizes the most common reasons an impact sprinkler stops rotating, how to identify each problem, and the typical cost to fix it:
| Cause | Key Symptom | DIY Fix | Typical Cost |
|---|---|---|---|
| Low water pressure | Weak spray, slow or no rotation | Open valves fully, reduce heads per zone | $0–$40 |
| Clogged nozzle | Irregular or diffuse spray pattern | Clean or replace nozzle | $0–$10 |
| Weak/broken spring | Arm drifts back slowly or not at all | Replace spring or full head | $2–$20 |
| Seized pivot bearing | Head stiff or won't turn by hand | Lubricate or replace head | $0–$20 |
| Misaligned trip collar | Head stops at same point every time | Reposition or replace collar | $0–$7 |
| Debris in mechanism | Arm physically blocked or jammed | Clear debris manually | $0 |
| Excessive pressure | Misting, erratic arm behavior | Install pressure regulator | $15–$40 |
Step-by-Step Diagnostic Process for Any Impact Sprinkler
Rather than guessing, work through this logical sequence whenever your impact sprinkler stops rotating. Each step eliminates a category of cause before moving on to the next.
- Check hand rotation: With the water off, spin the head by hand. If it is stiff, address the pivot bearing before anything else.
- Test the deflector arm spring: Push the arm aside and release. If it doesn't snap back firmly, the spring needs replacing.
- Inspect for visible debris: Look around the arm pivot, the nozzle, and the trip collar area for any foreign material.
- Turn on the water and observe: Note whether there is a spray at all, the quality of the jet, and which part of the rotation cycle fails.
- Measure pressure: Use a gauge on the supply side. Confirm the zone is operating between 30 and 55 PSI.
- Remove and inspect the nozzle: Clean or replace as needed based on what you find.
- Check the trip collars: Verify they are correctly positioned and intact if the head stops at a specific point.
- Replace the head if all else fails: If cleaning, adjusting, and lubricating haven't resolved the problem, a new head is the most cost-effective solution.
Preventive Maintenance to Keep Impact Sprinklers Rotating Reliably
Most impact sprinkler problems are preventable with basic seasonal maintenance. A properly maintained impact sprinkler head can last 10–20 years in residential applications — a significant difference compared to units that receive no attention and fail within 3–5 years.
Spring Startup Checklist
- Flush the supply lines before connecting sprinklers to clear debris that may have accumulated during winter shutdown.
- Inspect each sprinkler head for cracks, particularly around the nozzle and pivot area where freeze-thaw cycles cause the most damage.
- Test the deflector arm spring on every head. Replace any that have lost tension.
- Check that the pivot bearing rotates freely and apply a light coating of silicone lubricant if the head feels at all stiff.
- Verify nozzle condition and clear any scale or debris.
- Confirm arc stop collar positions have not shifted during storage or freeze events.
During-Season Maintenance
- Do a visual check of each zone once a month. Walk the area while the system is running and look for heads that are not rotating or are spraying in an unexpected direction.
- After mowing or any work near the sprinkler risers, check that no debris has been pushed into the arm mechanism by equipment vibration or wind.
- If you are in a hard water area (above 150 mg/L calcium carbonate), consider a brief vinegar flush of the nozzle area mid-season to prevent scale buildup.
Fall Winterization
- Drain or blow out all lines before the first hard freeze to prevent the water inside the nozzle and pivot housing from expanding and cracking the head.
- If heads are on above-ground risers that cannot be fully drained, remove them and store indoors over winter.
- Note any heads that showed problems during the season so you can address them before spring rather than scrambling when irrigation season starts again.
When to Replace Rather Than Repair
There are situations where continued repair is not the right call. Consider replacing the entire impact sprinkler head when:
- The head is more than 10–12 years old and has required multiple repairs within a single season.
- The body is cracked or shows significant corrosion that affects structural integrity.
- Replacement parts (springs, nozzles, collars) for your specific model are no longer available.
- The pivot bearing is permanently scored or grooved and a replacement bearing is not available separately.
- The total cost of parts for the repair approaches or exceeds the cost of a new head.
A new brass impact sprinkler head from a reputable brand such as Rain Bird, Nelson, or Orbit typically costs $10–$25. Given that a single service call from an irrigation contractor can run $75–$150 per hour, repairing or replacing impact sprinkler heads yourself almost always represents the better value — especially once you have diagnosed the problem correctly using the steps above.
Prev:Are Impact Sprinklers Good? Honest Pros, Cons & Use CasesNext:How to Winterize Impact Sprinklers: Complete Guide
Related products
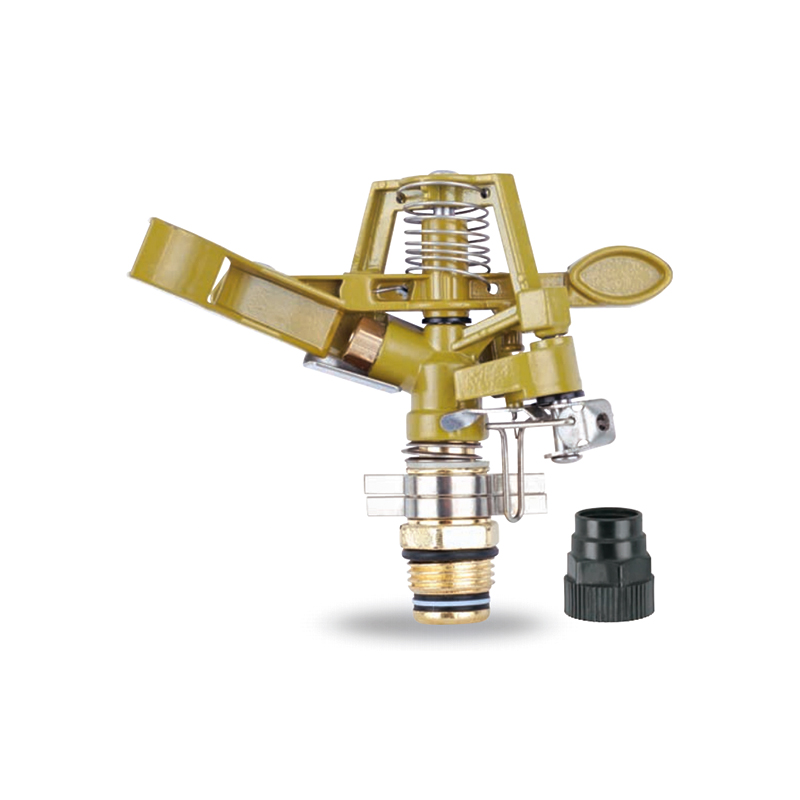
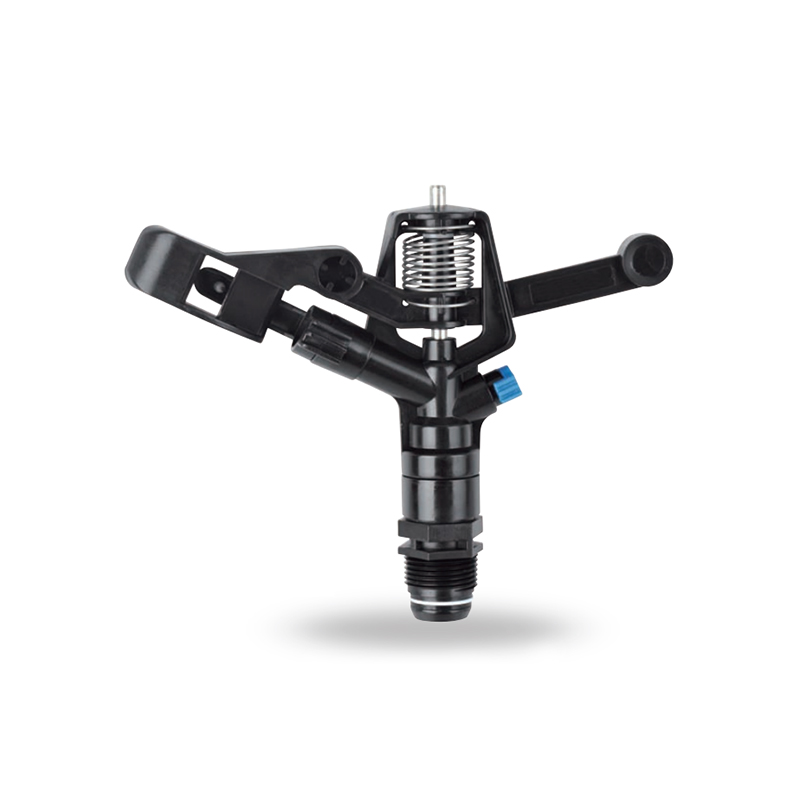
-
Impact sprinkler for agricultural irrigation is a common and efficient agricultural irrigation tool designed for large areas of farmland. Its unique structure can evenly cover a large area by rotating...
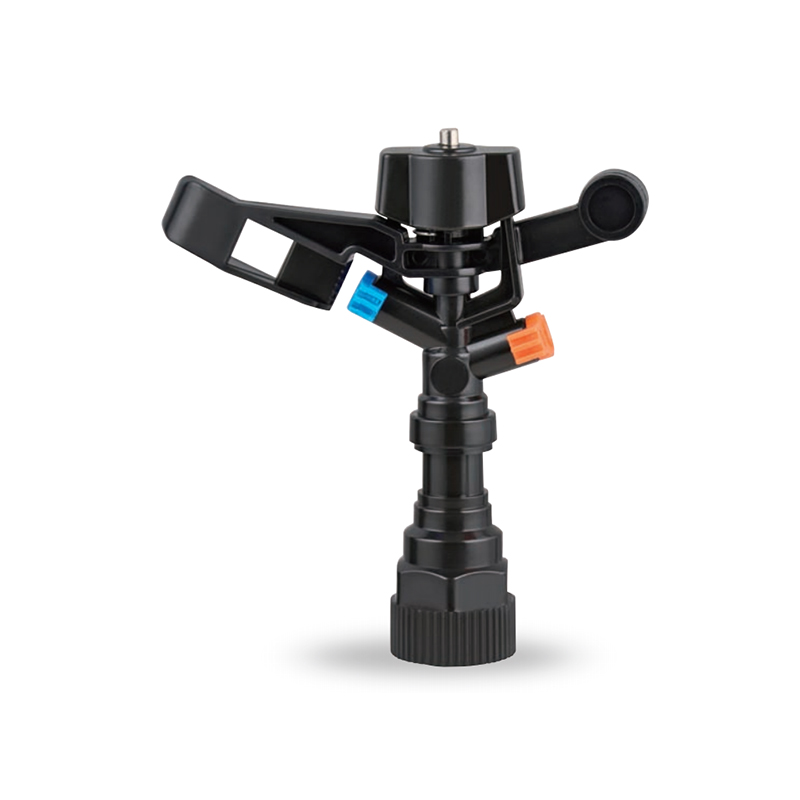
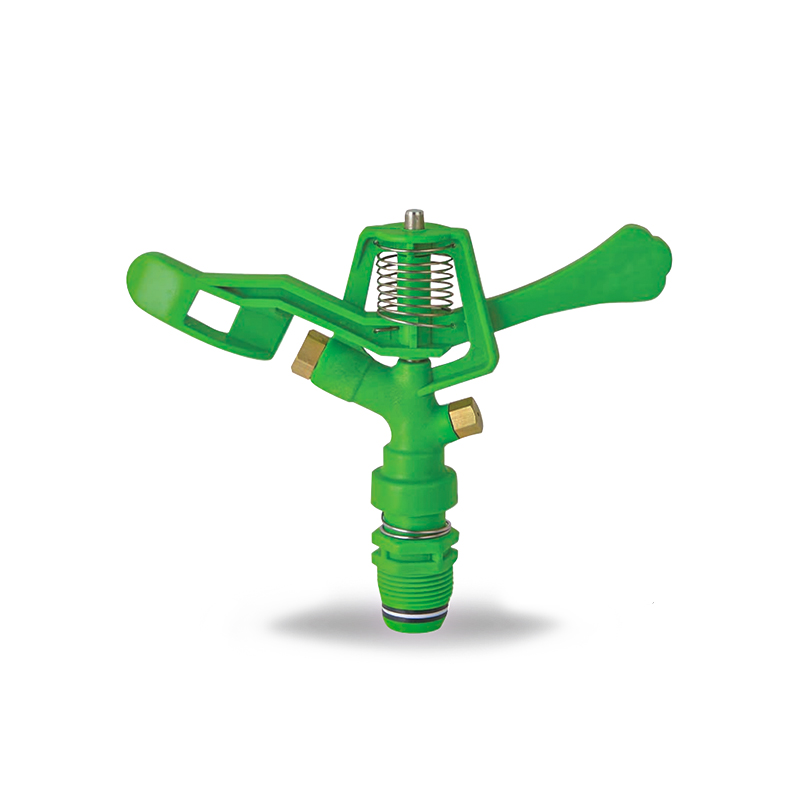
See Details -
This 360 degree adjustable rocker arm nozzle impact sprinkler is an essential part of an irrigation system designed to meet a wide range of horticultural and agricultural needs. Its flexible adjustmen...
See Details -
The Plastic Full-Circle Impact Sprinkler Sprayer is a highly efficient full-circle irrigation device designed to provide even moisture coverage. Its lightweight plastic material makes this sprinkler e...
See Details -
The Irrigation System Adjustable Head Mobile Rotary Zinc Sprinkler is an efficient rotary sprinkler designed for flexible irrigation needs. Its adjustable head allows the user to easily adjust the dir...
See Details -
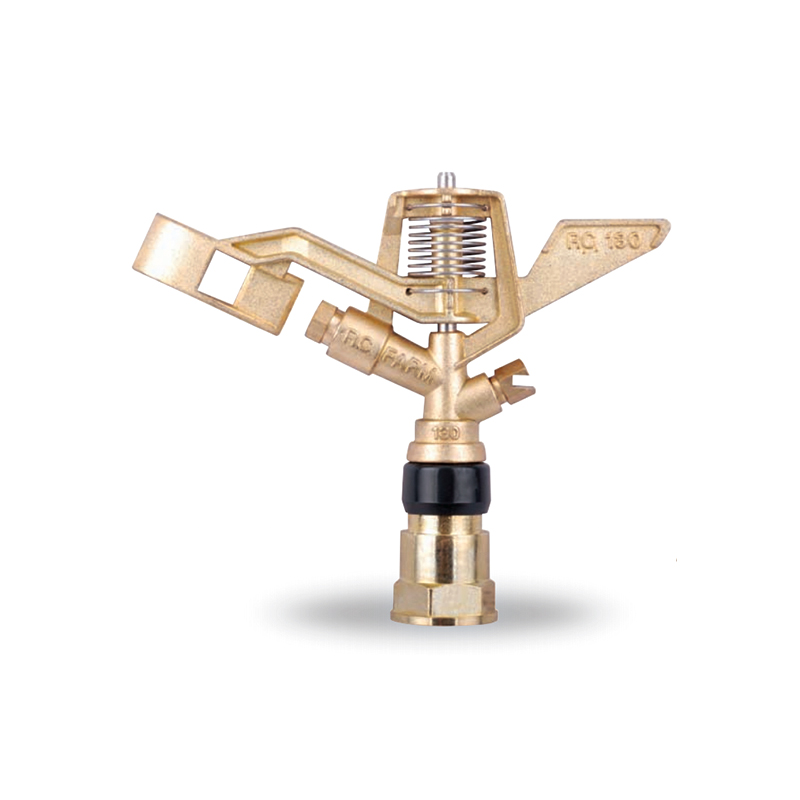
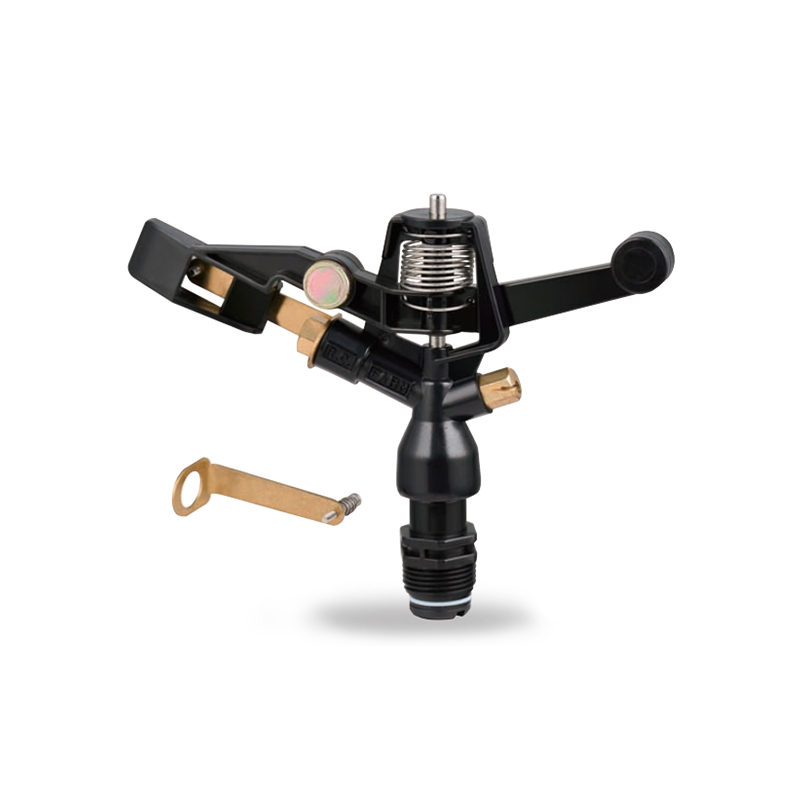
This 3/4” Zinc Alloy Swivel Arm Irrigation Watering System Impact Sprinkler is ideal for agricultural irrigation systems due to its superior durability and corrosion resistance. Its rugged constructio...
See Details -
The Double nozzle garden farm impact full-circle sprinkler is well-designed to efficiently and evenly spray water, thus enhancing the quality of crop growth. Whether it's in the home garden or on a la...
See Details -
Double nozzle agricultural water plastic impact sprinkler for irrigation sprinkler combines practicality and durability with a dual nozzle system that provides extensive water coverage for a wide rang...
See Details -
The POM agricultural irrigation sprinkler water impact sprinkler is known for its excellent abrasion resistance and durability, ensuring consistent performance over time. It is designed to increase wa...
See Details -
The POM Agricultural Irrigation Sprinkler with Metal Nozzles is a device designed for efficient irrigation, combining premium polyacetal (POM) material with durable metal nozzles to ensure superior sp...
See Details -
Watering irrigation system 3/4 inch nozzle field Impact Sprinkler is perfect for field irrigation and easily meets the water needs of large crops. Its powerful spray ensures that every nook and cranny...
See Details -
The POM Agricultural Irrigation Sprinkler with Brass Nozzles is an efficient and durable irrigation device designed to meet a wide range of agricultural needs. The sprinkler is made of polyacetal (POM...
See Details -
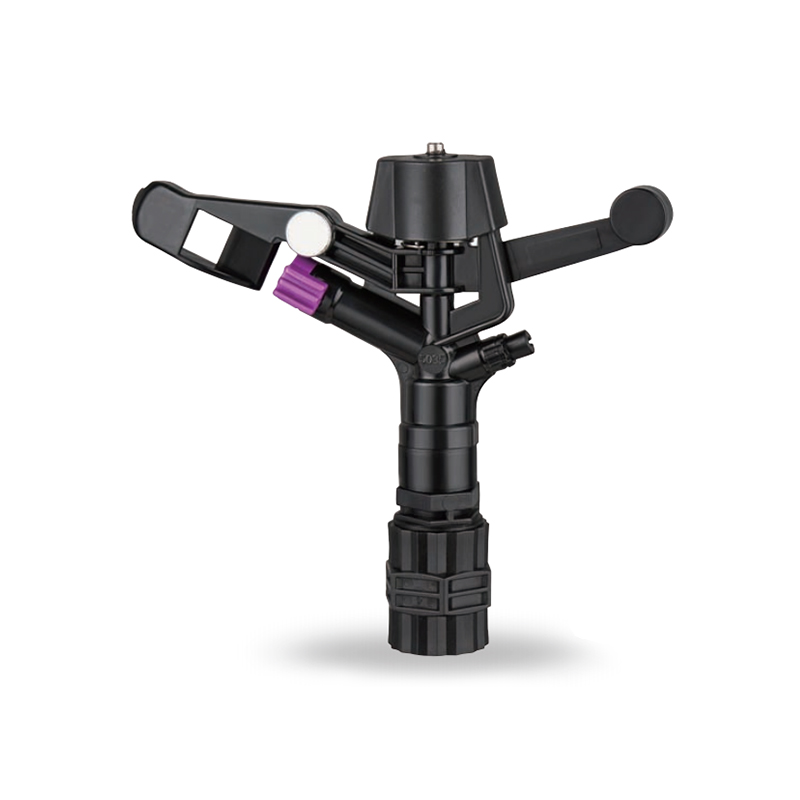
The Double Nozzle Garden Farm Impact Part-Circle Sprinkler is a highly efficient garden irrigation device designed for large planting areas. Its double nozzle design produces a strong, even stream of ...
See Details

PRODUCTS & SERVICES

CONTACT US
 No.518, Ruihao Road, Lizhou Street, Yuyao City, Zhejiang Province, China
 +86-13105554615 / +86-18005843886
 decheng@dcssq.com fredzhu@dcssq.com
 LISA
LISA
 Fred Zhu
Copyright © Ningbo Dewo Irrigation Equipment Co., Ltd. All Rights Reserved. China Agricultural Plastic Sprinkler Manufacturers Wholesale Irrigation Plastic Sprinkler Factory
